TOPICS:GCC on Linux
官方文档地址:https://code.visualstudio.com/docs/cpp/config-linux
参照了好多博客,下载许多插件,但程序就是不能成功运行。这就是小白的痛QAQ。今天终于看懂几个配置文件的作用和怎么用VSCode编译运行了,真是看多少篇教程博客,都不如看一篇官方文档。下面开始正文——
1. 下载安装
首先你得下载安装好
- VS Code https://code.visualstudio.com/download‘
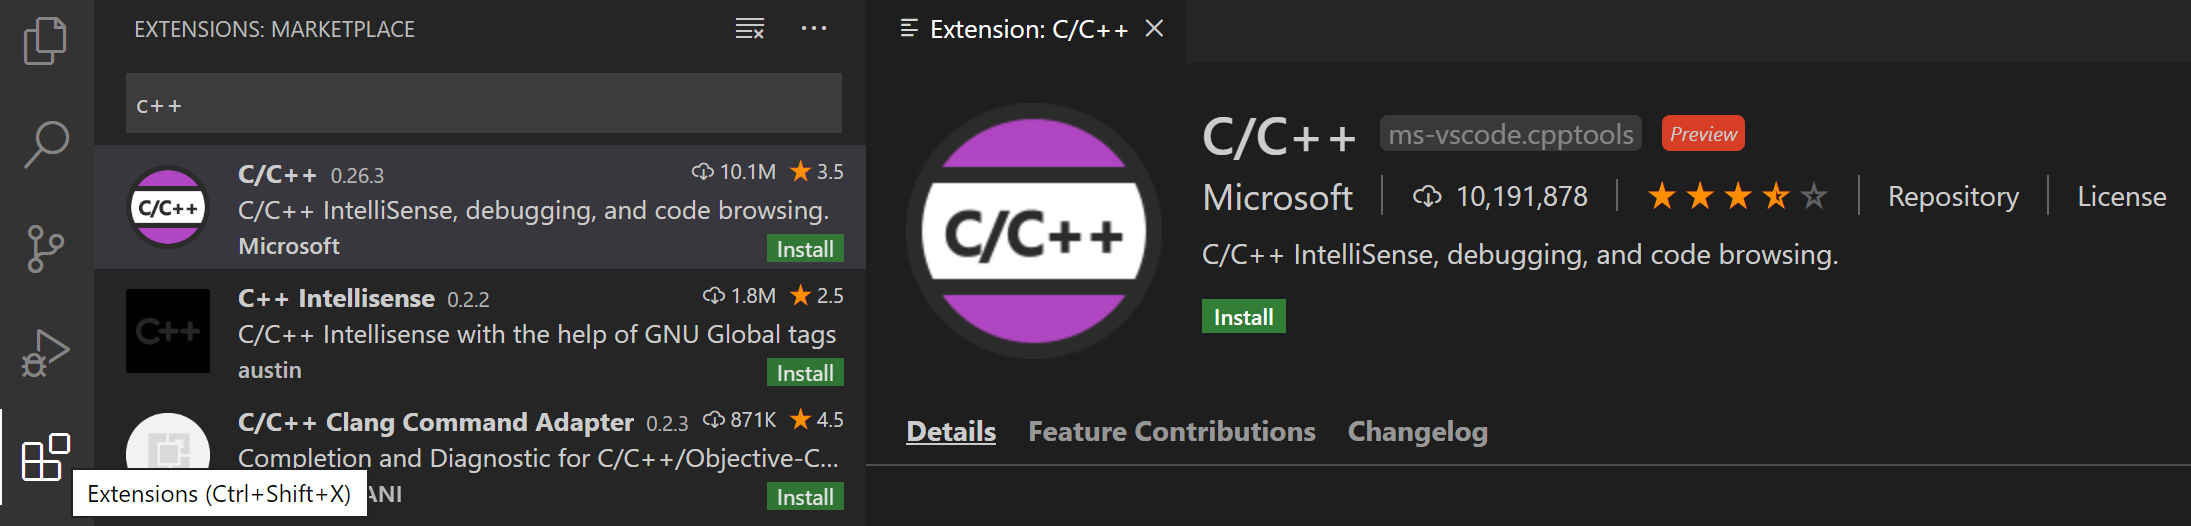
- 在VS Code里安装插件C/C++
- 安装gcc,可在终端用命令 gcc -v 检查是否有安装,如果没有,使用如下命令:
sudo apt-get updatesudo apt-get install build-essential gdb
2. Hello World
打开终端,创建工作空间和测试项目:
mkdir projectscd projectsmkdir helloworldcd helloworldcode .
code .可以使VS在当前文件夹打开,并令其为工作空间。接下来将会在这个工作空间的.vscode文件夹里创建3个配置文件:
tasks.json(compiler build settings)launch.json(debugger settings)c_cpp_properties.json(compiler path and IntelliSense settings)
我们首先创建helloworld.cpp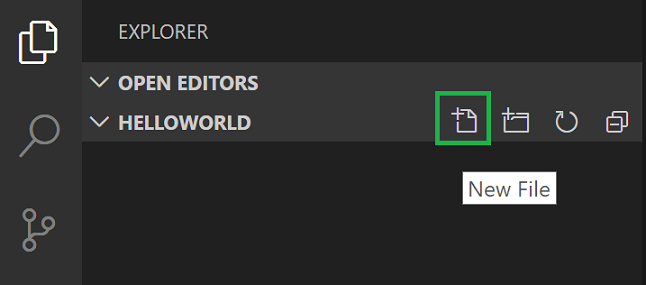
#include <iostream>#include <vector>#include <string>using namespace std;int main(){vector<string> msg {"Hello", "C++", "World", "from", "VS Code", "and the C++ extension!"};for (const string& word : msg){cout << word << " ";}cout << endl;}

3. 编译build
接下来创建tasks.json,这个文件告诉VScode如何构建(编译)程序。我们将调用g++编译器从源代码创建一个可执行文件。
在编辑器中打开helloworld.cpp(非常重要),因为下一步将使用编辑器上下文中的活动文件来创建下一步的构建任务。
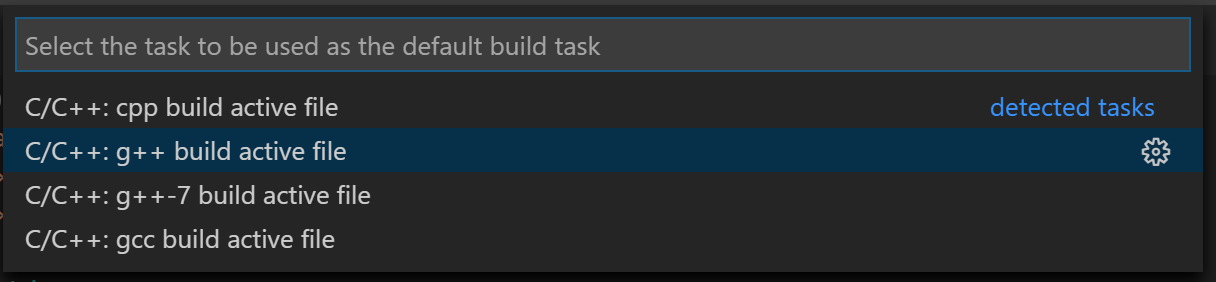
在主菜单中,选择Terminal > Configure Default Build Task会出现一个下拉列表,显示C++ compilers. 选择 C/C++: g++ build active file.
这将在.vscode文件夹中创建一个tasks.json文件,并自动在编辑器中打开它。
tasks.json
{"version": "2.0.0","tasks": [{"type": "shell","label": "g++ build active file","command": "/usr/bin/g++","args": ["-g", "${file}", "-o", "${fileDirname}/${fileBasenameNoExtension}"],"options": {"cwd": "/usr/bin"},"problemMatcher": ["$gcc"],"group": {"kind": "build","isDefault": true}}]}
参数说明文档:https://code.visualstudio.com/docs/editor/variables-reference
现在返回helloworld.cpp,按下 Ctrl+Shift+B 或者在工具栏菜单Terminal中选择 Run Build Task。在编辑器下方弹出如下面板:
点击该面板上到加号新建一个终端,输入ls可以看到我们刚刚编译出了一个同名文件helloworld,没有后缀名。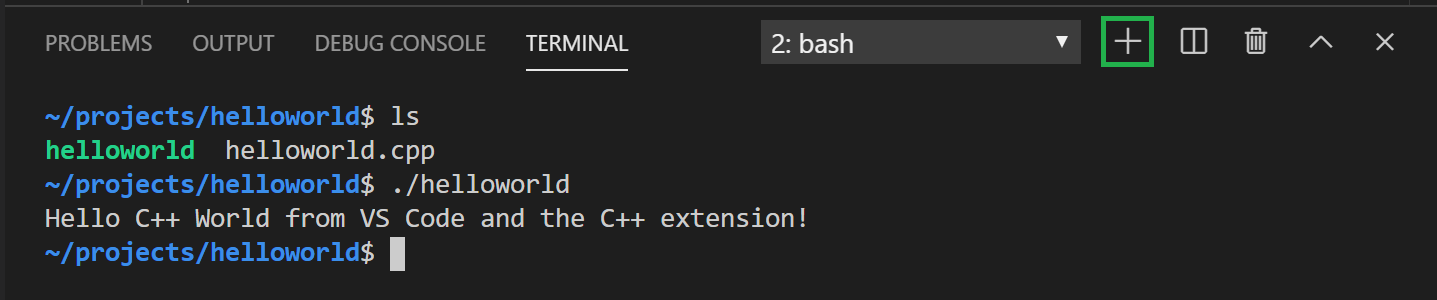
运行:在终端输入./helloworld
注意:编译和调试时一定要点回helloworld.cpp,否则编译器不是在编译源文件,而是那些json文件。
4. 调试debug
在工具栏选择Run > Add Configuration… 然后选择 C++ (GDB/LLDB),你将看到各种预定义调试配置的下拉列表,选择g++ build and debug active file.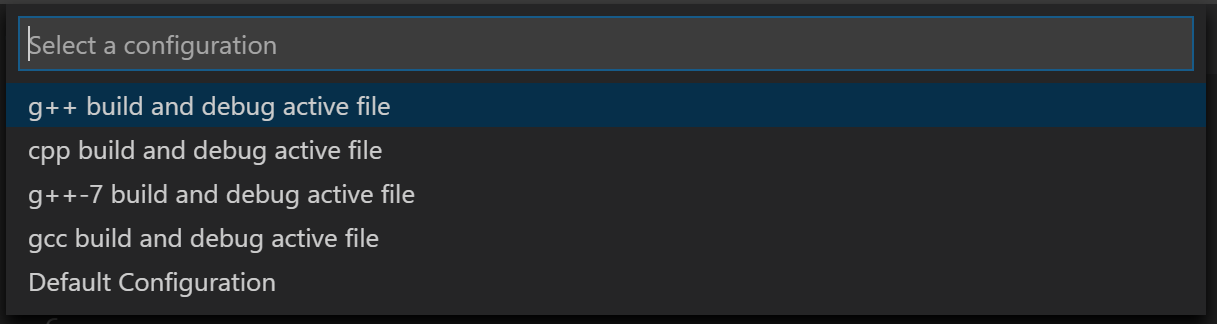
VScode将自动创建launch.json:
{"version": "0.2.0","configurations": [{"name": "g++ build and debug active file","type": "cppdbg","request": "launch","program": "${fileDirname}/${fileBasenameNoExtension}","args": [],"stopAtEntry": false,"cwd": "${workspaceFolder}","environment": [],"externalConsole": false,"MIMode": "gdb","setupCommands": [{"description": "Enable pretty-printing for gdb","text": "-enable-pretty-printing","ignoreFailures": true}],"preLaunchTask": "g++ build active file","miDebuggerPath": "/usr/bin/gdb"}]}
再回到helloworld.cpp,按下F5或菜单栏选择Run > Start Debugging,开始调试。
加断点:按F9或在行序号前点击一下,出现红点。
右侧可以查看变量: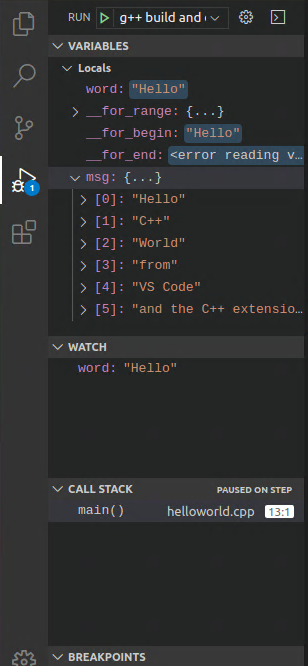
在watch处添加想观察的变量名可以拎出来单独查看:
当执行到断点处暂停时,要快速查看任何变量的值,可以使鼠标指针悬停在它上面。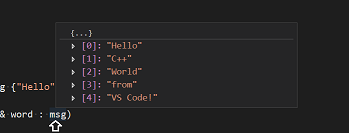
5. C/C++ configurations
如果希望对C/C++扩展进行更多控制,可以创建一个c_cpp_properties.json文件,它允许你更改设置,如编译器的路径,包括路径、c++标准(默认是c++ 17)等等。你可以通过从命令面板(Ctrl+Shift+P)运行命令C/C++: Edit Configurations (UI)来查看C/C++配置UI。
这会打开配置页面,当你做出修改的时候,就会将其写入c_cpp_properties.json:
{"configurations": [{"name": "Linux","includePath": ["${workspaceFolder}/**"],"defines": [],"compilerPath": "/usr/bin/gcc","cStandard": "c11","cppStandard": "c++17","intelliSenseMode": "clang-x64"}],"version": 4}
6. 重复使用C++配置文件
VS代码现在配置为在Linux上使用gcc。配置应用于当前工作区。要重用配置,只需将JSON文件复制到新项目文件夹(工作区)中的.vscode文件夹中,并根据需要更改源文件和可执行文件的名称。
Next steps
- Explore the VS Code User Guide.
- Review the Overview of the C++ extension.
- Create a new workspace, copy your .json files to it, adjust the necessary settings for the new workspace path, program name, and so on, and start coding!

若有收获,就点个赞吧
0 人点赞
