安装 qemu
compile from source
- download source from website https://www.qemu.org/download/
- configure and compile
wget https://download.qemu.org/qemu-7.0.0.tar.xztar xvJf qemu-7.0.0.tar.xzcd qemu-7.0.0./configuremake
or you can install precompile binary, for example apt-get
compile kernel
clone the kernel source from github
- compile the code
- make manuconfig
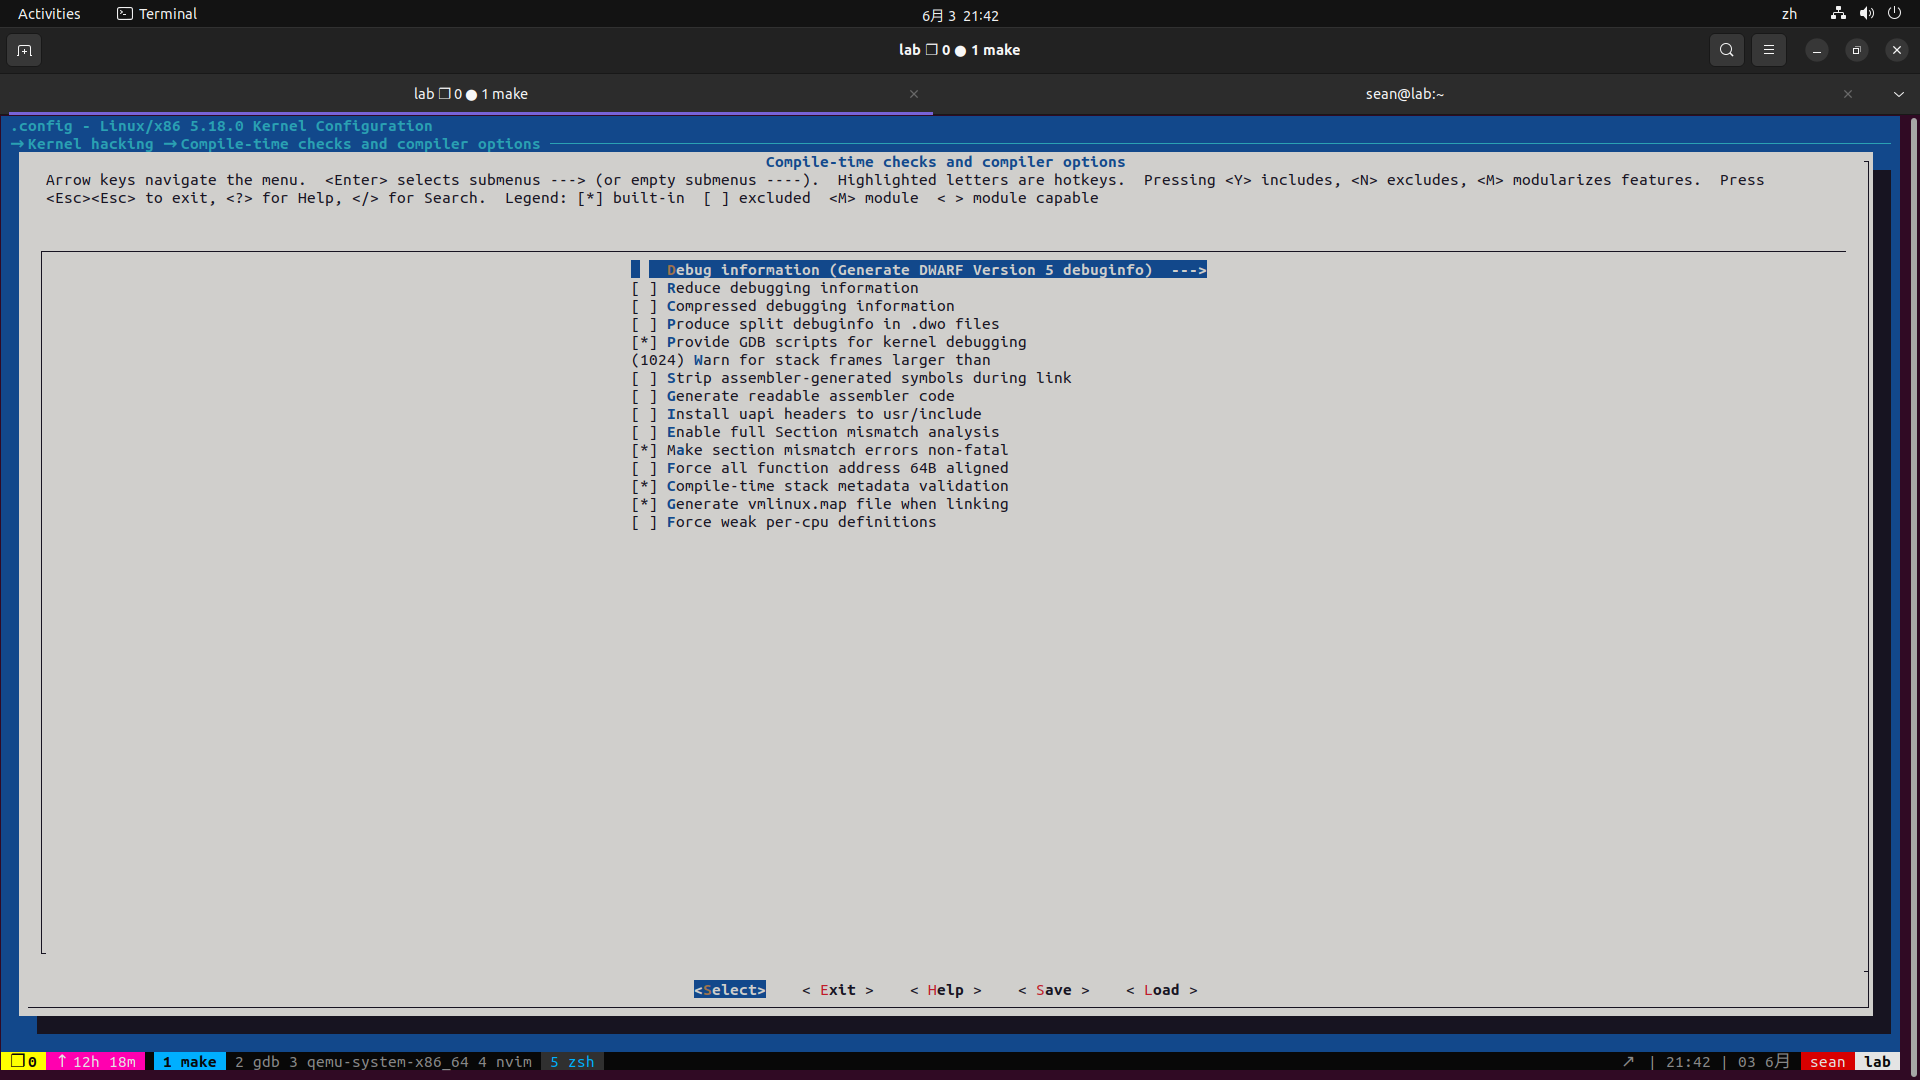 kernel hacking -> Compile-time check and compiler options
- 配置完成后可以看到一个.config文件
- 修改一下这个文件,把里面两个配置改为空,否则编译会失败
- CONFIG_SYSTEM_TRUSTED_KEYS=””
- CONFIG_SYSTEM_REVOCATION_KEYS=””
- compile
- make -j4
编译完后就能看到 vmlinux 和 /arch/x86/boot/bzImage 这两个文件, 用qemu启动一下,会看到报错,说找不到rootfs
qemu-system-x86_64 \-kernel /home/sean/code/github.com/torvalds/linux/arch/x86/boot/bzImage
我们知道linux启动的时候会先用ramdisk做bootstrap,ramdisk是一个非常简易的文件系统,我们用ramdisk来测试
mkinitramfs -o ramdisk.img
start qemu with our kernel
qemu-system-x86_64 \
  -kernel /home/sean/code/github.com/torvalds/linux/arch/x86/boot/bzImage \
  -initrd ramdisk.img \
  -m 2048 \
  -s -S \
  -append "console=ttyS0 nokaslr" \
  -nographic
- -s 会启动remote debug端口,默认是 1234
- nokaslr 防止内核起始地址随机化,不加这个参数gdb进不来
在home目录创建 .gdbinit 文件
 cat ~/.gdbinit
add-auto-load-safe-path /home/sean/code/github.com/torvalds/linux/scripts/gdb/vmlinux-gdb.py
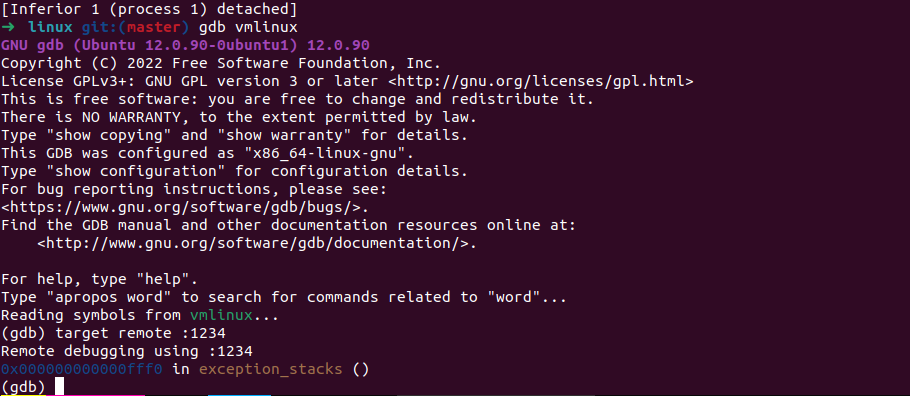
在linux source tree目录下启动gdb
gdb vmlinux
target remote :1234
比如我们想调试vfs_read 函数,可以在vfs_read 上加断点,hb vfs_read 然后continue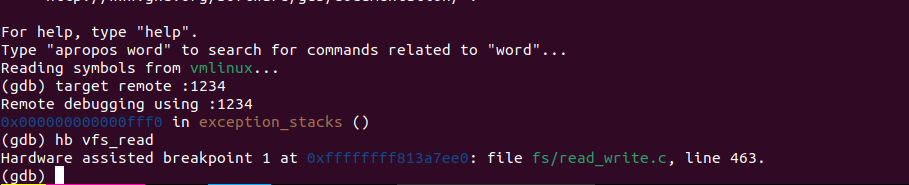

我们可以通过bt看调用栈,这在分析内核代码时很有用 我们可以通过disass看 assembly
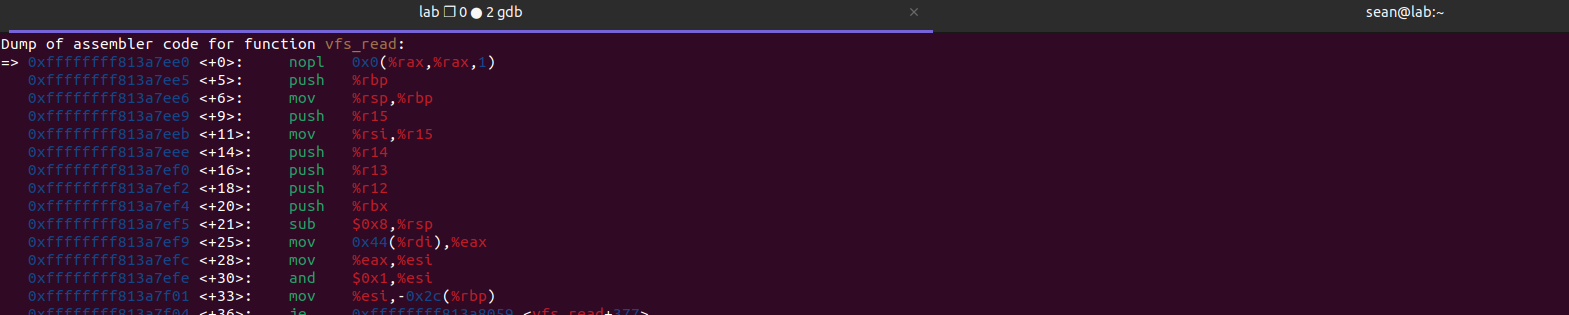
可以通过tui enable开启单步调试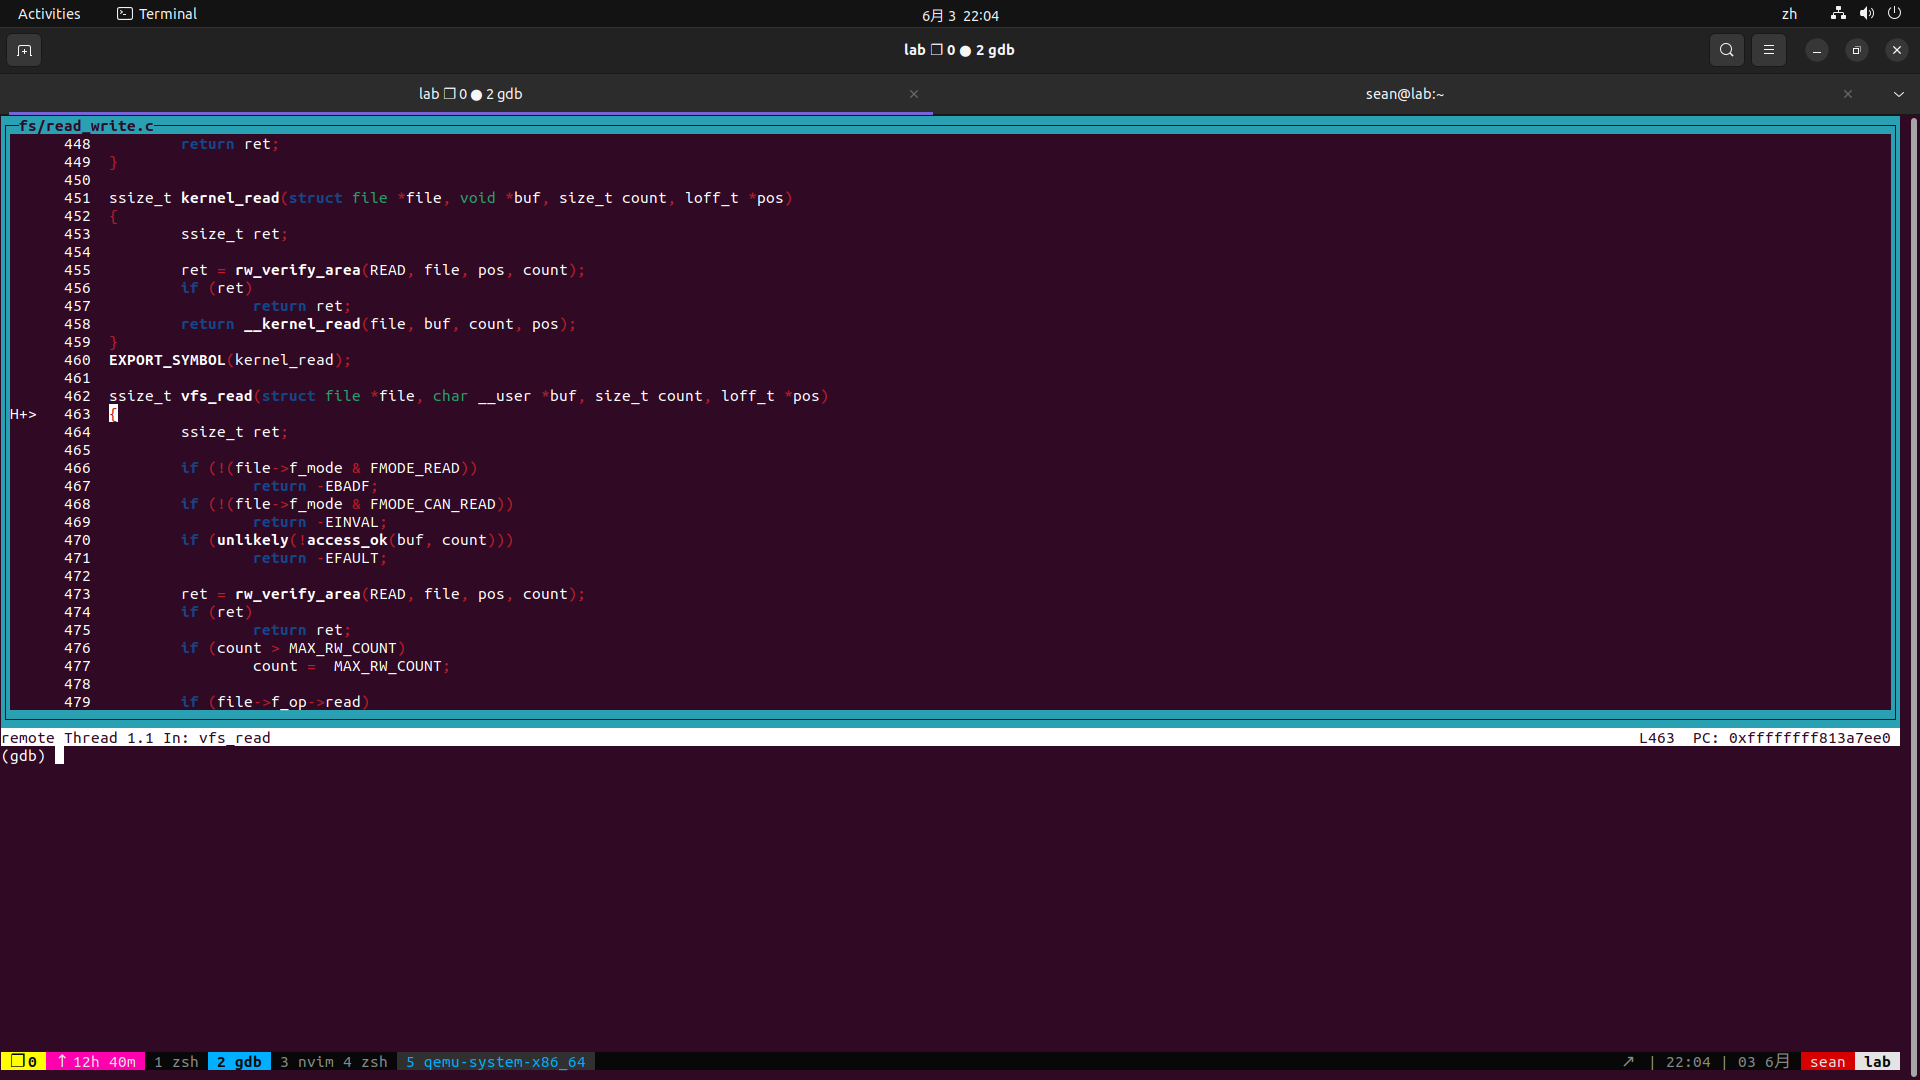
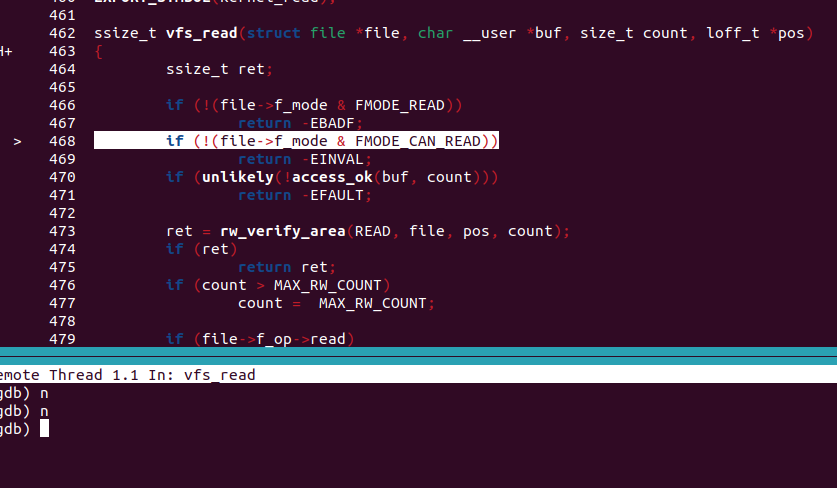
打印参数 file的变量,如果是已知类型,这里有智能提示

差不多就这样了

若有收获,就点个赞吧
0 人点赞
