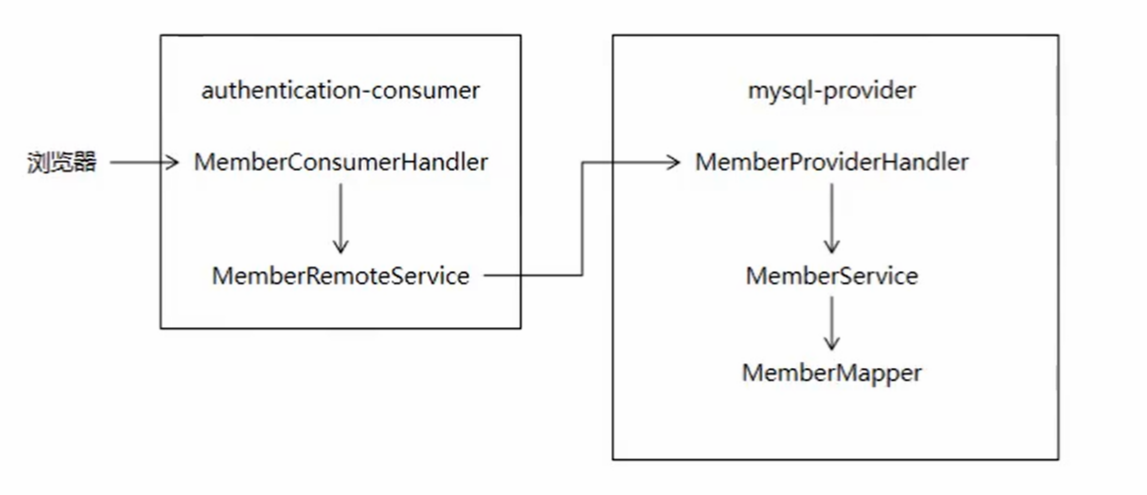
1.前台会员系统架构
1.架构图
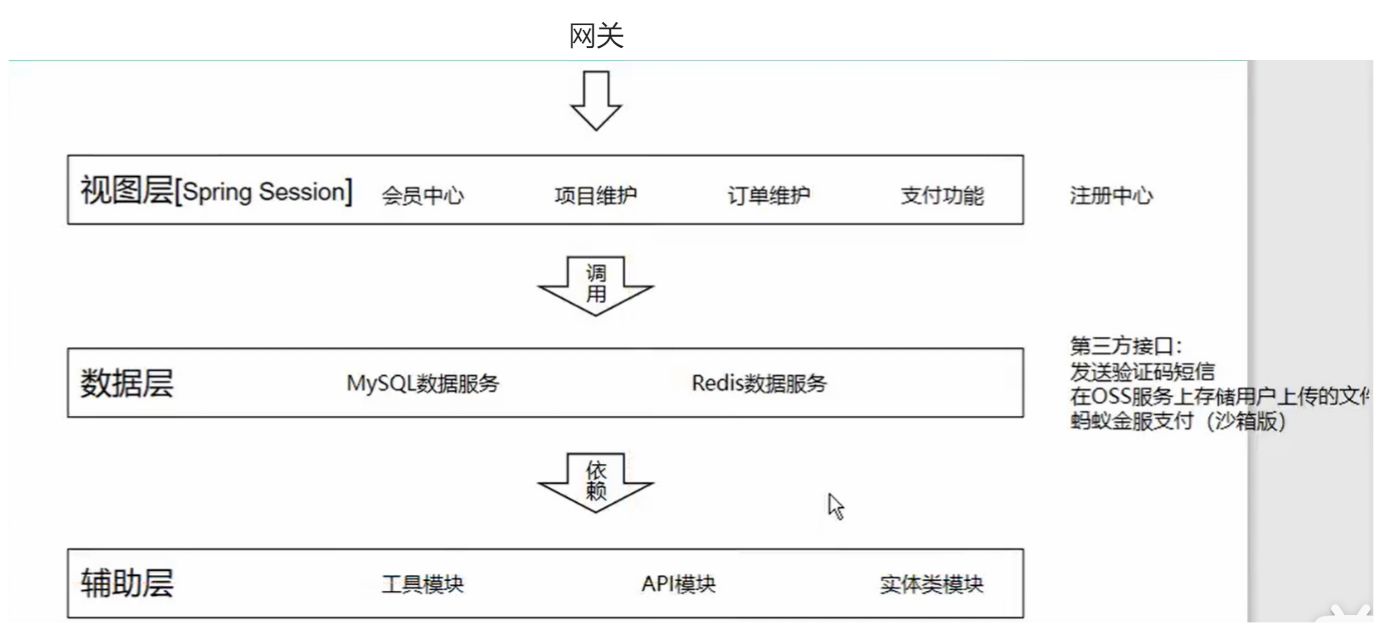
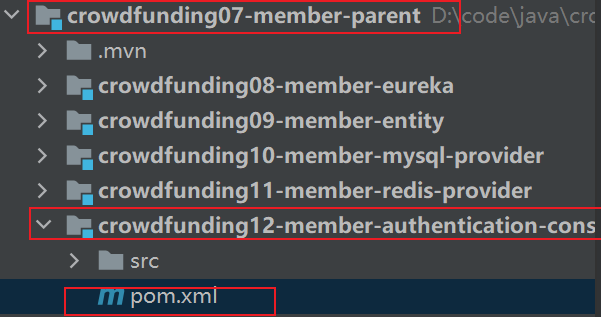
2.需要创建的工程
父工程(聚合工程):crowdfunding07-member-parent
注册中心:crowdfunding08-member-eureka
实体类模块:crowdfunding09-member-entity
MySQL数据服务:crowdfunding10-member-mysql-provider
Redis数据服务:crowdfunding11-member-redis-provider
会员中心:crowdfunding12-member-authentication-consumer
项目维护:crowdfunding13-member-project-consumer
订单维护:crowdfunding14-member-order-consumer
支付功能:crowdfunding15-member-pay-consumer
网关:crowdfunding16-member-zuul
API模块:crowdfunding17-member-api
3.parent工程约定版本号
项目结构: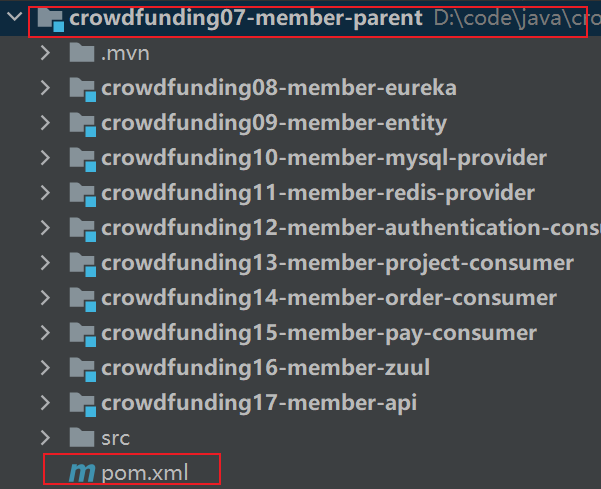
增加依赖:
<!-- 在parent工程进行依赖管理 --><dependencyManagement><dependencies><!-- 导入SpringCloud需要的依赖信息 --><dependency><groupId>org.springframework.cloud</groupId><artifactId>spring-cloud-dependencies</artifactId><version>Hoxton.SR8</version><type>pom</type><scope>import</scope></dependency><!-- SpringBoot依赖信息 --><dependency><groupId>org.springframework.boot</groupId><artifactId>spring-boot-dependencies</artifactId><version>2.3.3.RELEASE</version><type>pom</type><scope>import</scope></dependency><!--SpringBoot整合MyBatis的依赖--><dependency><groupId>org.mybatis.spring.boot</groupId><artifactId>mybatis-spring-boot-starter</artifactId><version>2.1.3</version></dependency><!--druid依赖信息--><dependency><groupId>com.alibaba</groupId><artifactId>druid</artifactId><version>1.1.17</version></dependency></dependencies></dependencyManagement>
4.搭建环境约定
包名:
所有新建的包都作为com.zh.crowd的子包
主启动类类名:
CrowdMainApp
端口号:
注册中心:crowdfunding08-member-eureka 1000MySQL数据服务:crowdfunding10-member-mysql-provider 2000Redis数据服务:crowdfunding11-member-redis-provider 3000会员中心:crowdfunding12-member-authentication-consumer 4000项目维护:crowdfunding13-member-project-consumer 5000订单维护:crowdfunding14-member-order-consumer 7000支付功能:crowdfunding15-member-pay-consumer 8000网关:crowdfunding16-member-zuul 80
5.各个组件工程
1.Eureka工程
项目结构: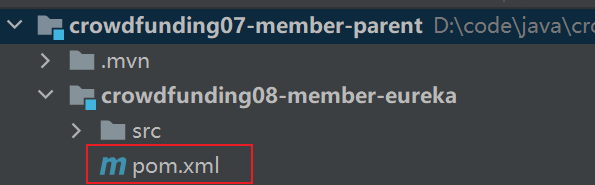
依赖:
<dependencies>
    <dependency>
        <groupId>org.springframework.cloud</groupId>
        <artifactId>spring-cloud-starter-netflix-eureka-server</artifactId>
    </dependency>
</dependencies>
主启动类:
@EnableEurekaServer
@SpringBootApplication
public class CrowdMainApp {

    public static void main(String[] args) {
        SpringApplication.run(CrowdMainApp.class, args);
    }
}
application.yml:
server:
  port: 1000
spring:
  application:
    name: crowd-eureka
eureka:
  instance:
    hostname: localhost
  client:
    fetch-registry: false
    register-with-eureka: false
    service-url:
      defaultZone: http://${eureka.instance.hostname}:${server.port}/eureka/

2.Entity(实体类工程)
1.实体类的进一步细分
- VO
- View Object 视图对象
- 用途 1:接收浏览器发送过来的数据
- 用途 2:把数据发送给浏览器去显示
- PO
- Persistent Object 持久化对象
- 用途 1:将数据封装到 PO 对象存入数据库
- 用途 2:将数据库数据查询出来存入 PO 对象
- 所以 PO 对象是和数据库表对应,一个数据库表对应一个 PO 对象
- DO
- Data Object 数据对象
- 用途 1:从 Redis查询得到数据封装为DO 对象
- 用途 2:从ElasticSearch查询得到数据封装为 DO 对象
- 用途 3:从 Solr 查询得到数据封装为 DO 对象
2.创建包
com.zh.crowd.entity.vo
com.zh.crowd.entity.po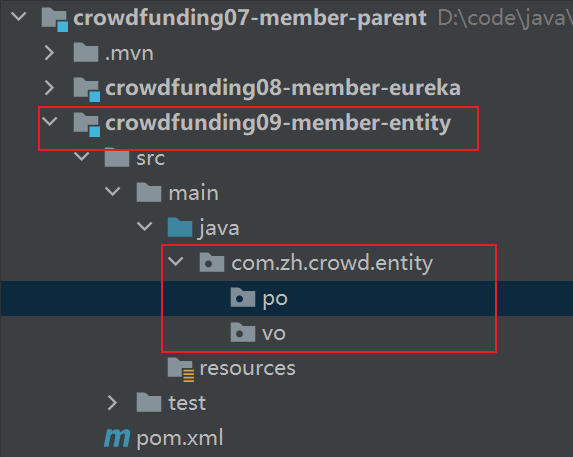
3.使用lombok插件
为了使用lombok插件,引入lombok的依赖
<dependencies>
    <dependency>
        <groupId>org.projectlombok</groupId>
        <artifactId>lombok</artifactId>
        <version>1.16.12</version>
    </dependency>
</dependencies>
3.MySQL工程
项目结构:
1.添加依赖:
<dependencies>

    <!-- druid连接池 -->
    <dependency>
        <groupId>com.alibaba</groupId>
        <artifactId>druid</artifactId>
    </dependency>

    <!-- MyBatis依赖 -->
    <dependency>
        <groupId>org.mybatis.spring.boot</groupId>
        <artifactId>mybatis-spring-boot-starter</artifactId>
    </dependency>

    <!-- mysql驱动 -->
    <dependency>
        <groupId>mysql</groupId>
        <artifactId>mysql-connector-java</artifactId>
    </dependency>

    <!-- eureka客户端依赖 -->
    <dependency>
        <groupId>org.springframework.cloud</groupId>
        <artifactId>spring-cloud-starter-netflix-eureka-client</artifactId>
    </dependency>

    <!-- web环境(为了能对外暴露接口) -->
    <dependency>
        <groupId>org.springframework.boot</groupId>
        <artifactId>spring-boot-starter-web</artifactId>
    </dependency>

    <!-- 测试 -->
    <dependency>
        <groupId>org.springframework.boot</groupId>
        <artifactId>spring-boot-starter-test</artifactId>
        <scope>test</scope>
        <exclusions>
            <exclusion>
                <groupId>org.junit.vintage</groupId>
                <artifactId>junit-vintage-engine</artifactId>
            </exclusion>
        </exclusions>
    </dependency>

    <!-- 实体类依赖 -->
    <dependency>
        <groupId>com.zh.crowd</groupId>
        <artifactId>crowdfunding09-member-entity</artifactId>
        <version>1.0-SNAPSHOT</version>
    </dependency>

    <!-- 工具类依赖 -->
    <dependency>
        <groupId>com.zh.crowd</groupId>
        <artifactId>crowdfunding05-common-util</artifactId>
        <version>1.0-SNAPSHOT</version>
    </dependency>

</dependencies>
2.配置application.yml
server:
  port: 2000
spring:
  application:
    name: crowd-mysql
  datasource:
    name: mydb
    type: com.alibaba.druid.pool.DruidDataSource
    url: jdbc:mysql://localhost:3306/project_rowd?serverTimezone=UTC
    username: root
    password: root
    driver-class-name: com.mysql.cj.jdbc.Driver
eureka:
  client:
    service-url:
      defaultZone: http://localhost:1000/eureka/
mybatis:
  mapper-locations: classpath*:/mybatis/mapper/*Mapper.xml
logging:
  level:
    org.fall.mapper: debug
    org.fall.test: debug
3.建数据库表
CREATE TABLE t_member (
    id INT ( 11 ) NOT NULL auto_increment,
    login_acct VARCHAR ( 255 ) NOT NULL,
    user_pswd CHAR ( 200 ) NOT NULL,
    user_name VARCHAR ( 255 ),
    email VARCHAR ( 255 ),
    authstaus INT ( 4 ) COMMENT '实名认证状态 0- 未实名认证, 1- 实名认证申请中, 2- 已实名认证',
    user_type INT ( 4 ) COMMENT '0- 个人 , 1- 企业',
    real_name VARCHAR ( 255 ),
    card_num VARCHAR ( 255 ),
    acct_type INT ( 4 ) COMMENT '0- 企业, 1- 个体, 2- 个人, 3- 政府',
    PRIMARY KEY ( id )
)
4.逆向工程
项目结构: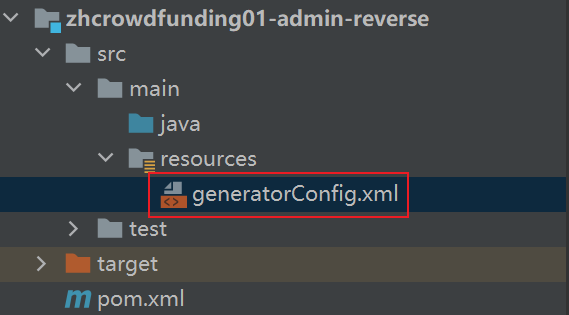
修改代码:
<!-- 数据库表名与需要的实体类对应映射的指定 -->
<table tableName="t_member" domainObjectName="MemberPO"/>
5.把生成的文件放入对应的路径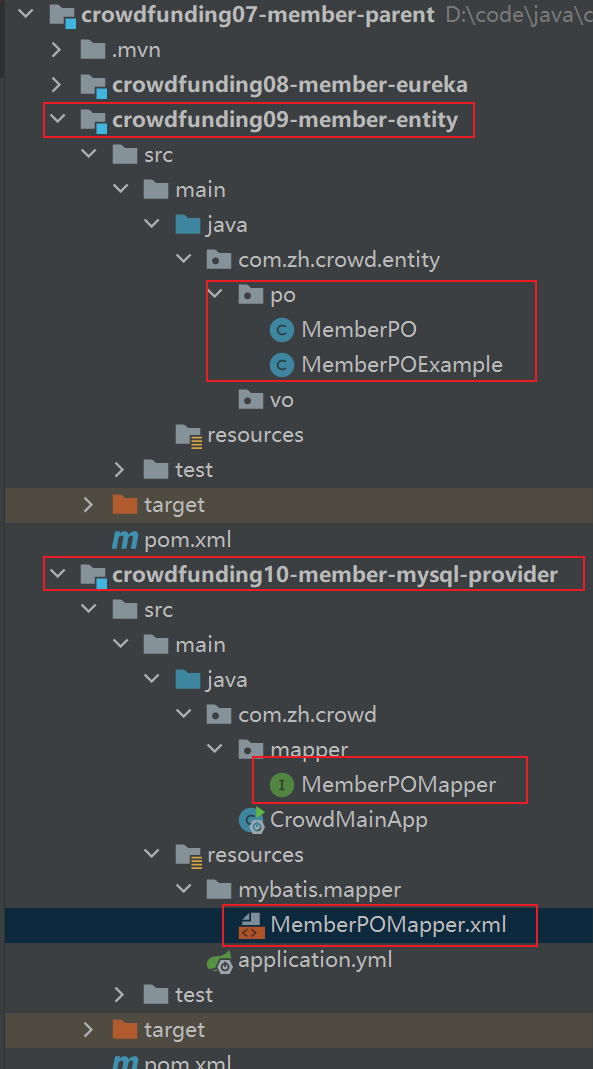
6.给主启动类加上@MapperScan注解用于扫描Mapper接口
@MapperScan("com.zh.crowd.mapper")
@SpringBootApplication
public class CrowdMainApp {

    public static void main(String[] args) {
        SpringApplication.run(CrowdMainApp.class, args);
    }
}
4.MySQL对外暴露服务工程
进入到crowdfunding17-member-api工程
项目结构: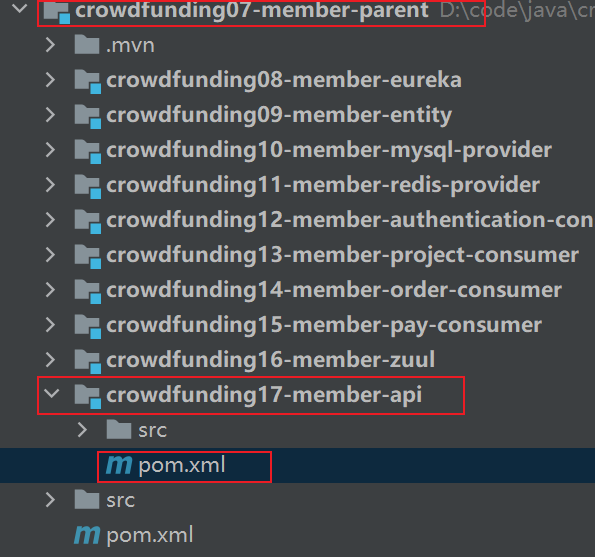
1.添加依赖
 <dependency>
            <groupId>com.zh.crowd</groupId>
            <artifactId>zhcrowdfunding01-admin-util</artifactId>
            <version>1.0-SNAPSHOT</version>
        </dependency>
        <dependency>
            <groupId>com.zh.crowd</groupId>
            <artifactId>crowdfunding09-member-entity</artifactId>
            <version>0.0.1-SNAPSHOT</version>
        </dependency>
        <dependency>
            <groupId>org.springframework.cloud</groupId>
            <artifactId>spring-cloud-starter-openfeign</artifactId>
        </dependency>
2.在com.zh.crowd.api包中建一个接口MySQLRemoteService
项目结构: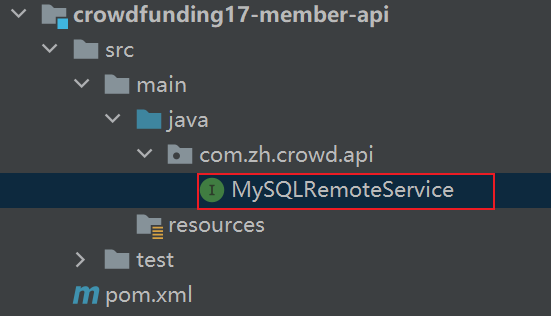
代码:
@FeignClient("crowd-mysql")
public interface MySQLRemoteService {

    @RequestMapping("/get/member/by/login/acct/remote")
    ResultEntity<MemberPO> getMemberPOByLoginAcctRemote(@RequestParam("loginacct") String loginacct);
}
3.与MySQL工程中的Handler中的方法对应:
项目结构: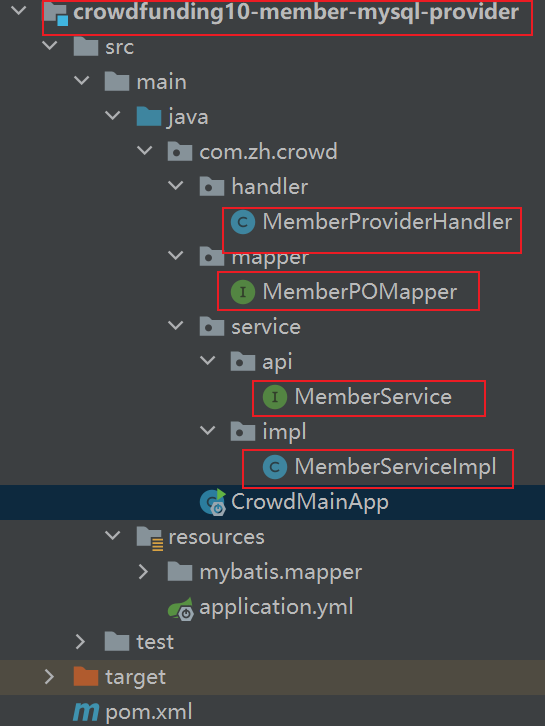
代码1:MemberProviderHandler
@RestController
public class MemberProviderHandler {

    @Autowired
    MemberService memberService;

    @RequestMapping("/get/member/by/login/acct/remote")
    public ResultEntity<MemberPO> getMemberPOByLoginAcctRemote(@RequestParam("loginacct") String loginacct){
        try {
            // 调用本地Service完成查询
            MemberPO memberPO = memberService.getMemberPOByLoginAcct(loginacct);
            // 如果没有抛异常,就返回成功的结果
            return ResultEntity.successWithData(memberPO);
        } catch (Exception e){
            e.printStackTrace();
            // 捕获到异常,返回失败的结果
            return ResultEntity.failed(e.getMessage());
        }
    }

}
代码2:MemberService
public interface MemberService {
    MemberPO getMemberPOByLoginAcct(String loginacct);
}
代码3:MemberServiceImpl
@Transactional(readOnly = true)
@Service
public class MemberServiceImpl implements MemberService {

    @Autowired
    private MemberPOMapper memberPOMapper;

    @Override
    public MemberPO getMemberPOByLoginAcct(String loginacct) {
        // 1.创建Example对象
        MemberPOExample example = new MemberPOExample();
        // 2.创建Criteria对象
        MemberPOExample.Criteria criteria = example.createCriteria();
        // 3.封装查询条件
        criteria.andLoginAcctEqualTo(loginacct);
        // 4.执行查询
        List<MemberPO> memberPOS = memberPOMapper.selectByExample(example);
        // 5.获取结果
        return memberPOS.get(0);
    }
}
5.Redis工程
1.目标
2.依赖
<dependencies>

    <!-- redis依赖 -->
    <dependency>
        <groupId>org.springframework.boot</groupId>
        <artifactId>spring-boot-starter-data-redis</artifactId>
    </dependency>

    <!-- eureka客户端依赖 -->
    <dependency>
        <groupId>org.springframework.cloud</groupId>
        <artifactId>spring-cloud-starter-netflix-eureka-client</artifactId>
    </dependency>

    <!-- web环境(为了能对外暴露接口) -->
    <dependency>
        <groupId>org.springframework.boot</groupId>
        <artifactId>spring-boot-starter-web</artifactId>
    </dependency>

    <!-- 测试 -->
    <dependency>
        <groupId>org.springframework.boot</groupId>
        <artifactId>spring-boot-starter-test</artifactId>
        <scope>test</scope>
        <exclusions>
            <exclusion>
                <groupId>org.junit.vintage</groupId>
                <artifactId>junit-vintage-engine</artifactId>
            </exclusion>
        </exclusions>
    </dependency>

    <!-- 实体类依赖 -->
    <dependency>
        <groupId>org.fall</groupId>
        <artifactId>crowdfunding09-member-entity</artifactId>
        <version>1.0-SNAPSHOT</version>
    </dependency>

    <!-- 工具类依赖 -->
    <dependency>
        <groupId>org.example</groupId>
        <artifactId>crowdfunding05-common-util</artifactId>
        <version>1.0-SNAPSHOT</version>
    </dependency>
</dependencies>
3.主启动类
@SpringBootApplication
public class CrowdMainApp {
    public static void main(String[] args) {
        SpringApplication.run(CrowdMainApp.class, args);
    }
}
4.application.yml
server:
  port: 3000

eureka:
  client:
    service-url:
      defaultZone: http://localhost:1000/eureka/
spring:
  application:
    name: crowd-redis
  redis:
    host: 127.0.0.1
6.Redis对外暴露服务
1.api工程创建接口
项目结构: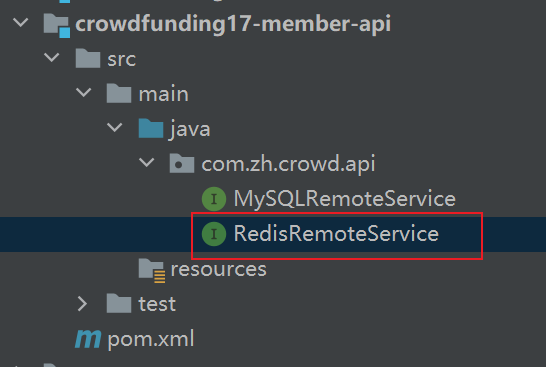
代码:
@FeignClient("crowd-redis")
public interface RedisRemoteService {

    @RequestMapping("/set/redis/key/value/remote")
    ResultEntity<String> setRedisKeyValueRemote(
            @RequestParam("key") String key,
            @RequestParam("value") String value
    );

    @RequestMapping("/set/redis/key/value/with/timeout/remote")
    ResultEntity<String> setRedisKeyValueWithTimeoutRemote(
            @RequestParam("key") String key,
            @RequestParam("value") String value,
            @RequestParam("time") long time,
            @RequestParam("timeUnit") TimeUnit timeUnit
    );

    @RequestMapping("/get/redis/value/by/key/remote")
    ResultEntity<String> getRedisValueByKeyRemote(
            @RequestParam("key") String key
    );

    @RequestMapping("/remove/redis/key/by/key/remote")
    ResultEntity<String> RemoveRedisKeyByKeyRemote(
            @RequestParam("key") String key
    );

}
2.编写自己handler方法
项目结构: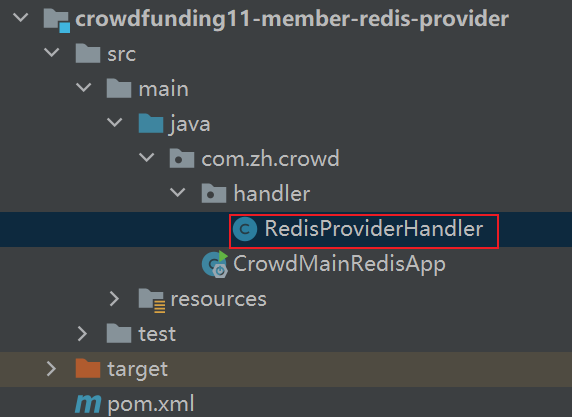
代码:
@RestController
public class RedisProviderHandler {

    // 自动注入StringRedisTemplate
    @Autowired
    private StringRedisTemplate redisTemplate;

    @RequestMapping("/set/redis/key/value/remote")
    ResultEntity<String> setRedisKeyValueRemote(
            @RequestParam("key") String key,
            @RequestParam("value") String value
    ){

        try {
            ValueOperations<String, String> operations = redisTemplate.opsForValue();
            operations.set(key,value);
            return ResultEntity.successWithoutData();
        }catch (Exception e){
            e.printStackTrace();
            return ResultEntity.failed(e.getMessage());
        }

    }

    @RequestMapping("/set/redis/key/value/with/timeout/remote")
    ResultEntity<String> setRedisKeyValueWithTimeoutRemote(
            @RequestParam("key") String key,
            @RequestParam("value") String value,
            @RequestParam("time") long time,
            @RequestParam("timeUnit") TimeUnit timeUnit
    ){
        try {
            ValueOperations<String, String> operations = redisTemplate.opsForValue();
            operations.set(key,value,time,timeUnit);
            return ResultEntity.successWithoutData();
        }catch (Exception e){
            e.printStackTrace();
            return ResultEntity.failed(e.getMessage());
        }

    }


    @RequestMapping("/get/redis/value/by/key/remote")
    ResultEntity<String> getRedisValueByKeyRemote(
            @RequestParam("key") String key
    ){

        try {
            ValueOperations<String, String> operations = redisTemplate.opsForValue();
            String value = operations.get(key);
            return ResultEntity.successWithData(value);
        }catch (Exception e){
            e.printStackTrace();
            return ResultEntity.failed(e.getMessage());
        }


    }


    @RequestMapping("/remove/redis/key/by/key/remote")
    ResultEntity<String> RemoveRedisKeyByKeyRemote(
            @RequestParam("key") String key
    ){
        try {
            redisTemplate.delete(key);
            return ResultEntity.successWithoutData();
        }catch (Exception e){
            e.printStackTrace();
            return ResultEntity.failed(e.getMessage());
        }

    }


}
7.认证页面工程
1.依赖
<dependencies>
        <dependency>
            <groupId>com.zh.crowd</groupId>
            <artifactId>crowdfunding17-member-api</artifactId>
            <version>0.0.1-SNAPSHOT</version>
        </dependency>
        <dependency>
            <groupId>org.springframework.cloud</groupId>
            <artifactId>spring-cloud-starter-netflix-eureka-client</artifactId>
        </dependency>
        <dependency>
            <groupId>org.springframework.boot</groupId>
            <artifactId>spring-boot-starter-web</artifactId>
        </dependency>
        <dependency>
            <groupId>org.springframework.boot</groupId>
            <artifactId>spring-boot-starter-thymeleaf</artifactId>
        </dependency>
    </dependencies>
2.主启动类
// 开启feign客户端功能
@EnableFeignClients
@SpringBootApplication
public class CrowdMainAuthApp {
    public static void main(String[] args) {
        SpringApplication.run(CrowdMainAuthApp.class, args);
    }
}
3.application.yml
server:
  port: 4000
spring:
  application:
    name: crowd-auth
  thymeleaf:
    prefix: classpath:/templates/
    suffix: .html
eureka:
  client:
    service-url:
      defaultZone: http://localhost:1000/eureka/
4.编写handler方法
项目结构: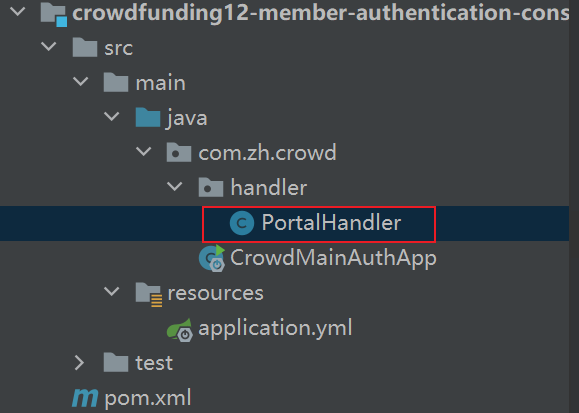
代码:
@Controller
public class PortalHandler {

    // 首页,直接访问,而不用加额外的路径
    @RequestMapping("/")
    public String showPortalPage(){
        return "portal";
    }

}
5.前端页面
项目结构:
代码:
<!DOCTYPE html>
<html lang="en">
<head>
    <meta charset="UTF-8">
    <title>Title</title>
</head>
<body>
HELLO
</body>
</html>
8.Zuul网关
1.依赖
项目结构: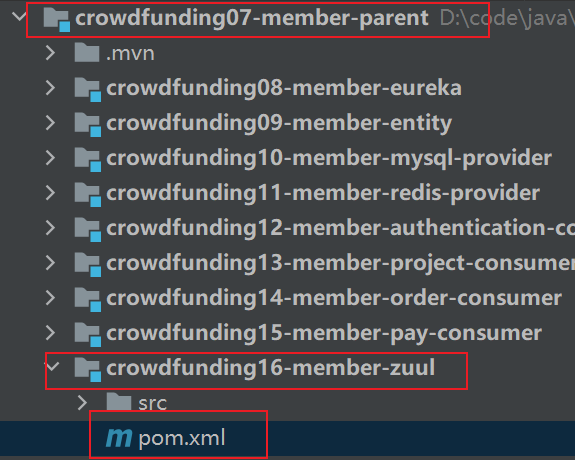
添加依赖:
<dependencies>
    <dependency>
        <groupId>org.springframework.cloud</groupId>
        <artifactId>spring-cloud-starter-netflix-eureka-client</artifactId>
    </dependency>
    <dependency>
        <groupId>org.springframework.cloud</groupId>
        <artifactId>spring-cloud-starter-netflix-zuul</artifactId>
    </dependency>
</dependencies>
2.主启动类
项目结构: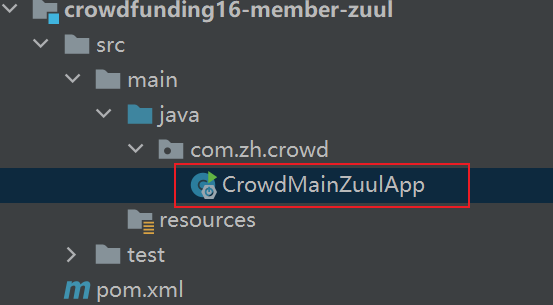
代码:
// 开启Zuul
@EnableZuulProxy
@SpringBootApplication
public class CrowdMainZuulApp {

    public static void main(String[] args) {
        SpringApplication.run(CrowdMainZuulApp.class,args);
    }

}
3.application.yml
项目结构: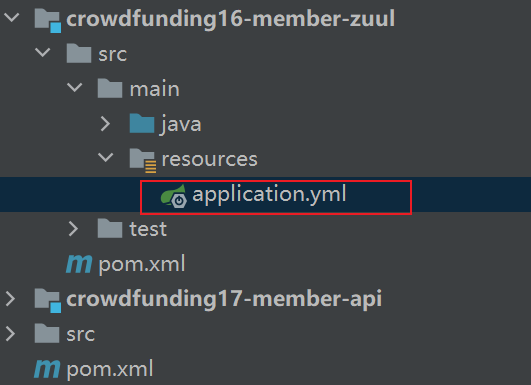
配置内容:
server:
  port: 80            # 80端口可以直接通过域名/ip访问,不用额外加端口号
spring:
  application:
    name: crowd-zuul
eureka:
  client:
    service-url:
      defaultZone: http://localhost:1000/eureka/
zuul:
  ignored-services: "*"       # 表示忽视直接通过application-name访问微服务,必须通过route
  sensitive-headers: "*"      # 在Zuul向其他微服务重定向时,保持原本的头信息(请求头、响应头)
  routes:                     # 指定网关路由
    crowd-protal:
      service-id: crowd-auth  # 对应application-name
      path: /**               # 表示直接通过根路径访问,必须加上**,否则多层路径无法访问

若有收获,就点个赞吧
0 人点赞
