一、安装
1)、下载
https://mirrors.tuna.tsinghua.edu.cn/gitlab-ee/yum/el7/
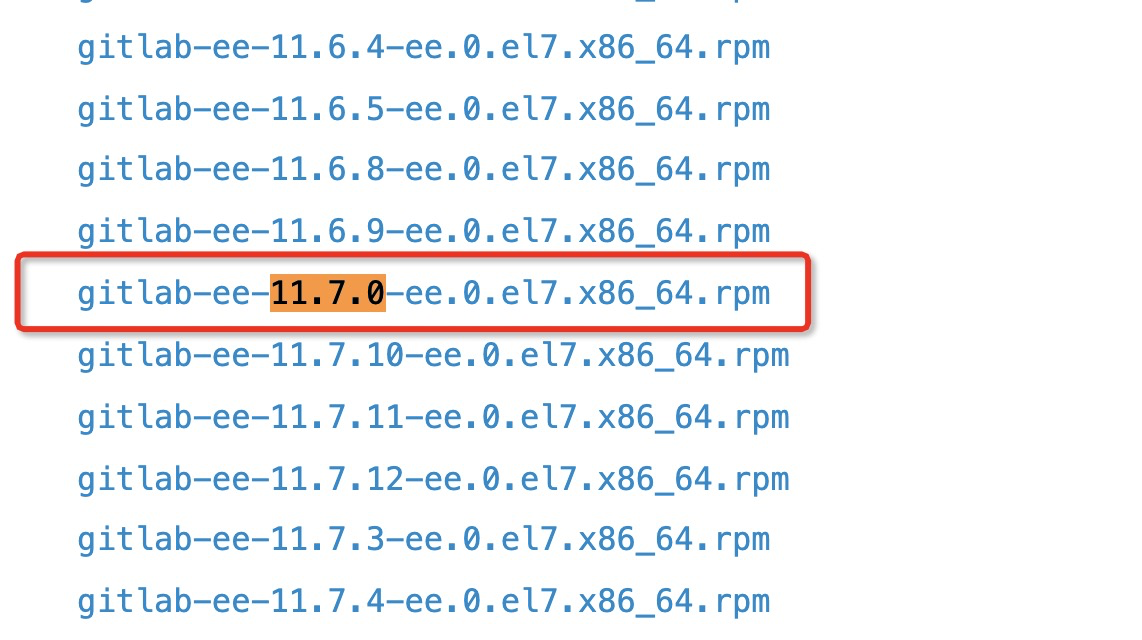
找到这个版本
gitlab-ee-11.7.0-ee.0.el7.x86_64.rpm
wget [https://mirrors.tuna.tsinghua.edu.cn/gitlab-ee/yum/el7/gitlab-ee-11.7.0-ee.0.el7.x86_64.rpm](https://mirrors.tuna.tsinghua.edu.cn/gitlab-ee/yum/el7/gitlab-ee-11.7.0-ee.0.el7.x86_64.rpm)
2)、安装
rpm -ivh gitlab-ee-11.7.0-ee.0.el7.x86_64.rpm
四、配置
最核心文件/etc/gitlab/gitlab.rb
vim /etc/gitlab/gitlab.rb# 配置的域名external_url 'http://gitlab.domain.com:99'nginx['listen_port'] = 99nginx['listen_https'] = false# 启动基础服务systemctl start gitlab-runsvdir.servicegitlab-ctl reconfigure # 重载配置文件
五、启动-常用命令
1)、先启动基础服务systemctl start gitlab-runsvdir.service
sudo gitlab-ctl start # 启动所有 gitlab 组件;sudo gitlab-ctl stop # 停止所有 gitlab 组件;sudo gitlab-ctl restart # 重启所有 gitlab 组件;sudo gitlab-ctl status # 查看服务状态;sudo gitlab-ctl reconfigure # 启动服务;sudo vim /etc/gitlab/gitlab.rb # 修改默认的配置文件;gitlab-rake gitlab:check SANITIZE=true --trace # 检查gitlab;sudo gitlab-ctl tail # 查看日志;
六、项目迁移
1)、备份/opt/gitlab/bin/gitlab-rake gitlab:backup:create
版本一定要一致
恢复时注意文件名不能包括 _gitlab_backup.tar
执行以下命令
$ gitlab-ctl stop unicorn #停止相关数据连接服务$ gitlab-ctl stop sidekiq$ gitlab-ctl stop必须把文件放入到/var/opt/gitlab/backups/$ chmod 777 /var/opt/gitlab/backups/1530156812_2018_06_28_10.8.4_gitlab_backup.tar#修改权限,如果是从本服务器恢复可以不修改恢复时注意文件名不能包括 _gitlab_backup.tar$ gitlab-rake gitlab:backup:restore BACKUP=1530156812_2018_06_28_10.8.4
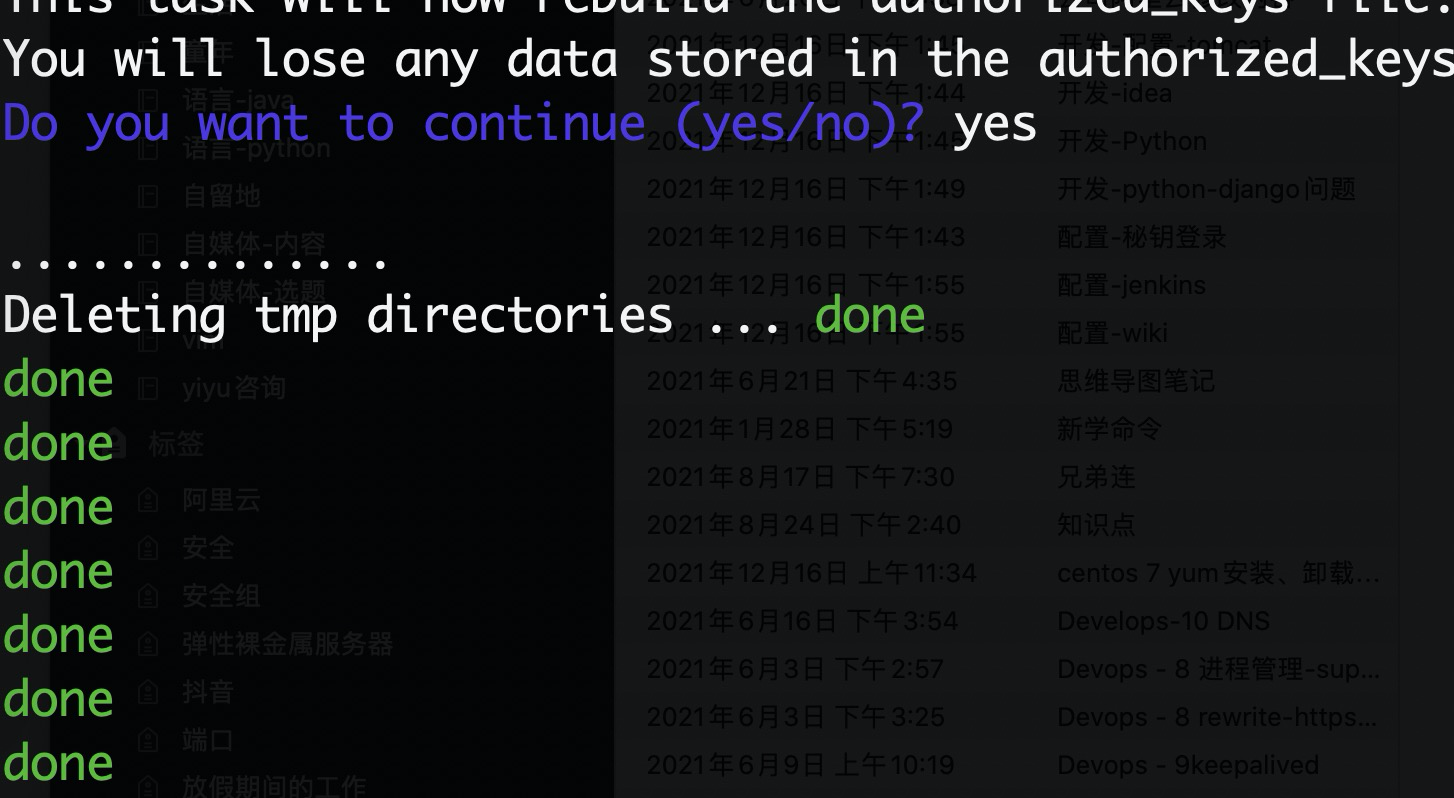
代表恢复完成

若有收获,就点个赞吧
0 人点赞


