1、安装依赖:
登录服务器,依次输入如下命令:
$ sudo yum install curl policycoreutils policycoreutils-python openssh-server openssh-clients -y$ sudo systemctl enable sshd$ sudo systemctl start sshd$ sudo yum install postfix -y$ sudo systemctl enable postfix$ sudo systemctl start postfix
2、gitlab镜像(11.10.0):
https://mirrors.tuna.tsinghua.edu.cn/gitlab-ce/yum/el7/
(1)、cd到要安装的文件夹:cd /home/admin/soft
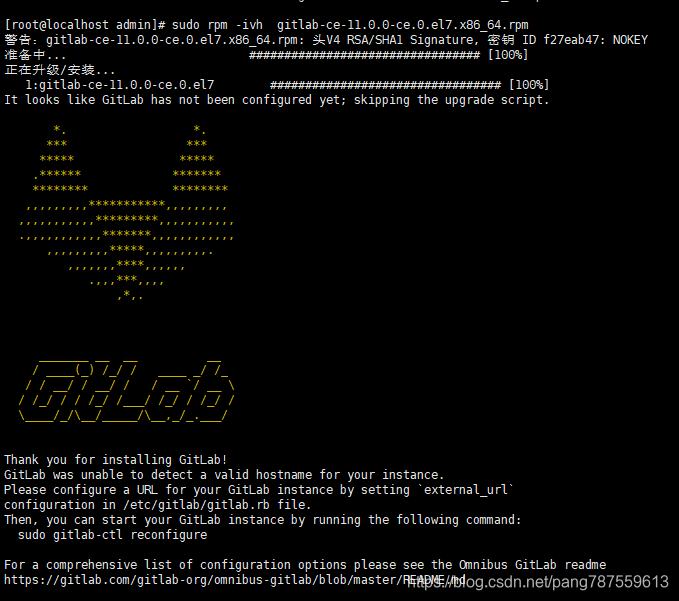
(2)、下载:
$ wget https://mirrors.tuna.tsinghua.edu.cn/gitlab-ce/yum/el7/gitlab-ce-11.0.0-ce.0.el7.x86_64.rpmsudo rpm -ivh gitlab-ce-11.0.0-ce.0.el7.x86_64.rpm
3、修改外部域名:
(1)、防止默认端口被占用,开放新端口,如:18097:
//开放端口:
$ firewall-cmd --zone=public --add-port=要开放的端口号/tcp --permanent
// 加载防火墙新配置文件( 以 root 身份输入以下命令,重新加载防火墙,并不中断用户连接,即不丢失状态信息. )
$ firewall-cmd --reload
//查看已开放的端口
$ firewall-cmd --zone=public --list-ports
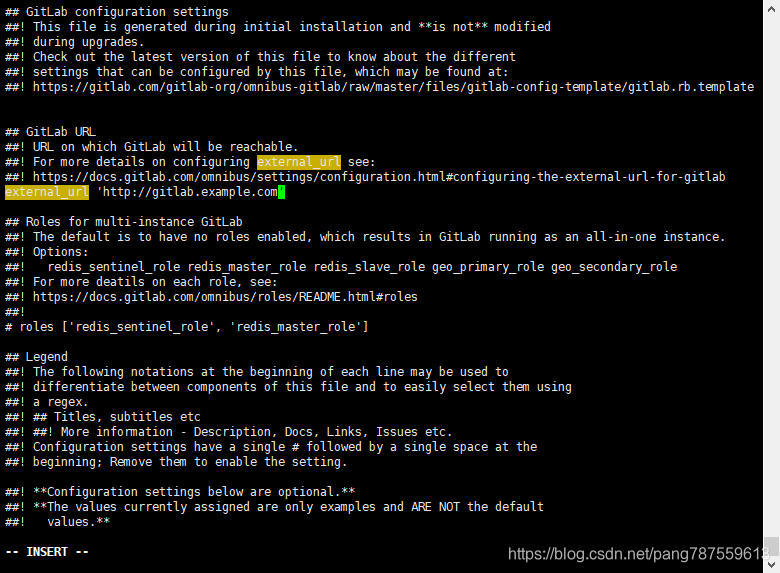
(2)、修改external_url为自己的ip:
如:’http://192.168.2.86/:18097‘
cd /etc/gitlab/
$ vim gitlab.rb
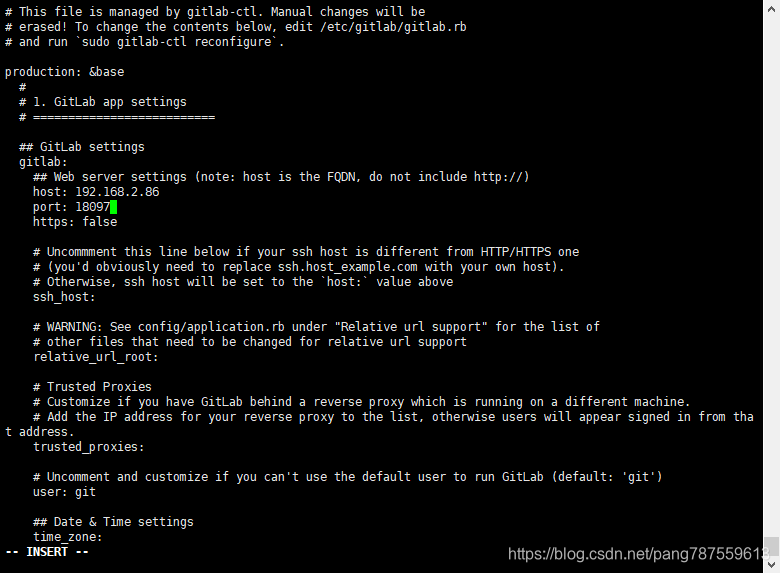
(3)、修改host、port:
cd /opt/gitlab/embedded/service/gitlab-rails/config
$ vi gitlab.yml
4、加载配置:
$ gitlab-ctl reconfigure
5、重启:
$ sudo gitlab-ctl restart
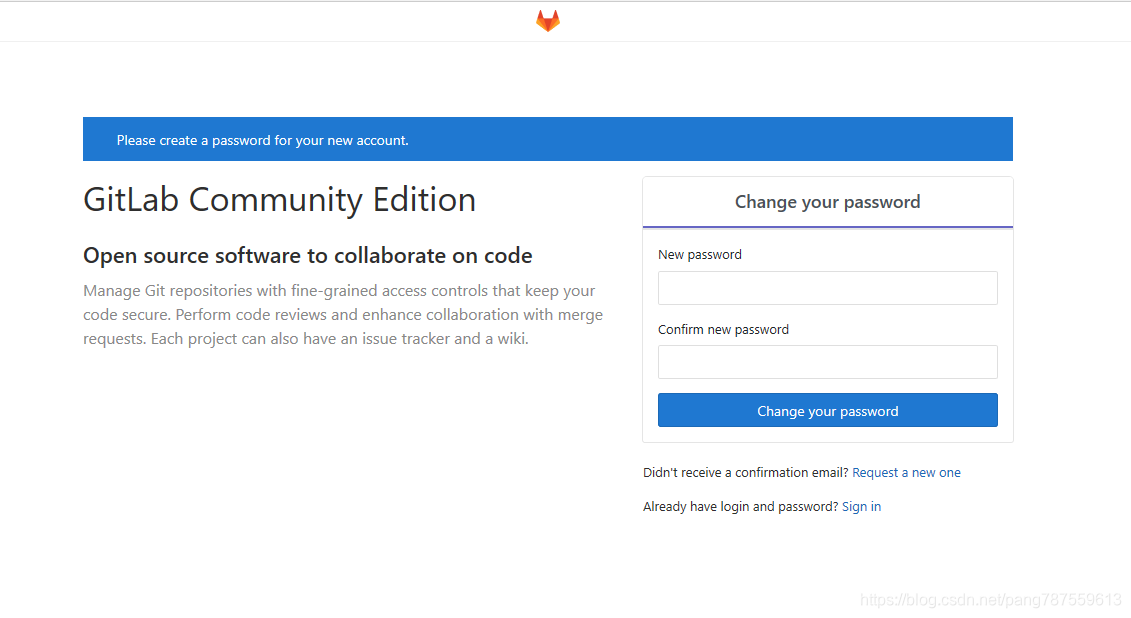
6、查看:
7、汉化:
(1)、停止服务:
$ sudo gitlab-ctl stop
(2)、下载汉化版(过程极慢):
cd /home/admin/soft
$ git clone https://gitlab.com/xhang/gitlab.git
(3)、查看已安装版本:
$ head -1 /opt/gitlab/version-manifest.txt

(4)、比较汉化版本和安装版本,导出 patch 用的 diff 文件:
$ git diff v11.0.0 v11.0.0-zh > ../11.0.0-zh.diff
(5)、diff文件作为补丁更新到gitlab中:
$ sudo yum install patch -ysudo patch -d /opt/gitlab/embedded/service/gitlab-rails -p1 < 11.0.0-zh.diff
如果出现这个:
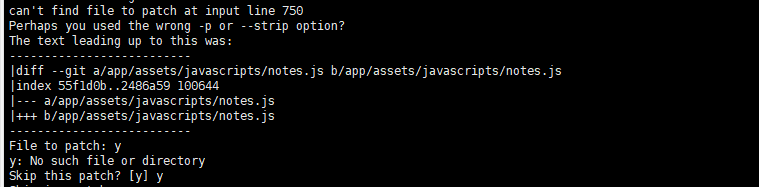
一直回车即可
(6)、重新加载配置:
$ sudo gitlab-ctl reconfigure
(7)、启动:
$ sudo gitlab-ctl start
(8)、查看启动状态:
$ sudo gitlab-ctl status
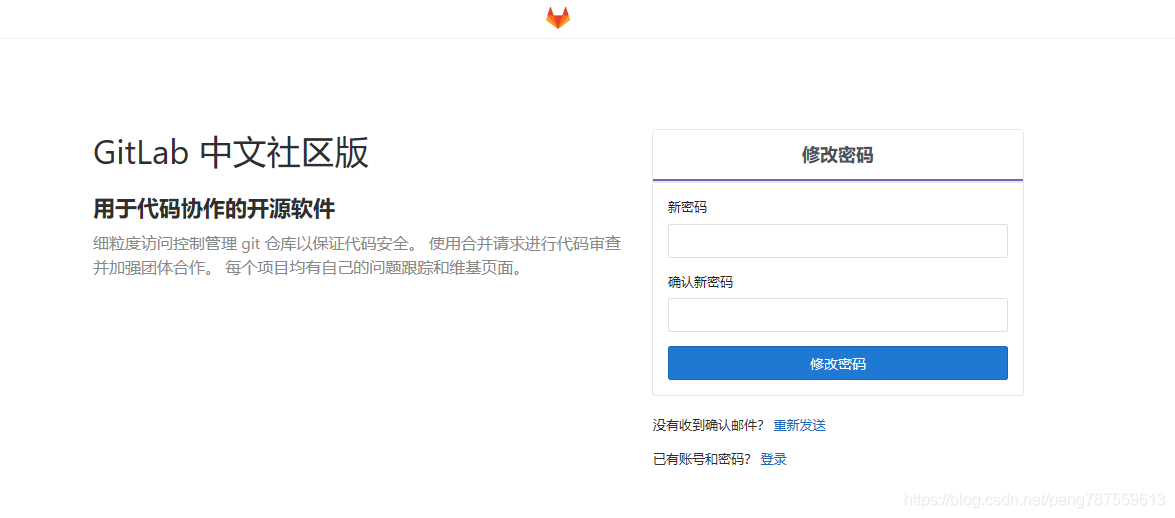
(9)、查看:
汉化完成:

若有收获,就点个赞吧
0 人点赞
