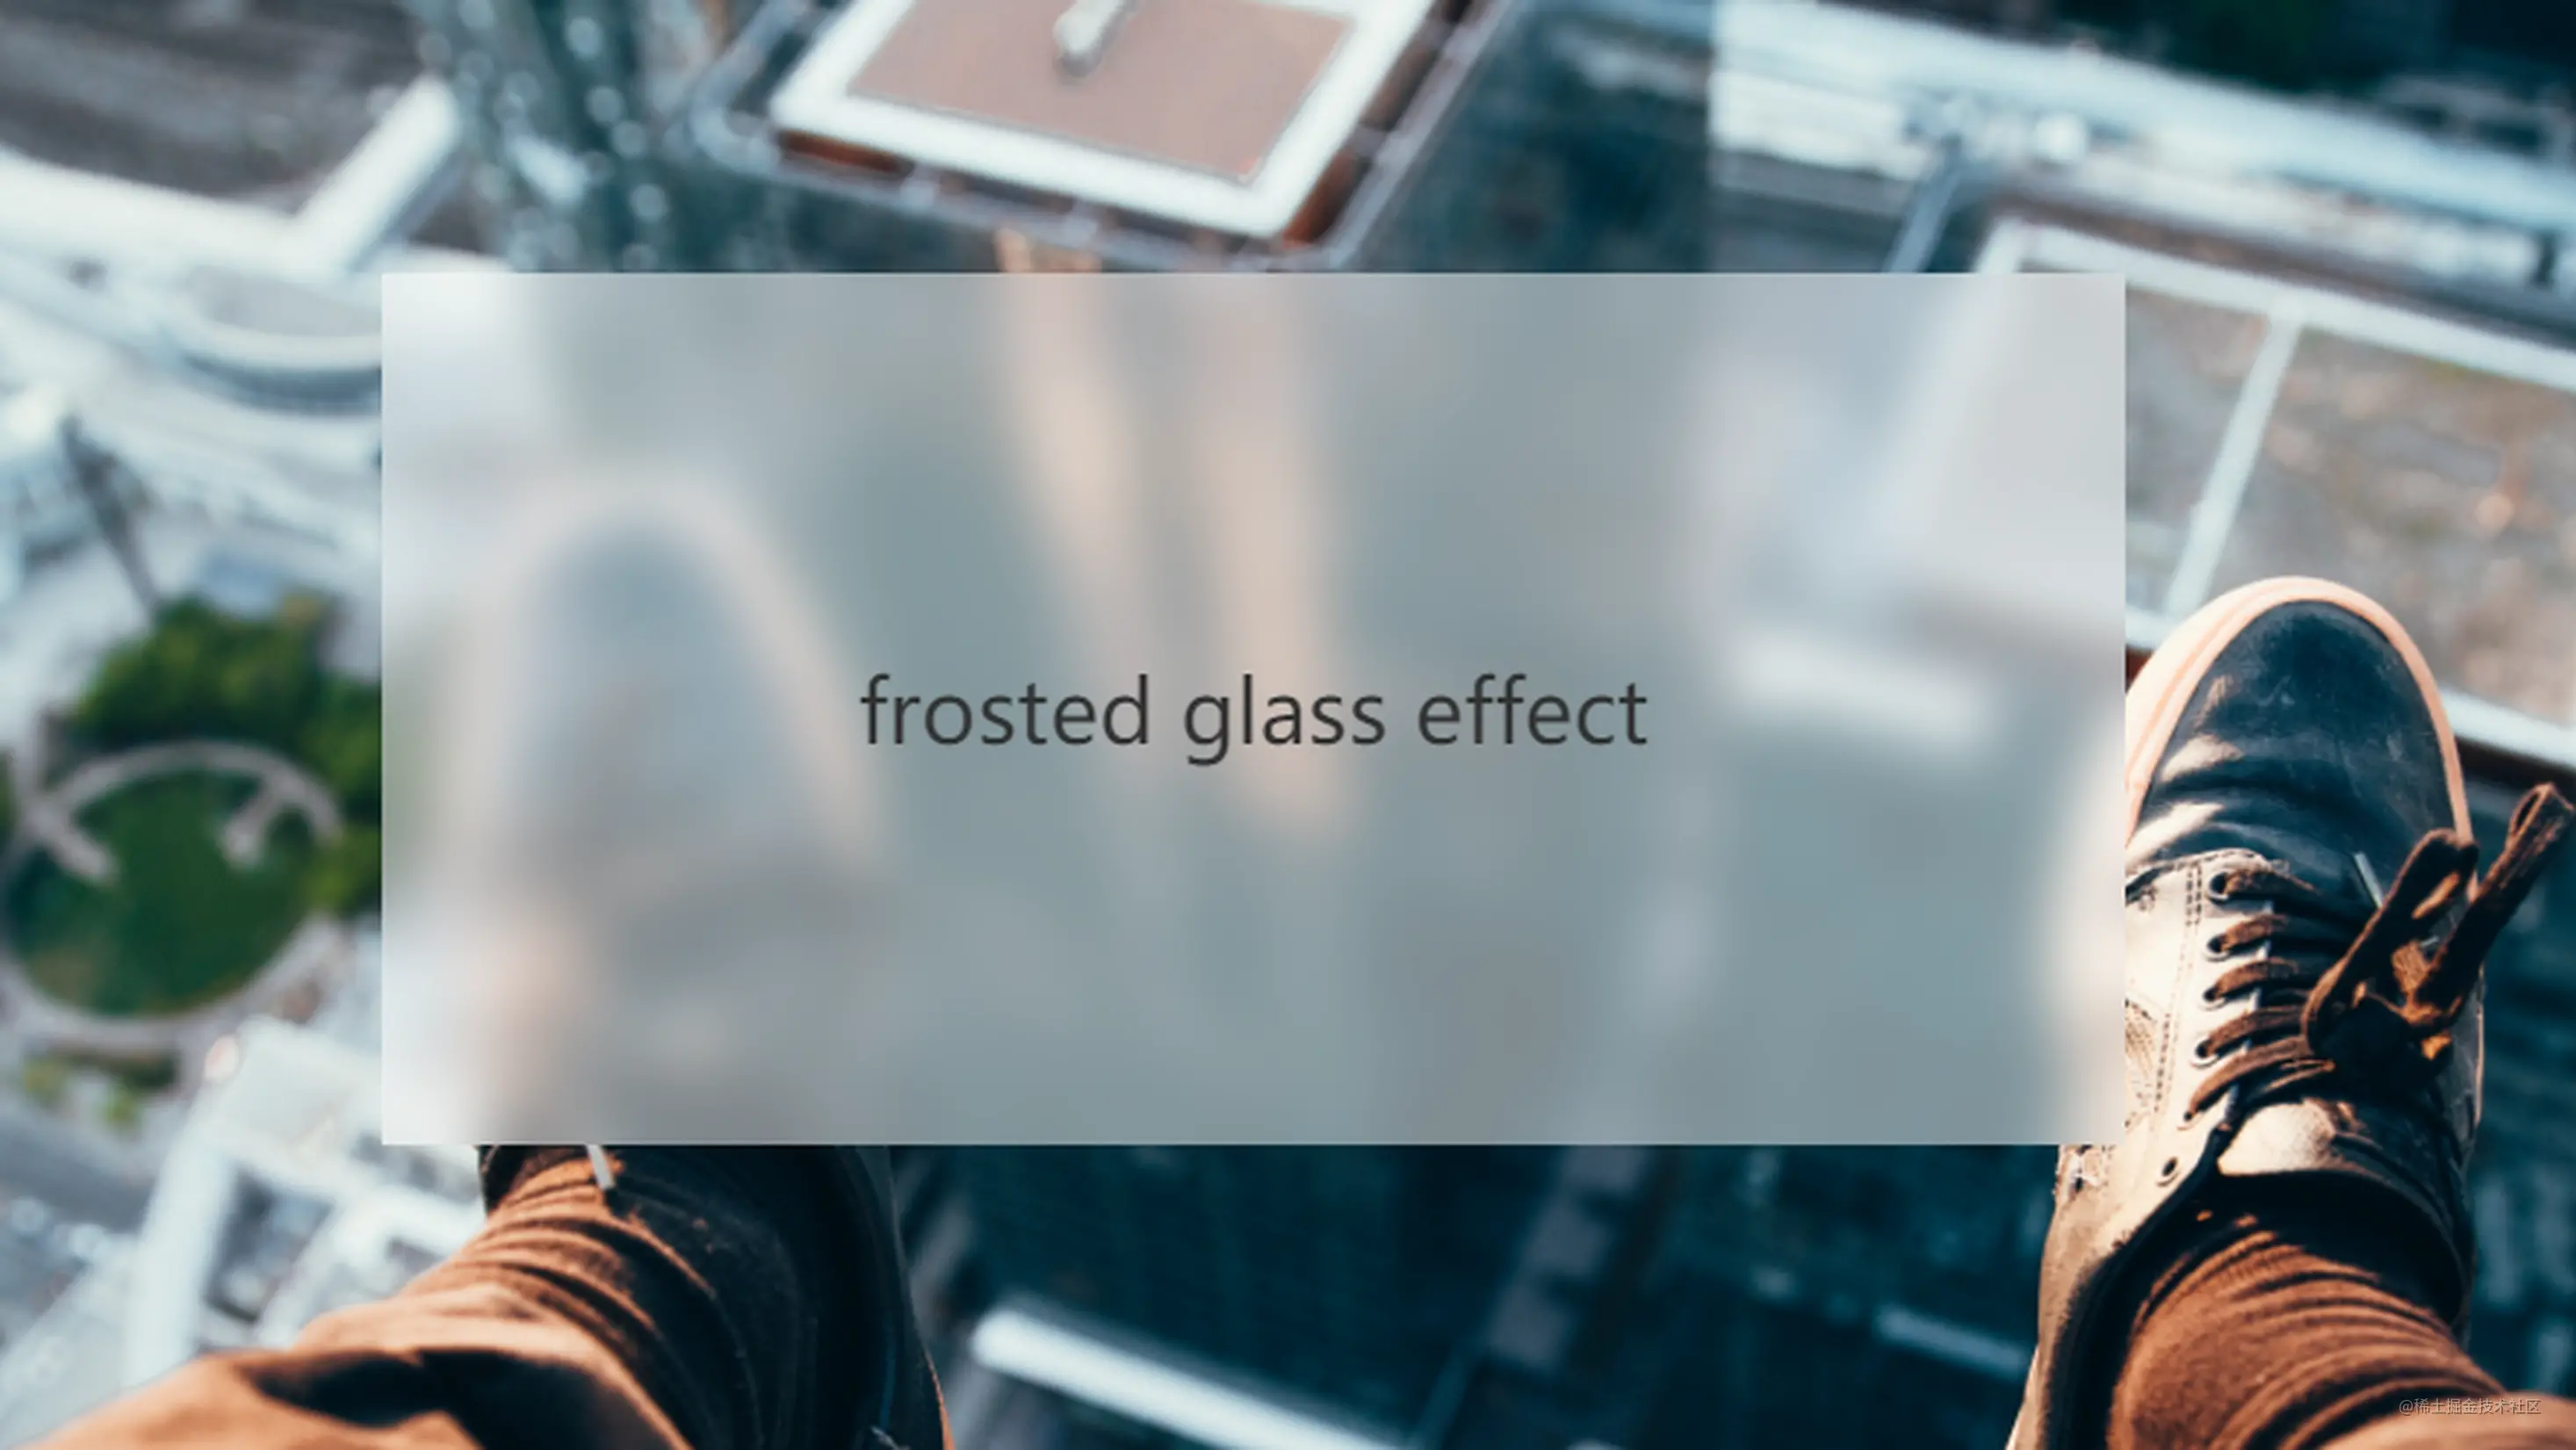
一直感觉上面这样的效果很好看,于是打算自己手撕一个,封成一个组件,方便项目中使用
主要实现就是依靠backdrop-filter效果,详情查看教程
来个最简单的例子
.eg {width: 200px;height: 200px;background: rgba(255, 255, 255, 0.5);backdrop-filter: blur(8px);}
其中,background生成白底,用rgba来改变透明效果,模糊度用backdrop-filter来改变
下面奉上完整组件抽离
import React from "react";

interface Props {
  /** 内部内容 */
  children?: React.ReactNode;
  /** 宽度 */
  width?: string;
  /** 高度 */
  height?: string;
  /** 背景模糊度: default 8 */
  blurDegree?: number;
  /** 圆角度: default 0 */
  borderRadius?: number;
  /**
   * 白底透明度: 0-完成透明 1-完全白底(可以当正常card用)
   */
  bgOpacity?: number;
}

function TransparentCard(props: Props) {
  const { children, width, height, blurDegree, borderRadius, bgOpacity } =
    props;

  return (
    <div
      style={{
        display: "flex",
        alignItems: "center",
        justifyContent: "center",
        width: width ? width : "auto",
        height: height ? height : "auto",
        backdropFilter: blurDegree ? `blur(${blurDegree}px)` : "blur(8px)",
        borderRadius: borderRadius ? `${borderRadius}px` : "0",
        background:
          bgOpacity || bgOpacity === 0
            ? `rgba(255, 255, 255, ${bgOpacity})`
            : `rgba(255, 255, 255, 0.5)`,
      }}>
      {children}
    </div>
  );
}

export default TransparentCard;
组件封完之后可以当成div使用,在合适的场合比div好看
使用样例⬇️
<TransparentCard
  width="40%"
  height="70px"
  borderRadius={16}
  bgOpacity={0.1}
  blurDegree={3}>
  1
</TransparentCard>

若有收获,就点个赞吧
0 人点赞
