- https://www.mysql.com/ 官网选择对应的版本,然后复制下载连接
wget [https://downloads.mysql.com/archives/get/p/23/file/mysql-8.0.24-1.el8.x86_64.rpm-bundle.tar](https://downloads.mysql.com/archives/get/p/23/file/mysql-8.0.24-1.el8.x86_64.rpm-bundle.tar)进行安装- 下载完后
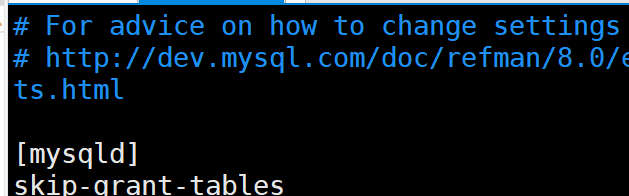
tar -xvf mysql-8.0.24-1.el8.x86_64.rpm-bundle.tar解压 rpm -ivh mysql-community-common-8.0.24-1.el8.x86_64.rpmrpm -ivh --force --nodeps mysql-community-libs-8.0.24-1.el8.x86_64.rpmrpm -ivh --force --nodeps mysql-community-client-8.0.24-1.el8.x86_64.rpmrpm -ivh --force --nodeps mysql-community-server-8.0.24-1.el8.x86_64.rpmwhich mysql查看安装路径vim /etc/my.cnf进行配置skip-grant-tables先跳过所有验证update mysql.user set authentication_string=password('123456')where user = 'root';初始化密码flush privileges;刷新systemctl stop mysqld.service停掉,重启- 将之前conf文件中配置给注释掉
set global validate_password_policy=LOW;set global validate_password_length=4;set password=password('123456');grant all privileges on *.* to 'root'@'%' identified by '123456' with grant option;远程登录
firewall-cmd --zone=public --add-port=3306/tcp --permanent永久开启防火墙firewall-cmd --reload重启防火墙

若有收获,就点个赞吧
0 人点赞
