开发环境
安装gridsome
npm install --global @gridsome/cligridsome create my-gridsome-site // 创建项目
注意,第2部持续时间可能很长,最终会失败,由于安装依赖时,有些包在国外网站上,下载速度很慢
- 可以中断 过程,使用cnpm安装
sharp包下载很慢,需要设置 淘宝镜像,可以访问 github的sharp仓库,找到配置
npm config set sharp_binary_host "https://npmmirror.com/mirrors/sharp"npm config set sharp_libvips_binary_host "https://npmmirror.com/mirrors/sharp-libvips"
- node-gyp 当前是 9.1.0,对应的python版本是3.x.x
- 还可以设置本地host文件,可以正常访问github,此时,可以尝试 npm i安装依赖
- 下面的windows平台下,安装 c++编译工具
npm i -g --production windows-build-toolsnpm config set msvs_version 2017

项目目录
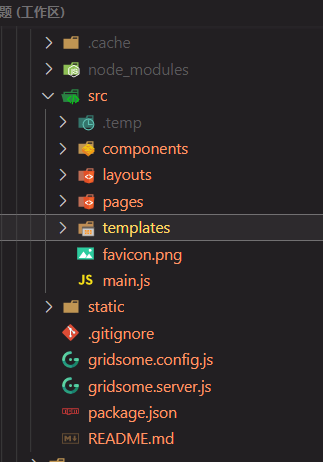
pages下为页面目录,新建一个 .vue文件就会自动创建一个对应的路由
创建页面的两种方式
file system即按照上面的方式,根据 在pages目录下的 目录自动生成
编程式,在gridsome.server.js 中使用creatPage来实现
module.exports = function (api) {api.createPages(({ createPage }) => {// Use the Pages API here: https://gridsome.org/docs/pages-api/createPage({path: '/my-page',component: './src/templates/MyPage.vue'})})}
动态路由
根据file-system
- src/pages/user/[id].vue -> /user/:id.
- src/pages/user/[id]/settings.vue -> user/:id/settings.
collection 集合
- collection是一系列节点的集合,每个节点都包含一些页面需要的数据
新增一个collection有许多种方案
- source plugins
- data store api
data store api
通过发送请求或者其他的方式获取 数据,然后将其添加到 collection中即可
module.exports = function (api) {api.loadSource(async ({ addCollection }) => {// Use the Data Store API here: https://gridsome.org/docs/data-store-api/// 预加载一些数据const collection = addCollection('Post')const { data } = await axios.get('http://jsonplaceholder.typicode.com/posts')for (const item of data) {collection.addNode({id: item.id,uesrId: item.userId,title: item.title,content: item.body})}})api.createPages(({ createPage }) => {// Use the Pages API here: https://gridsome.org/docs/pages-api/})}
在项目启动后,会有三个地址展示在 终端里面
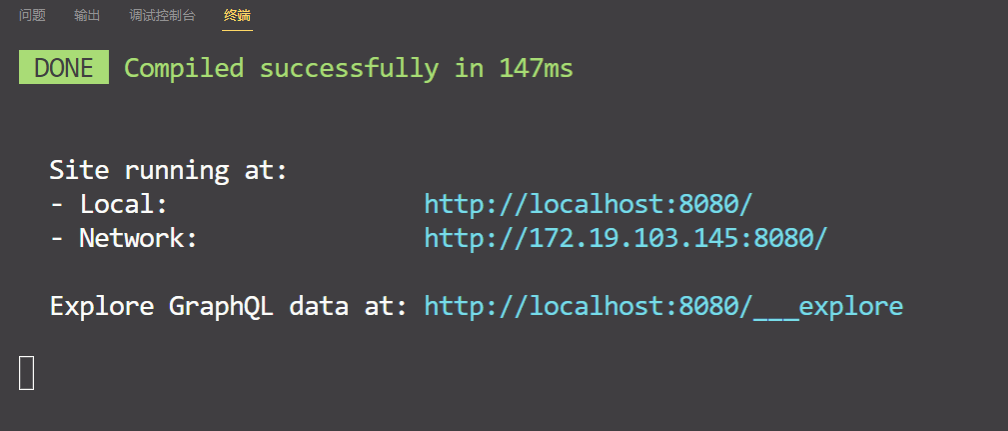
- 最后的 GraphQLdata 地址,是本地内存中管理的 预加载的数据
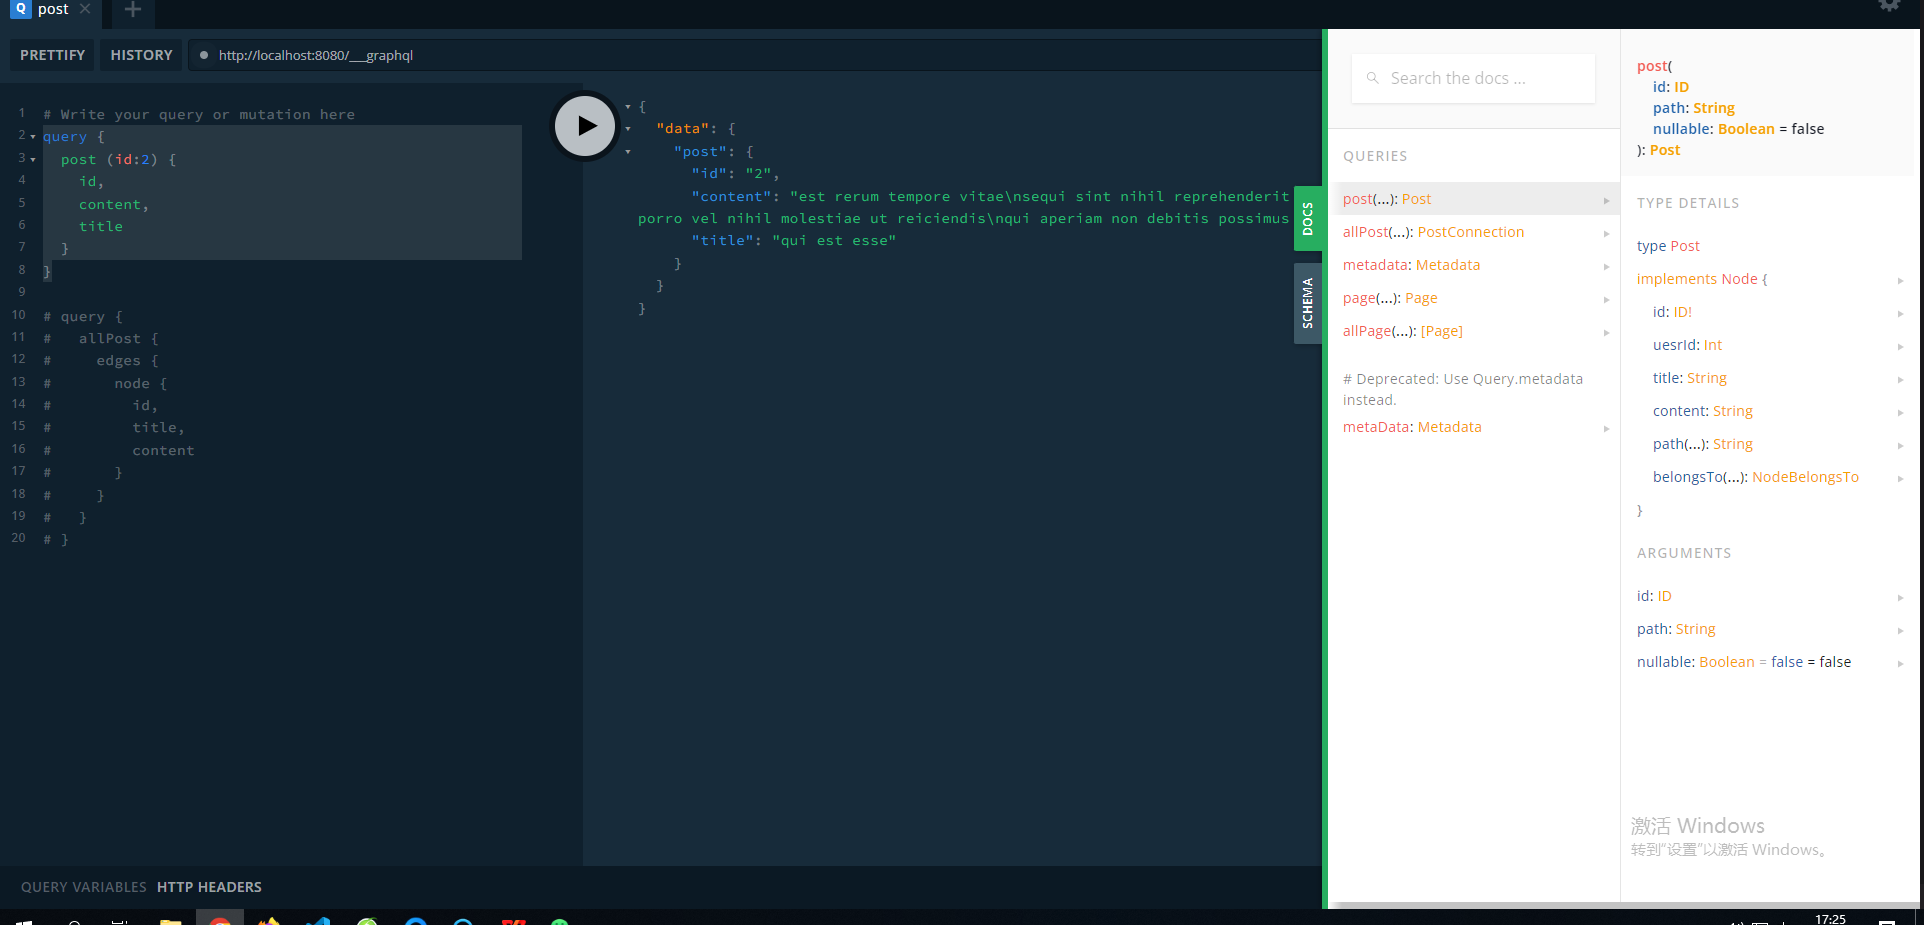
- 每一个 collection都会根据其 添加时 的名字,创建 两个 数据,如创建时 名字是 Post , 那么会有两个根作用域 对应它 post , 和 allPost,如上图
左侧是 graphql的 请求数据的 api, 需要什么数据,就将 对应的key写上就可以了
页面使用 collection中的数据
页面组件,就在page-query标签中共 写上请求的 语句即可
<page-query>query {allPost {edges {node {id,title,content}}}}</page-query>
页面中可以使用vue-devtool查看,对应的数据
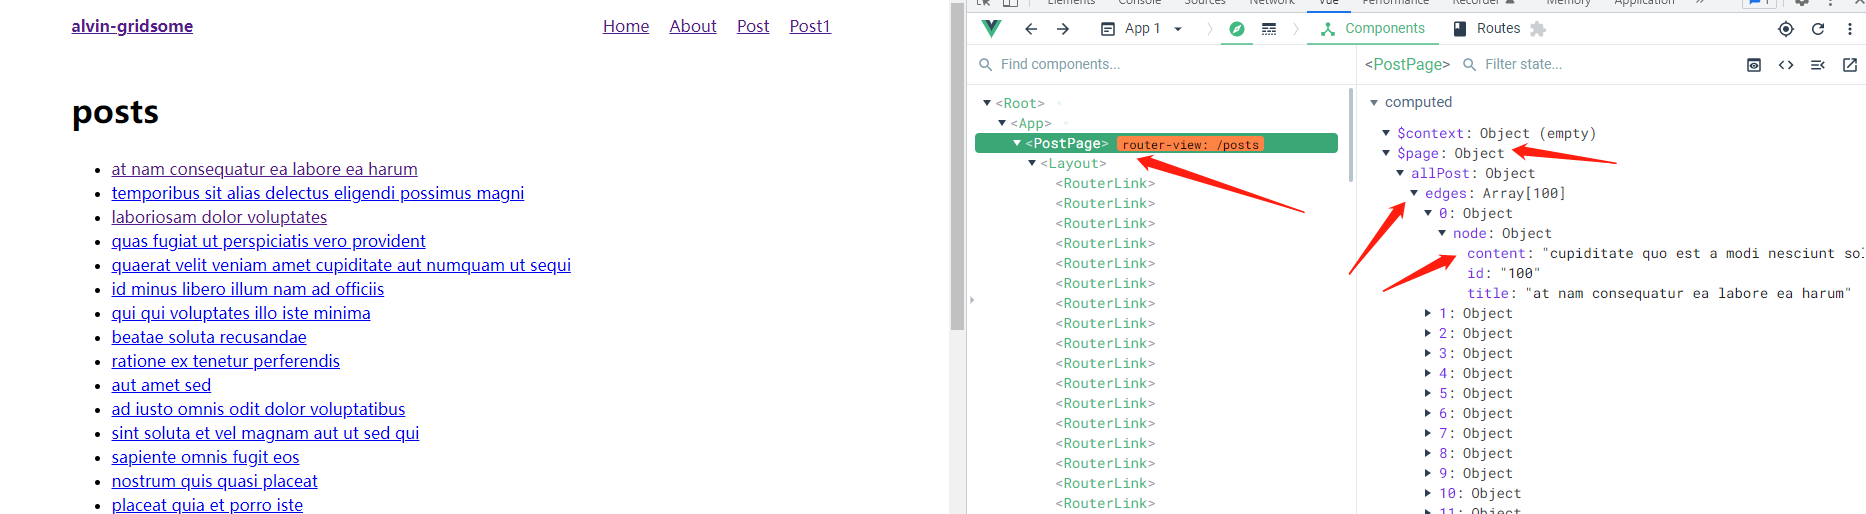
- 如果想要展示详情时,此时应该是动态路由,需要使用template功能
- Templates are used to create single pages for nodes in a collection. Nodes need a corresponding page in order to be presented on its own URL.
```javascript
module.exports = {
siteName: ‘alvin-gridsome’,
plugins: [],
templates: {
Post: [
] } }{// 此处动态路由path: "/post-detail/:id",// 使用对应的模板组件component: './src/templates/PostDetail.vue'}
- 在/src/templates/PostDetail.vue中```javascript<template><Layout><div><h1>{{ $page.post.title }}</h1><div>{{ $page.post.content }}</div></div></Layout></template><page-query>query($id:ID!) {// id为动态路由中定义的idpost (id:$id) {id,content,title}}</page-query><script>export default {name: 'PostDetail',};</script>
项目中添加数据源
本地数据(markdown文件)
需要使用到 source-filesystem插件,此插件还依赖一个 transformer-remark插件
npm install @gridsome/source-filesystemnpm install @gridsome/transformer-remark
配置gridsome.config.js文件 ```javascript module.exports = { siteName: ‘Gridsome’, plugins: [ {
use: '@gridsome/source-filesystem',options: {// collection名typeName: 'BlogPost',// 指定目录下的文件作为资源path: './content/blog/**/*.md',}
} ] }
其他api提供的数据
-
gridsome部署到github上,动态部署
服务器未处理ssl问题,所以导致部署的项目访问图片等媒体文件时,失败
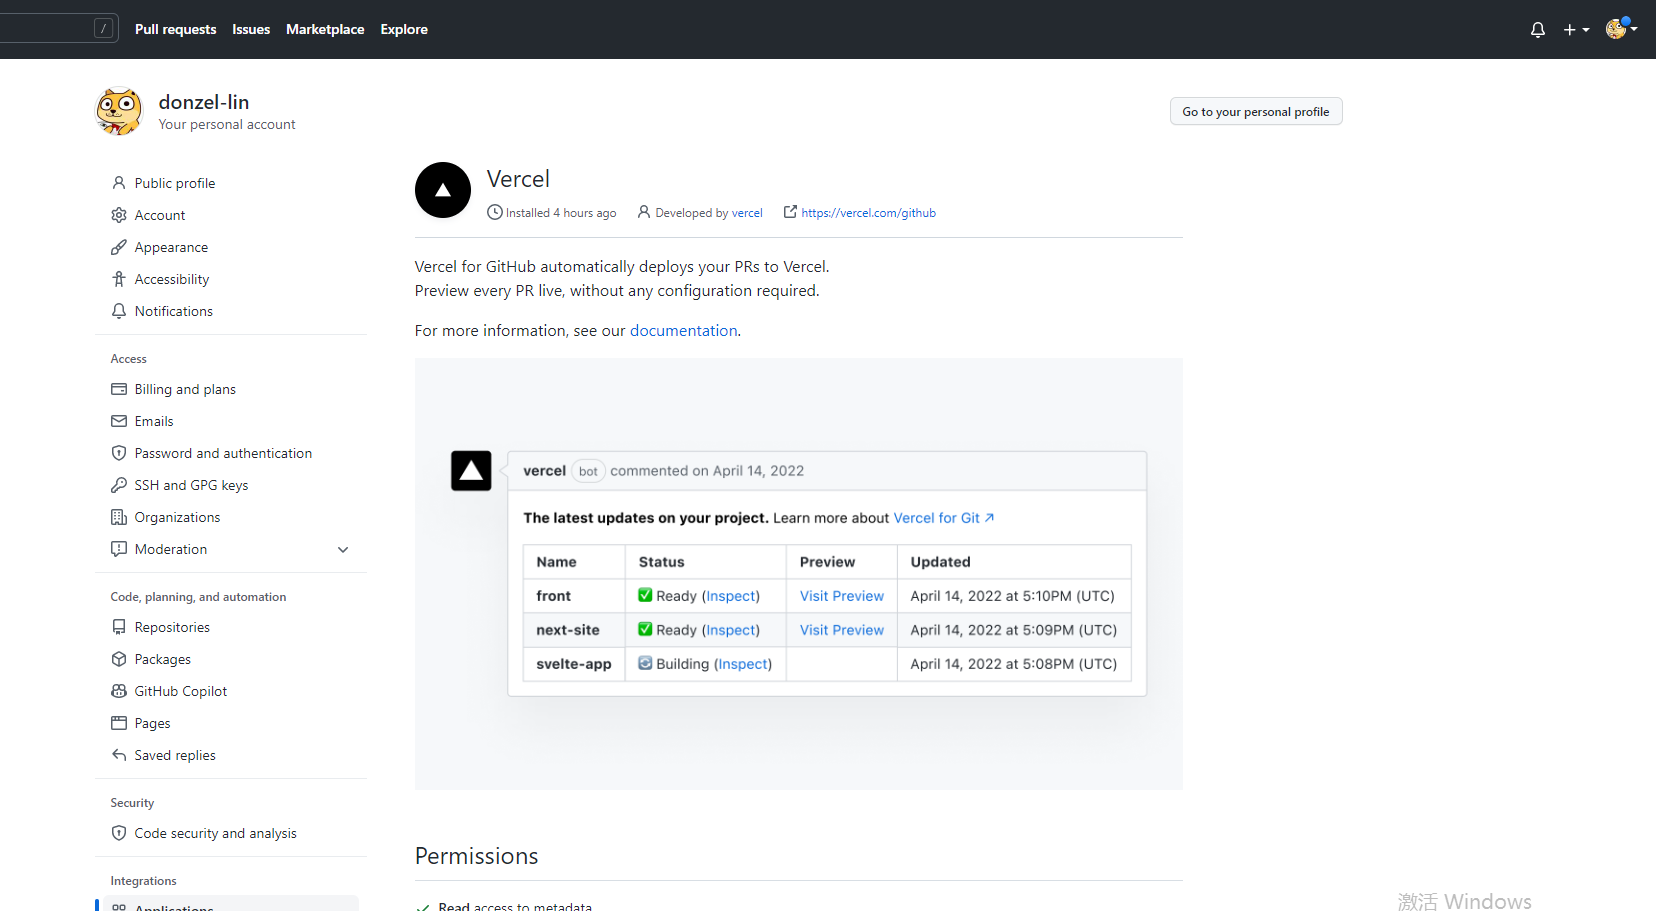
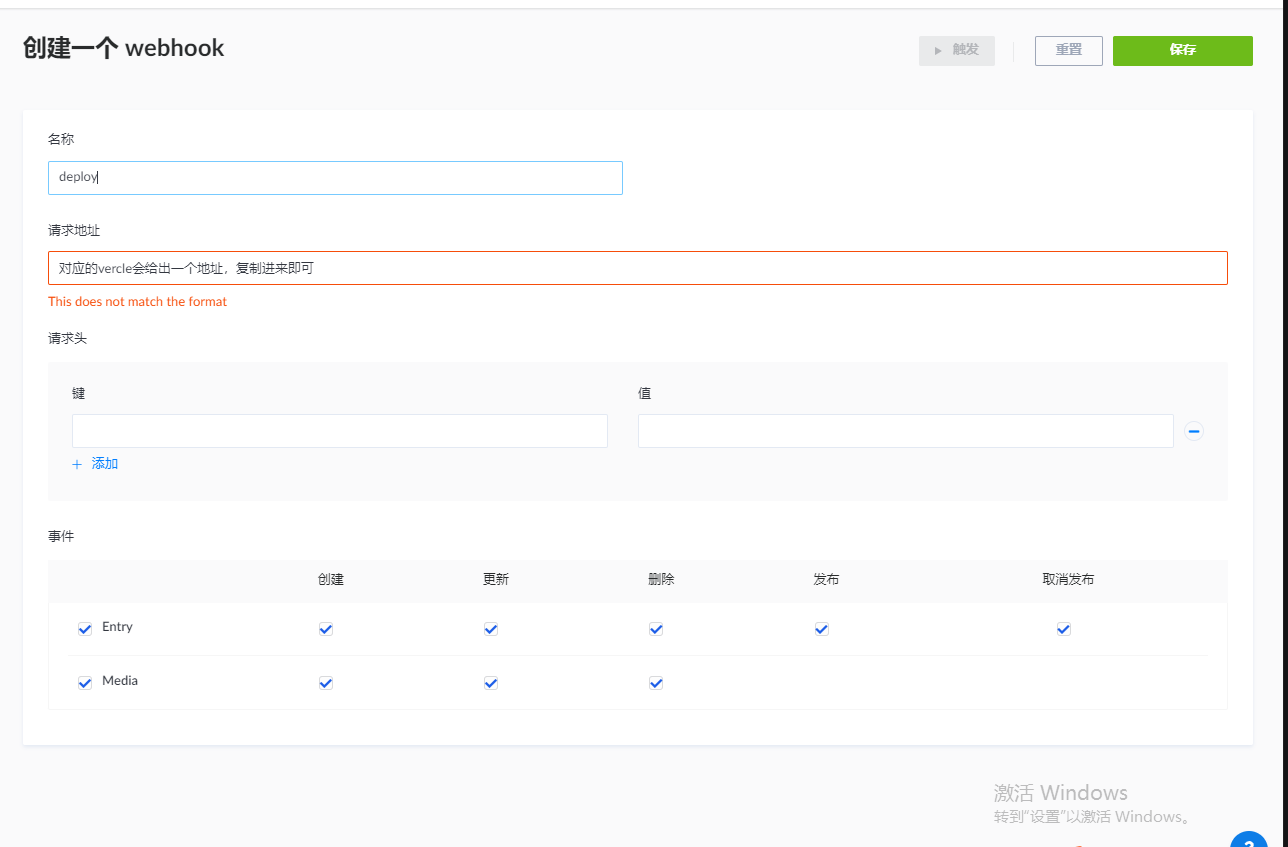
- 使用vercle 来实现,当strapi的内容发生变化时,动态的 执行gridsome打包,运行操作
- 首先将gridsome代码上传到 github上
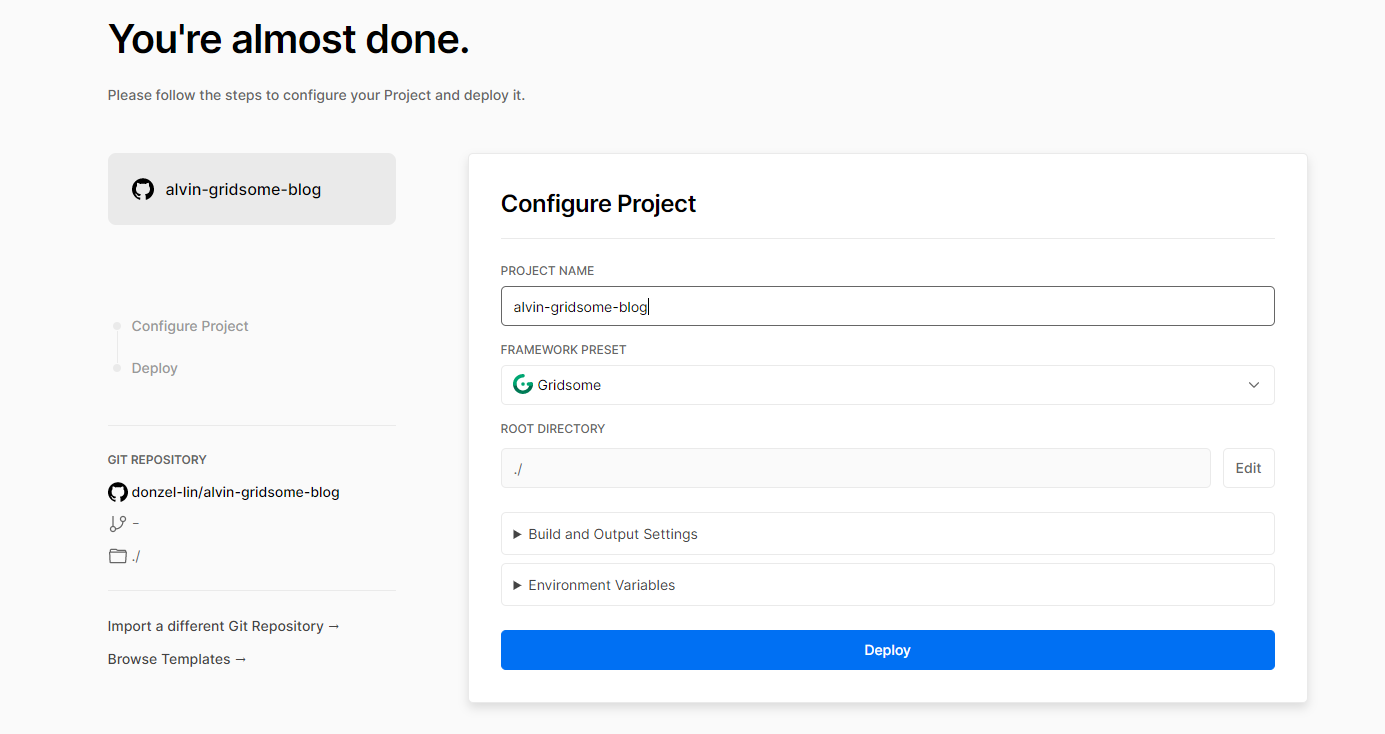
- 先进入vercle官网,可以使用github账号关联登录
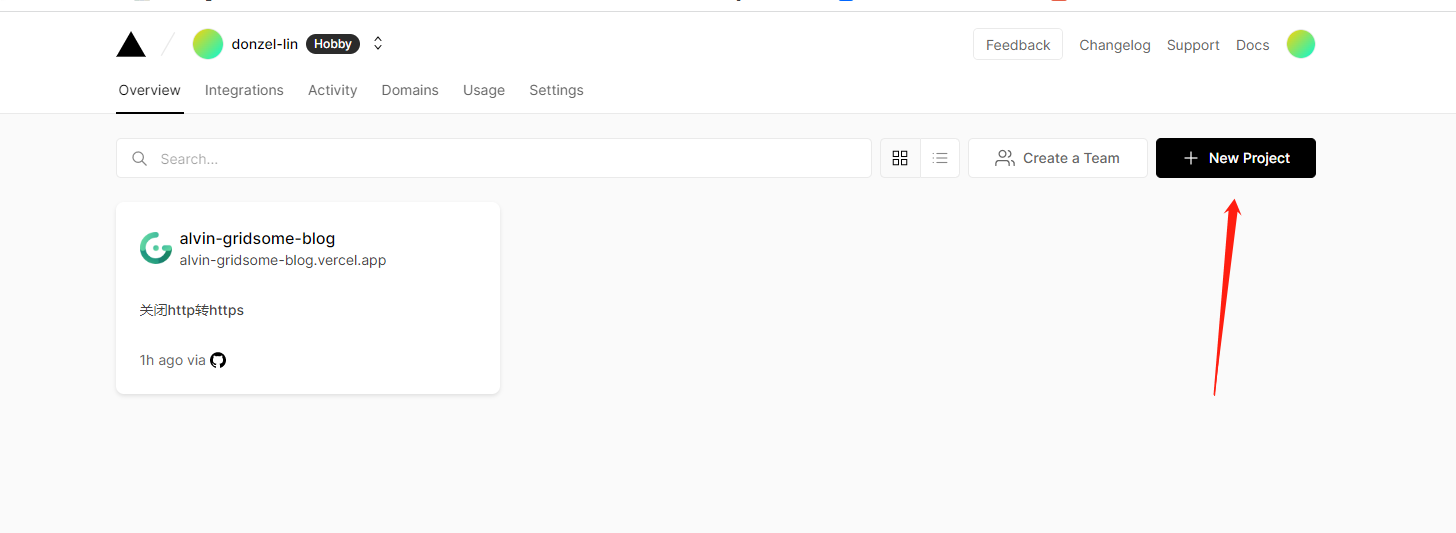
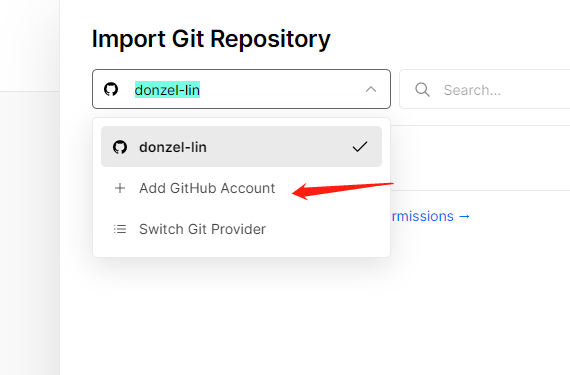
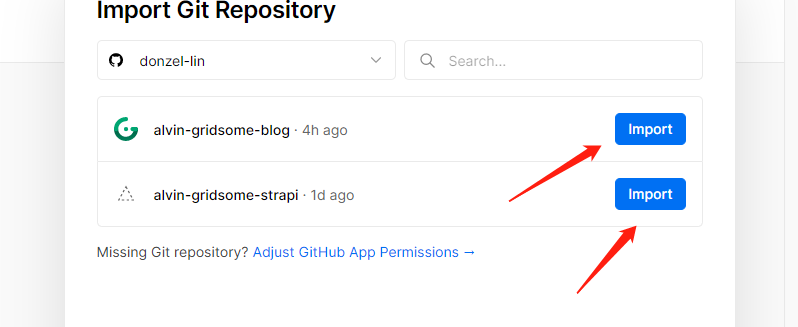
- 选择需要管理的 仓库

- 点击import ,来配置
- 填写一些环境变量和构建项目指定的指令,点击deploy即可
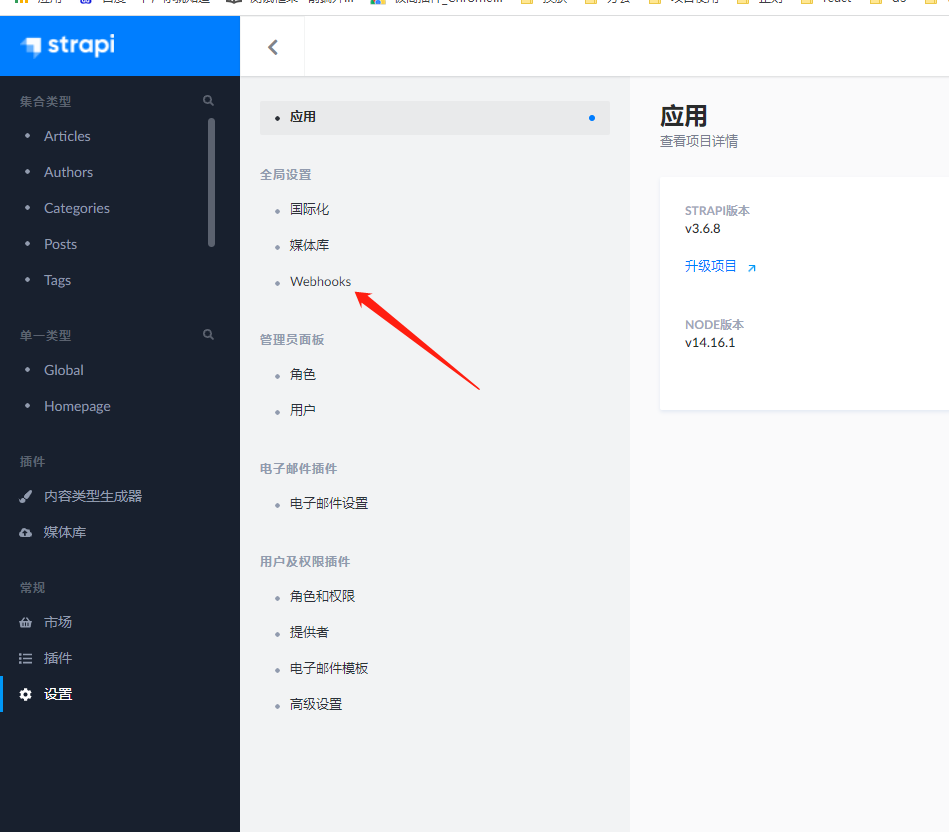
- 点击webhook 进入hook设置
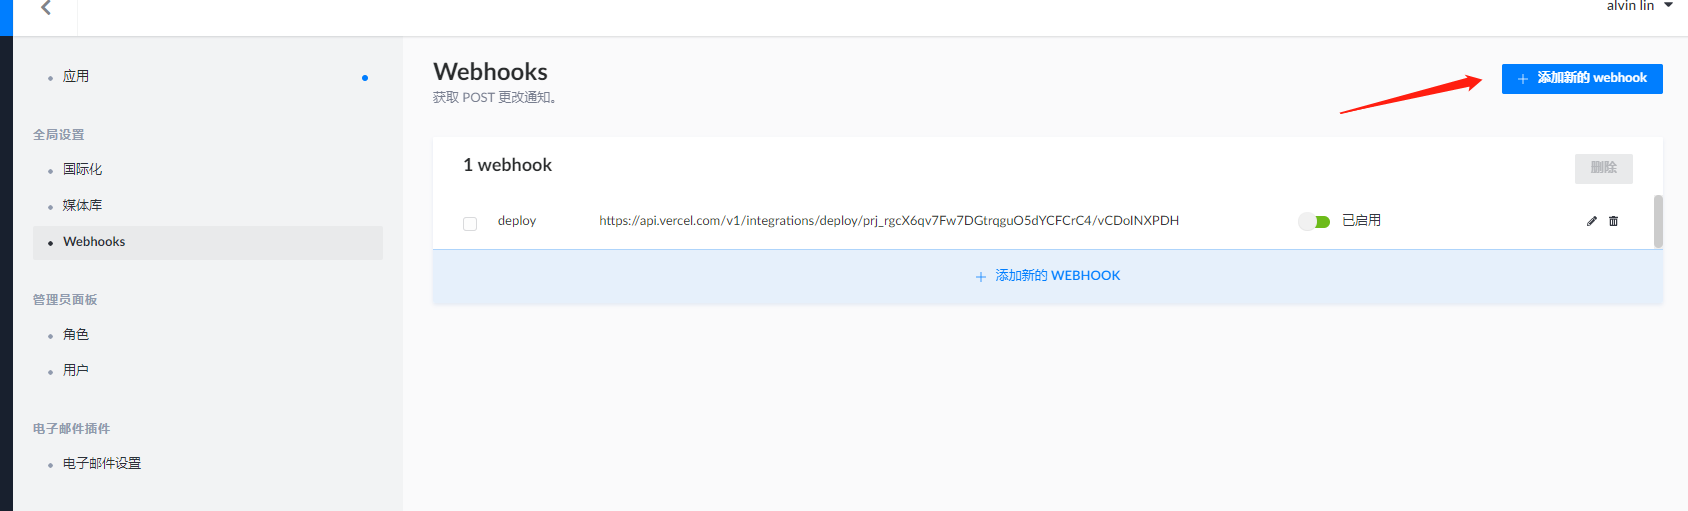
- vercle在导入github仓库部署后,可以查找设置

若有收获,就点个赞吧
0 人点赞
