本文在本地虚拟机进行测试演示
虚拟机环境:CentOS 7.6.1810
Linux内核:3.10.0-957.l7 x86_64
1. 必要环境
java 运行环境 本文安装 orcale java 1.8
nginx web服务器
tomcat web服务器
2. 部署tomcat服务
本文使用本地环境运行了三台tomcat , 分别是 8001, 8002, 8003
[root@kernhome:10:47 conf]#netstat -tnlpActive Internet connections (only servers)Proto Recv-Q Send-Q Local Address Foreign Address State PID/Program nameLISTEN 6809/nginx: mastert LISTEN 9695/javatcp6 0 0 :::8001 :::* LISTEN 9585/javatcp6 0 0 :::8002 :::* LISTEN 9640/javatcp6 0 0 :::8003 :::* LISTEN 9695/java
稍微修改tomcat首页,效果如下图
http://192.168.61.135:8001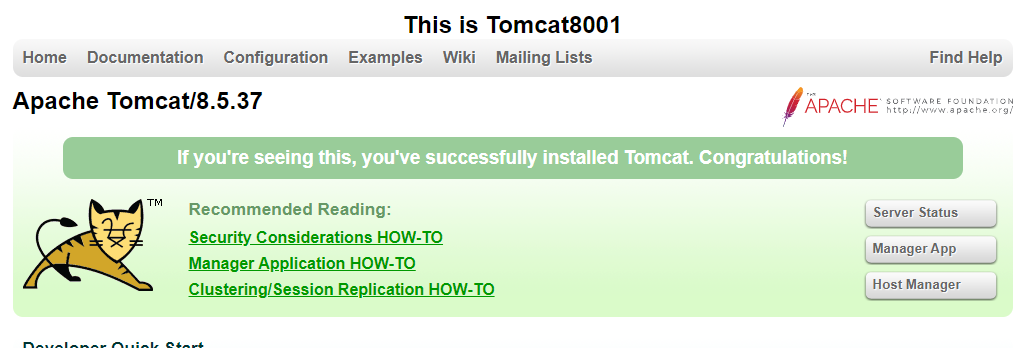
http://192.168.61.135:8002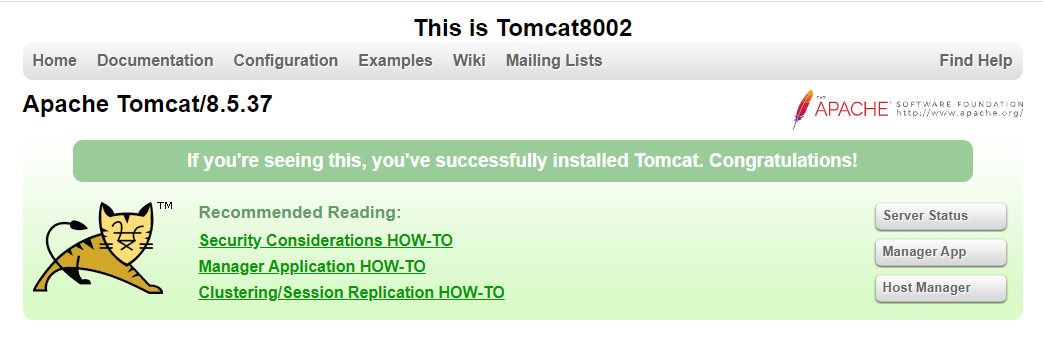
http://192.168.61.135:8003
3. Nginx负载均衡服务配置
编写nginx tomcat集群的配置文件
[root@kernhome:10:48 conf]#vi /data/web/nginx.conf/tomcats.conf
#定义负载均衡上游服务器,weight 配置权重upstream tomcats {server localhost:8001 weight=5;server localhost:8002 weight=3;server localhost:8003 weight=1;}#监听80端口,并做tomcats集群服务的反向代理server {listen 80;server_name localhost;# 定义代理服务器的路由location / {#代理到上游服务器tomcatsproxy_pass http://tomcats;}}
将配置文件引入到nginx主配置文件中
[root@kernhome:10:57 conf]#vi /usr/local/nginx/conf/nginx.conf
http {# 在http块中引入/data/web/nginx.conf/目录下所有以.conf为后缀的配置文件include /data/web/nginx.conf/*.conf}
重启nginx
[root@kernhome:11:00 conf]#nginx -tnginx: the configuration file /usr/local/nginx/conf/nginx.conf syntax is oknginx: configuration file /usr/local/nginx/conf/nginx.conf test is successful[root@kernhome:11:00 conf]#nginx -s reload
4.访问测试
第一次访问,
第二次访问,
第三次访问

若有收获,就点个赞吧
0 人点赞
