I Introduction
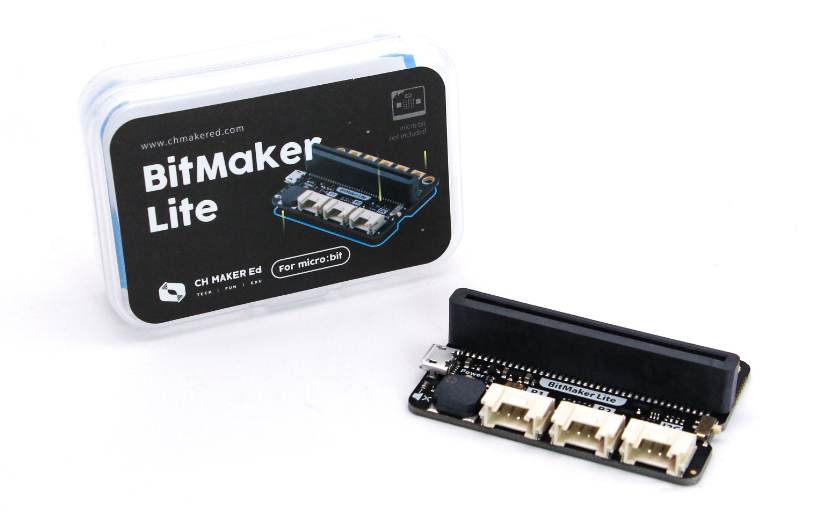
BitMaker Lite is a compact and simplified version of BitMaker. It has only 3 Grove ports, but this is sufficient for many projects. The plug & play convenience means that you can easily implement a project using a grove module. The included buzzer also makes possible a lot of interesting audio projects, e.g. a fruit piano. If you want to access more GPIOs, BitMaker Lite also provides breakouts of all available pins of micro:bit, you can solder header connectors to use them.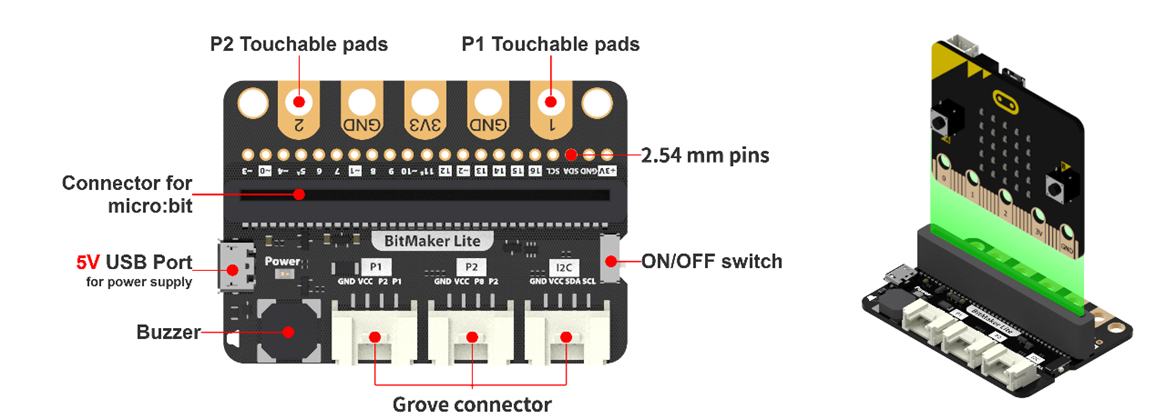
II Tutorials
1. Music Player
1.1 Implementation
The micro:bit plays a birthday song once when turning on.
1.2 Write a Program
Add the block on start and connect the block start melody (dadadum) repeating (once), from the tab Music. Select a birthday song in this block.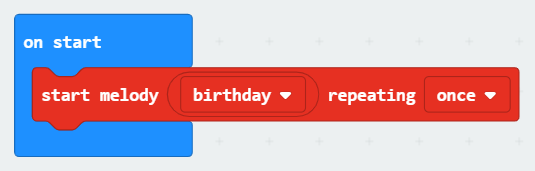
1.3 Connect a Device
Slide the micro:bit into BitMaker Lite and be careful not to reverse it. Connect the micro:bit to your PC with a USB cable. Check if the LED indicator on the micro:bit lights up. If not, the USB cable may be connected mistakenly.
1.4 Download a Program
You have been introduced how to download a program in the previous tutorials, which can be simplified into steps as: rename a program, click the “Download” button and send it to the micro:bit.
1.5 Run a Program
Turn on the switch on the BitMaker Lite and see if the micro:bit plays the birthday song.
2. Fun with Accelerometer
2.1 Implementation
The micro:bit shows a pattern and plays a melody accordingly every time it does different gestures.
2.2 Write a Program
Follow the program logic and code:
When turning on, the micro:bit shows a heart icon.
When the micro:bit shakes, the screen clears and shows nothing.
When the logo is straight upwards, the micro:bit shows a “North” arrow and plays the melody “jump up”.
When the logo is straight downwards, the micro:bit shows a “South” arrow and plays the melody “jump down”.
When the micro:bit tilts left, it shows a “West” arrow and plays the melody “dadadum”.
When the micro:bit tilts right, it shows an “East” arrow and plays the melody “entertainer”.
When the screen is face up, the micro:bit shows a happy face and plays the melody “power up”.
When the screen is face down, the micro:bit shows a sad face and plays the melody “power down”.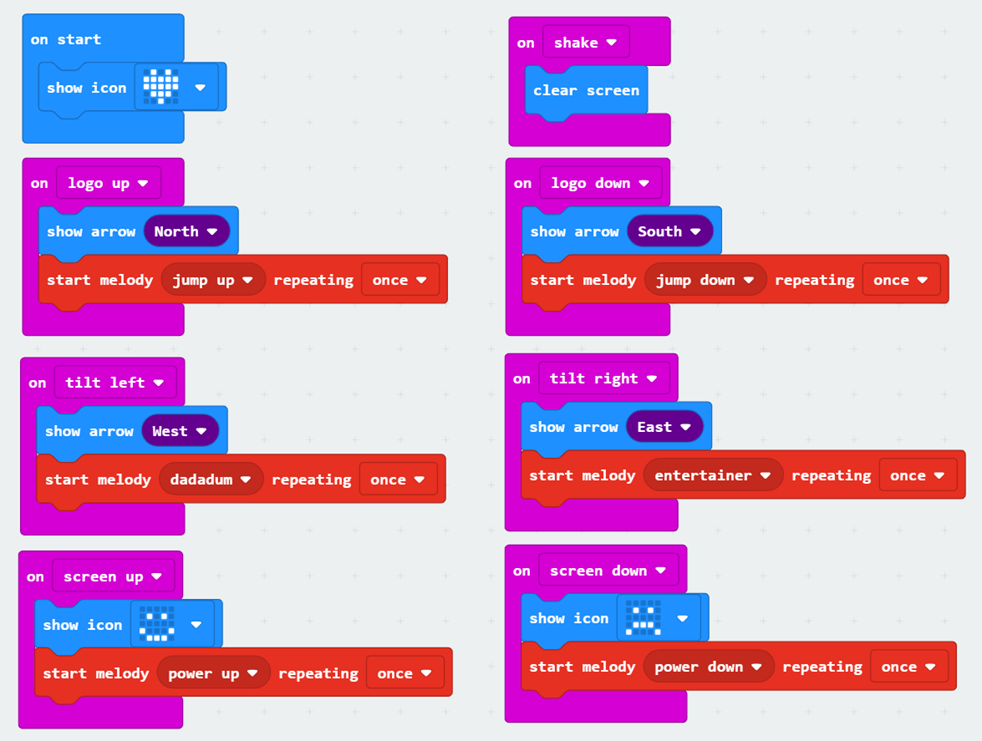
2.3 Connect a Device
Slide the micro:bit into BitMaker Lite and be careful not to reverse it. Connect the micro:bit to your PC with a USB cable. Check if the LED indicator on the micro:bit lights up. If not, the USB cable may be connected mistakenly.
2.4 Download a Program
You have been introduced how to download a program in the previous tutorials, which can be simplified into steps as: rename a program, click the “Download” button and send it to the micro:bit.
2.5 Run a Program
Turn on the switch on the BitMaker Lite and see if the program can run normally.
3. Other Projects
As mentioned from the start, BitMaker Lite is able to bridges Grove modules with a micro:bit. We provide specific tutorials in 4.2 BitStarter Kit to show you how to do that. If you have some Grove modules with you, go ahead and follow the tutorials to start your projects. If you don’t, visit our TinkerGen Shop and order some!
BitMaker Lite is compatible with all Grove modules.
Adding an Extension
To enable Grove modules when a BitMaker Lite is used, we need to add an extension to MakeCode. Let’s find out how to do that:
- Go to MakeCode: https://makecode.microbit.org
- Create a new project to enter the workspace. Click the gear icon (for settings) on the blue bar.

- Select Extensions from the drop-down list which takes you to the extensions page.
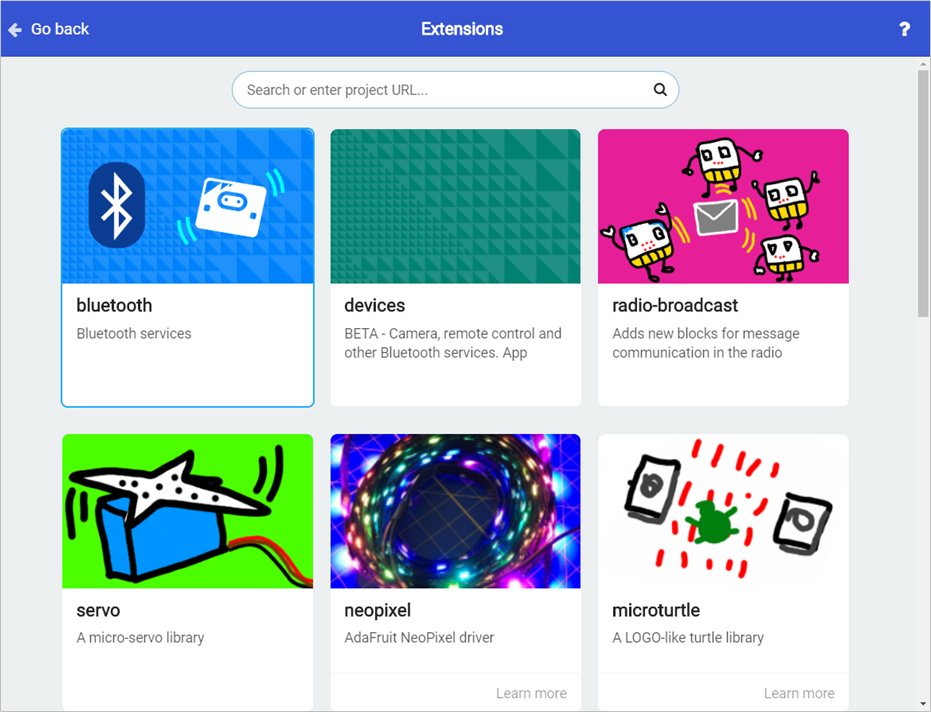
Input the address of the BitMaker Lite extension into the search box: https://github.com/TinkerGen/pxt-BitMaker
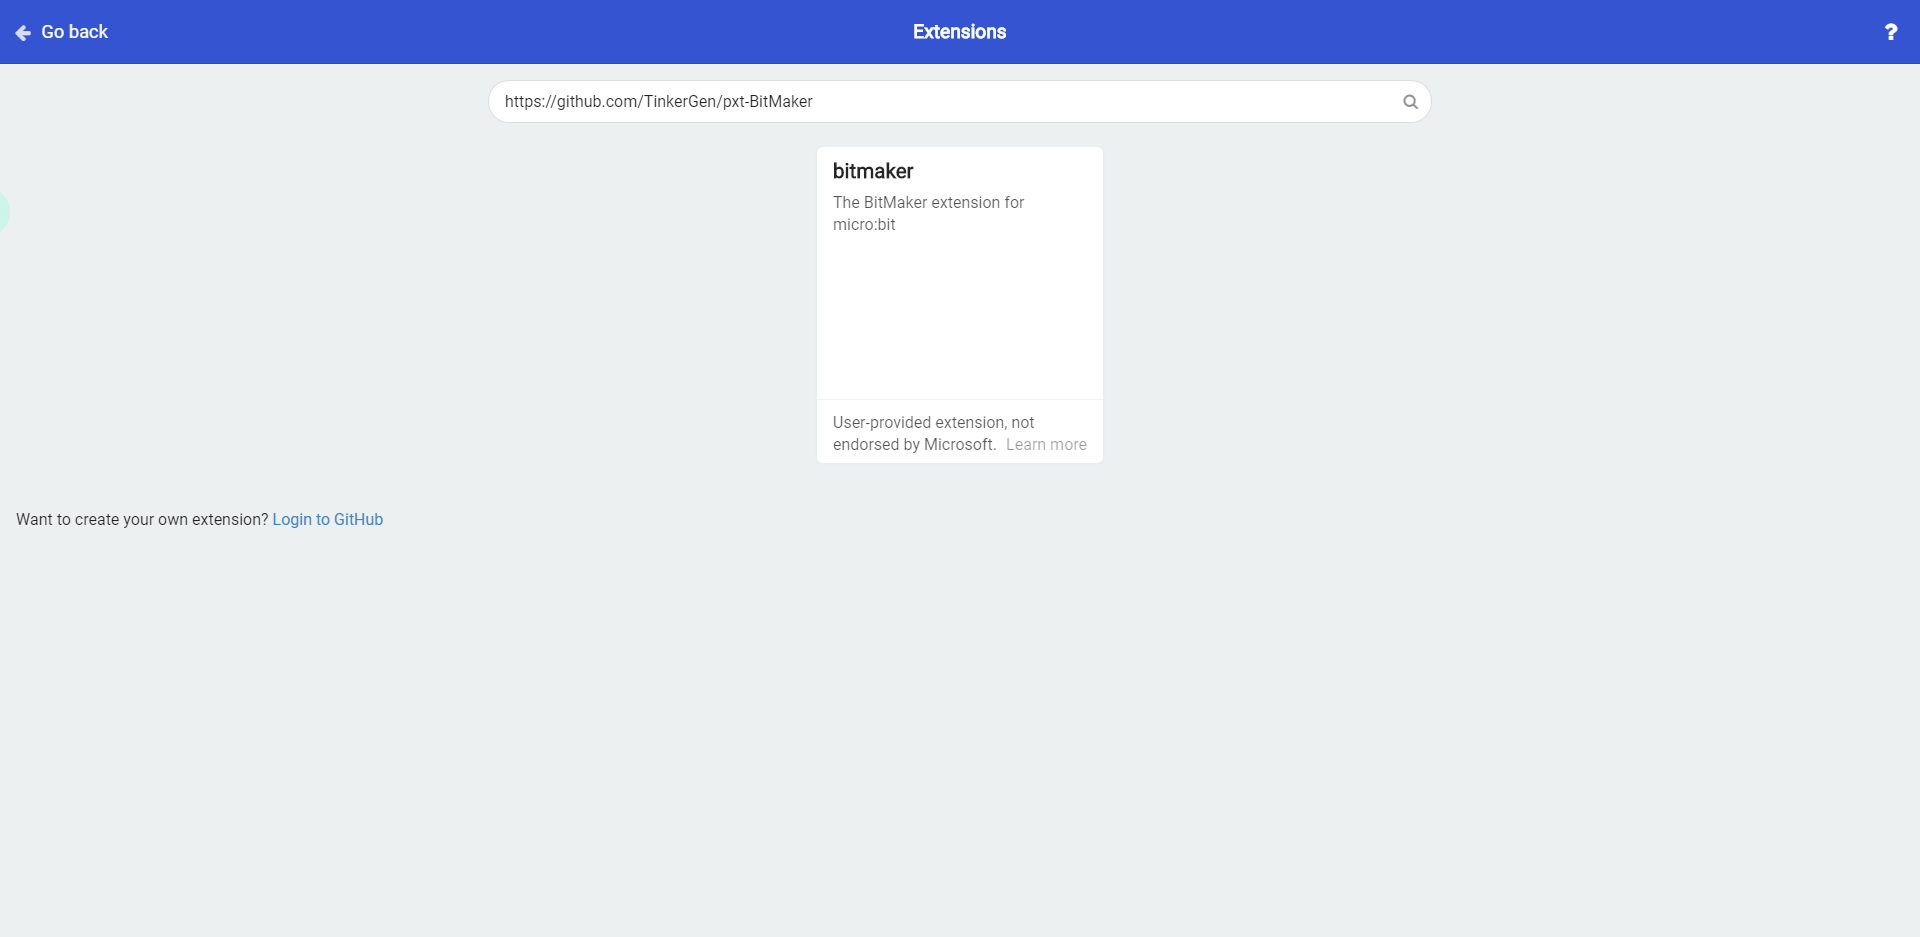
If it prompts that the extension does not exist, close the browser and enter MakeCode to try again.
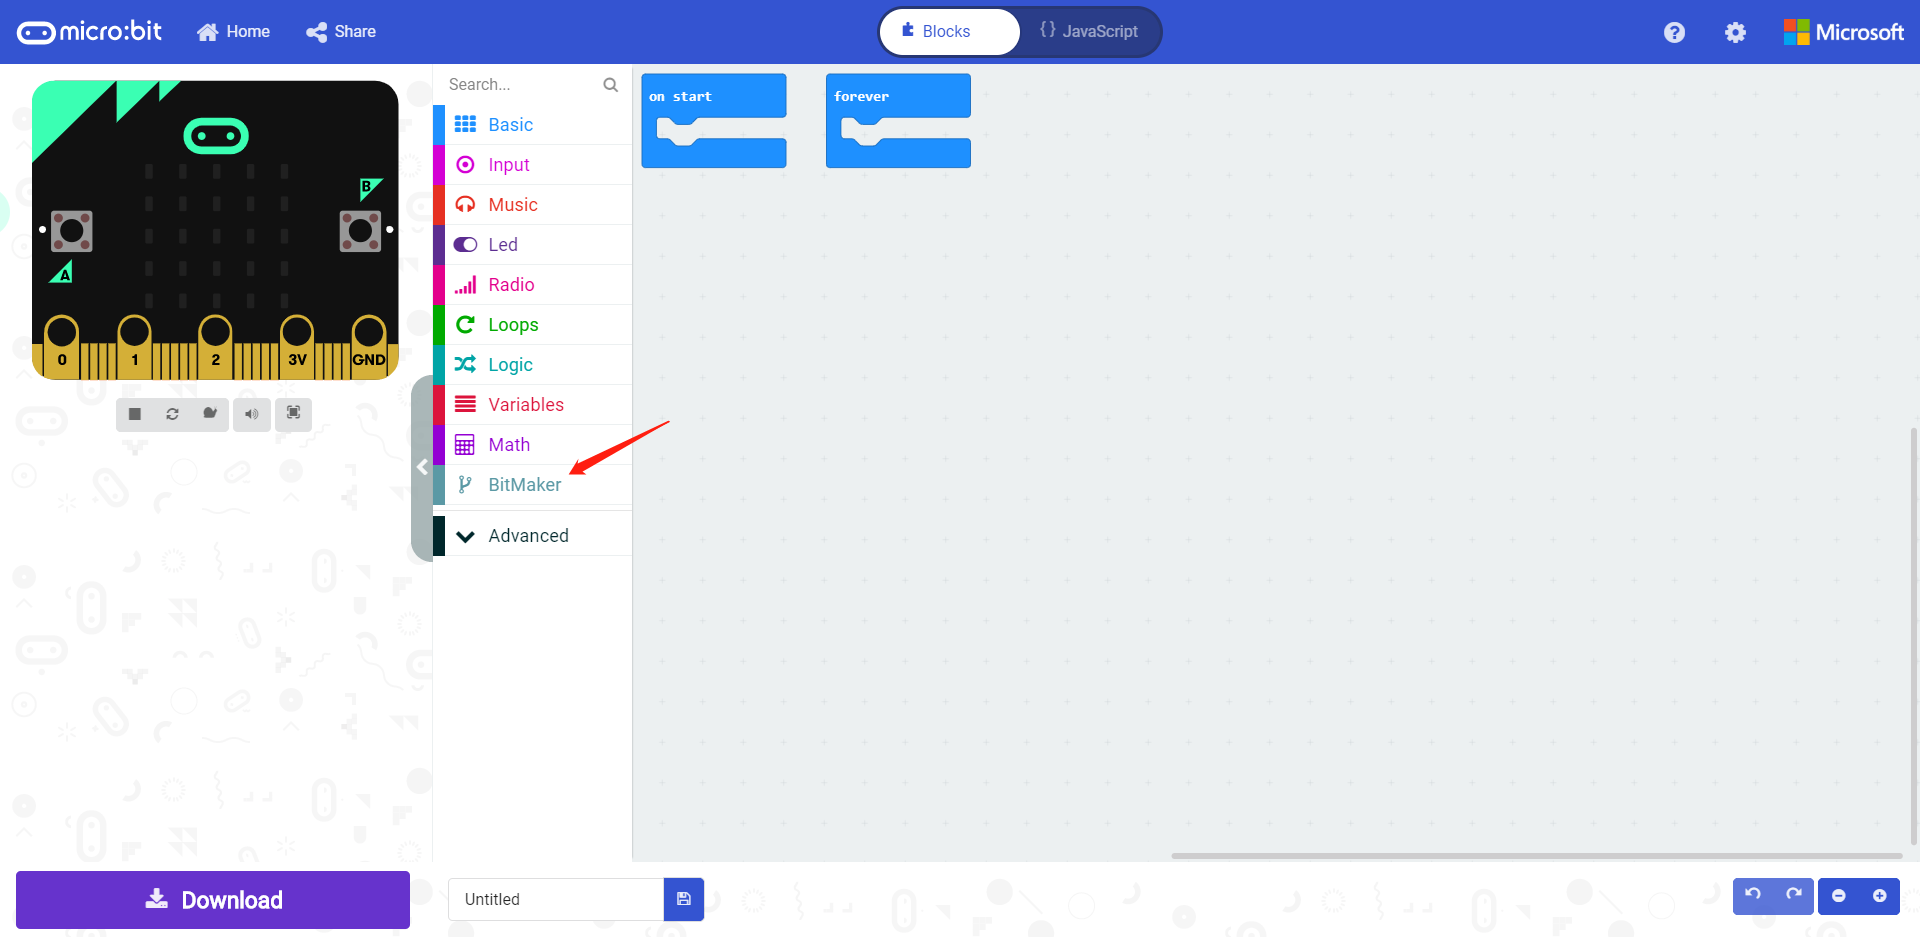
Click the extension package which takes you back to the workspace. You will see that the Grove extension is then successfully added.
III Course Materials
You can see related course materials about the micro:bit and BitMaker Lite on our online learning platform Make2Learn via this address: https://make2learn.tinkergen.com/
IV Attachments
Attachment: BitMaker Lite Tutorial Source Code

若有收获,就点个赞吧
0 人点赞
