Flutter第一个应用—踩坑之路
安装
参照官网教程(这里)下载解压,以及设置环境变量即可。
如果你是中国用户(当然了,我们都是),参考这篇文章Using Flutter in China,设置一下中国的镜像。
比如我用的是zsh,那我的设置如下:
export PUB_HOSTED_URL=https://pub.flutter-io.cnexport FLUTTER_STORAGE_BASE_URL=https://storage.flutter-io.cn
然后使用flutter doctor检查一下环境,我的如下:

- 我的
android studio是绿勾勾,是因为我已经安装过Flutter插件了 - 注意上图我红色箭头标注的地方,如果你的没有通过检查,按照doctor的提示输入命令f
lutter doctor --android-licenses,然后一路Y就行。
创建项目
安装官网的这篇文章使用AS创建项目,但是你会发现,卡在下面这个页面很久

google了很久,得到一个答案,很暴力。
- 先打开项目文件夹,看是否已经成功创建了文件。(基本都是已经创建了的)
- 然后强制杀死as
- 然后重新启动as,打开已存在的项目
- 但是,按照as的提示Get dependencies时,报
Waiting for another flutter command to release the startup lock...错,解决办法是rm flutter/bin/cache/lockfile
编译项目
在编译项目的时候,你会发现,又卡住了,如下图所示:

广大网友们也踩过这些坑,google一通,无外乎如下:
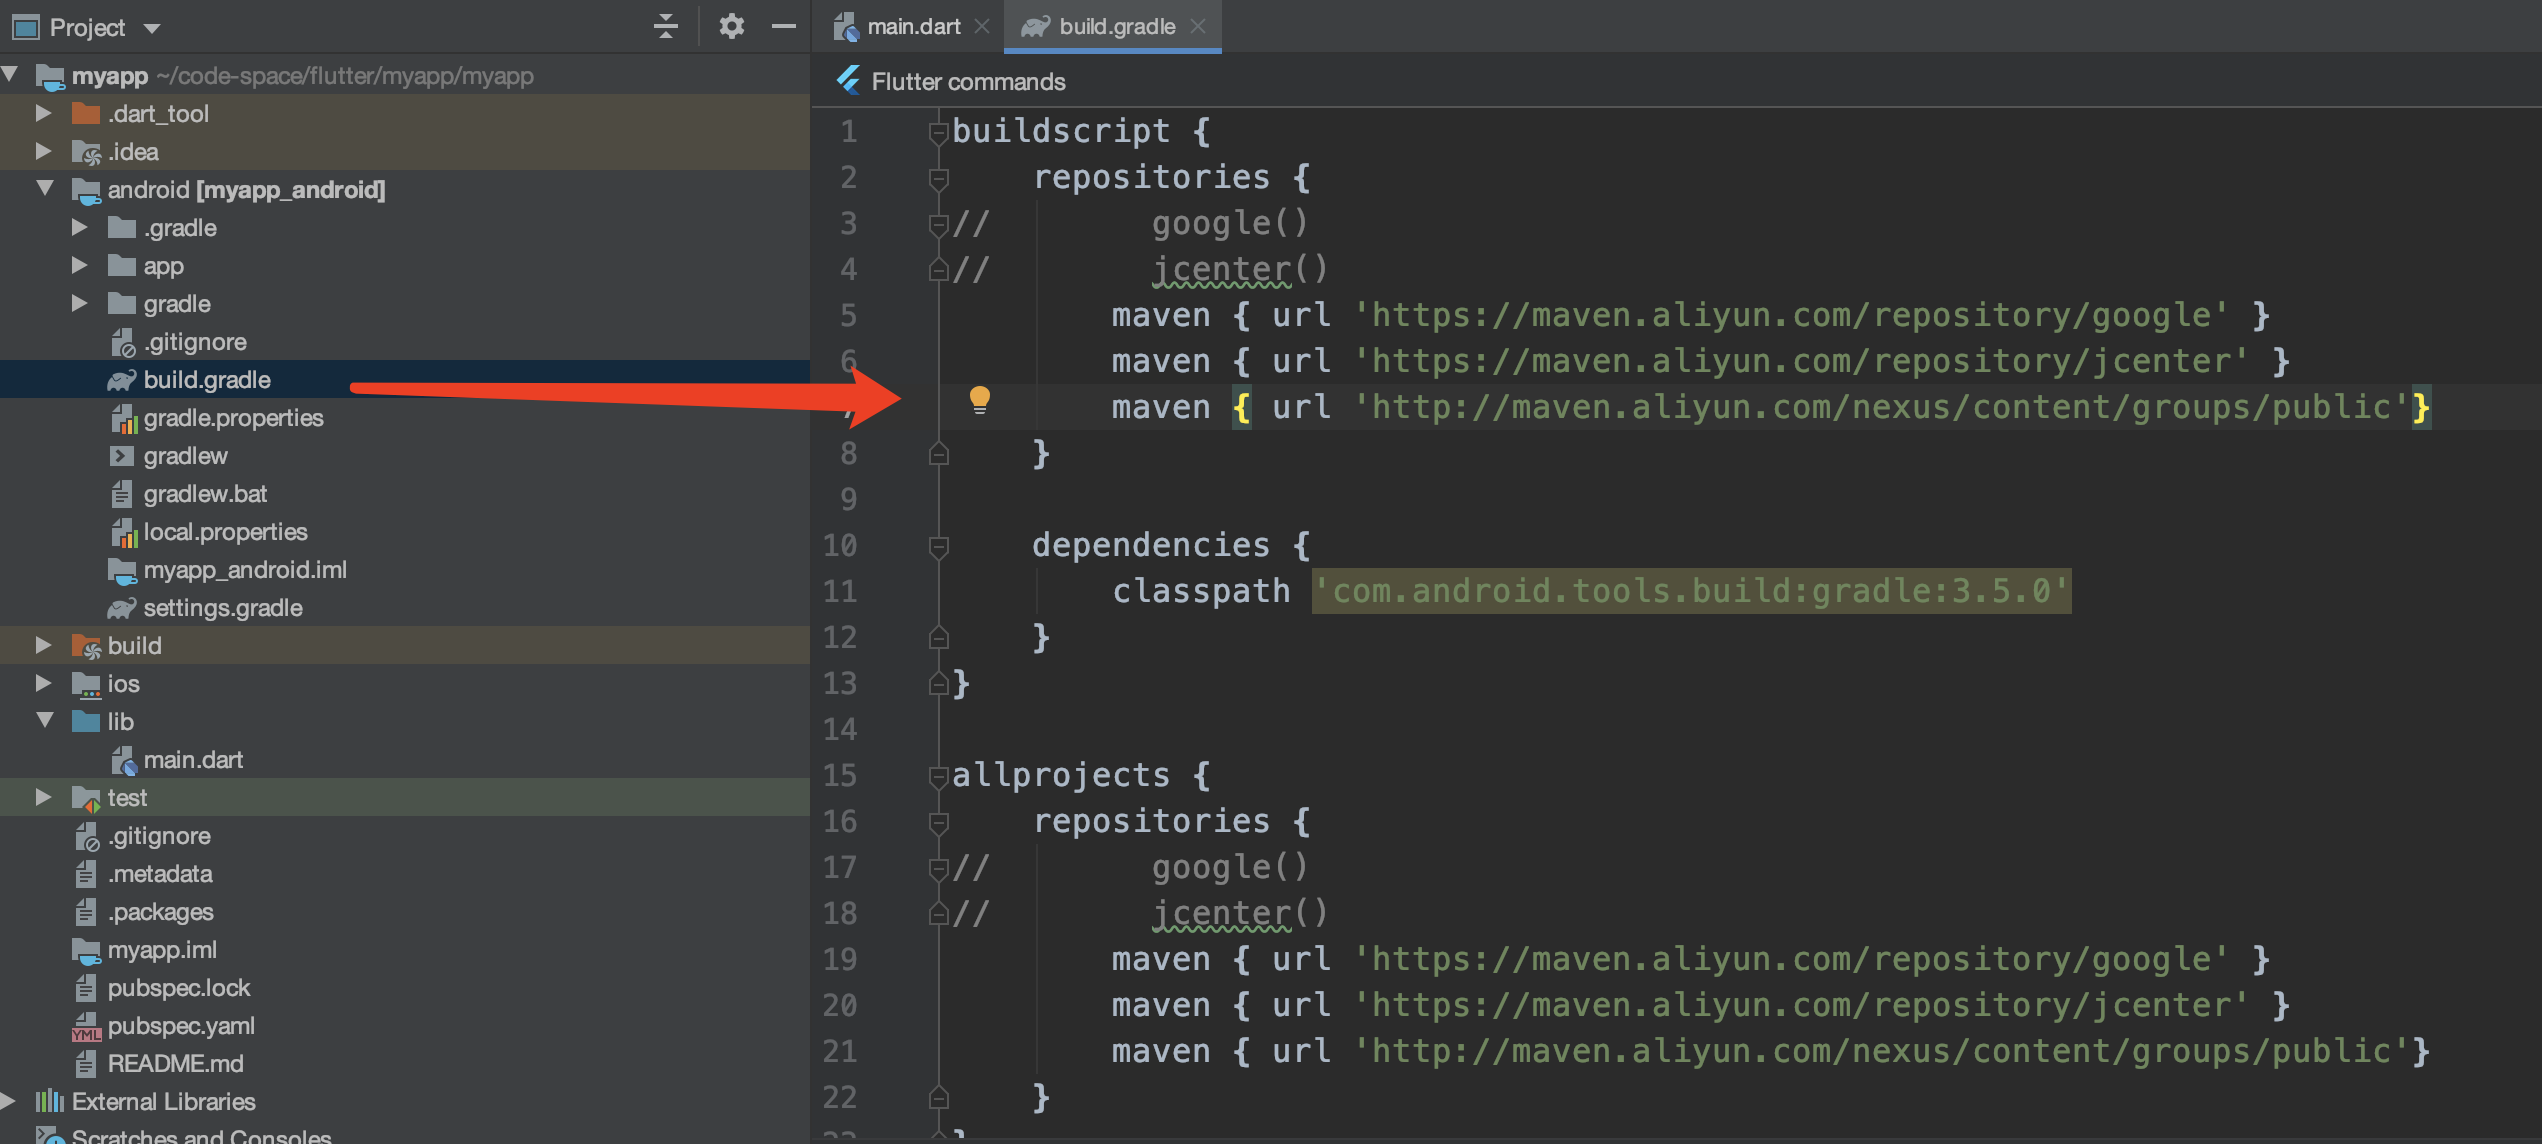
- 修改android/build.gradle下的仓库地址
```gr
repositories {
// google()
// jcenter()
}maven { url 'https://maven.aliyun.com/repository/google' } maven { url 'https://maven.aliyun.com/repository/jcenter' } maven { url 'http://maven.aliyun.com/nexus/content/groups/public'}
allprojects { repositories { // google() // jcenter() maven { url ‘https://maven.aliyun.com/repository/google‘ } maven { url ‘https://maven.aliyun.com/repository/jcenter‘ } maven { url ‘http://maven.aliyun.com/nexus/content/groups/public'} } }

2. 修改flutter安装目录下`./packages/flutter_tools/gradle/flutter.gradle`文件,也是改一下仓库地址
```gr
buildscript {
repositories {
//google()
//jcenter()
 maven { url 'https://maven.aliyun.com/repository/google' }
 maven { url 'https://maven.aliyun.com/repository/jcenter' }
 maven { url 'http://maven.aliyun.com/nexus/content/groups/public'}
}
dependencies {
classpath 'com.android.tools.build:gradle:3.5.0'
}
}
- Gradle task ‘assembleDebug’ 结束后又报下面的错误 ```
- What went wrong:
Execution failed for task ‘:flutter:javaPreCompileDebug’.
Could not resolve all files for configuration ‘:flutter:debugCompileClasspath’. Could not find io.flutter:flutter_embedding_debug:1.0.0-5b952f286fc070e99cf192775fa5c9dfe858b692. Required by:
project :flutterCould not find io.flutter:arm64_v8a_debug:1.0.0-5b952f286fc070e99cf192775fa5c9dfe858b692. Required by:
project :flutterCould not find io.flutter:x86_debug:1.0.0-5b952f286fc070e99cf192775fa5c9dfe858b692. Required by:
project :flutterCould not find io.flutter:x86_64_debug:1.0.0-5b952f286fc070e99cf192775fa5c9dfe858b692. Required by:
project :flutter```
我参考csdn这篇文章,修改了下图这几个文件:# 父路径是/opt/flutter/packages/flutter_tools/gradle aar_init_script.gradle flutter.gradle resolve_dependencies.gradle
将[https://storage.googleapis.com/download.flutter.io](https://storage.googleapis.com/download.flutter.io)换成[http://download.flutter.io](http://download.flutter.io)(也可以是[https://storage.flutter-io.cn/download.flutter.io](https://storage.flutter-io.cn/download.flutter.io)),修改内容如下图:

至此,终于编译成功了。
Performing hot reload… Syncing files to device Pixel 2… Reloaded 1 of 495 libraries in 584ms.

