安装
下载jar包 nexus-3.19.1-01-unix.tar.gz ,地址自己去官网找。
移动到opt目录,解压
mv nexus-3.19.1-01-unix.tar.gz /opt/cd /opt/tar -zxvf nexus-3.19.1-01-unix.tar.gz
运行
./bin/nexus start
登录
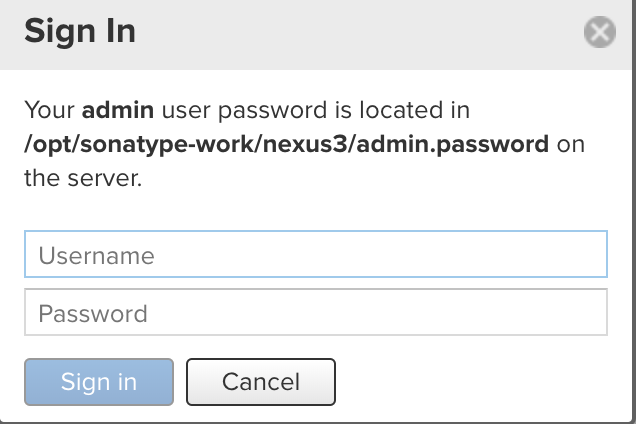
默认密码:cat /opt/sonatype-work/nexus3/admin.password ,自己获取一下哈
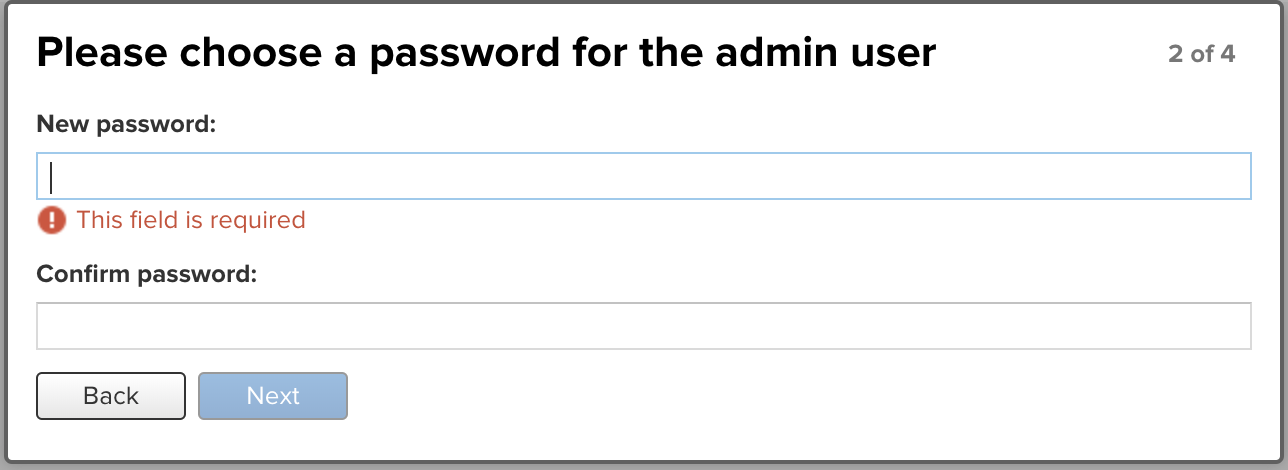
然后改密码: soyuan123
简介
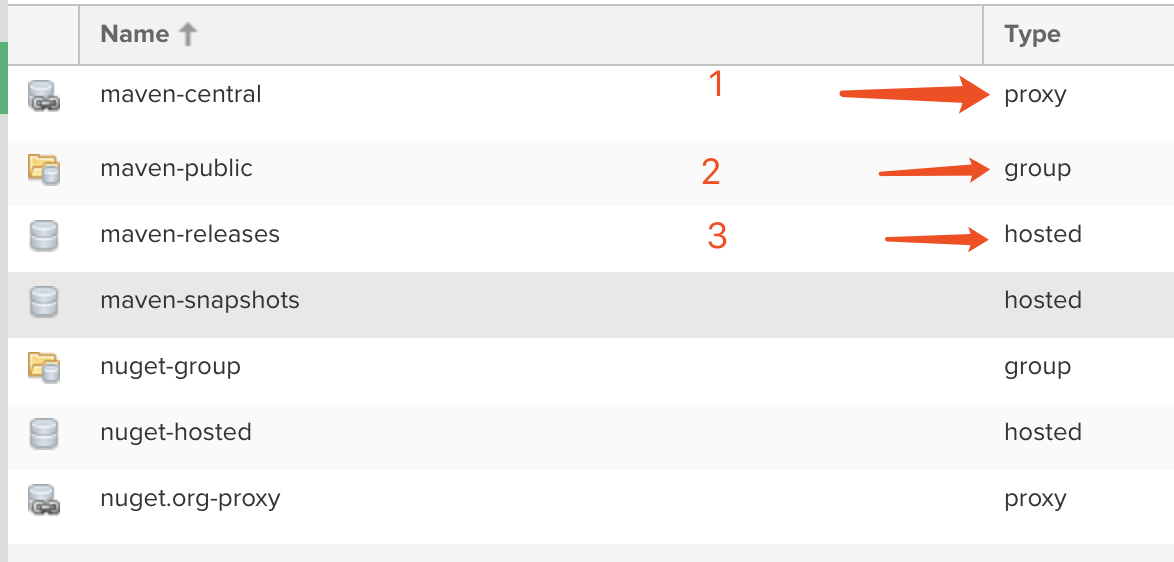
如上图所示:你知道有3中不同的仓库就行了。proxy group hosted
- proxy: 代理仓库—用来从中央仓库拉jar包的(代理仓库)
- hosted: nexus本地仓库(宿主仓库)
- group: nexus用来组织上面两种仓库的(仓库组)
解析看下面这张图即可:
添加阿里云proxy库

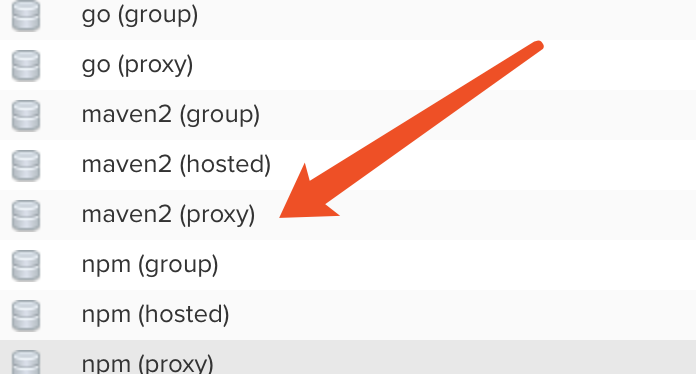
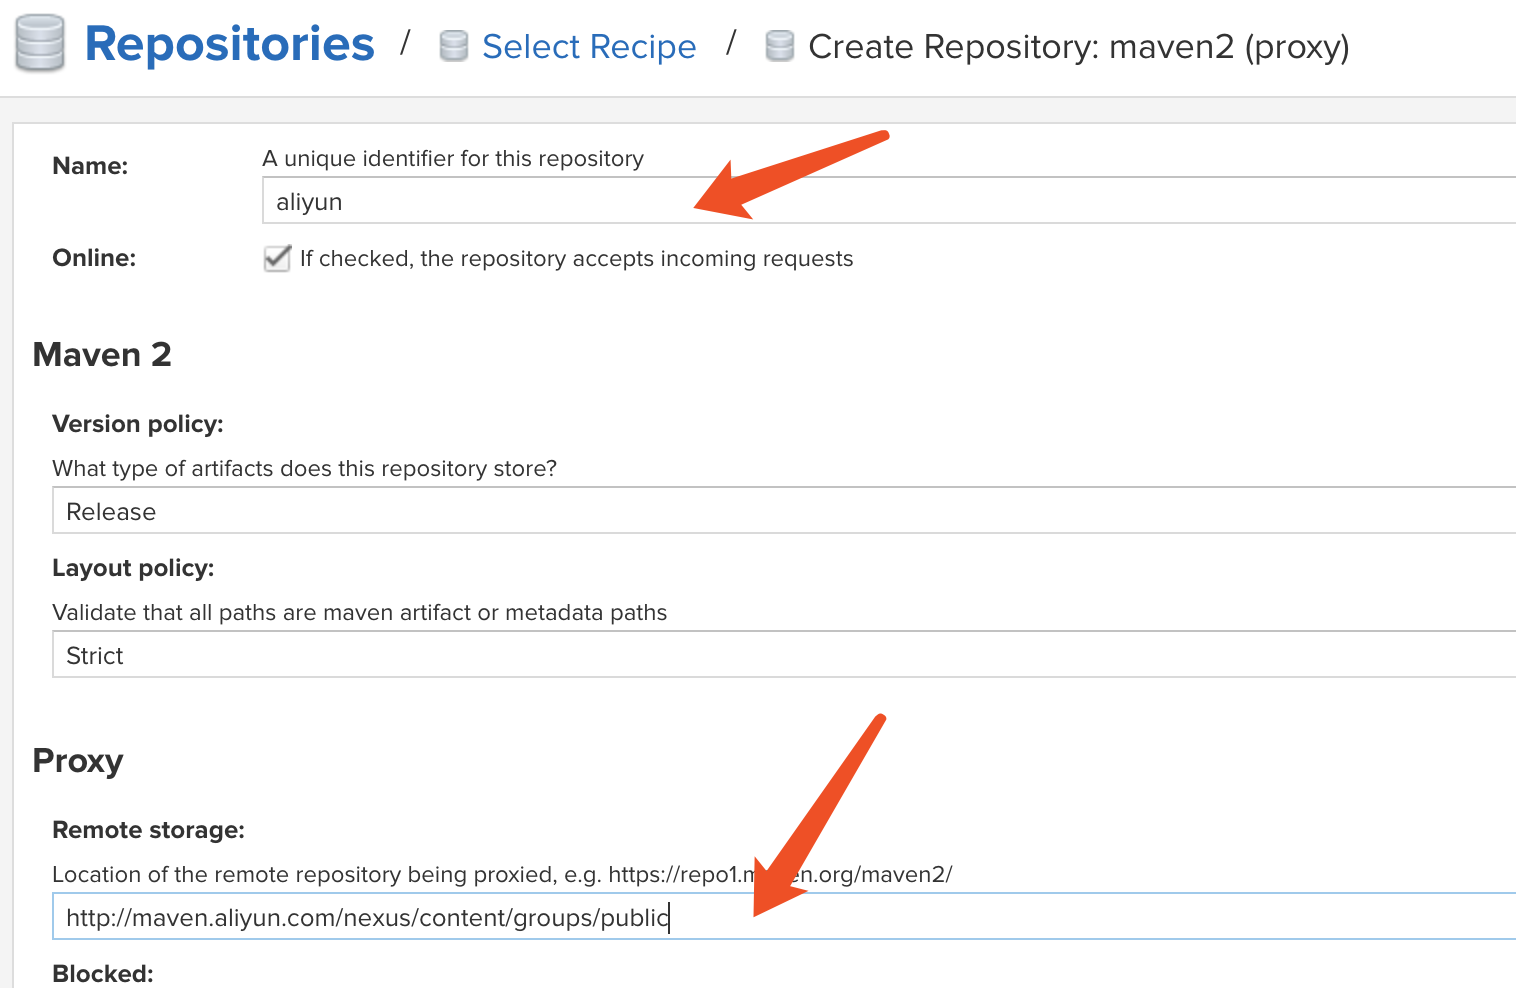
Name: 随便填
Remote storage: http://maven.aliyun.com/nexus/content/groups/public
最后点击create即可
编辑maven-group
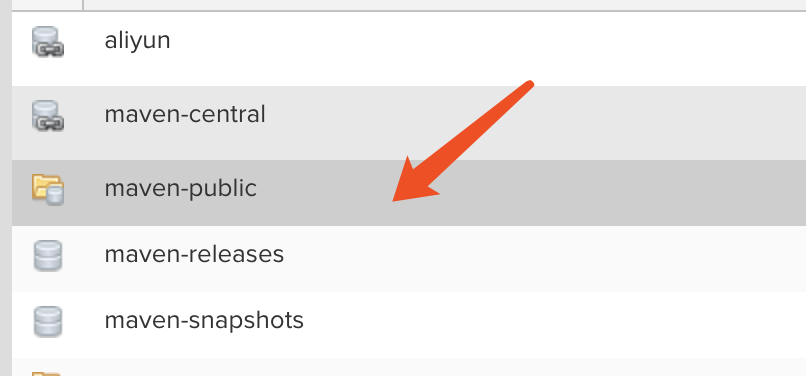
将刚加入的 aliyun proxy 仓库 添加到 maven-group 组中

移到右边,然后排个序。让aliyun在 maven-central 前面

点击保存。
Maven中使用
POM
刚刚编辑的maven-group在下面就用到了
<repositories>
    <repository>
      <id>nexus</id>
      <url>http://172.26.1.58:8081/repository/soyuan-maven-group/</url>
      <releases>
        <enabled>true</enabled>
      </releases>
      <snapshots>
        <enabled>true</enabled>
      </snapshots>
    </repository>
  </repositories>
其中url复制于下图:
maven引入依赖的时候,入口是http://localhost:8081/repository/soyuan-maven-group/ , 然后nexus 去访问阿里云或者本地仓库。
部署jar到nexus
需要添加maven配置文件:
<distributionManagement>
    <repository>
      <id>nexus-releases</id>
      <name>Nexus Release Repository</name>
      <url>http://172.26.1.58:8081/repository/maven-releases/</url>
    </repository>
    <snapshotRepository>
      <id>nexus-snapshots</id>
      <name>Nexus Snapshot Repository</name>
      <url>http://172.26.1.58:8081/repository/maven-snapshots/</url>
    </snapshotRepository>
  </distributionManagement>
因为要上传到nexus,需要配置用户名、密码。pom中是不能配置的,得去settingx.xml中
Settings.xml
<servers>
  <server>
    <id>nexus-releases</id>
    <username>admin</username>
    <password>soyuan123</password>
  </server>
  <server>
    <id>nexus-snapshots</id>
    <username>admin</username>
    <password>soyuan123</password>
  </server>
</servers>
注意—id : nexus-releases nexus-snapshots 需要于pom中的distributionManagement-repository id 相对应起来
mvn deploy
运行 mvn deploy 命令后,打开nexus页面

可以看到我们项目的snaoshot已经部署到nexus上了。
附注
如果在pom中配置repository,那么每一个项目都需要配置一份。
我们可以把配置到settings.xml文件中
<mirrors>
  <mirror>
    <id>nexus</id>
    <mirrorOf>*</mirrorOf>
    <url>http://localhost:8081/repository/maven-public/</url>
  </mirror>
</mirrors>

<profiles>
  <profile>
    <id>nexus</id>
    <repositories>
      <repository>
        <id>central</id>
        <url>http://172.26.1.58:8081/repository/maven-public/</url>
        <releases>
          <enabled>true</enabled>
        </releases>
        <snapshots>
          <enabled>true</enabled>
        </snapshots>
      </repository>
    </repositories>
    <pluginRepositories>
      <pluginRepository>
        <id>central</id>
        <url>http://172.26.1.58:8081/repository/maven-public/</url>
        <releases>
          <enabled>true</enabled>
        </releases>
        <snapshots>
          <enabled>true</enabled>
        </snapshots>
      </pluginRepository>
    </pluginRepositories>
  </profile>
</profiles>

<activeProfiles>
  <activeProfile>nexus</activeProfile>
</activeProfiles>

<servers>
  <server>
    <id>nexus-releases</id>
    <username>admin</username>
    <password>soyuan123</password>
  </server>
  <server>
    <id>nexus-snapshots</id>
    <username>admin</username>
    <password>soyuan123</password>
  </server>
</servers>
高级
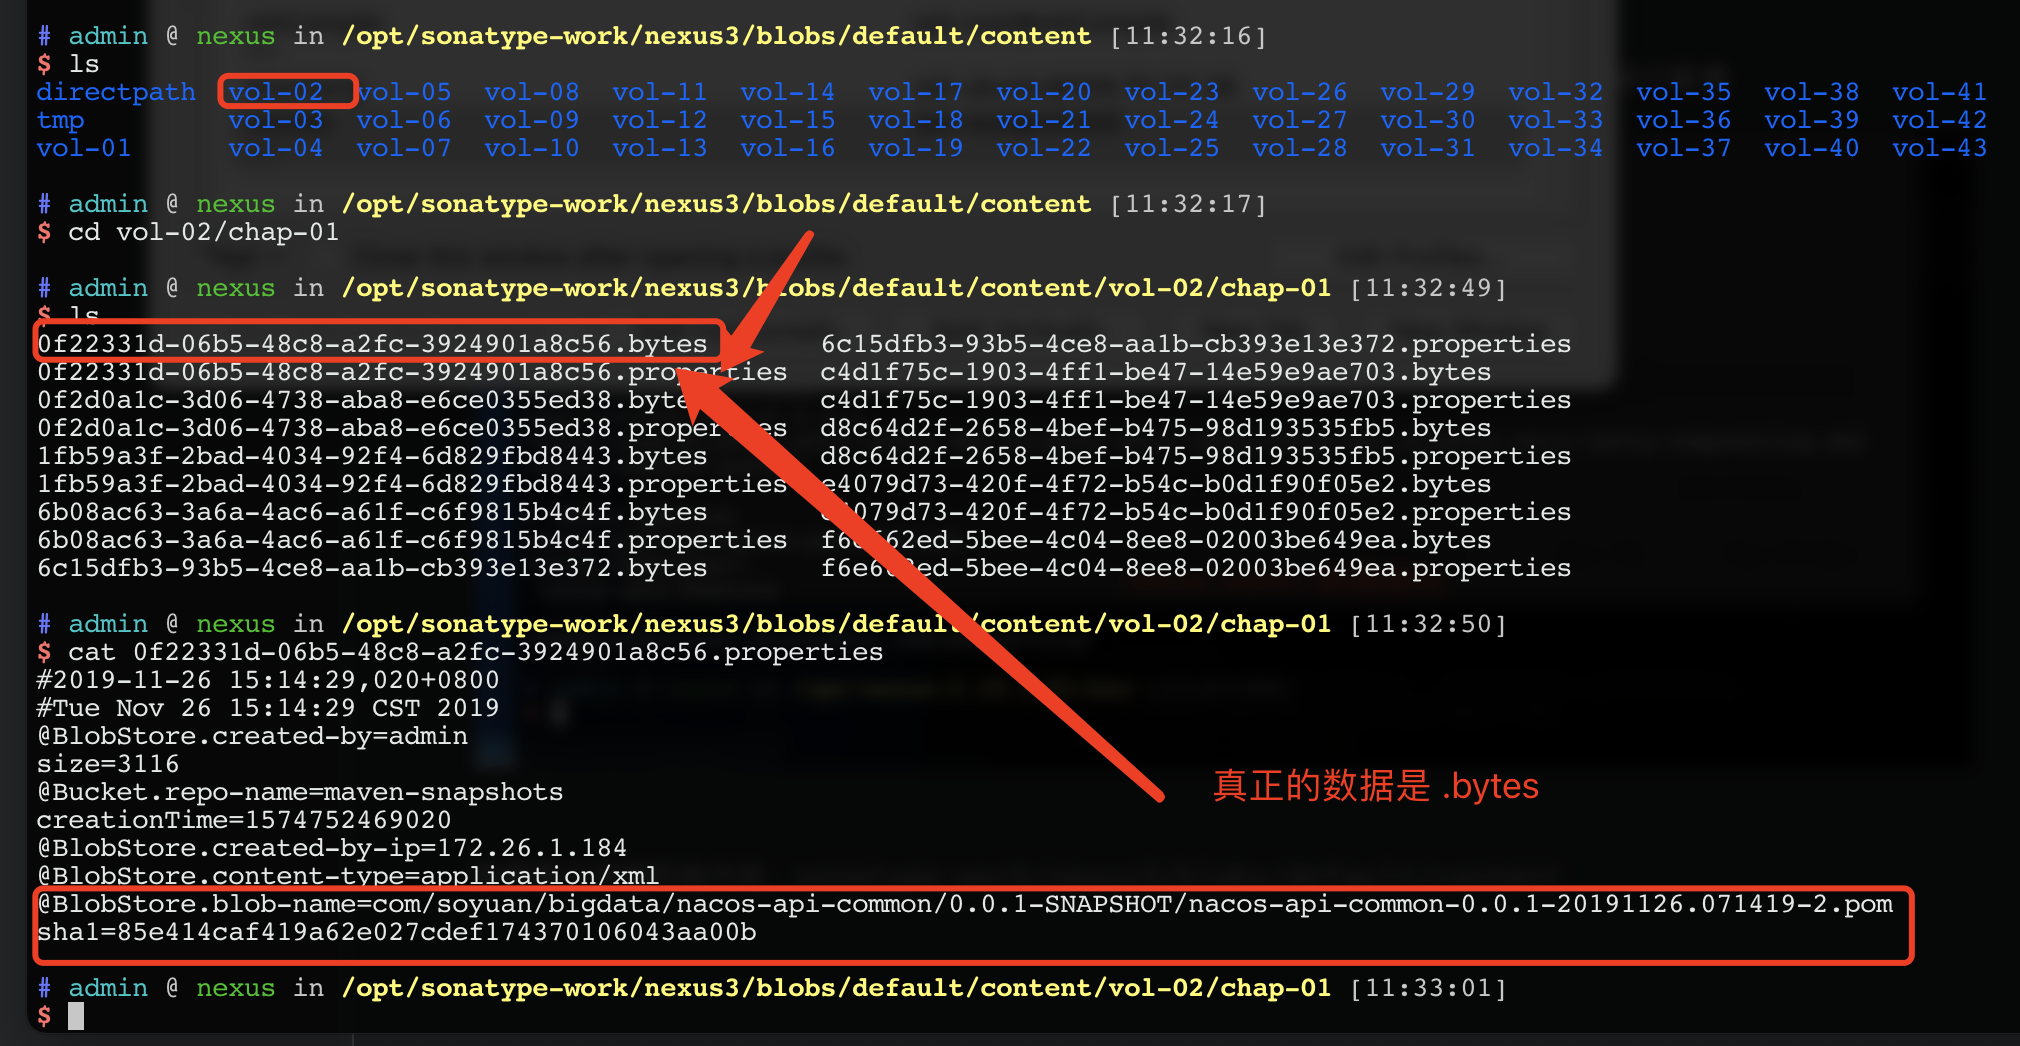
存储路径

nexus-3.19.1-01是nexus安装路径sonatype-work是数据路径
snoatype-work可以在nexus-default.properties中通过nexus-work属性进行配置
数据真正存储的地方在: sonatype-work/nexus3/blobs/default/content
比如打开:sonatype-work/nexus3/blobs/default/content/vol-02/chap-01
*.bytes 对应的是 jar文件*.properties 对应的是描述文件