Github地址:https://github.com/filipdutescu/modern-cpp-template
这是一个现代C++的工程模板,帮助我们快速的启动一个项目的开发。
readme.md
以下为项目readme.md文件的中文释义。
特性(Features)
- 使用现代CMake配置与工程
- Clang-Format配置示例
- 集成了静态分析器,包括Clang-Tidy(默认)与Cppcheck
- 支持Doxygen,通过
ENABLE_DOXYGEN打开 - 支持单元测试,包括GoogleTest(默认,并带有启用
GoogleMock的选项)或Catch2 - 支持Code coverage,通过
ENABLE_CODE_COVERAGE启用 - 包管理器,包括Conan与Vcpkg
- 使用GitHub Actions的Windows、Linux与MacOS的CI工作流,利于缓存功能,以确保最短的运行时间
.md模板,包含自述文件、贡献指南、问题与拉取请求- 允许你很方便的提供Permissive license,该模板在Unlicense下获得许可
- 既可构建为静态库,又可构建为动态库,甚至可构建为仅头文件的库,还可以构建为可执行文件
- 集成了Ccache,用于加速rebuild的时间
开始(Getting Started)
先决条件(Prerequisites)
- CMake v3.15+
- C++ Compiler - needs to support at least the C++17 standard, i.e. MSVC, GCC, Clang
初始化
主要工作就是改工程名,工程名散乱在各个角落,你需要一个一个修改
- 拉取工程:
git clone https://github.com/filipdutescu/modern-cpp-template/ - 在
include/目录下创建一个新文件夹,如include/<你的工程名> - 编辑
cmake/SourcesAndHeaders.cmake添加你的文件 - 对
cmake/ProjectConfig.cmake.in进行重命名,如cmake/<你的工程名>Config.cmake.in - 修改Github工作流,特别是
[.github/workflows/ubuntu.yml](https://github.com/filipdutescu/modern-cpp-template/blob/master/.github/workflows/ubuntu.yml)- 将CMake选项
-DProject_ENABLE_CODE_COVERAGE=1替换为-D<你的工程名>_ENABLE_CODE_COVERAGE=1
- 将CMake选项
- 最后,修改
CMakeLists.txt- 将
project("Project" ...)改成project(<你的工程名> ...)
- 将
构建项目
mkdir build && cd buildcmake .. -DCMAKE_INSTALL_PREFIX=D:/installcmake --build . --target install
注意:如果您希望安装在 默认安装位置,可以省略自定义。CMAKE_INSTALL_PREFIX
更多选项,可以在文件cmake/StandardSettings.cmake中进行设置。对于某些选项,可能需要在其各自的*cmake文件中进行配置
- 如,conan的相关设置在
[cmake/Conan.cmake](https://github.com/filipdutescu/modern-cpp-template/blob/master/cmake/Conan.cmake)中。需要CONAN_REQUIRES并且可能需要CONAN_OPTIONS设置才能使其正常工作
生成文档
为了为项目生成文档,您需要将构建配置为使用Doxygen
mkdir build/ && cd build/cmake .. -D<project_name>_ENABLE_DOXYGEN=1 -DCMAKE_INSTALL_PREFIX=/absolute/path/to/custom/install/directorycmake --build . --target doxygen-docs
注意: 这将在项目的根目录中生成一个docs/目录
运行测试
默认情况下使用Google Test进行单元测试。如要使用构建目录中的CTest,传递运行测试所需的配置
cd build # if not in the build directory alreadyctest -C Release # or `ctest -C Debug` or any other configuration you wish to test# you can also run tests with the `-VV` flag for a more verbose output (i.e.#GoogleTest output as well)
如何关闭单元测试?
ENABLE_UNIT_TESTING设置为false(在cmake/StandardSettings.cmake中)
安装
若要安装已构建的项目,您需要install,如
cmake --build build --target install --config Release# a more general syntax for that command is:cmake --build <build_directory> --target install --config <desired_config>
相关配置
使用conan
使用conan时,不应该使用conanfile.txt,应该在cmake/Conan.cmake当中设置。例如
# 设置包set(${PROJECT_NAME}_CONAN_REQUIRES"cpprestsdk/2.10.18""boost/1.76.0""libuv/1.41.0""spdlog/1.8.5""rapidjson/cci.20200410""nlohmann_json/3.9.1""fmt/7.1.3""date/3.0.1""tbb/2020.3""catch2/2.13.6")
设置好之后,需要打开conan,有多种方式
在cmake时添加此参数,但这个太麻烦了,每次构建工程都需要加
cmake .. -D<project_name>_ENABLE_CONAN=1
在
CMakeLists.txt中添加 ```cmake project( “Project” VERSION 0.1.0 LANGUAGES CXX )
#
Set project options
#
要放在project命令之后
set(${PROJECT_NAME}_ENABLE_CONAN 1)
<a name="RAI9N"></a># 使用示例仓库:[https://github.com/geodoer/modern-cpp-template](https://github.com/geodoer/modern-cpp-template)启用- conan- Googletest(默认开启)这里不修改工程名,以默认工程名`Project`为例,需要修改工程名,可参考“安装”。我们使用conan安装googletest,所以要改一些事情1. 在`cmake/conan.cmake`中添加安装googletest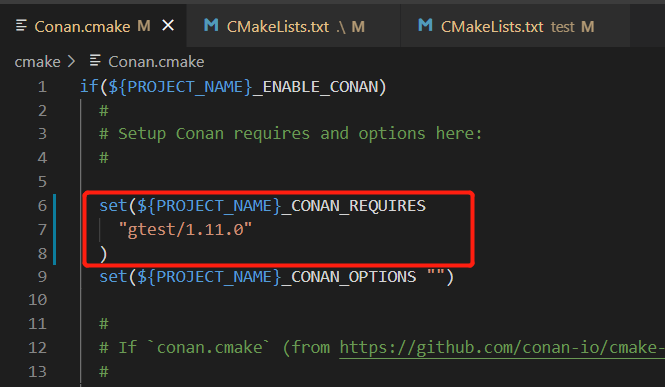2. 在`CMakeLists.txt`中开启conan,并且把编译类型改成Relase(方便conan直接下载Release版本,如果要调试在VS中改用RelWithDebInfo即可)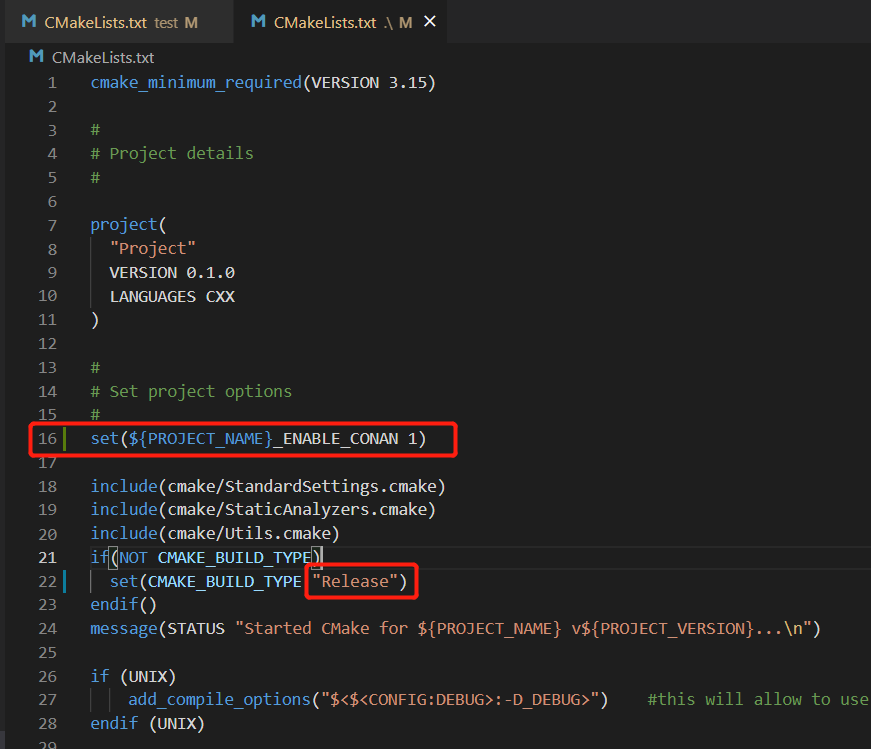3. 在`test/CMakeLists.txt`中替换链接库,链接库为conan安装的lib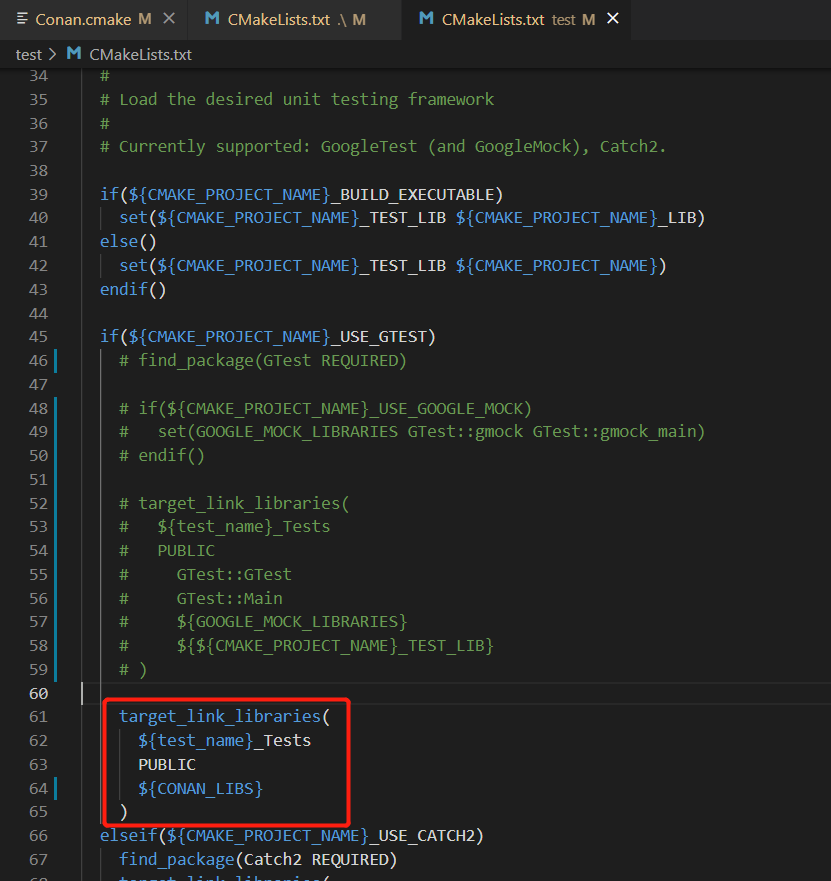4. 然后构建工程即可```cmakecmake .. -G "Visual Studio 16" -DCMAKE_INSTALL_PREFIX=D:/install/project
- 打开即可编译通过
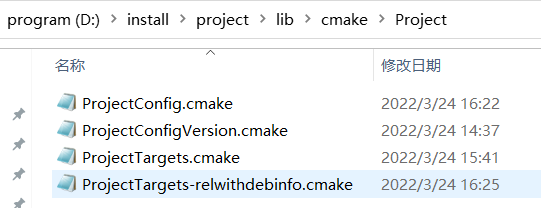
- 点击install即可安装

注:官方代码有一个BUG,test工程没有链接include,需要在test/cmakelists.txt加上以下内容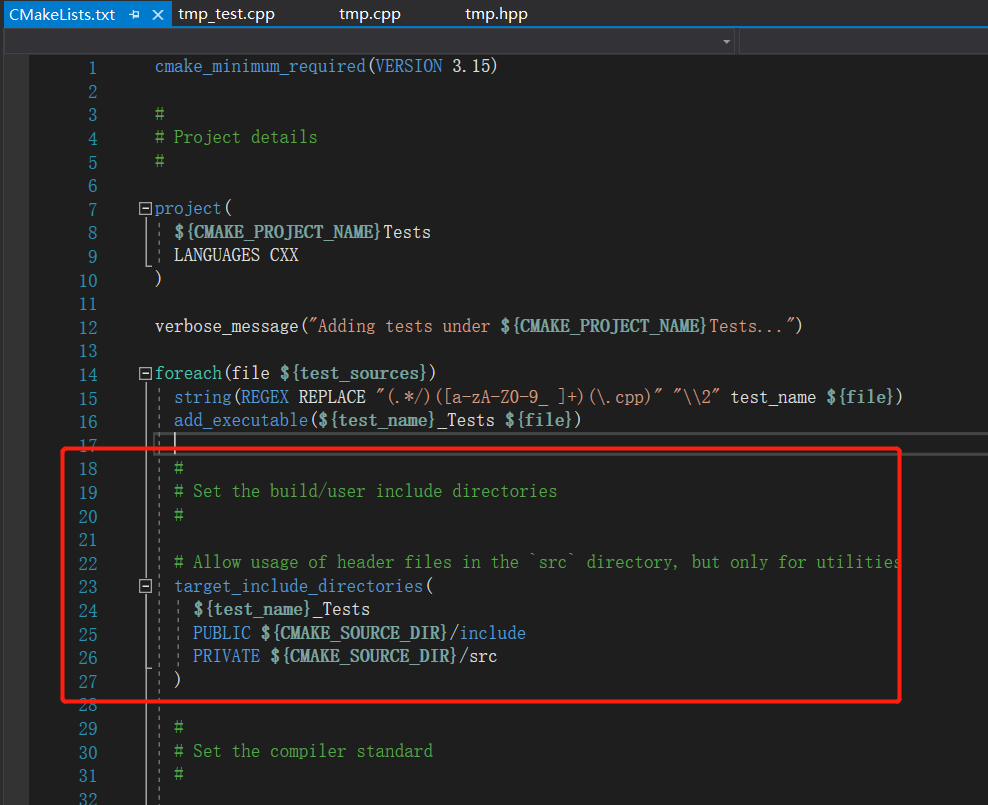

若有收获,就点个赞吧
0 人点赞
