安装运行 taro
git clone https://github.com/NervJS/taroyarnyarn run bootstrapyarn buildcd packages/taro-clinpm linktaro -v
通过以上几步就可以把Taro安装到本地了
开始调试
taro-cli/src/cli.ts
yarn build
npm run build:weapp — —watch
parseArgs---------->>> ['/.nvm/versions/node/v12.16.2/bin/node','/.nvm/versions/node/v12.16.2/bin/taro','build','--type','weapp','--watch']
build的执行函数是
build(kernel, {platform: args.type,isWatch: !!args.watch,port: args.port,env: args.env,release: args.release,ui: args.ui,uiIndex: args.uiIndex,page: args.page,component: args.component,plugin: args.plugin,isHelp: args.h})
cli包里面调用到了 service包里的 Kernel 类
constructor (options: IKernelOptions) {super()console.log('kernel---------->>>init')this.debugger = createDebug('Taro:Kernel')this.appPath = options.appPath || process.cwd()this.optsPresets = options.presetsthis.optsPlugins = options.pluginsthis.hooks = new Map()this.methods = new Map()this.commands = new Map()this.platforms = new Map()this.initHelper()}
console打印要 在 service 里执行 npm run prod 生成dist包,才能生效
kernel函数
kernel函数是从taro-services里面导入的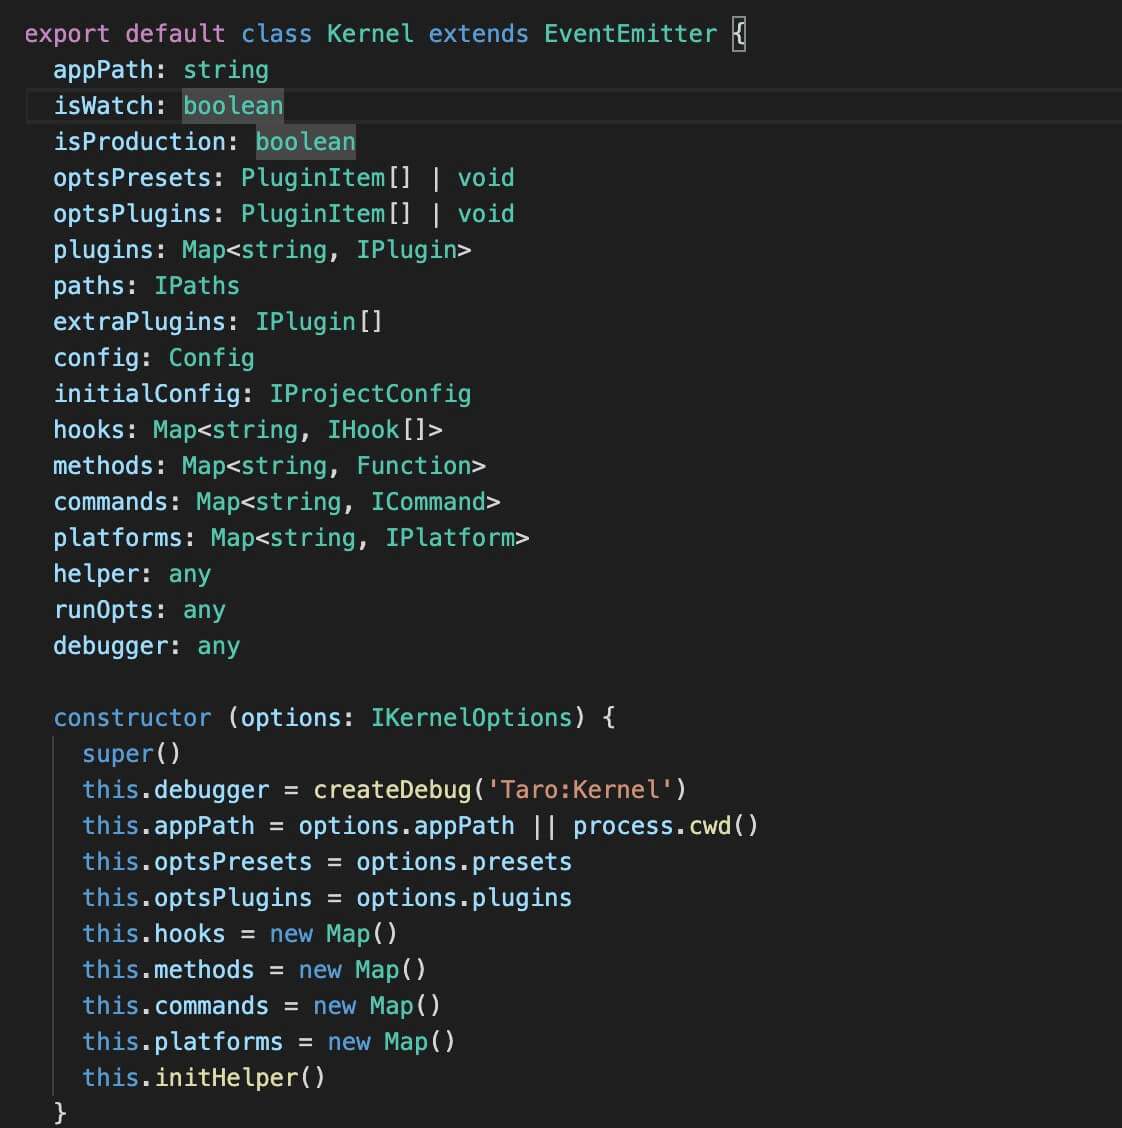
EventEmitter对象有点陌生
# 上一个注册的异步回调执行之后的返回值会传递给下一个注册的回调。async applyPlugins (args: string | { name: string, initialVal?: any, opts?: any }) {const waterfall = new AsyncSeriesWaterfallHook(['arg'])return await waterfall.promise(initialVal)}
AsyncSeriesWaterfallHook 是从webpack的 tapable 导入的
tapable 是一个类似于 Node.js 中的 EventEmitter的库,但更专注于自定义事件的触发和处理
参考个链接 关于 tapable 你需要知道这些

若有收获,就点个赞吧
0 人点赞
