- 构建spring boot微服务项目

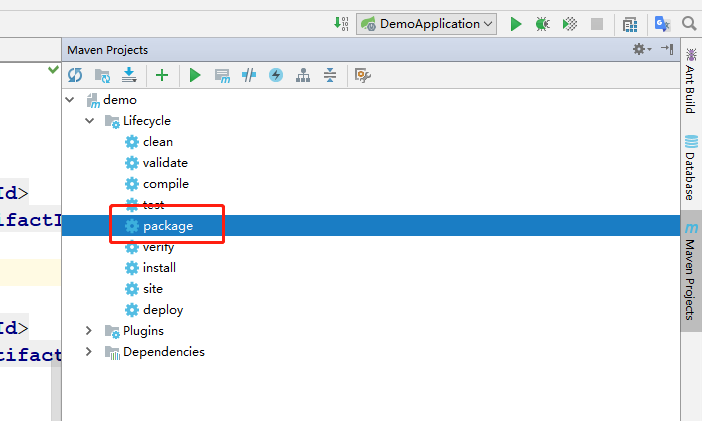
- 打包应用
- 下载插件Docker 编写dockerfile文件时会有提示

- 编写dockerfile
新建Dockerfile文件
HelloController.java
package com.example.demo.controller;import org.springframework.web.bind.annotation.RequestMapping;import org.springframework.web.bind.annotation.RestController;/*** @author lwc* @date 2021/6/15 14:26*/@RestControllerpublic class HelloController {@RequestMapping("/hello")public String hello(){return "hello world!";}}
Dockerfile 文件内容
FROM java:8COPY *.jar /app.jarCMD ["--server.port=8080"]EXPOSE 8080ENTRYPOINT ["java","-jar","/app.jar"]
- 构建镜像
将jar包和Dockerfile文件拷贝搭配Linux里
打包
[root@localhost idea]# ll总用量 16924-rwxr-xr-x. 1 root root 17322059 6月 15 15:03 demo-0.0.1-SNAPSHOT.jar-rwxr-xr-x. 1 root root 122 6月 15 15:03 Dockerfile[root@localhost idea]# docker build -t demo .Sending build context to Docker daemon 17.33MBStep 1/5 : FROM java:88: Pulling from library/java5040bd298390: Pull completefce5728aad85: Pull complete76610ec20bf5: Pull complete60170fec2151: Pull completee98f73de8f0d: Pull complete11f7af24ed9c: Pull complete49e2d6393f32: Pull completebb9cdec9c7f3: Pull completeDigest: sha256:c1ff613e8ba25833d2e1940da0940c3824f03f802c449f3d1815a66b7f8c0e9dStatus: Downloaded newer image for java:8---> d23bdf5b1b1bStep 2/5 : COPY *.jar /app.jar---> 9dc5ea8ee18bStep 3/5 : CMD ["--server.port=8080--"]---> Running in d6d78510fd83Removing intermediate container d6d78510fd83---> 06d47f8d73d7Step 4/5 : EXPOSE 8080---> Running in 59b21172a8abRemoving intermediate container 59b21172a8ab---> 8aa69ebbc81dStep 5/5 : ENTRYPOINT ["java",".jar","/app.jar"]---> Running in f3679964c87bRemoving intermediate container f3679964c87b---> 05d657eb87a6Successfully built 05d657eb87a6Successfully tagged demo:latest[root@localhost idea]# docker imagesREPOSITORY TAG IMAGE ID CREATED SIZEdemo latest 05d657eb87a6 57 seconds ago 661MBjava 8 d23bdf5b1b1b 4 years ago 643MB
- 发布
# 运行
[root@localhost idea]# docker run -d -p 8080:8080 demo
ca4b72bcd87c42b43560bc502ff154bc6f0c7476f8f277d67e8008f501171805
[root@localhost idea]# docker ps
CONTAINER ID   IMAGE     COMMAND                  CREATED         STATUS         PORTS                                       NAMES
ca4b72bcd87c   demo      "java -jar /app.jar …"   7 seconds ago   Up 6 seconds   0.0.0.0:8080->8080/tcp, :::8080->8080/tcp   charming_moser
[root@localhost idea]#
以后使用Docker后,给别人交付镜像就可以了。
注意:
这里只是简单演示了将项目整体打包构建的镜像的过程,如果需要将项目切分成很多个layer ,多个项目的依赖可以进行复用,让我们发布的镜像大小精简可以参考这篇博客https://phauer.com/2019/no-fat-jar-in-docker-image/

若有收获,就点个赞吧
0 人点赞
