Mybatis
springBoot 约定大于配置的设计,使框架使用极为方便。mybatis 与 Spring 集成时的一些核心类:
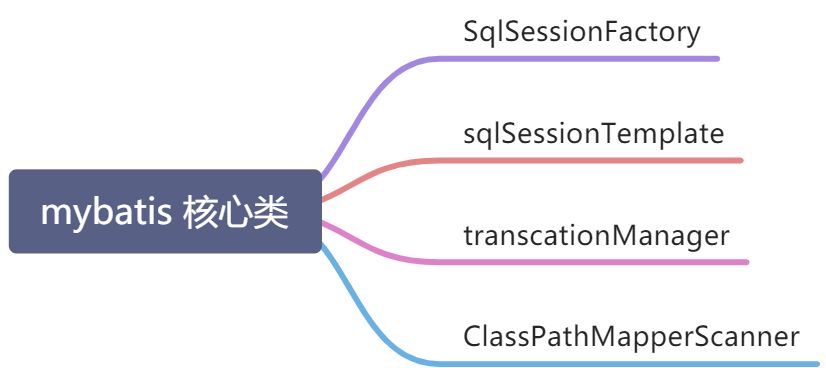
- transcationManager 做事务管理;
- sqlSessionFactory 单个数据库对象对应的内存镜像;
- sqlSessionTemplate:管理连接的整个生命周期,包括事务。
Thread safe, Spring managed, that works with Spring transaction management to ensure that that the actual SqlSession used is the one associated with the current Spring transaction. In addition, it manages the session lif e-cycle, including closing, committing or rolling back the __session as necessary based on the Spring transaction configuration.
sqlSessionFactory 的创建:可以通过sqlSessionFactoryBean 创建。
以 xml 的方式创建:
<bean id="sqlSessionFactory" class="org.mybatis.spring.SqlSessionFactoryBean"><property name="dataSource" ref="dataSource" /><property name="mapperLocations" value="classpath*:sample/config/mappers/**/*.xml" /></bean>
spring data jpa
datasource 数据源: 一般使用 druid
LocalContainerEntityManagerFactoryBean 构造 jpa 环境
JpaTransactionManager jpa的事务管理
多数据源快速集成
在实际开发场景中,为了项目的快递落地,我们项目中 mybatis 和 jpa 会混用。我们一般使用 mybatis 做分页等复杂的查询,在做保存时,我们一般使用 jpa, 因为不用书 sql, 可以提升开发的效率。在大的应用开发中,我们会配置多数据源,很多时候,数据源的配置是以硬编码的形式配置的,增加数据源很不方便。其实,开发不需要关注数据源,如果可以聚焦到自己的业务开发中,会极大的提升开发效率。
怎样解决这个问题 ?
使用 springBoot 约定大于配置的一个设计思想,不使用原生的 spring 管理配置数据源的方式,开发组件,组件以一定的规则,默认不同数据源的包扫描路径,将数据源配置需要的核心类以编程的方式注入到 spring 容器。只要开发按照一定的约定配置数据源,按照约定将 dao, mapper ,po 放到对应的包路径下,组件会实现对应资源的自动注册。
如何开发数据源组件?
参照 jpa,mybatis 和 spring 集成时的配置,找出集成需要的核心类,将这些核心类以编程的方式注入到 spring 容器;
多个数据源的jpa 的配置
一个数据源的配置
package com.mm.boot.multidb;import java.util.Properties;import javax.persistence.EntityManagerFactory;import javax.sql.DataSource;import org.springframework.boot.autoconfigure.jdbc.DataSourceBuilder;import org.springframework.context.annotation.Bean;import org.springframework.context.annotation.Configuration;import org.springframework.data.jpa.repository.config.EnableJpaRepositories;import org.springframework.orm.jpa.JpaTransactionManager;import org.springframework.orm.jpa.JpaVendorAdapter;import org.springframework.orm.jpa.LocalContainerEntityManagerFactoryBean;import org.springframework.orm.jpa.vendor.HibernateJpaVendorAdapter;@Configuration@EnableJpaRepositories(entityManagerFactoryRef = "customerEntityManager",transactionManagerRef = "customerTransactionManager",basePackages = {"com.mm.boot.multidb.repository.customer"})public class CustomerDbConfig {@Bean(name = "customerEntityManager")public LocalContainerEntityManagerFactoryBean entityManagerFactory(){JpaVendorAdapter vendorAdapter = new HibernateJpaVendorAdapter();LocalContainerEntityManagerFactoryBean em = new LocalContainerEntityManagerFactoryBean();em.setDataSource(dataSource());em.setPackagesToScan(new String[] {"com.mm.boot.multidb.model.customer"});em.setJpaVendorAdapter(vendorAdapter);em.setJpaProperties(additionalJpaProperties());em.setPersistenceUnitName("customers");return em;}Properties additionalJpaProperties(){Properties properties = new Properties();properties.setProperty("hibernate.hbm2ddl.auto", "update");properties.setProperty("hibernate.dialect", "org.hibernate.dialect.MySQLDialect");properties.setProperty("hibernate.show_sql", "true");return properties;}@Beanpublic DataSource dataSource(){return DataSourceBuilder.create().url("jdbc:mysql://localhost:3306/customer").driverClassName("com.mysql.jdbc.Driver").username("root").password("swisher459").build();}@Bean(name = "customerTransactionManager")public JpaTransactionManager transactionManager(EntityManagerFactory customerEntityManager){JpaTransactionManager transactionManager = new JpaTransactionManager();transactionManager.setEntityManagerFactory(customerEntityManager);return transactionManager;}}
多个数据源配置参考 链接

若有收获,就点个赞吧
0 人点赞
