原文链接
SpringBoot 的自动化配置让我们的开发彻底远离了 Spring 繁琐的各种配置,让我们专注于开发,但是SpringBoot 的自动化配置是怎么实现的呢?下面为你揭开 SpringBoot 自动化配置的神秘面纱。
SpringBoot 最为重要的一个注解就是 @SpringBootApplication,它其实是一个组合元注解:
@Target({ElementType.TYPE})@Retention(RetentionPolicy.RUNTIME)@Documented@Inherited@SpringBootConfiguration@EnableAutoConfiguration@ComponentScan(excludeFilters = {@Filter(type = FilterType.CUSTOM,classes = {TypeExcludeFilter.class}), @Filter(type = FilterType.CUSTOM,classes = {AutoConfigurationExcludeFilter.class})})public @interface SpringBootApplication {@AliasFor(annotation = EnableAutoConfiguration.class,attribute = "exclude")// 此处省略部分代码}
从这个注解可看出,它包含了 @EnableAutoConfiguration 这个注解,这个注解就是 SpringBoot 自动化配置原理的核心所在:
@Target({ElementType.TYPE})@Retention(RetentionPolicy.RUNTIME)@Documented@Inherited@AutoConfigurationPackage@Import({EnableAutoConfigurationImportSelector.class})public @interface EnableAutoConfiguration {String ENABLED_OVERRIDE_PROPERTY = "spring.boot.enableautoconfiguration";Class<?>[] exclude() default {};String[] excludeName() default {};}
我们发现它使用了 Spring 框架提供的 @Import 注解注入了注册 Bean 的配置类,在往下分析前,不妨先了解一下这个 @Import 注解,在我们平时使用 Spring 框架的 Enable* 类注解时,发现它们都有一个共同的特点,就是都有一个 @Import 注解,用来导入配置类,这些配置方式又分为三种类型:
- 直接导入配置类:@Import({xxxConfiguration.class})
- 依据条件选择配置类:@Import({xxxSelector.class})
- 动态注册 Bean:@Import({xxxRegistrar.class})
很明显,@EnableAutoConfiguration 这个注解使用的是第三种情况,导入 EnableAutoConfigurationImportSelector 类,继续跟踪源码:
public class EnableAutoConfigurationImportSelector extends AutoConfigurationImportSelector {public EnableAutoConfigurationImportSelector() {}protected boolean isEnabled(AnnotationMetadata metadata) {return this.getClass().equals(EnableAutoConfigurationImportSelector.class) ? ((Boolean)this.getEnvironment().getProperty("spring.boot.enableautoconfiguration", Boolean.class, true)).booleanValue() : true;}}
查看父类源码:
public String[] selectImports(AnnotationMetadata annotationMetadata) {if (!this.isEnabled(annotationMetadata)) {return NO_IMPORTS;} else {try {// 此处省略部分代码List<String> configurations = this.getCandidateConfigurations(annotationMetadata, attributes);// 此处省略部分代码return (String[])configurations.toArray(new String[configurations.size()]);} catch (IOException var6) {throw new IllegalStateException(var6);}}}protected List<String> getCandidateConfigurations(AnnotationMetadata metadata, AnnotationAttributes attributes) {List<String> configurations = SpringFactoriesLoader.loadFactoryNames(this.getSpringFactoriesLoaderFactoryClass(), this.getBeanClassLoader());Assert.notEmpty(configurations, "No auto configuration classes found in META-INF/spring.factories. If you are using a custom packaging, make sure that file is correct.");return configurations;}
我们最终发现它其实是实现了 ImportSelector 接口:
public interface ImportSelector {String[] selectImports(AnnotationMetadata var1);}
实现 ImportSelectors 接口的类通常与常规的 @Import 注解作用相同,它 的 selectImports() 方法返回的数组(类的全类名)都会被纳入到 Spring 容器中。
到这里,自动化配置幕后英雄终于出现了,它就是 Spring 的 SpringFactoriesLoader 类,该类专门用于加载 classpath下所有 JAR 文件的 META-INF/spring.factories 文件,不妨看看它的源码:
public static List<String> loadFactoryNames(Class<?> factoryClass, ClassLoader classLoader) {String factoryClassName = factoryClass.getName();try {// 加载 spring.factories 中配置类的urlEnumeration<URL> urls = classLoader != null ? classLoader.getResources("META-INF/spring.factories") : ClassLoader.getSystemResources("META-INF/spring.factories");ArrayList result = new ArrayList();// 循环读取每个配置类路径while(urls.hasMoreElements()) {URL url = (URL)urls.nextElement();Properties properties = PropertiesLoaderUtils.loadProperties(new UrlResource(url));String factoryClassNames = properties.getProperty(factoryClassName);result.addAll(Arrays.asList(StringUtils.commaDelimitedListToStringArray(factoryClassNames)));}return result;} catch (IOException var8) {throw new IllegalArgumentException("Unable to load [" + factoryClass.getName() + "] factories from location [" + "META-INF/spring.factories" + "]", var8);}}
我们去看看 spring.factories 到底长什么样子: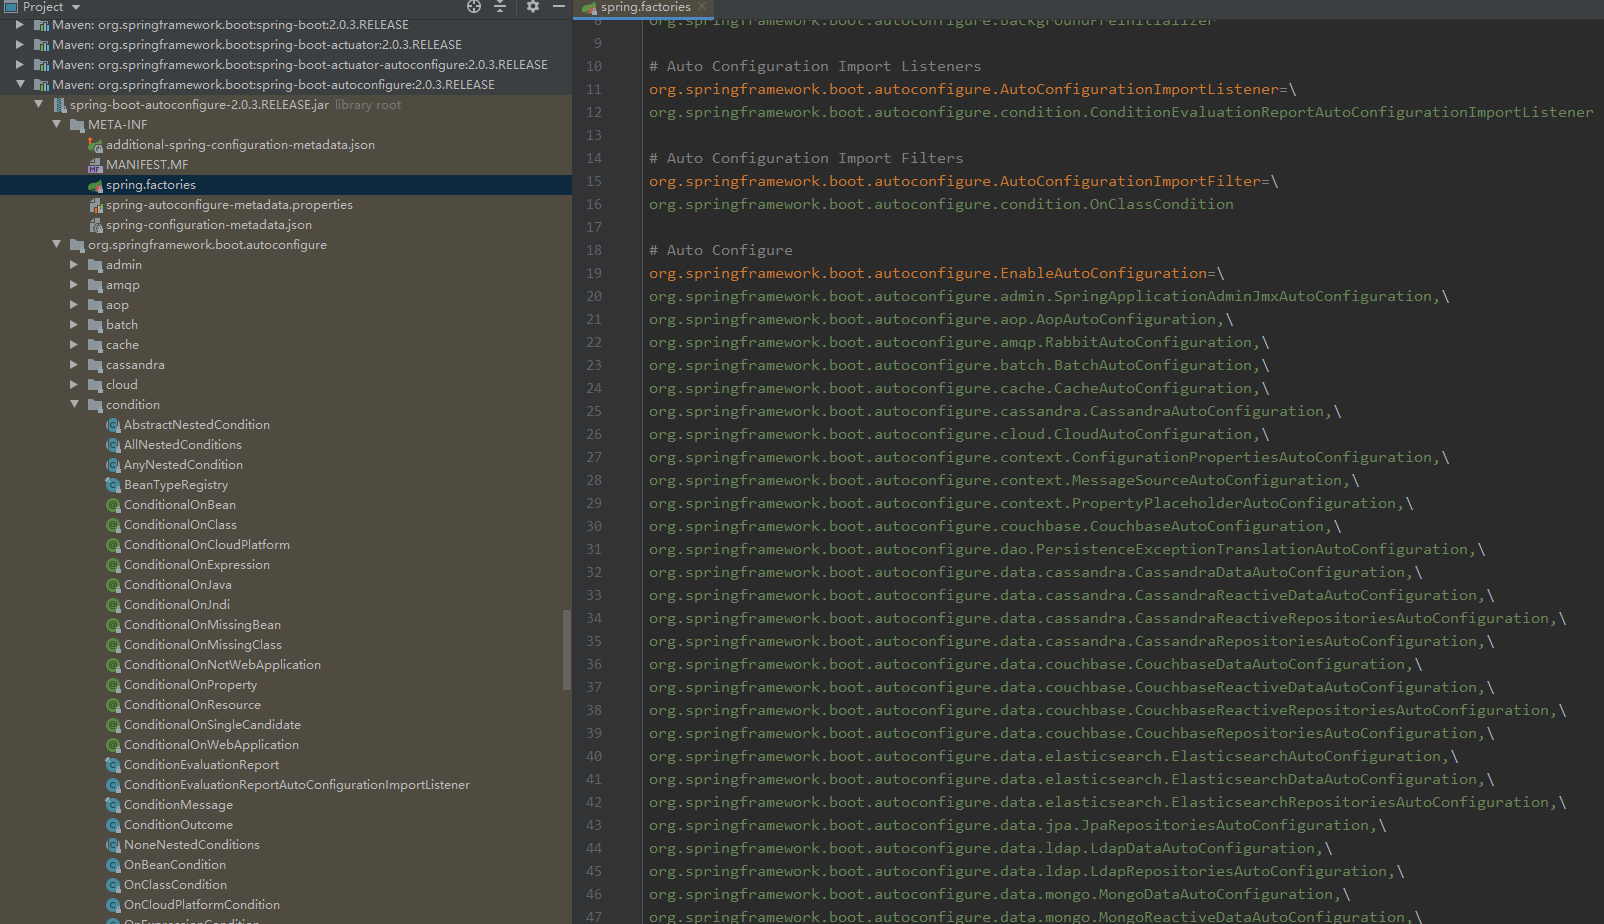
spring.factories
此处省略部分配置
# Initializersorg.springframework.context.ApplicationContextInitializer=\org.springframework.boot.autoconfigure.SharedMetadataReaderFactoryContextInitializer,\org.springframework.boot.autoconfigure.logging.AutoConfigurationReportLoggingInitializer# 此处省略部分配置# Auto Configureorg.springframework.boot.autoconfigure.EnableAutoConfiguration=\org.springframework.boot.autoconfigure.admin.SpringApplicationAdminJmxAutoConfiguration,\org.springframework.boot.autoconfigure.aop.AopAutoConfiguration,\org.springframework.boot.autoconfigure.amqp.RabbitAutoConfiguration,\org.springframework.boot.autoconfigure.batch.BatchAutoConfiguration,\
柳暗花明又一村,我们最终得出 SpringBoot 自动化配置要干的事情就是在启动过程中将 spring.factories 中相关的自动化配置类进行解析。
接下来我们就来分析自动化配置类:
Redis 官方的 RedisAutoConfiguration 配置类:
@Configuration@ConditionalOnClass({JedisConnection.class, RedisOperations.class, Jedis.class})@EnableConfigurationProperties({RedisProperties.class})public class RedisAutoConfiguration {public RedisAutoConfiguration() {}@Configurationprotected static class RedisConfiguration {protected RedisConfiguration() {}@Bean@ConditionalOnMissingBean(name = {"redisTemplate"})public RedisTemplate<Object, Object> redisTemplate(RedisConnectionFactory redisConnectionFactory) throws UnknownHostException {RedisTemplate<Object, Object> template = new RedisTemplate();template.setConnectionFactory(redisConnectionFactory);return template;}// 此处省略部分代码}}
我们看到了 @ConditionalOnClass 和 @ConditionalOnMissingBean 这些注解,它们都是 SpringBoot的条件注解: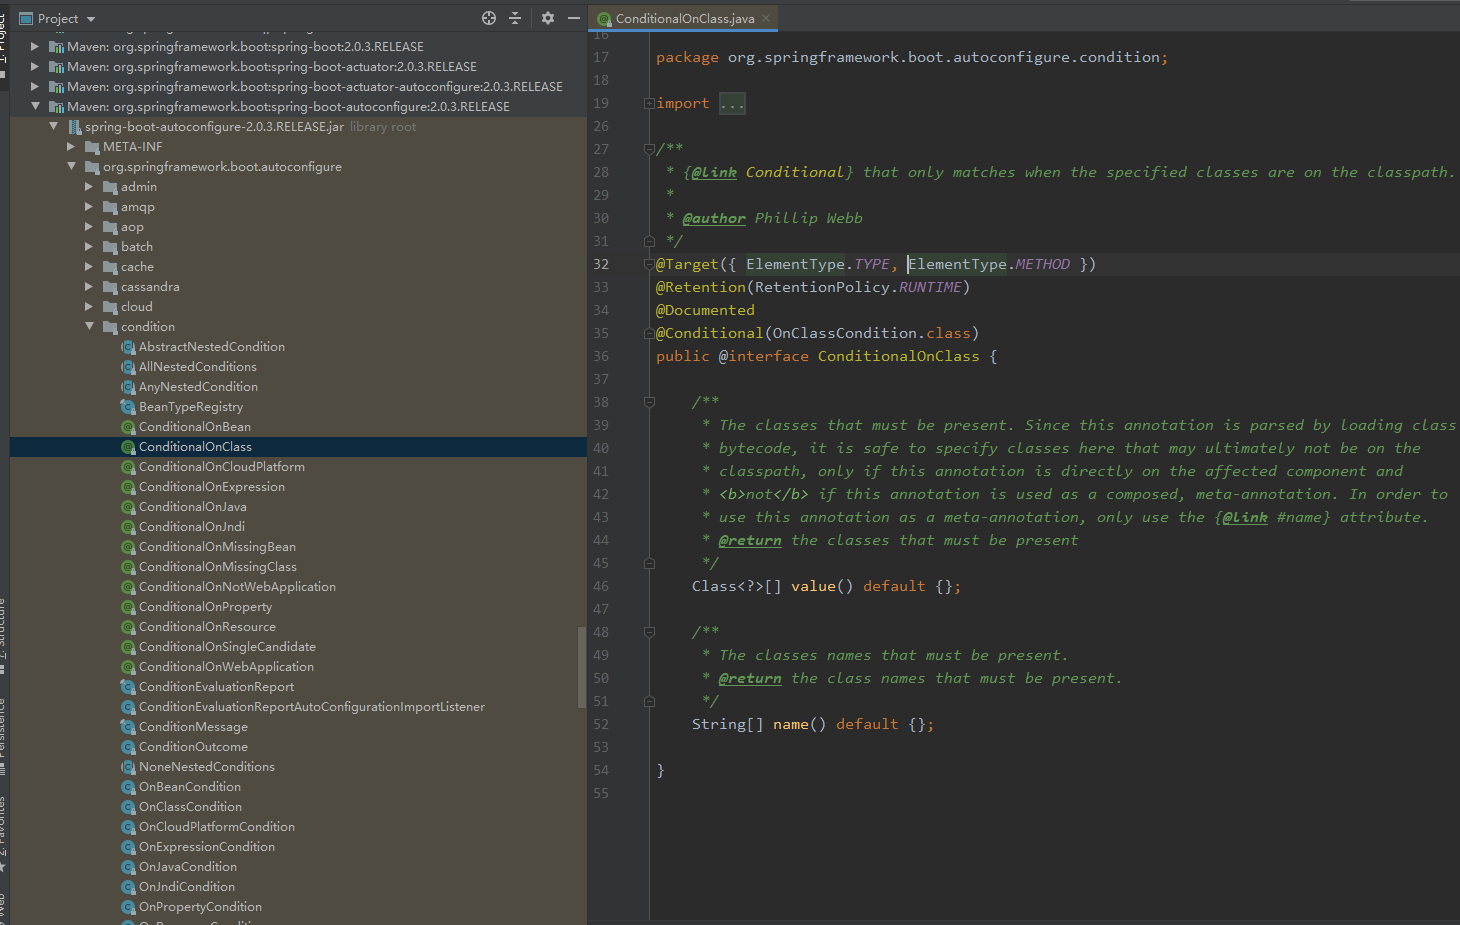
conditional
想要知道这些注解有什么功能,这里就不展开讲了,可以去查阅 SpringBoot 官方文档。以下主要是分析这些注解是如何进行工作的。
@ConditionalOnClass@Target({ElementType.TYPE, ElementType.METHOD})@Retention(RetentionPolicy.RUNTIME)@Documented@Conditional({OnClassCondition.class})public @interface ConditionalOnClass {Class<?>[] value() default {};String[] name() default {};}
可以看出,这些这些条件注解都组合了 @Conditional 元注解,只是使用了不同的条件,继续往下看 OnClassCondition 条件是如何工作的:
@Order()class OnClassCondition extends SpringBootCondition implements AutoConfigurationImportFilter, BeanFactoryAware, BeanClassLoaderAware {private BeanFactory beanFactory;private ClassLoader beanClassLoader;OnClassCondition() {}public boolean[] match(String[] autoConfigurationClasses, AutoConfigurationMetadata autoConfigurationMetadata) {// 此处省略部分代码}// 此处省略部分代码}
SpringBootCondition 实现了 Spring 的 Condition 接口,也就是并重写其 matche() 方法来构造判断条件。Condition 可以用于判断 Configuration 配置类需要满足什么条件才可以装进 Spring 容器。
当我们需要在 application.properties 中加入自定义的配置,那么 SpringBoot 是如何根据 application.properties 来实现自定义配置呢?我们往回看,发现了 @EnableConfigurationProperties({RedisProperties.class}) 这个注解,这个注解就是用来读取 application.properties 中对应的配置信息对应到 POJO 类当中:
RedisProperties.java
@ConfigurationProperties(prefix = "spring.redis")public class RedisProperties {private int database = 0;private String url;private String host = "localhost";private String password;private int port = 6379;private boolean ssl;private int timeout;private RedisProperties.Pool pool;private RedisProperties.Sentinel sentinel;private RedisProperties.Cluster cluster;// 此处省略getter和setter}

若有收获,就点个赞吧
0 人点赞
