5.1-Sleuth+Zipkin-概述
• Spring Cloud Sleuth 其实是一个工具,它在整个分布式系统中能跟踪一个用户请求的过程,捕获这些跟踪数
据,就能构建微服务的整个调用链的视图,这是调试和监控微服务的关键工具。
• 耗时分析
• 可视化错误
• 链路优化
• Zipkin 是 Twitter 的一个开源项目,它致力于收集服务的定时数据,以解决微服务架构中的延迟问题,包
括数据的收集、存储、查找和展现。
5.2-Sleuth+Zipkin-快速入门
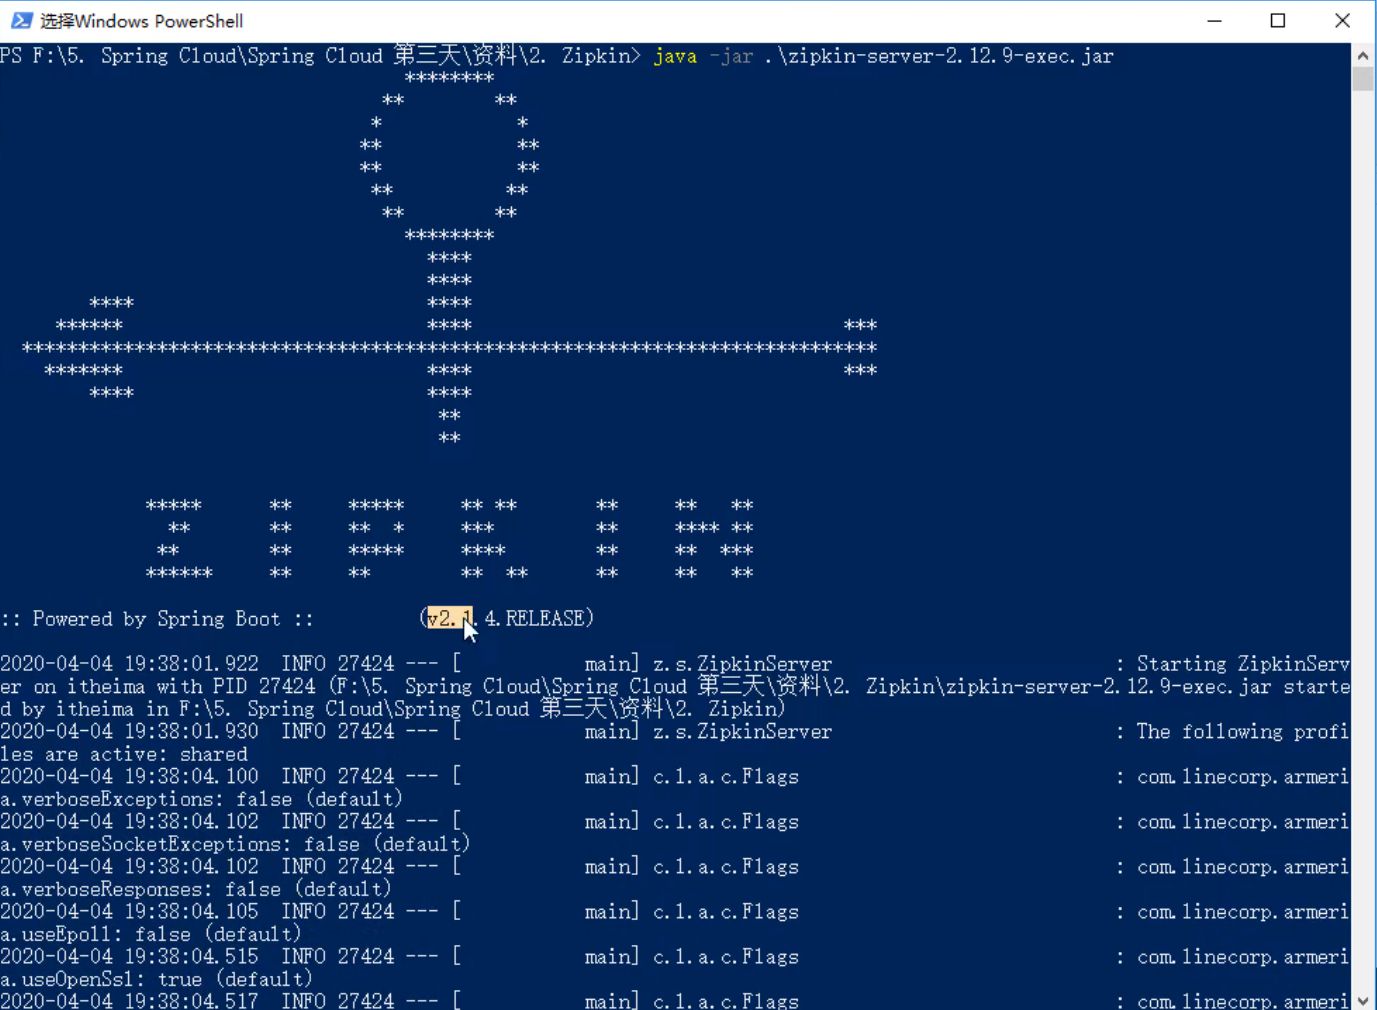
安装启动zipkin。 java –jar zipkin.jar

启动成功日志
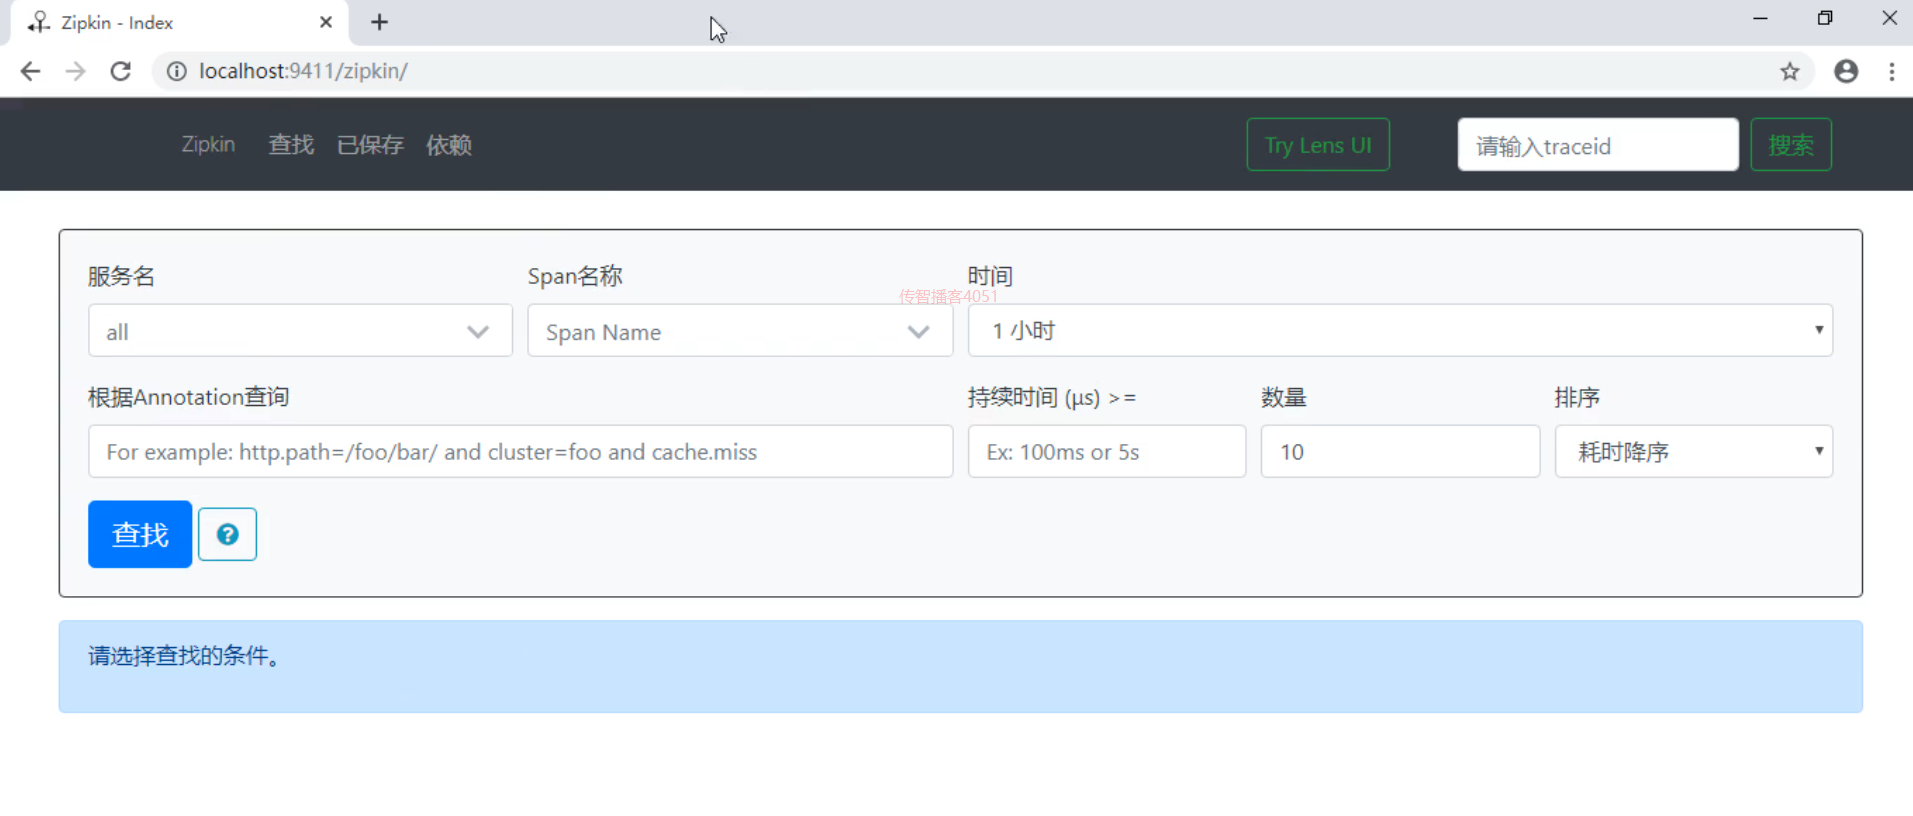
访问zipkin web界面。 http://localhost:9411/

- 在服务提供方和消费方分别引入 sleuth 和 zipkin 依赖
<!-- sleuth-zipkin --><!--<dependency><groupId>org.springframework.cloud</groupId><artifactId>spring-cloud-starter-sleuth</artifactId></dependency>--><dependency><groupId>org.springframework.cloud</groupId><artifactId>spring-cloud-starter-zipkin</artifactId></dependency>
- 分别配置服务提供方和消费方。
sleuth-provider application.yaml
server:port: 8001eureka:client:service-url:defaultZone: http://localhost:8761/eurekaspring:application:name: feign-providerzipkin:base-url: http://localhost:9411/ # 设置zipkin的服务端路径sleuth:sampler:probability: 1 # 采集率 默认 0.1 百分之十。
sleuth-consumer application.yaml
server:port: 9000eureka:instance:hostname: localhost # 主机名client:service-url:defaultZone: http://localhost:8761/eurekaspring:application:name: feign-consumer # 设置当前应用的名称。将来会在eureka中Application显示。将来需要使用该名称来获取路径zipkin:base-url: http://localhost:9411/ # 设置zipkin的服务端路径sleuth:sampler:probability: 1 # 采集率 默认 0.1 百分之十。logging:level:com.itheima: debug
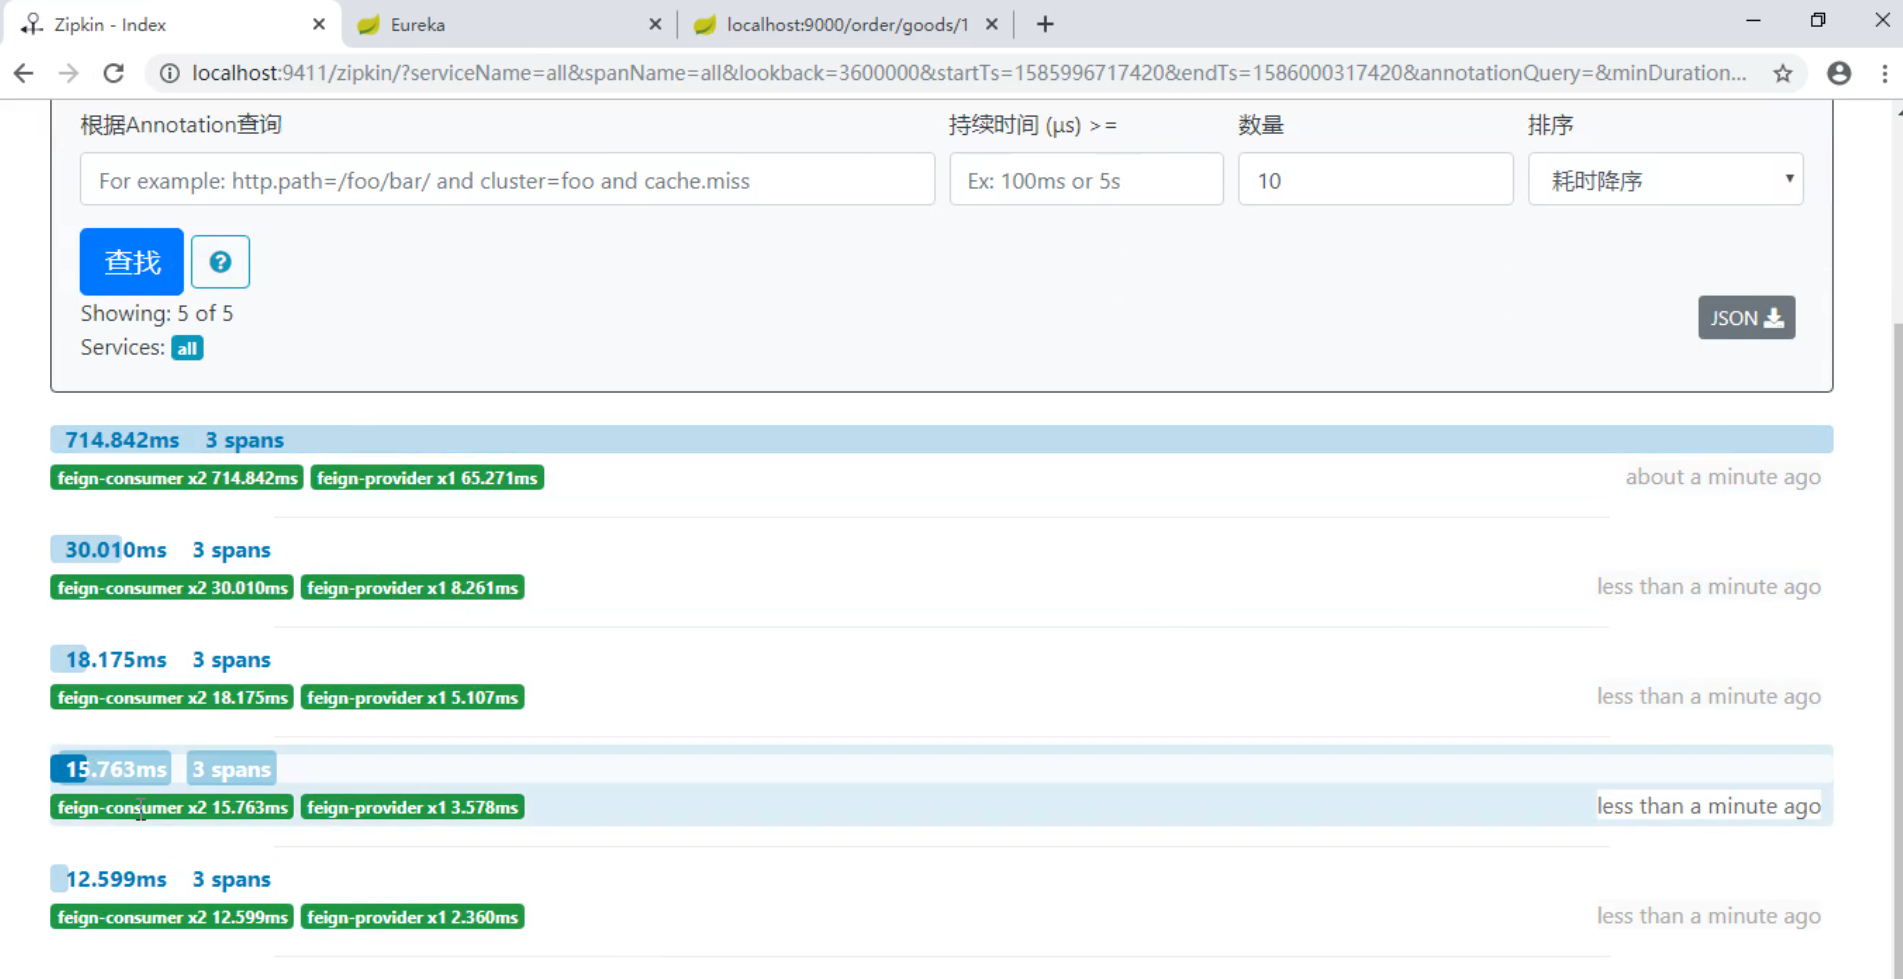
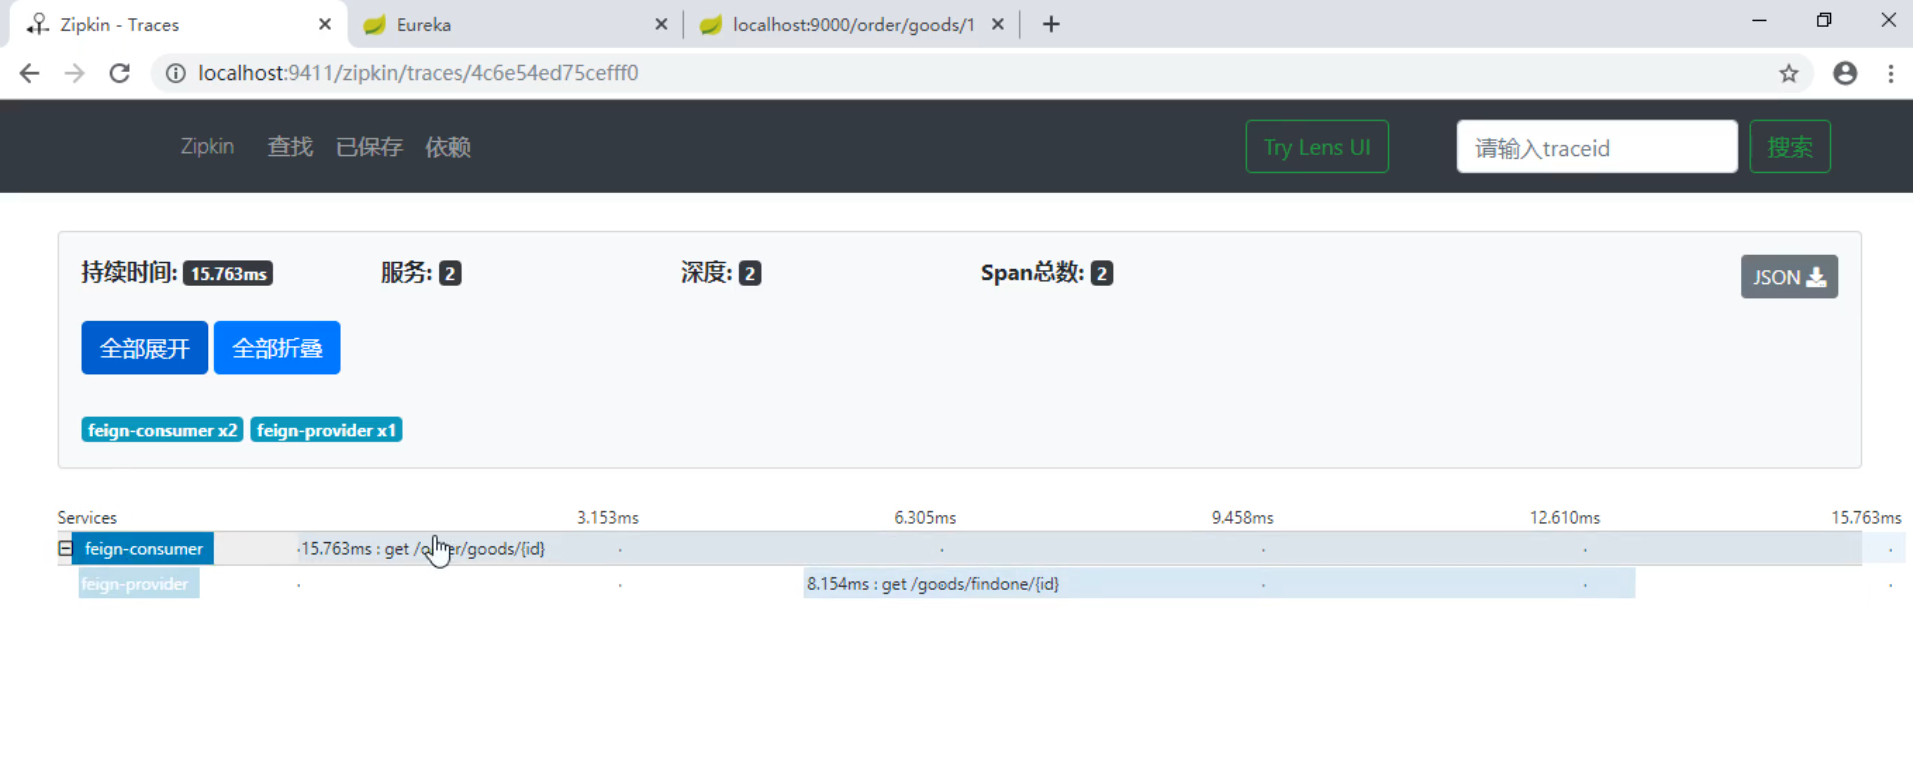
- 启动,测试 http://localhost:9411/

详细信息

6.nacos配置中心
6.1客户端配置
pom中添加nacos-config依赖
<dependencies><dependency><groupId>com.alibaba.cloud</groupId><artifactId>spring-cloud-starter-alibaba-nacos-config</artifactId><version>2.2.1.RELEASE</version></dependency></dependencies>
bootstrap.properties配置
```properties spring.cloud.nacos.config.server-addr=127.0.0.1:8848
spring.application.name=nacos-config
3. 开启SpringCloud自动刷新```javapackage com.itheima.nacosconfig.controller;import org.springframework.beans.factory.annotation.Value;import org.springframework.cloud.context.config.annotation.RefreshScope;import org.springframework.web.bind.annotation.GetMapping;import org.springframework.web.bind.annotation.RequestMapping;import org.springframework.web.bind.annotation.RestController;/*** @author liqp* @version 1.0* @date 2020/8/22*/@RestController@RequestMapping("nacos")@RefreshScopepublic class NacosController {@Value("${itheima}")private String itheima;@GetMapping("get")public String get() {return itheima;}}

