本文是小白学习c++时,需要编写dll给node addon测试调用使用,如果是c++高手,请忽略。。。
编写dll动态链接
环境
- vs 2019 企业版本
创建dll-Function
dll是动态链接文件,简单来说就是开发c++或c#等code时,将重复的函数库封装起来,进行重复使用,节省开发成本。dll包含动态链接和静态链接两种,这篇文章不做深入讲解。只实现基础的dll编写和调用。调用采用vs调用和c++code两种方式。创建dll项目
1. 创建新项目–>动态链接库(DLL)
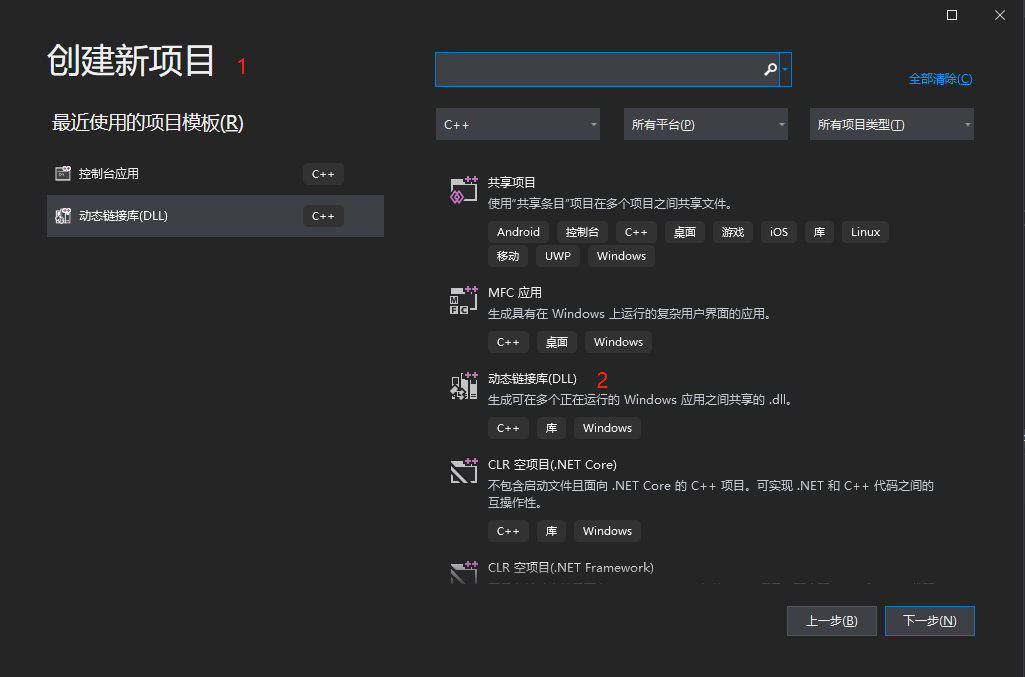
然后下一步并创建一个dll基础项目,结果如下: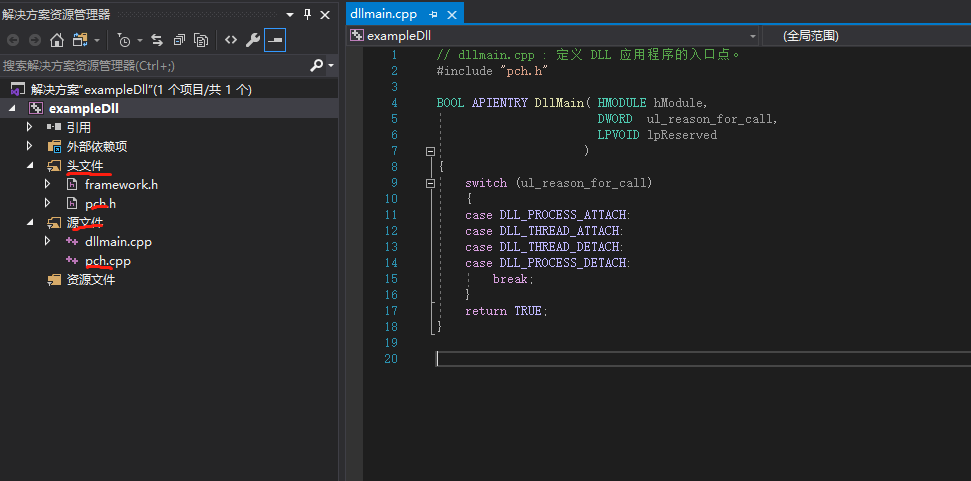
vs默认会创建好dllmain.cpppch.cpp已经相应的头文件;2. 编写函数
打开pch.cpp 文件,编写: ```cppinclude
using namespace std; int myAdd(int a, int b) { return a + b; }
int myMax(int a, int b) { return a > b ? a : b; }
打开 pch.h 文件,编写:```cpp#ifndef PCH_H#define PCH_H// 添加要在此处预编译的标头#include "framework.h"extern "C" _declspec(dllexport) int myAdd(int a, int b);extern "C" _declspec(dllexport) int myMax(int a, int b);#endif //PCH_H
3. 生成dll
执行: 生成-》生成解决方案:
打开文件夹可以看到: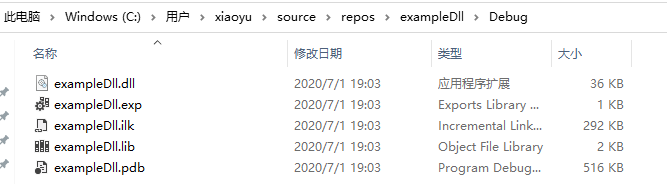
生成的dll和lib文件,此时dll编译生成就结束了。后面我们使用编译出来的dll文件。
运行dll
vs调用
1. 新建控制台应用
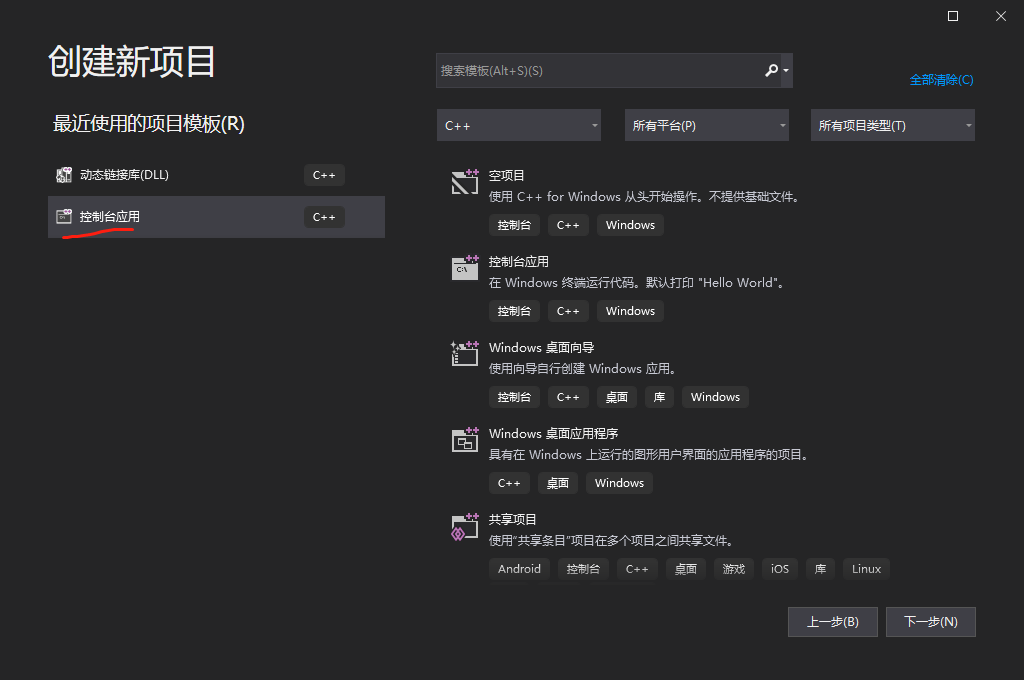
点击下一步并创建名为 exampleTestDll 的测试项目文件,项目初始默认创建好main主入口函数: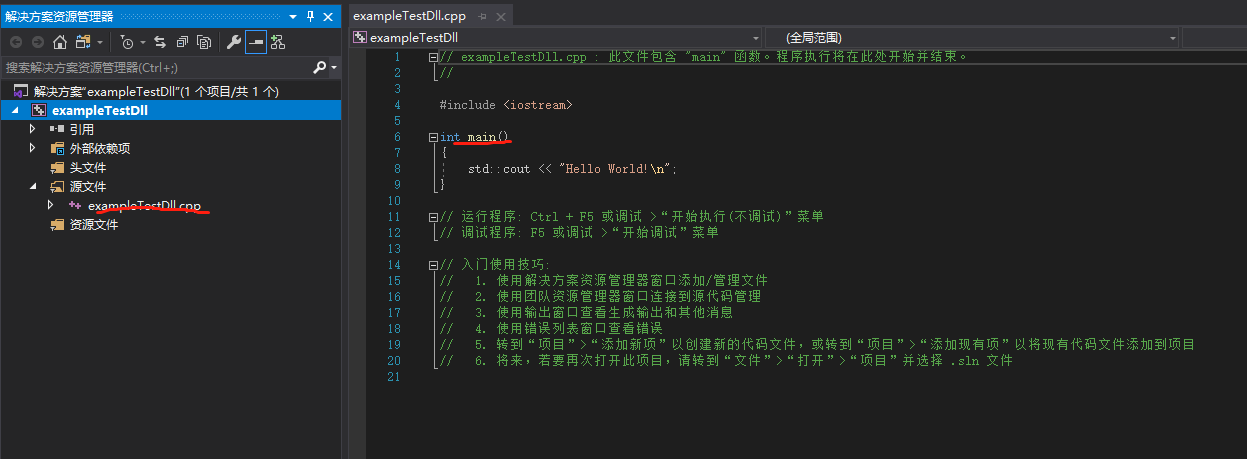
2. 调用dll
修改 exampleTestDll.cpp 文件:
// exampleTestDll.cpp : 此文件包含 "main" 函数。程序执行将在此处开始并结束。

#include <iostream>
#include "pch.h"
using namespace std;

int main()
{
    std::cout << "Hello World!\n";

    int a = myAdd(5, 4);
    cout << a << endl;
    int b = myMax(5, 4);
    cout << b << endl;
    return 0;
}
将上一节生成的dll、lib、和pch.h以及framework.h文件copy到当前项目的工程目录下: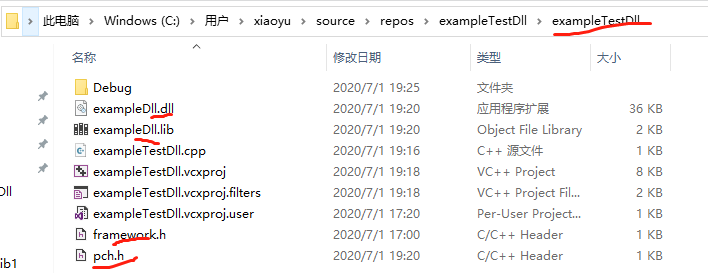
然后,在解决方案项目上的头文件选项,将 pch.h 头文件引进来: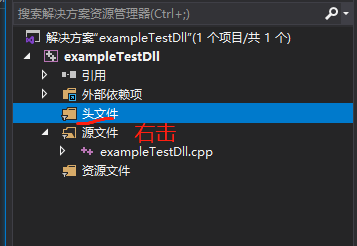
在导航栏出选择头文件,右击-》添加-》现有项,选择dll项目中的 pch.h 头文件到项目中: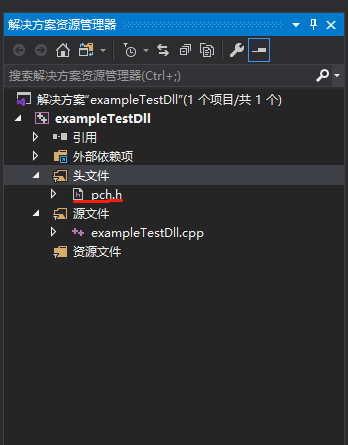
3. 添加dll配置
将添加的lib文件名加入到附加依赖项中,否则会报错: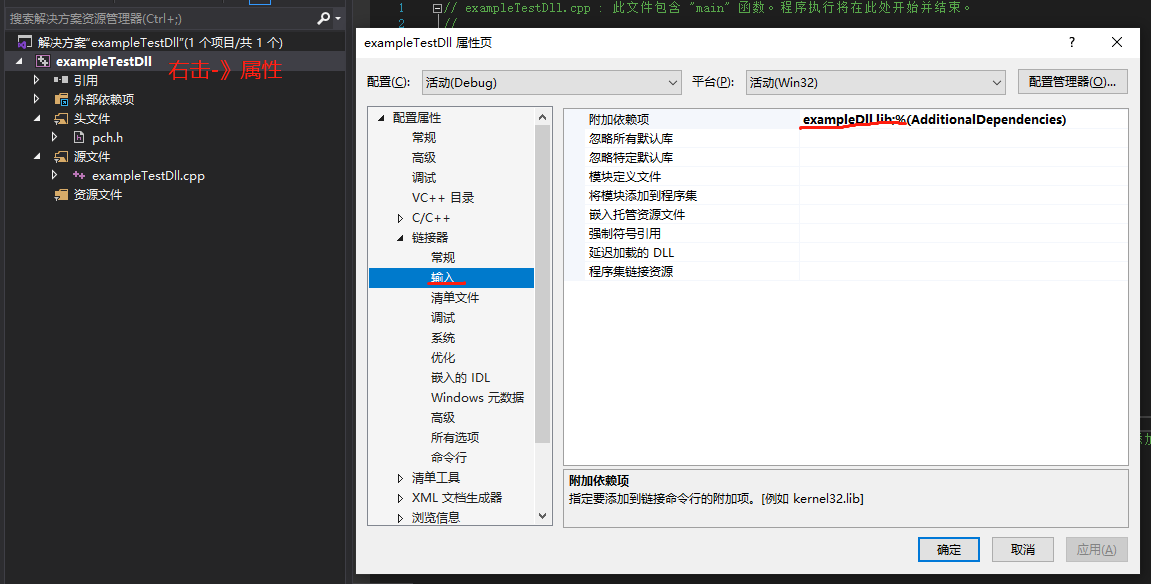
完成之后,开始测试执行: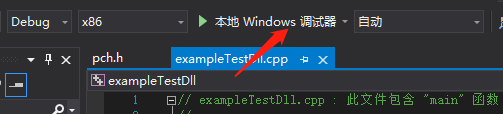
再打开的控制台中输出结果:
调用成功~~
c++调用
注意,此调用方式是在c++ addon环境中进行测试使用,也可以使用c++项目编写:
在主函数文件头部编写:
typedef int (*ptrSub)(int, int);

// dll目录的路径一定要正确,否则会访问不到
HMODULE hMod = LoadLibrary(".\\build\\Release\\Testdll.dll");
在函数体中使用:
void XYLib::TestDll(const Napi::CallbackInfo &info)
{
  if (hMod != NULL)
  {
    ptrSub myAdd = (ptrSub)GetProcAddress(hMod, "myAdd");
    ptrSub myMax = (ptrSub)GetProcAddress(hMod, "myMax");

    std::cout << "10 + 6 = " << myAdd(10, 6) << std::endl;
    std::cout << "max 10 & 6 = " << myMax(10, 6) << std::endl;

    FreeLibrary(hMod);
  }
  else
  {
    std::cout << "not found hmod" << std::endl;
  }
}
执行编译addon文件,输出后使用nodejs调用测试得到结果:
执行正确,说明c++加载调用dll没有问题。完美~~
创建dll-Class
// employee.h

// __declspec(dllexport)用于Windows中的动态库中,声明导出函数、类、对象等供外面调用,省略给出.def文件。
// 即将函数、类等声明为导出函数,供其它程序调用,作为动态库的对外接口函数、类等。
// __declspec(dllimport)用于Windows中,从别的动态库中声明导入函数、类、对象等供本动态库或exe文件使用。
#ifdef Employee_Lib
#define DECLSPEC __declspec(dllexport)
#else
#define DECLSPEC __declspec(dllimport)
#endif

class  CEmployee
{
private:
    int _empid;

public:
    CEmployee();
    ~CEmployee();

    int GetId();
    void PrintString();
    static CEmployee* createMyClass();
};

// extern声明引用外部函数
// 导出函数,加extern "C",是为了保证编译时生成的函数名不变,这样动态调用dll时才能
// 正确获取函数的地址
extern "C"
{
    DECLSPEC CEmployee* createMyClass();
};

typedef CEmployee* (*InstanceClass)();
// employee.cpp

#include <string>
#include <iostream>

CEmployee::CEmployee()
{
    _empid = 666;
}

CEmployee::~CEmployee()
{
};

int CEmployee::GetId()
{
    return _empid;
}

void CEmployee::PrintString()
{
    std::cout << "hello i have very happy" << std::endl;
}

CEmployee* CEmployee::createMyClass() {
    return new CEmployee();
}
在解决方案-》项目属性-》c/c++ -》预处理器-》预处理器定义 添加:Employee_Lib
然后:
生成-》生成解决方案;
使用class dll
// 加载模块
HMODULE hMod = LoadLibrary(".\\build\\Release\\ClassDll.dll");

if (hMod != NULL)
{
    InstanceClass createMyClass = (InstanceClass)GetProcAddress(hMod, "createMyClass");

    CEmployee *ce = createMyClass();

    int eid = ce->GetId();

    ce->PrintString();

    std::cout << "get id: " << ce << std::endl;

    FreeLibrary(hMod);
}
else
{
    std::cout << "not found hmod" << std::endl;
}
参考

若有收获,就点个赞吧
0 人点赞
