Node Addon插件开发在之前的文章中已经有详细介绍,在windows端,Addon会加载c++ dll动态库文件,完成nodejs调用c++模块的开发,在Mac端,Addon会加载dylib动态库。本文将介绍Addon如何使用dylib库,并且详细分析整体的编译、实现、路径加载分析等内容,也存在较多的错误,将详细记录;
如何编译Mac Addon?
我们之前详细介绍过如何实现编译c代码为Node Addon,有不同的方式,这里,我们依旧沿用之前确认的方式,即通过 node-addon-api + node-gyp 工具实现编译Addon插件。关于node-addon-api的使用方式可以参考之前的文章:Nodejs C++ node-addon-api,关于 node-gyp 的配置,可以参考:node-gyp配置详解。
在Mac平台下编译Addon,我们需要配置mac平台的 node-gyp 配置,这里我们可以通过指定 conditions为 'OS=="mac"'告知编译器进行平台差异编译,例如:
{'variables': {'module_name': "node-mac-addon",},"targets": [{"target_name": "<(module_name)","cflags!": ["-fno-exceptions"],"cflags_cc!": ["-fno-exceptions"],'defines': ['NAPI_DISABLE_CPP_EXCEPTIONS'],"conditions": [[# 指定为mac平台编译条件'OS=="mac"', {'sources': ["./src/addons/mac/xy_addon.cpp",],"include_dirs": ["<!@(node -p \"require('node-addon-api').include\")",],# 处理动态链接库命名冲突'cflags+': ['-fvisibility=hidden'],"xcode_settings":{"DEBUG_INFORMATION_FORMAT": "dwarf-with-dsym","OTHER_CPLUSPLUSFLAGS": ['-ObjC++', "-std=c++14", "-stdlib=libc++", '-fvisibility=hidden', '-frtti'],# XCode的链接器参数"OTHER_LDFLAGS": ["-stdlib=libc++"],"DEPLOYMENT_POSTPROCESSING": "YES","VALID_ARCHS": "x86_64 arm64 arm64e",}}]]}]}
问题记录
1. error architecture not supported?
在构建Mac Addon时,配置的构建平台cpu arch架构为arm64,在执行构建时,遇到了很多的错误。
package.json中定义的构建脚本:
"build:mac": "node-gyp rebuild --target=13.3.0 --arch=arm64",
错误截图: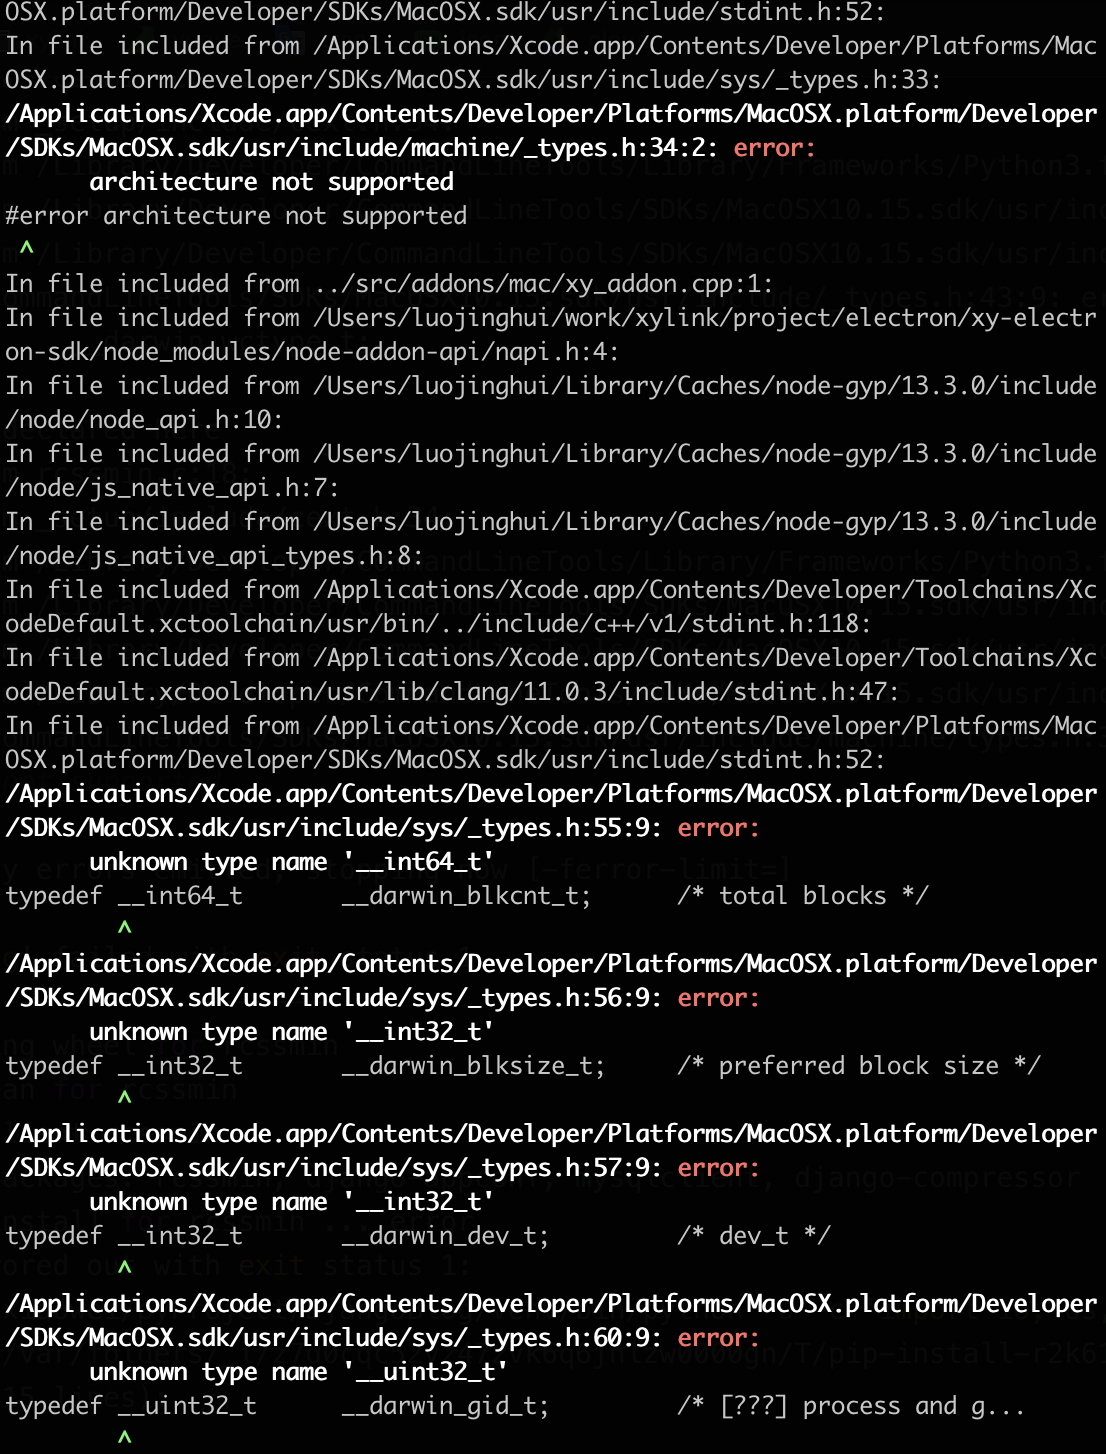
错误文本:
OSX.platform/Developer/SDKs/MacOSX.sdk/usr/include/stdint.h:52:
In file included from /Applications/Xcode.app/Contents/Developer/Platforms/MacOSX.platform/Developer/SDKs/MacOSX.sdk/usr/include/sys/_types.h:33:
/Applications/Xcode.app/Contents/Developer/Platforms/MacOSX.platform/Developer/SDKs/MacOSX.sdk/usr/include/machine/_types.h:34:2: error:
      architecture not supported
#error architecture not supported
 ^
In file included from ../src/addons/mac/xy_addon.cpp:1:
In file included from /Users/luojinghui/work/xylink/project/electron/xy-electron-sdk/node_modules/node-addon-api/napi.h:4:
In file included from /Users/luojinghui/Library/Caches/node-gyp/13.3.0/include/node/node_api.h:10:
In file included from /Users/luojinghui/Library/Caches/node-gyp/13.3.0/include/node/js_native_api.h:7:
In file included from /Users/luojinghui/Library/Caches/node-gyp/13.3.0/include/node/js_native_api_types.h:8:
In file included from /Applications/Xcode.app/Contents/Developer/Toolchains/XcodeDefault.xctoolchain/usr/bin/../include/c++/v1/stdint.h:118:
In file included from /Applications/Xcode.app/Contents/Developer/Toolchains/XcodeDefault.xctoolchain/usr/lib/clang/11.0.3/include/stdint.h:47:
In file included from /Applications/Xcode.app/Contents/Developer/Platforms/MacOSX.platform/Developer/SDKs/MacOSX.sdk/usr/include/stdint.h:52:
/Applications/Xcode.app/Contents/Developer/Platforms/MacOSX.platform/Developer/SDKs/MacOSX.sdk/usr/include/sys/_types.h:55:9: error:
      unknown type name '__int64_t'
typedef __int64_t       __darwin_blkcnt_t;      /* total blocks */
        ^
/Applications/Xcode.app/Contents/Developer/Platforms/MacOSX.platform/Developer/SDKs/MacOSX.sdk/usr/include/sys/_types.h:56:9: error:
      unknown type name '__int32_t'
typedef __int32_t       __darwin_blksize_t;     /* preferred block size */
        ^
/Applications/Xcode.app/Contents/Developer/Platforms/MacOSX.platform/Developer/SDKs/MacOSX.sdk/usr/include/sys/_types.h:57:9: error:
      unknown type name '__int32_t'
typedef __int32_t       __darwin_dev_t;         /* dev_t */
        ^
/Applications/Xcode.app/Contents/Developer/Platforms/MacOSX.platform/Developer/SDKs/MacOSX.sdk/usr/include/sys/_types.h:60:9: error:
      unknown type name '__uint32_t'
typedef __uint32_t      __darwin_gid_t;
原因是构建命令时,我们错误的指定MAC的CPU是ARM64架构,因此它提示了这个错误,鉴于此,我们需要正确的告诉它我们的CPU是什么架构。
通过命令我们可以获取到cpu的信息:
$ sysctl machdep.cpu.brand_string

// output: machdep.cpu.brand_string: Intel(R) Core(TM) i5-7360U CPU @ 2.30GHz
如果是Intel的,那就是x86_64类型,因此,正确的配置应该是(x86_64 | x64):
"build:mac": "node-gyp rebuild --target=13.3.0 --arch=x86_64"
2. c++加载dylib时,依赖的其他dylilb加载异常?
C++加载dylib时,如果是单个dylib,通过指定项目跟路径下的dylib文件,可以直接加载到对应的动态库文件。但是如果dylib动态库存在多个依赖引用,会存在加载dylib失败的问题。
  std::string dllfilepath = "./libTest.dylib";

  handle = dlopen(dllfilepath.c_str(), RTLD_LAZY);

  if (!handle)
  {
    printf("failed to dlopen dylib \n");
  }
  else
  {
    printf("success to dlopen dylib \n");
  }
定位
此时,我们需要知道dylib内部的依赖引用关系,可以使用xcode自带的 otool 工具,它是针对目标文件的展示工具,用来发现应用中使用到了哪些系统库,调用了其中哪些方法,使用了库中哪些对象及属性,它是Xcode自带的常用工具;
$ otool(object file displaying tool)

# 常见的命令选项:
-f print the fat headers
-a print the archive header
-h print the mach header
-l print the load commands
-L print shared libraries used
-D print shared library id name
-t print the text section (disassemble with -v)
-p <routine name>  start dissassemble from routine name
-s <segname> <sectname> print contents of section
-d print the data section
-o print the Objective-C segment
-r print the relocation entries
-S print the table of contents of a library
-T print the table of contents of a dynamic shared library
-M print the module table of a dynamic shared library
-R print the reference table of a dynamic shared library
-I print the indirect symbol table
-H print the two-level hints table
-G print the data in code table
-v print verbosely (symbolically) when possible
-V print disassembled operands symbolically
-c print argument strings of a core file
-X print no leading addresses or headers
-m don't use archive(member) syntax
-B force Thumb disassembly (ARM objects only)
-q use llvm's disassembler (the default)
-Q use otool(1)'s disassembler
-mcpu=arg use `arg' as the cpu for disassembly
-j print opcode bytes
-P print the info plist section as strings
-C print linker optimization hints
--version print the version of /Applications/Xcode.app/Contents/Developer/Toolchains/XcodeDefault.xctoolchain/usr/bin/otool
此时,我们可以查询一下加载dylib文件所引用的依赖文件有哪些,在项目目录执行:
$ otool -L ./dll/libSDK.dylib

# output:
/Users/luojinghui/work/project/electron/sdk/cpp_sdk/mac/dll/libSDK.dylib:
    /usr/local/lib/libSDK.dylib (compatibility version 1.0.0, current version 1.0.0)
    @loader_path/Frameworks/libavutil.56.70.100.dylib (compatibility version 56.0.0, current version 56.70.100)
    @loader_path/Frameworks/libavcodec.58.134.100.dylib (compatibility version 58.0.0, current version 58.134.100)
    @loader_path/Frameworks/libavformat.58.76.100.dylib (compatibility version 58.0.0, current version 58.76.100)
    @loader_path/Frameworks/libswscale.5.9.100.dylib (compatibility version 5.0.0, current version 5.9.100)
    @loader_path/Frameworks/libfdk-aac.2.dylib (compatibility version 3.0.0, current version 3.2.0)
    @loader_path/Frameworks/libxylinkAIEngine.dylib (compatibility version 0.0.0, current version 0.0.0)
    /usr/lib/libz.1.dylib (compatibility version 1.0.0, current version 1.2.11)
    /System/Library/Frameworks/OpenCL.framework/Versions/A/OpenCL (compatibility version 1.0.0, current version 1.0.0)
此时,我们发现,libSDK.dylib文件内部,在通过xcode打包时,将依赖的文件加载路径指定为:@loader_path/Frameworks/***,此处,@loader_path指代的是主dylib所在路径的跟路径,即通过C++加载libSDK.dylib文件时,libSDK.dylib文件会从当前目录的Frameworks目录加载剩余的其他dylib文件。
解决方法
在主dylib文件下,创建 Frameworks 目录,将依赖文件放置到此目录即可解决问题;

若有收获,就点个赞吧
0 人点赞
