- 一、安装gcc gcc-c++(如新环境,未安装请先安装)
- 二、安装wget
- 三、安装PCRE库
- 四、安装SSL库
- 五、安装zlib库存
- 六、如果要进行RTMP流媒体直播,则需要安装下载依赖
- https://github.com/winshining/nginx-http-flv-module">方式一:需要先下载nginx-http-flv-module依赖安装:https://github.com/winshining/nginx-http-flv-module
- 七、安装nginx
- 八、启动命令
- 九、配置过程报错解决
- 2、src/os/unix/ngx_user.c: 在函数‘ngx_libc_crypt’中: src/os/unix/ngx_user.c:36:7: 错
- 在源代码/nginx-1.12.2/src/os/unix/
```/ngx_user.c 文件中 修改:`` - 2、unknown directive “rtmp” in
- 十、再nginx中配置RTMP和flv_live
一、安装gcc gcc-c++(如新环境,未安装请先安装)
yum install -y gcc gcc-c++
二、安装wget
yum -y install wget
三、安装PCRE库
cd /usr/local/wget http://jaist.dl.sourceforge.net/project/pcre/pcre/8.33/pcre-8.33.tar.gztar -zxvf pcre-8.33.tar.gzcd pcre-8.33./configuremake && make install如果报错:在 linux 中执行 wget 命令提示 -bash: wget: command not found 解决方法解决办法 yum -y install wget
四、安装SSL库
cd /usr/local/wget http://www.openssl.org/source/openssl-1.0.1j.tar.gztar -zxvf openssl-1.0.1j.tar.gzcd openssl-1.0.1j./configmake && make install
五、安装zlib库存
cd /usr/local/wget http://zlib.net/zlib-1.2.11.tar.gztar -zxvf zlib-1.2.11.tar.gzcd zlib-1.2.11./configuremake && make install
六、如果要进行RTMP流媒体直播,则需要安装下载依赖
因为RTMP直播流只能支持flash,现在浏览器不支持flash插件之后,h5播放rtmp直播流的解决方案使用http-flv,所以我们采用把RTMP推流后,转成http-flv,然后前端采用flv.js来播放。
方式一:需要先下载nginx-http-flv-module依赖安装:https://github.com/winshining/nginx-http-flv-module
把文件下载下来后,上传到服务器中。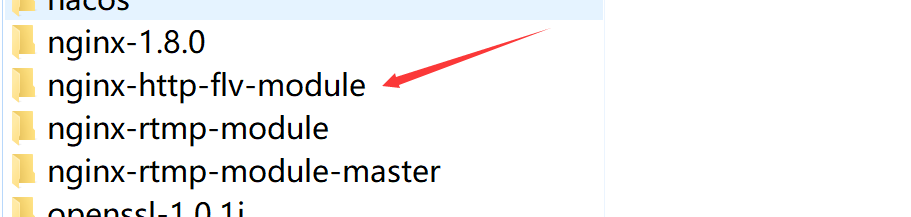

如果是单纯用nginx-rtmp-module看flash得话,可以用下面得下载下来。不推荐
cd /usr/local/yum -y install gitgit clone https://github.com/arut/nginx-rtmp-module.git
七、安装nginx
//如果没有用到RTMP,则按照以下正常配置就行了cd /usr/local/wget http://nginx.org/download/nginx-1.8.0.tar.gztar -zxvf nginx-1.8.0.tar.gzcd nginx-1.8.0./configuremake && make install//如果用到RTMP,则需要换成这个配置,主要是要集成RTMP流的依赖//(因为RTMP直播流只能支持flash,现在浏览器不支持flash插件之后,// h5播放rtmp直播流的解决方案使用http-flv,所以我们采用把RTMP推流后,// 转成http-flv,然后前端采用flv.js来播放。)cd /usr/local/wget http://nginx.org/download/nginx-1.8.0.tar.gztar -zxvf nginx-1.8.0.tar.gzcd nginx-1.8.0./configure --prefix=/usr/local/src/nginx--with-http_stub_status_module--with-http_gzip_static_module--with-http_realip_module--with-http_sub_module--with-http_ssl_module--add-module=/usr/local/nginx-http-flv-module--with-openssl=/usr/local/openssl-1.0.1j--with-http_ssl_modulemake && make install## 安装过程中可能会报错,请看下面的报错详情
八、启动命令
/usr/local/src/nginx/sbin/nginx -s reload/usr/local/src/nginx/sbin/nginx -s stop/usr/local/src/nginx/sbin/nginx /usr/local/nginx/sbin/nginx -v --查看版本
九、配置过程报错解决
1、报obj/Makefile错误
- 分析原因:是将警告当成了错误处理,打开 nginx的安装目录/objs/Makefile,去掉CFLAGS中的-Werror,再重新make
-Wall 表示打开gcc的所有警告
-Werror,它要求gcc将所有的警告当成错误进行处理 
2、src/os/unix/ngx_user.c: 在函数‘ngx_libc_crypt’中: src/os/unix/ngx_user.c:36:7: 错
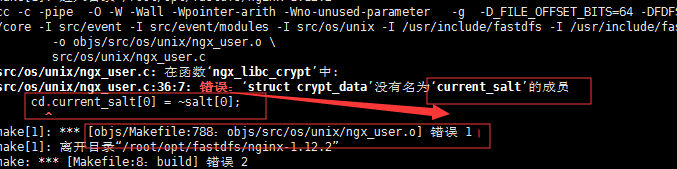
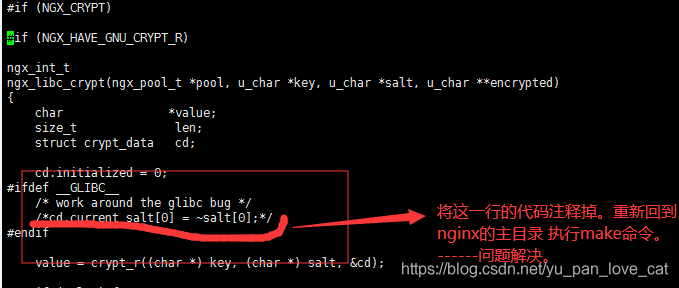
在源代码/nginx-1.12.2/src/os/unix/
```/ngx_user.c 文件中 修改:``
2、unknown directive “rtmp” in
再nginx中配置rtmp的时候报错了,这种时候是因为没有把RTMP的依赖引入进来,按照教程重头引入一次就行
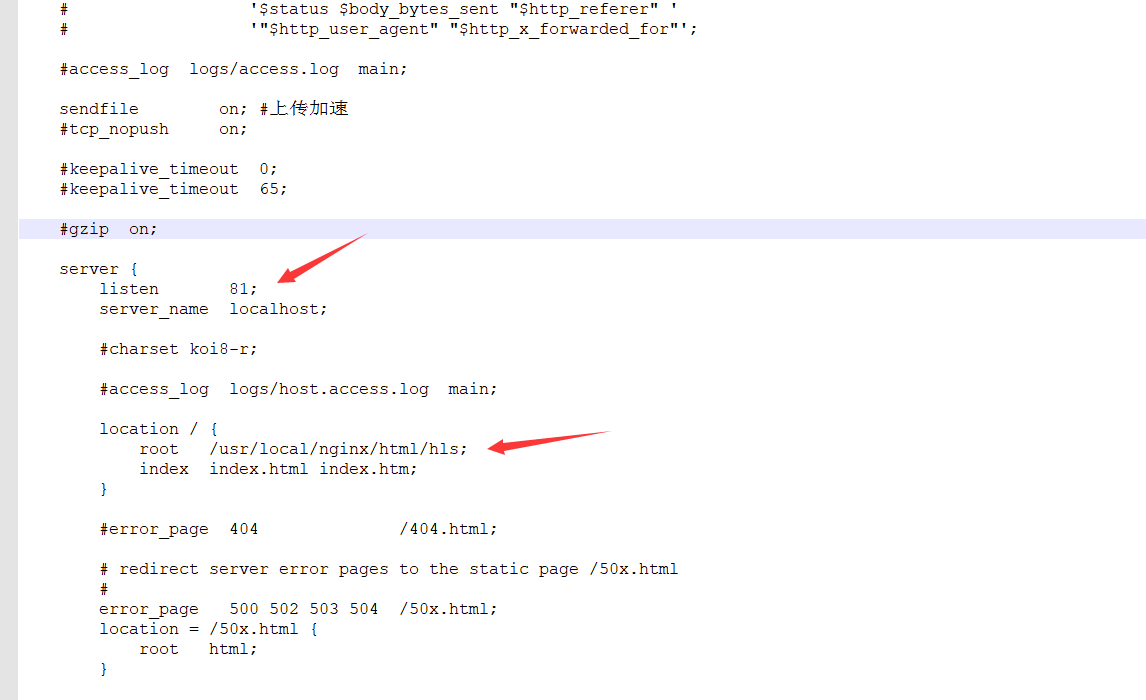
十、再nginx中配置RTMP和flv_live
## 往http上面插入这段rtmp {server {listen 1935;chunk_size 4096;#直播application live {live on;hls on;hls_path /usr/local/nginx/html/hls;hls_fragment 5s; #每个TS文件包含5秒的视频内容}application hls {live on;hls on;hls_path /tmp/hls;}#点播application vod {play /tmp/video;}}}## 然后把默认启动端口修改为81,修改根目录的路径server{listen 81;server_name localhost;#charset koi8-r;#access_log logs/host.access.log main;location / {root /usr/local/nginx/html/hls;index index.html index.htm;}}##flv_live直播server{listen 8222;#server_name 127.0.0.1;#静态文件location /asset/ {alias /usr/local/;}# 在http的server中加入location /live {flv_live on; #当HTTP请求以/live结尾,匹配这儿,这个选项表示开启了flv直播播放功能chunked_transfer_encoding on; #HTTP协议开启Transfer-Encoding: chunked;方式回复add_header 'Access-Control-Allow-Origin' '*'; #添加额外的HTTP头add_header 'Access-Control-Allow-Credentials' 'true'; #添加额外的HTTP头}}

若有收获,就点个赞吧
0 人点赞
