不管三七二十一,先实现一个绘制功能感受下再说。
选中框
选中框本质是一个矩形,因此就要绘制一个矩形
const rect = CanvasKit.LTRBRect(100, 100, 150, 300);const style = new CanvasKit.SkPaint();canvas.drawRect(rect, style);
多边形尺寸
绘制一个显示尺寸的文本框。
考虑到这个尺寸框是通用组件,因此将其封装到davinci 类中,通过 drawPathSizeTooltip 实现。
目前还无法做到背景尺寸适配文本宽度。
思路上需要去找到 text ,然后去获取 text 的 Bounds。
但是目前看到好像没有 SkText 类,只有 drawText 方法。方法包含的另外一个 SkTextShape 只能有
大致效果如下:
 ——
——
200707更新
找到计算 text 的宽度方法了。SkFont 有个 measureText 方法可以测量 Text 宽度。
使用这个方法后,就可以额绘制边框了。
/*** 画形状的尺寸标注*/drawPathSizeTooltip = (params: {frame: SkRect;width: number;height: number;fontSize?: number;}) => {const { canvasKit, makePathStyle } = this;const { frame, height, width, fontSize = 12 } = params;const font = new canvasKit.SkFont(null, fontSize);const text = width.toFixed(0) + 'x' + height.toFixed(0);const bgWidth = font.measureText(text) + 12;const x = (frame.fLeft + frame.fRight - bgWidth) / 2; // 使得经过渲染后 对象居中const y = Math.max(frame.fTop, frame.fBottom) + 8; // 在底部 8px 下方/*** 绘制背景底色*/const backgroundStyle = makePathStyle({ type: 'fill', color: '#1890ff' });const bg = canvasKit.XYWHRect(x, y, bgWidth, 20);const rrect: SkRRect = canvasKit.RRectXY(bg, 2, 2); // 创建圆角矩形this.canvas.drawRRect(rrect, backgroundStyle);const textStyle = makePathStyle({ type: 'fill', color: '#ffffff' });this.canvas.drawText(text, x + 6, y + 14, textStyle, font);};
新版效果:
选中框样式
Figma 的选中框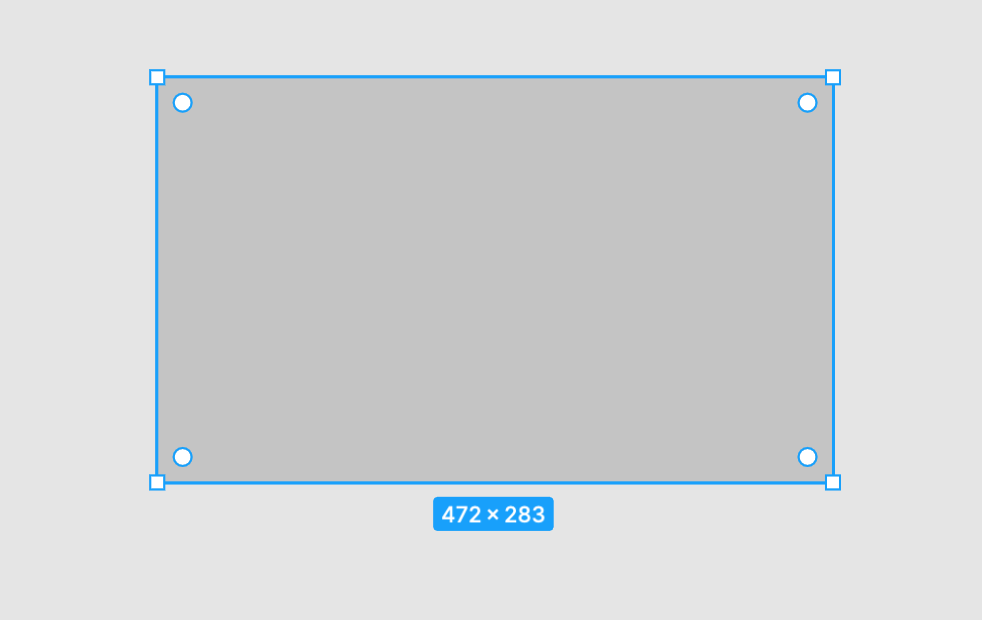
Sketch 的选中框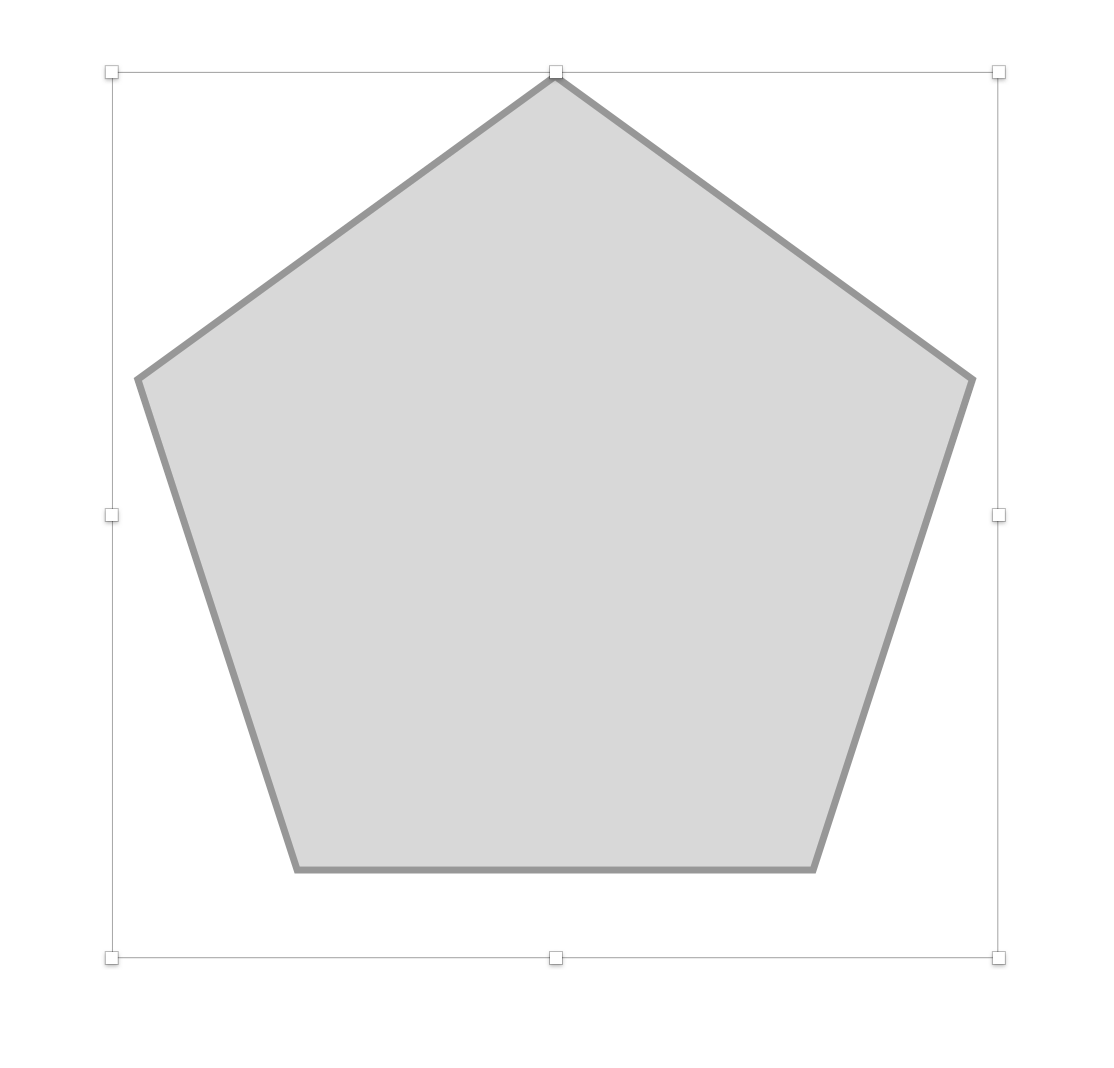
目前遇到的问题是:如何设置多重样式?
解决方案:绘制两个矩形 一个显示描边 一个显示填充。

若有收获,就点个赞吧
0 人点赞
