gcc
1、查看gcc版本
gcc -v
2、gcc安装命令
yum -y install gcc
pcre和pcre-devel
nginx的http模块使用pcre来解析正则表达式
yum install -y pcre pcre-devel
zlib
nginx使用zlib对http包的内容进行gzip。
yum install -y zlib zlib-devel
openssl
openssl用于数据链路通信安全加密。
yum install -y openssl openssl-devel
安装nginx
1、去官网获取最新稳定版本下载链接,官网下载页面地址:http://nginx.org/en/download.html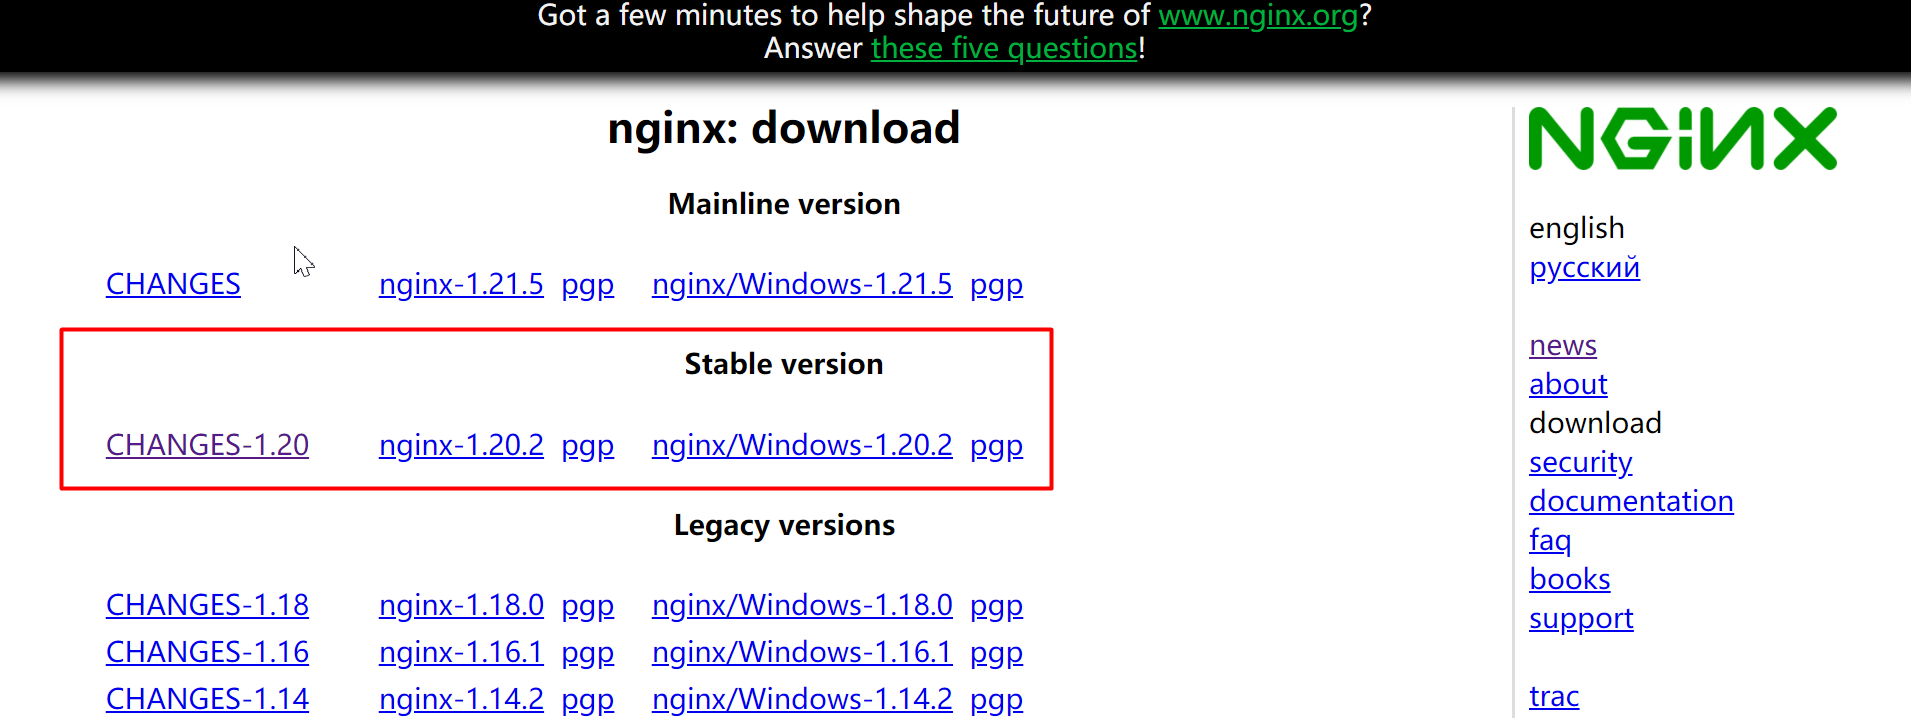
2、在linux上,利用wget命令下载nginx
wget http://nginx.org/download/nginx-1.20.2.tar.gz
3、解压到你要存放的目标,我这里是放在/application。解压完毕,会看到对应的目录里面多出一个nginx-1.20.2的文件夹
tar -zxvf nginx-1.20.2.tar.gz -C /application[
4、切换到对应的解压目录,对nginx进行编译安装。按以下步骤执行命令](https://blog.csdn.net/lishuaipiao/article/details/116453998)
# 不需要https模块的, 这里只输入./configure即可./configure --prefix=/usr/local/nginx --with-http_stub_status_module --with-http_ssl_module# 编译make# 安装make install
5、启动nginx。当make install命令执行完,我们会看到/usr/local会多出一个nginx文件夹。我们切换到/usr/local/nginx/sbin,进行启动nginx。如果需要修改端口等其他配置信息,进入/usr/local/nginx/conf修改nginx.conf的里面的信息。
# 启动./nginx -s start# 刷新配置./nginx -s reload# 停止nginx./nginx -s stop# 查看nginx是否启动成功ps -ef | grep nginx
配置nginx开机自启
1、在/etc/init.d下创建文件nginx,具体可参考官网的
https://www.nginx.com/resources/wiki/start/topics/examples/redhatnginxinit/
#!/bin/sh## nginx - this script starts and stops the nginx daemon## chkconfig: - 85 15# description: NGINX is an HTTP(S) server, HTTP(S) reverse \# proxy and IMAP/POP3 proxy server# processname: nginx# config: /etc/nginx/nginx.conf# config: /etc/sysconfig/nginx# pidfile: /var/run/nginx.pid# Source function library.. /etc/rc.d/init.d/functions# Source networking configuration.. /etc/sysconfig/network# Check that networking is up.[ "$NETWORKING" = "no" ] && exit 0# 特别注意,这里要调整你存放Nginx的目录nginx="/usr/local/nginx/sbin/nginx"prog=$(basename $nginx)# 特别注意,这里要调整你存放Nginx的目录NGINX_CONF_FILE="/usr/local/nginx/conf/nginx.conf"[ -f /etc/sysconfig/nginx ] && . /etc/sysconfig/nginxlockfile=/var/lock/subsys/nginxmake_dirs() {# make required directoriesuser=`$nginx -V 2>&1 | grep "configure arguments:.*--user=" | sed 's/[^*]*--user=\([^ ]*\).*/\1/g' -`if [ -n "$user" ]; thenif [ -z "`grep $user /etc/passwd`" ]; thenuseradd -M -s /bin/nologin $userfioptions=`$nginx -V 2>&1 | grep 'configure arguments:'`for opt in $options; doif [ `echo $opt | grep '.*-temp-path'` ]; thenvalue=`echo $opt | cut -d "=" -f 2`if [ ! -d "$value" ]; then# echo "creating" $valuemkdir -p $value && chown -R $user $valuefifidonefi}start() {[ -x $nginx ] || exit 5[ -f $NGINX_CONF_FILE ] || exit 6make_dirsecho -n $"Starting $prog: "daemon $nginx -c $NGINX_CONF_FILEretval=$?echo[ $retval -eq 0 ] && touch $lockfilereturn $retval}stop() {echo -n $"Stopping $prog: "killproc $prog -QUITretval=$?echo[ $retval -eq 0 ] && rm -f $lockfilereturn $retval}restart() {configtest || return $?stopsleep 1start}reload() {configtest || return $?echo -n $"Reloading $prog: "killproc $prog -HUPretval=$?echo}force_reload() {restart}configtest() {$nginx -t -c $NGINX_CONF_FILE}rh_status() {status $prog}rh_status_q() {rh_status >/dev/null 2>&1}case "$1" instart)rh_status_q && exit 0$1;;stop)rh_status_q || exit 0$1;;restart|configtest)$1;;reload)rh_status_q || exit 7$1;;force-reload)force_reload;;status)rh_status;;condrestart|try-restart)rh_status_q || exit 0;;*)echo $"Usage: $0 {start|stop|status|restart|condrestart|try-restart|reload|force-reload|configtest}"exit 2esac
2、赋值文件执行权限
chmod a+x /etc/init.d/nginx
3、将nginx服务加入chkconfig管理列表
chkconfig —add /etc/init.d/nginx
4、设置开机自启
chkconfig nginx on
5、其他操作命令
# 启动nginxservice nginx start# 停止nginxservice nginx stop# 重启nginxservice nginx restart#查看nginx服务是否启动成功ps -ef | grep nginx
nginx常见配置
静态网站
server {listen 80;server_name www.rocky.com;return 301 https://$server_name$request_uri;location / {alias /web/rocky/;}error_page 500 502 503 504 /50x.html;location = /50x.html {root html;}}
SSL配置
server {listen 443 ssl;server_name www.rocky.com;ssl_certificate /web/cert/1_www.rocky.com_bundle.crt;ssl_certificate_key /web/cert/2_www.rocky.com.cn.key;ssl_session_cache shared:SSL:1m;ssl_session_timeout 5m;ssl_protocols TLSv1 TLSv1.1 TLSv1.2;ssl_ciphers ECDHE-RSA-AES128-GCM-SHA256:HIGH:!aNULL:!MD5:!RC4:!DHE;ssl_prefer_server_ciphers on;location / {alias /web/rocky/;}}
代理转发
server {listen 443 ssl;server_name api.rocky.com;ssl_certificate 1_api.rocky.com_bundle.crt;ssl_certificate_key 2_api.rocky.com.key;ssl_session_cache shared:SSL:1m;ssl_session_timeout 5m;ssl_protocols TLSv1 TLSv1.1 TLSv1.2;ssl_ciphers ECDHE-RSA-AES128-GCM-SHA256:HIGH:!aNULL:!MD5:!RC4:!DHE;ssl_prefer_server_ciphers on;location / {proxy_pass http://127.0.0.1:8080/shop/;# 转发cookieproxy_cookie_path /shop /;# 域名转发proxy_set_header Host $host;proxy_redirect off;# IP转发proxy_set_header X-Real-IP $remote_addr;proxy_set_header X-Forwarded-For $proxy_add_x_forwarded_for;proxy_connect_timeout 60;proxy_read_timeout 600;proxy_send_timeout 600;}}
映射静态资源
server {listen 80;server_name localhost;location / {proxy_pass http://127.0.0.1:8080/rocky/;proxy_cookie_path /crazyandrew /;client_max_body_size 1000m;}# http://locahost/image/demo1.jpg映射到/upload/image/demo1.jpglocation /image/ {root /upload/image/;rewrite ^/image/(.*)$ \$1 break;}error_page 500 502 503 504 /50x.html;location = /50x.html {root html;}}
http和https共存
server {listen 80 default backlog=2048;listen 443 ssl;server_name www.rocky.com;root /web/rocky;ssl_certificate 1_api.rocky.com_bundle.crt;ssl_certificate_key 2_api.rocky.com.key;}
游览器不能访问IP
执行ps aux | grep nginx,查看Nginx服务是否启动
执行netstat -ntlp,查看80端口是否分配给你Nginx
对80端口防火墙配置:firewall-cmd —zone=public —add-port=80/tcp —permanent
重启防火墙服务:systemctl restart firewalld.service
在服务器上执行 curl localhost 看是不是正常的,是正常的,就检查安全组(云服务器)、防火墙,selinux

若有收获,就点个赞吧
0 人点赞
