端口占用问题 https://jingyan.baidu.com/article/20b68a8880c84d796dec6256.html
1、源数据准备-100%
1.关于json格式的取值
解析json:
hive上:
1.取出单个值 select get_json_object(‘{“beForwardWeiboId”:””,”catchTime”:”1387158370”,”commentCount”:”211”}’,’$.catchTime’);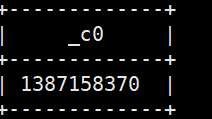
2.取多个值 select json_tuple(‘{“beForwardWeiboId”:””,”catchTime”:”1387158370”,”commentCount”:”211”}’,’catchTime’,’commentCount’);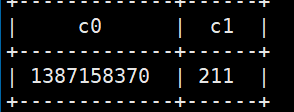
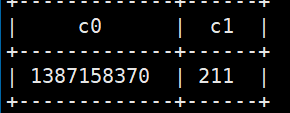
3.json数组 取值
select json_tuple(get_json_object(‘[{“beForwardWeiboId”:””,”catchTime”:”1387158370”,”commentCount”:”211”}]’,’$[0]’),’catchTime’,’commentCount’);
参考:https://www.cnblogs.com/yfb918/p/10644262.html
2、数据有序化落地处理-hive order by-100%
定义数据库和表
db_name=yzj table_name=weibo_product
定义落地后的存储目录,包括hdfs和本地
save_data_dir_hdfs=”/user/yzj/project/sorted_weibo_product/“ save_data_dir_local=”../data/sorted_weibo_product/“
业务代码实现数据落地
hive -e “ use $db_name; insert overwrite directory ‘$save_data_dir_hdfs’ row format delimited fields terminated by ‘\001’ select * from $table_name where day_seq=20120103 and created_at is not null and length(created_at)=19 order by created_at asc; “
完成从hdfs处,下载数据到本地
hdfs dfs -get -f $save_data_dir_hdfs/000000_0 $save_data_dir_local
注意其中的sql语句:select * from $table_name where day_seq=20120103 and created_at is not null and length(created_at)=19 order by created_at asc; <br />如果不加length=19则不能正常排序<br />测试:```javaselect created_at from weibo_product where day_seq=20120103 and created_at is not nulland length(created_at)=19 order by created_at asc limit 100;
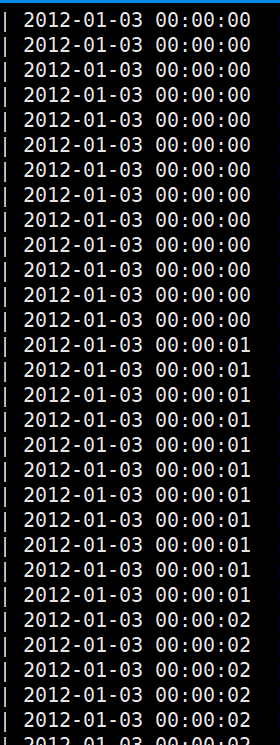 可以按照时间正常排序
3、数据接收服务-springboot restful service
1.maven构建springboot项目,加上restful api接口即可。
创建一个微服务接口
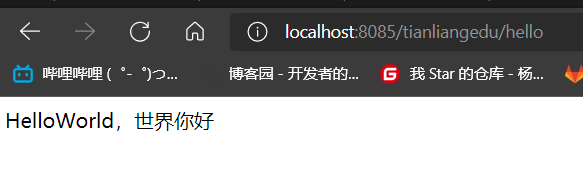
@RestController@EnableAutoConfigurationpublic class HelloWorldService {@RequestMapping("/hello")public String hello(){return "HelloWorld,世界你好";}public static void main(String[] args){SpringApplication.run(HelloWorldService.class,args);}}
设置启动类
@SpringBootApplicationpublic class BootApplication {public static void main(String[] args) {SpringApplication.run(BootApplication.class,args);}}
设置application.properties
#webserver 配置server.port=8085server.contextPath=/tianliangedu
pom.xml
<?xml version="1.0" encoding="UTF-8"?><project xmlns="http://maven.apache.org/POM/4.0.0"xmlns:xsi="http://www.w3.org/2001/XMLSchema-instance"xsi:schemaLocation="http://maven.apache.org/POM/4.0.0 http://maven.apache.org/xsd/maven-4.0.0.xsd"><modelVersion>4.0.0</modelVersion><groupId>com.tl.job016.bigdata</groupId><artifactId>DataReceiverAndSendService</artifactId><version>1.0-SNAPSHOT</version><!-- 属性配置 --><properties><project.build.sourceEncoding>UTF-8</project.build.sourceEncoding><project.reporting.outputEncoding>UTF-8</project.reporting.outputEncoding><java.version>1.8</java.version><java_source_version>1.8</java_source_version><java_target_version>1.8</java_target_version><file_encoding>utf-8</file_encoding></properties><!-- 首先配置仓库的服务器位置,首选阿里云,也可以配置镜像方式,效果雷同 --><repositories><repository><id>nexus-aliyun</id><name>Nexus aliyun</name><url>http://maven.aliyun.com/nexus/content/groups/public</url></repository><repository><id>spring-milestone</id><url>http://repo.spring.io/libs-release</url></repository></repositories><!-- Spring boot 父引用 --><parent><groupId>org.springframework.boot</groupId><artifactId>spring-boot-starter-parent</artifactId><version>1.4.0.RELEASE</version></parent><dependencies><!-- Spring boot 核心web --><dependency><groupId>org.springframework.boot</groupId><artifactId>spring-boot-starter-web</artifactId></dependency></dependencies><!-- 打成可执行的jar,并指定主启动类 --><build><plugins><!-- all in one打包--><plugin><groupId>org.springframework.boot</groupId><artifactId>spring-boot-maven-plugin</artifactId><configuration><fork>true</fork> <!-- 如果没有该配置,devtools不会生效 --><mainClass>com.tl.job016.bigdata.BootApplication</mainClass></configuration><executions><execution><goals><goal>repackage</goal></goals></execution></executions></plugin><!-- <plugin><groupId>org.springframework.boot</groupId><artifactId>spring-boot-maven-plugin</artifactId><configuration><mainClass>com.tianliangedu.boot.ApplicationBootControler</mainClass></configuration></plugin> --></plugins></build></project>
2.打个jar包部署到Linux测试看是否能运行
新建RealTimeDataService 然后 vi start.sh
#! /bin/bash#将jar包正式启动 对外提供服务java -jar DataReceiverAndSendService-1.0-SNAPSHOT.jar
运行start.sh 端口号被占用 所以改为8080 改了端口号删掉target重新编译才能顺利重启端口号
重新打包上传启动start.sh
正常运行 然后新窗口测试链接
[yzj@cluster3 ~]$ curl localhost:8080/tianliangedu/hello

可以输出helloworld世界你好 初步部署成功
怎么在本地访问linux的端口?
命令 ifconfig
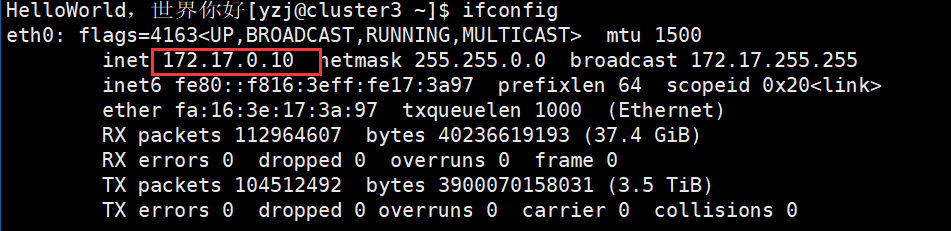
然后用网站代理访问:
http://172.17.0.10:8080/tianliangedu/hello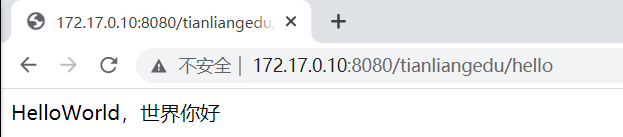
测试完成
3.部署Linux接收数据
创建类DataReceiverService
@RestControllerpublic class DataReceiverService {@RequestMapping("/receiver")public boolean receiver(String message){System.out.println(message);return true;}}
测试
至此可以接收数据
修改依赖 分离式打包
<?xml version="1.0" encoding="UTF-8"?><project xmlns="http://maven.apache.org/POM/4.0.0"xmlns:xsi="http://www.w3.org/2001/XMLSchema-instance"xsi:schemaLocation="http://maven.apache.org/POM/4.0.0 http://maven.apache.org/xsd/maven-4.0.0.xsd"><modelVersion>4.0.0</modelVersion><groupId>com.tl.job016.bigdata</groupId><artifactId>DataReceiverAndSendService</artifactId><version>1.0-SNAPSHOT</version><!-- 属性配置 --><properties><project.build.sourceEncoding>UTF-8</project.build.sourceEncoding><project.reporting.outputEncoding>UTF-8</project.reporting.outputEncoding><java.version>1.8</java.version><java_source_version>1.8</java_source_version><java_target_version>1.8</java_target_version><file_encoding>utf-8</file_encoding></properties><!-- 首先配置仓库的服务器位置,首选阿里云,也可以配置镜像方式,效果雷同 --><repositories><repository><id>nexus-aliyun</id><name>Nexus aliyun</name><url>http://maven.aliyun.com/nexus/content/groups/public</url></repository><repository><id>spring-milestone</id><url>http://repo.spring.io/libs-release</url></repository></repositories><!-- Spring boot 父引用 --><parent><groupId>org.springframework.boot</groupId><artifactId>spring-boot-starter-parent</artifactId><version>1.4.0.RELEASE</version></parent><dependencies><!-- Spring boot 核心web --><dependency><groupId>org.springframework.boot</groupId><artifactId>spring-boot-starter-web</artifactId></dependency></dependencies><!-- 打成可执行的jar,并指定主启动类 --><build><plugins><!-- all in one打包--><!--<plugin>--><!--<groupId>org.springframework.boot</groupId>--><!--<artifactId>spring-boot-maven-plugin</artifactId>--><!--<configuration>--><!--<fork>true</fork> <!– 如果没有该配置,devtools不会生效 –>--><!--<mainClass>com.tl.job016.bigdata.BootApplication</mainClass>--><!--</configuration>--><!--<executions>--><!--<execution>--><!--<goals>--><!--<goal>repackage</goal>--><!--</goals>--><!--</execution>--><!--</executions>--><!--</plugin>--><!-- <plugin><groupId>org.springframework.boot</groupId><artifactId>spring-boot-maven-plugin</artifactId><configuration><mainClass>com.tianliangedu.boot.ApplicationBootControler</mainClass></configuration></plugin> --><plugin><artifactId>maven-compiler-plugin</artifactId><version>2.3.2</version><configuration><source>1.7</source><target>1.7</target><encoding>UTF-8</encoding></configuration></plugin><plugin><groupId>org.apache.maven.plugins</groupId><artifactId>maven-resources-plugin</artifactId><!-- 解决资源文件的编码问题 --><configuration><encoding>UTF-8</encoding></configuration><executions><execution><id>copy-resources</id><phase>validate</phase><goals><goal>copy-resources</goal></goals><configuration><!-- 把资源文件打包到工程目录下,与下面的打包不包含资源文件对应,也可以是其它目录,比方conf,这样写${project.build.directory}/conf --><outputDirectory>${project.build.directory}</outputDirectory><resources><resource><directory>src/main/resources</directory><filtering>true</filtering></resource></resources></configuration></execution></executions></plugin><plugin><groupId>org.apache.maven.plugins</groupId><artifactId>maven-jar-plugin</artifactId><configuration><archive><manifest><addClasspath>true</addClasspath><classpathPrefix>lib/</classpathPrefix><mainClass>com.tl.job016.bigdata.BootApplication</mainClass><!--main函数入口 --><addDefaultImplementationEntries>true</addDefaultImplementationEntries><addDefaultSpecificationEntries>true</addDefaultSpecificationEntries></manifest><manifestEntries><!--<Permissions>${Permissions}</Permissions>--><!--<Caller-Allowable-Codebase>${Caller-Allowable-Codebase}</Caller-Allowable-Codebase>--><Class-Path>./</Class-Path></manifestEntries></archive></configuration></plugin><!-- 解决资源文件的编码问题 --><plugin><groupId>org.apache.maven.plugins</groupId><artifactId>maven-compiler-plugin</artifactId><version>2.3.2</version><configuration><source>${java_source_version}</source><target>${java_target_version}</target><encoding>${file_encoding}</encoding><showDeprecation>true</showDeprecation><showWarnings>true</showWarnings></configuration></plugin><plugin><groupId>org.apache.maven.plugins</groupId><artifactId>maven-dependency-plugin</artifactId><executions><execution><id>copy-dependencies</id><phase>package</phase><configuration><overWriteReleases>false</overWriteReleases><overWriteSnapshots>false</overWriteSnapshots><overWriteIfNewer>true</overWriteIfNewer><!-- 将引用依赖的jar包打在lib目录下 --><outputDirectory>${project.build.directory}/lib</outputDirectory></configuration><goals><goal>copy-dependencies</goal></goals></execution></executions></plugin></plugins></build></project>
先测试一下将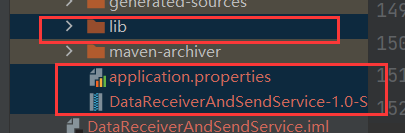 复制到同一文件夹用sbt测试是否能运行.

 测试成功
测试成功
将三个文件上传到Linux lib可以先打包再解压
然后执行start.sh
再到另一个窗口测试
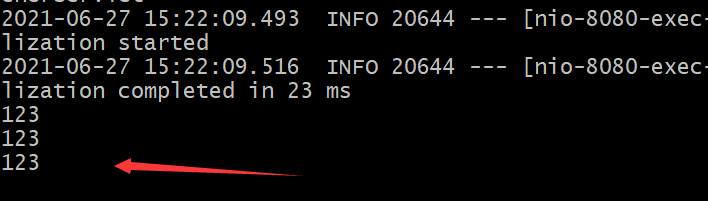
curl localhost:8080/tianliangedu/hello
curl localhost:8080/tianliangedu/receiver?message=123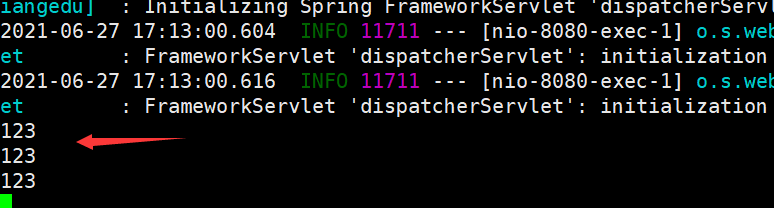 原窗口读取到信息 测试成功
4.模拟爬虫读取有序的文件数据, 将数据以逐条的方式发送到数据接收服务。
编辑send_data_to_data_receiver.sh 测试
#! /bin/bash
#定义数据源在哪里
weibo_data_filepath=../data/sorted_weibo_product/000000_0
#定义接收数据源的服务在哪里
receiver_service=http://localhost:8080/tianliangedu/receiver
#写shell脚本, 模拟采集数据完成后的传递数据到接口服务的过程,核心是shell编程+curl
#while 代表有数据就读 line随意命名
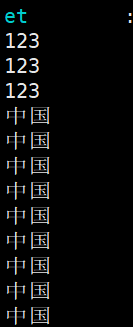
cat $weibo_data_filepath | head -10 | while read line;
do
#echo $line
curl $receiver_service?message=中国
done
正式版
#! /bin/bash

#定义数据源在哪里
weibo_data_filepath=../data/sorted_weibo_product/000000_0
#定义接收数据源的服务在哪里
receiver_service=http://localhost:8080/tianliangedu/receiver

#写shell脚本, 模拟采集数据完成后的传递数据到接口服务的过程,核心是shell编程+curl
#while 代表有数据就读 line随意命名
cat $weibo_data_filepath | head -100000 | tail -1000 | while read line;
do
    #echo $line 全部读出来
    #curl $receiver_service?message=中国
    #curl $receiver_service?message=$line 不能这样发送 里面杂乱信息太多 特殊符号等 只适合传送简单参数
    curl -X POST --data-urlencode "message=$line" $receiver_service
    #sleep 1s
done
4、数据转发到kafka集群-kafka producer
新建kafka包 将kafka生产者消费者两个类放进去
生产者KafkaProducerUtil
import java.util.Properties;
import org.apache.kafka.clients.producer.KafkaProducer;
import org.apache.kafka.clients.producer.ProducerConfig;
import org.apache.kafka.clients.producer.ProducerRecord;
import org.apache.kafka.common.serialization.StringSerializer;

public class KafkaProducerUtil {
    // 生产者抽象对象
    public KafkaProducer<String, String> producer;

    // 传入brokerList,以hostname:port的方式,多个之间用,号隔开
    public KafkaProducerUtil(String brokerList) {
        Properties props = new Properties();
        // 服务器ip:端口号,集群用逗号分隔
        props.put(ProducerConfig.BOOTSTRAP_SERVERS_CONFIG, brokerList);
        // key序列化指定类
        props.put(ProducerConfig.KEY_SERIALIZER_CLASS_CONFIG,
                StringSerializer.class.getName());
        // value序列化指定类
        props.put(ProducerConfig.VALUE_SERIALIZER_CLASS_CONFIG,
                StringSerializer.class.getName());
        // 生产者对象
        producer = new KafkaProducer<String, String>(props);
    }

    public void close() {
        this.producer.close();
    }

}
写一个服务类DataSendService 在这里初始化生产者 用kafka producer实现向kafka发送数据的功能
import com.tl.job016.bigdata.kafka.KafkaProducerUtil;
import org.apache.kafka.clients.producer.ProducerRecord;

public class DataSendService {

    public static KafkaProducerUtil kafkaProducerUtil = null;
    public static String topic = null;
    public static String brokerList = null;

    static {
        //初始化broker列表
        brokerList = "cluster1.hadoop:6667,cluster0.hadoop:6667";
        topic = "YzjKafkaTest";
        //初始化生产者工具类
        kafkaProducerUtil = new KafkaProducerUtil(brokerList);
    }
    //用kafka producer实现向kafka发送数据的功能
    public static boolean sendMessage(String message) {
        try {
            kafkaProducerUtil.producer.send(new ProducerRecord<String, String>(
                    topic, message));
            return true;
        } catch (Exception e) {
            return false;
        }
    }

}
打包上传
- sh start.sh运行springboot项目
- sh send_data_to_data_receiver.sh 将数据传输到项目 再有项目中的接口转发到kafka 先转发10条测试
- 打开消费者 查看书否传输到kafka集群
sh /usr/hdp/3.1.0.0-78/kafka/bin/kafka-console-consumer.sh —bootstrap-server cluster0.hadoop:6667 -topic YzjKafkaTest -from-beginning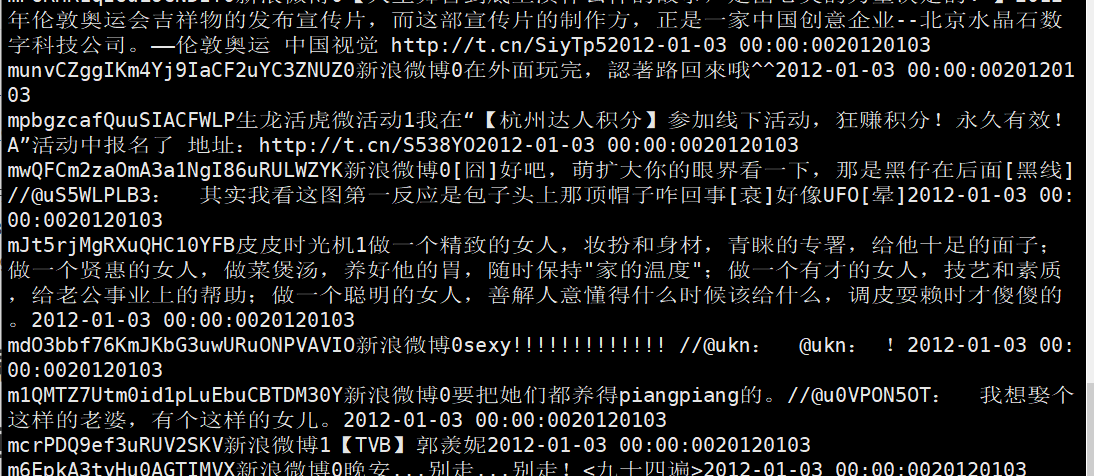 成功
成功
从网页代理端测试 也没问题
也没问题
5、kafka集群搭建(done)
6、实时数据的消费落地-小时级数据落地-kafka consumer
测试consumer_data_to_dw_sdf.sh
#! /bin/bash

#定义要消费的topic参数
topic=YzjKafkaTest

#定义相关的kafka-consumer参数
bootstrap_server=cluster0.hadoop:6667

#业务代码实现数据的消费落地
sh /usr/hdp/3.1.0.0-78/kafka/bin/kafka-console-consumer.sh --bootstrap-server $bootstrap_server -topic $topic -from-beginning >weibo_data.log
会在本地生成一个weibo_data.log文件
more weibo_data.log查看可以将kafka中的数据落地到本地 测试成功
shell字符串截取 https://blog.csdn.net/YF_Li123/article/details/89202287
从左边第N个字符开始,截取M个字符
echo ${var:8:3}www
注释:“:8:3”表从左边第9个字符开始,向右截取3个字符
准备做小时级的实时数据
写消费者数据落地shell consumer_data_to_dw_sdf.sh
#! /bin/bash

#定义要消费的topic参数
topic=YzjKafkaTest

#定义相关的kafka-consumer参数
bootstrap_server=cluster0.hadoop:6667

#业务代码实现数据的消费落地
sh /usr/hdp/3.1.0.0-78/kafka/bin/kafka-console-consumer.sh --bootstrap-server $bootstrap_server -topic $topic  -from-beginning | while read doc;
do
    #echo $doc
    created_at=`echo $doc | awk -F '\001' '{print $9}'`
    real_time_value=${created_at:0:4}${created_at:5:2}${created_at:8:2}${created_at:11:2}
    #echo $real_time_value   >覆盖式重定向  >>增量式重定向
    echo $doc >> $real_time_value.log
done
nohup sh consumer_data_to_dw_sdf.sh &
让他永久后台执行
修改send_data_to_data_receiver.sh参数 运行
就能按小时数据生成log文件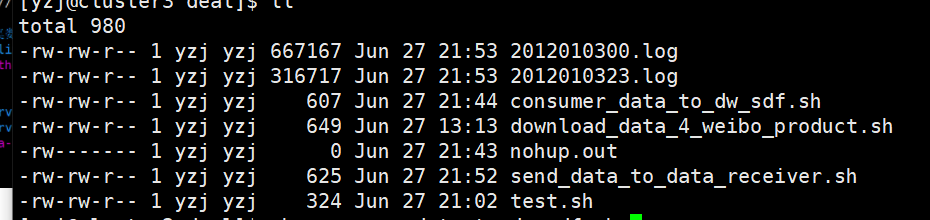
7、将上边的落到原始数据落地层的数据ETL到Hive仓库的指定小时级分区表当中。-hive load

若有收获,就点个赞吧
0 人点赞
