张量的数据类型
张量的数据类型和numpy.array基本一一对应,但是不支持str类型。
包括:
torch.float64(torch.double), torch.float32(torch.float), torch.float16, torch.int64(torch.long), torch.int32(torch.int), torch.int16, torch.int8, torch.uint8, torch.bool
一般神经网络建模使用的都是torch.float32类型。
import numpy as npimport torch# 自动推断数据类型i = torch.tensor(1)print(i,i.dtype)x = torch.tensor(2.0)print(x,x.dtype)b = torch.tensor(True)print(b,b.dtype)

指定数据类型
i = torch.tensor(1,dtype = torch.int32)print(i,i.dtype)x = torch.tensor(2.0,dtype = torch.double)print(x,x.dtype)

使用特定类型构造函数
i = torch.IntTensor(1)print(i,i.dtype)x = torch.Tensor(np.array(2.0))print(x,x.dtype) #等价于torch.FloatTensorb = torch.BoolTensor(np.array([1,0,2,0]))print(b,b.dtype)

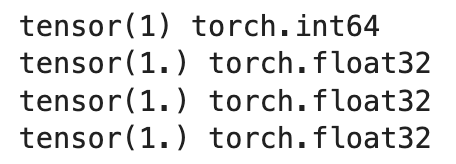
i = torch.tensor(1)print(i,i.dtype)x = i.float()print(x,x.dtype) #调用 float方法转换成浮点类型y = i.type(torch.float)print(y,y.dtype) #使用type函数转换成浮点类型z = i.type_as(x)print(z,z.dtype) #使用type_as方法转换成某个Tensor相同类型
张量的维度
不同类型的数据可以用不同维度(dimension)的张量来表示。
标量为0维张量,向量为1维张量,矩阵为2维张量。
彩色图像有rgb三个通道,可以表示为3维张量。
视频还有时间维,可以表示为4维张量。
可以简单地总结为:有几层中括号,就是多少维的张量。
scalar = torch.tensor(True)print(scalar)print(scalar.dim()) # 标量,0维张量

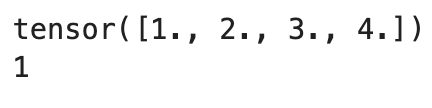
vector = torch.tensor([1.0,2.0,3.0,4.0]) #向量,1维张量print(vector)print(vector.dim())
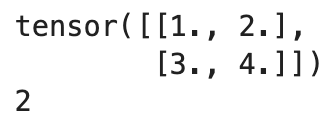
matrix = torch.tensor([[1.0,2.0],[3.0,4.0]]) #矩阵, 2维张量print(matrix)print(matrix.dim())
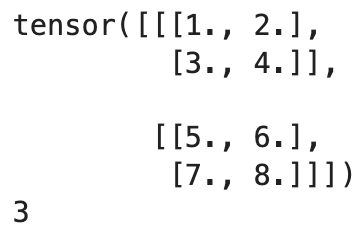
tensor3 = torch.tensor([[[1.0,2.0],[3.0,4.0]],[[5.0,6.0],[7.0,8.0]]]) # 3维张量print(tensor3)print(tensor3.dim())
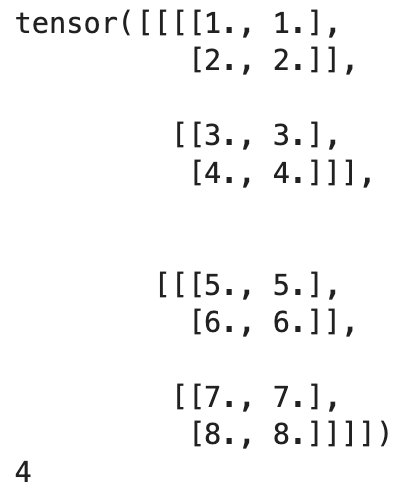
tensor4 = torch.tensor([[[[1.0,1.0],[2.0,2.0]],[[3.0,3.0],[4.0,4.0]]],[[[5.0,5.0],[6.0,6.0]],[[7.0,7.0],[8.0,8.0]]]]) # 4维张量print(tensor4)print(tensor4.dim())
张量的尺寸
可以使用shape属性或者 size()方法查看张量在每一维的长度。
可以使用view方法改变张量的尺寸。
如果view方法改变尺寸失败,可以使用reshape方法.
scalar = torch.tensor(True)print(scalar.size())print(vector.shape)
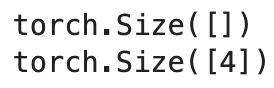
vector = torch.tensor([1.0,2.0,3.0,4.0])print(vector.size())print(vector.shape)
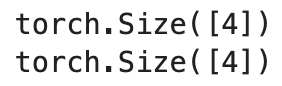
matrix = torch.tensor([[1.0,2.0],[3.0,4.0]])print(matrix.size())

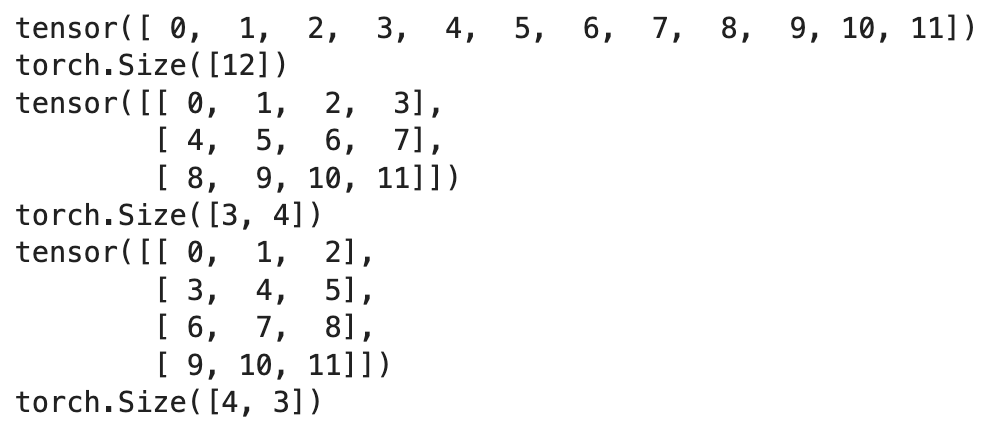
# 使用view可以改变张量尺寸vector = torch.arange(0,12)print(vector)print(vector.shape)matrix34 = vector.view(3,4)print(matrix34)print(matrix34.shape)matrix43 = vector.view(4,-1) #-1表示该位置长度由程序自动推断print(matrix43)print(matrix43.shape)
# 有些操作会让张量存储结构扭曲,直接使用view会失败,可以用reshape方法matrix26 = torch.arange(0,12).view(2,6)print(matrix26)print(matrix26.shape)# 转置操作让张量存储结构扭曲matrix62 = matrix26.t()print(matrix62)print(matrix62.is_contiguous()) #Tensor底层一维数组元素的存储顺序与Tensor按行优先一维展开的元素顺序是否一致。# 直接使用view方法会失败,可以使用reshape方法#matrix34 = matrix62.view(3,4) #error!matrix34 = matrix62.reshape(3,4) #等价于matrix34 = matrix62.contiguous().view(3,4)print(matrix34)

张量和numpy数组
可以用numpy方法从Tensor得到numpy数组,也可以用torch.from_numpy从numpy数组得到Tensor。
这两种方法关联的Tensor和numpy数组是共享数据内存的。如果改变其中一个,另外一个的值也会发生改变。如果有需要,可以用张量的clone方法拷贝张量,中断这种关联。
此外,还可以使用item方法从标量张量得到对应的Python数值。
使用tolist方法从张量得到对应的Python数值列表。
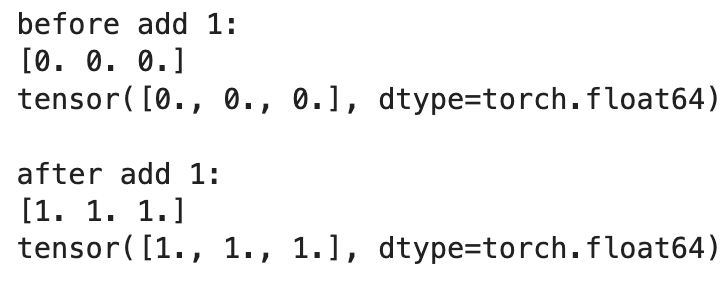
#torch.from_numpy函数从numpy数组得到Tensorarr = np.zeros(3)tensor = torch.from_numpy(arr)print("before add 1:")print(arr)print(tensor)print("\nafter add 1:")np.add(arr,1, out = arr) #给 arr增加1,tensor也随之改变。“out”参数指定结果存储的位置。print(arr)print(tensor)
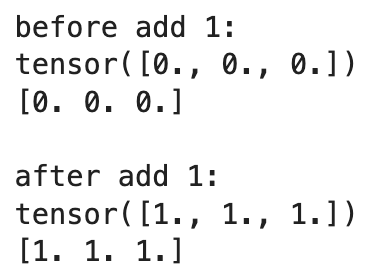
# numpy方法从Tensor得到numpy数组tensor = torch.zeros(3)arr = tensor.numpy()print("before add 1:")print(tensor)print(arr)print("\nafter add 1:")#使用带下划线的方法表示计算结果会返回给调用 张量tensor.add_(1) #给 tensor增加1,arr也随之改变#或: torch.add(tensor,1,out = tensor)print(tensor)print(arr)
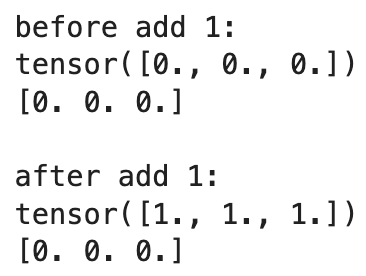
# 可以用clone() 方法拷贝张量,中断这种关联tensor = torch.zeros(3)#使用clone方法拷贝张量, 拷贝后的张量和原始张量内存独立arr = tensor.clone().numpy() # 也可以使用tensor.data.numpy()print("before add 1:")print(tensor)print(arr)print("\nafter add 1:")#使用 带下划线的方法表示计算结果会返回给调用 张量tensor.add_(1) #给 tensor增加1,arr不再随之改变print(tensor)print(arr)
# item方法和tolist方法可以将张量转换成Python数值和数值列表scalar = torch.tensor(1.0)s = scalar.item()print(s)print(type(s))tensor = torch.rand(2,2)t = tensor.tolist()print(t)print(type(t))


若有收获,就点个赞吧
0 人点赞
