前提
安装 @midwayjs/faas-cli 工具。
$ npm i @midwayjs/faas-cli -g
创建项目
React
f create --template-package=@midwayjs-examples/midway-hooks-react
Vue:
$ f create --template-package=@midwayjs-examples/midway-hooks-vue3
ICE.js:
$ npm init ice ice-app --template @icedesign/scaffold-midway-faas
本地开发(以 React 为例)
整个示例代码结构如下。
➜ react_xxx tree.├── README.md├── config-overrides.js├── f.yml # 函数配置文件├── package.json├── public│ ├── favicon.ico│ ├── index.html│ ├── logo192.png│ ├── logo512.png│ ├── manifest.json│ └── robots.txt├── src│ ├── App.test.tsx│ ├── App.tsx│ ├── Home.tsx│ ├── List.tsx│ ├── apis # 函数目录│ │ ├── config│ │ │ └── config.default.ts│ │ ├── configuration.ts│ │ ├── hook│ │ │ └── useMethod.ts│ │ ├── lambda # 接口目录│ │ │ └── index.ts│ │ └── render.ts # 页面渲染函数│ ├── index.css│ ├── index.tsx│ ├── logo.svg│ ├── react-app-env.d.ts│ ├── serviceWorker.ts│ ├── setupProxy.js│ └── setupTests.ts└── tsconfig.json6 directories, 27 files
我们在本地可以通过 npm start 来启动,启动时会自动发一个请求到函数端拿数据,渲染到页面,访问 [http://127.0.0.1:3000/](http://127.0.0.1:8080/) ,整体效果如下。
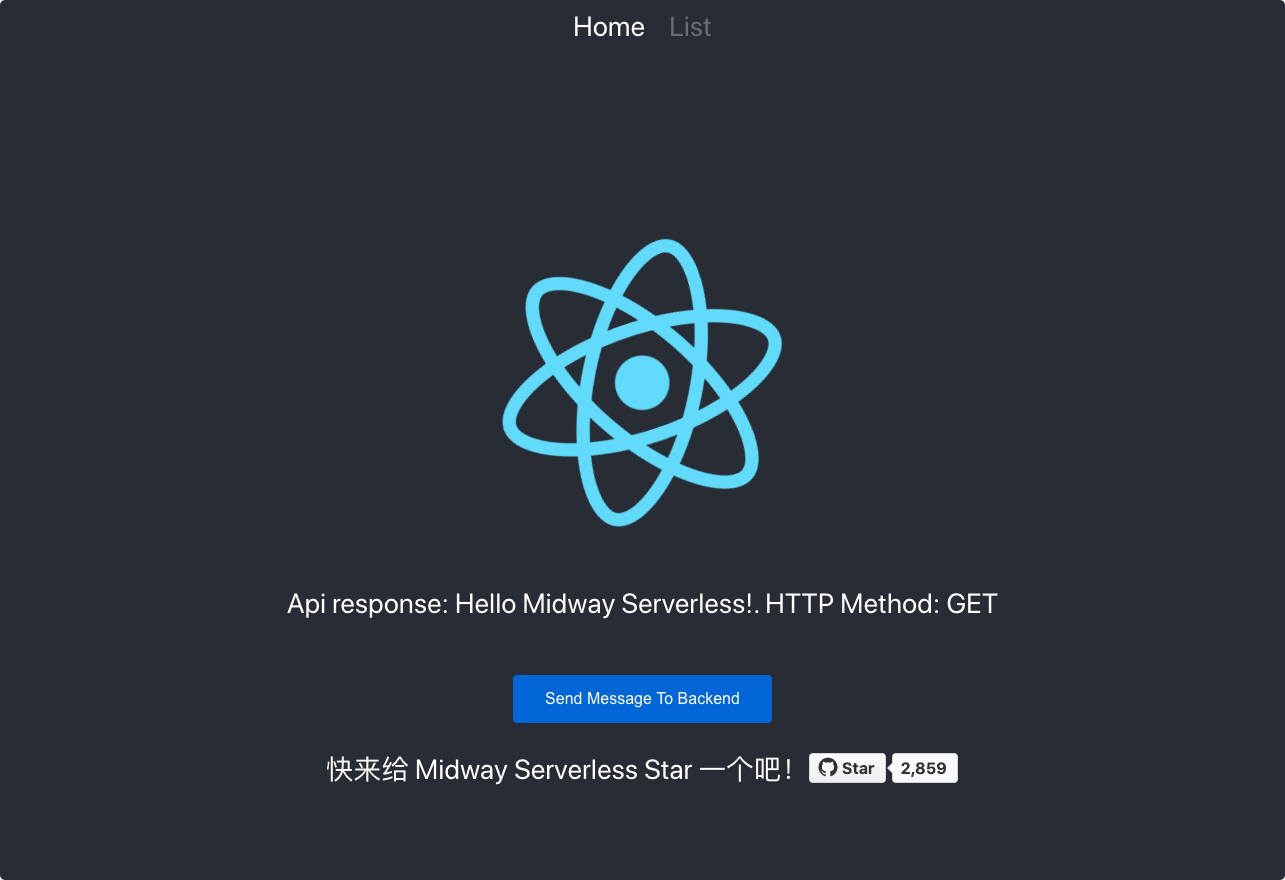
切换顶部的 Tab 区域,还会请求不同的函数接口。
部署
使用 f deploy ,默认发布到阿里云,也可以自行修改到其他平台。

若有收获,就点个赞吧
0 人点赞
