You can remotely control camera parameters and take photos through mobile phones, tablets, computers and other devices.
Remote shooting interface
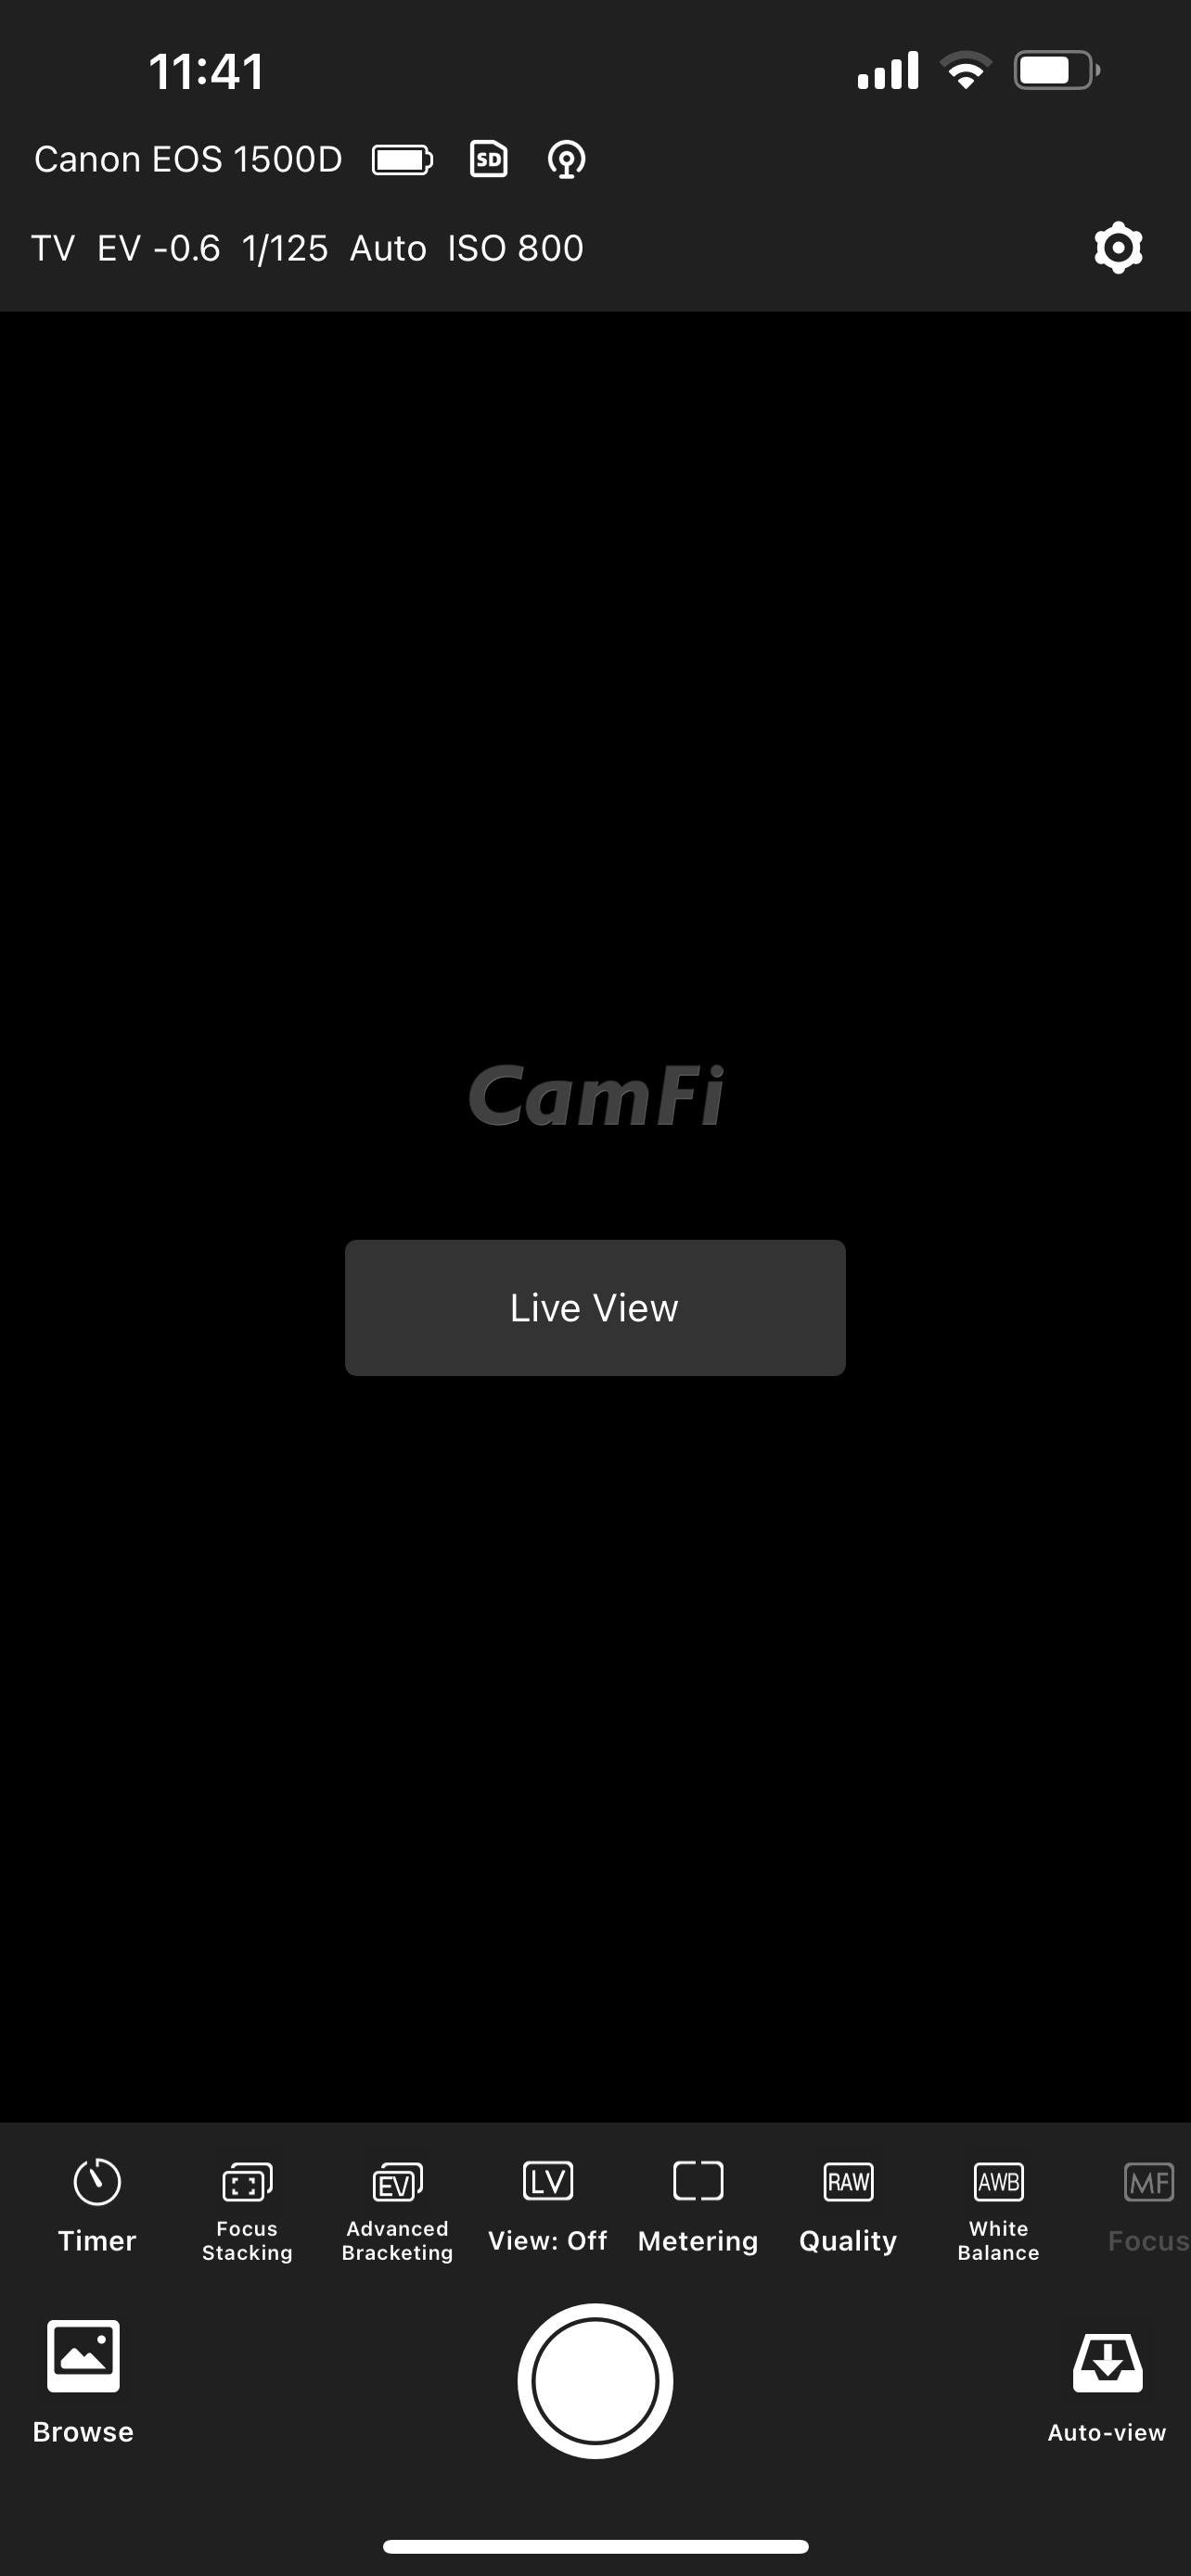
Camera model and electric quantity: the camera model and electric quantity will be displayed after the camera is successfully connected to CamFi.
Parameter setting: you can set the mode, shutter, aperture, iso, and EVR values of the camera at the top of the screen. (Note: Canon series cameras cannot control gears, Nikon series cameras can control gears.)
Software settings: Set the settings for CamFi.
Live View: Click “Live View” in the middle of the screen or the “view” button in the parameter control bar below to enable remote live view.
Toolbar: you can slide left and right, and long press to sort the control buttons to move the common functions to the front.
Browse mode: click to enter the browse photo mode. This mode allows you to browse and download photos on the SD card.
Auto-view: click to enter the receive mode. In this mode, photos taken by the camera will be automatically transmitted to the App.
Features
Timer (Time lapse)
The timer function is divided into simple mode and advanced mode.
Simple Mode
You can quickly take a 3-second or 10-second countdown photo.
Advanced Mode
- Startup time (custom duration)
- Shooting interval (minimum 5 seconds, maximum 9 8 minutes 59 seconds)
- Shooting numbers (custom duration)
- Bulb mode (manual switch to Bulb gear when using Bulb mode)
- Bulb time: After setting the Bulb duration (custom duration), click the Start button to shoot.
When the scheduled shooting is enabled, the scheduled status panel appears below:
- Next shooting time (until next photo shooting time)
- Number of remaining photos (number of photos not yet taken)
- Number of photos taken (number of photos taken successfully)
- Number of failed photos (number of unsuccessful photos)
End timing (shooting can be interrupted during timing shooting)
Grid
Manual focus
The lens can only be used after it is set to MF mode.
There are positive and negative buttons for adjusting the focal plane to the far and near directions.
- Each set of buttons provides three different adjustment step options: 1x, 2x, and 3x.
- Tap these buttons and the focus range will change accordingly.
Auto Focus
The lens is set to AF mode, and the automatic focus function can only be used when the live view is turned on on the APP.
Click the View box directly to automatically focus, and a focus box will appear in the view box.
- Nikon camera users need to change the auto focus option to real-time mode in the camera menu. Auto Focus is not supported in quick mode or face mode.
- Canon camera users need to change AF mode to normal area or wide area. Automatic focus is not supported in face priority mode or tracking mode.
Zoom live view
In the live view mode, double-click the View frame or zoom in with two fingers to zoom in the live view.Exposure bracket
The exposure bracket function enables the camera to continuously take multiple photos with different exposures.
The exposure bracket needs to be performed at the M (manual) gear.
EV, aperture and shutter can be set respectively.
Use [initial value] + [step] to shoot incrementally, and the number of shots must be at least two.Focus stacking
Increasing the depth of field by taking a series of photographs with different focus settings.
Focus stacking can only be used when the lens is set to AF mode.Video
Tap the video button to change the camera to video record mode. The white capture button will change to red when it is in the video mode. Tap the button will start and then stop the recording of a video.

若有收获,就点个赞吧
0 人点赞
