:::info
单实例Oracle安装(单服务器安装)
CentOS的版本:CentOS 7.9 2009
Oracle的版本:11.2.0.3.0
SSH工具:MobaXterm(最新版本即可)
:::
配置初始化参数
1、下载Oracle安装包
如果本地有11g的安装包,则直接上传到/usr/local/src目录下,本地没有11g的包的话,找朋友或者其他人(找我也行)要一下,然后上传到/usr/local/src目录中。
2、创建运行oracle数据库的系统用户和用户组
使用root用户创建用户和用户组[root@localhost ~]# su root # 登录root用户[root@localhost ~]# groupadd oinstall # 创建用户组oinstall[root@localhost ~]# groupadd dba # 创建用户组dba[root@localhost ~]# useradd -g oinstall -g dba -m oracle # 创建oracle用户,并加入到oinstall和dba用户组[root@localhost ~]# groups oracle # 查询用户组是否授权成功[root@localhost ~]# passwd oracle # 设置用户oracle的登陆密码[root@localhost ~]# id oracle # 查看新建的oracle用户权限
3、创建oracle数据库安装目录以及授权
创建oracle数据库需要的目录以及授权,这里以/home为例。
[root@localhost ~]# mkdir -p /home/oracle # oracle数据库安装目录[root@localhost ~]# mkdir -p /home/oraInventory # oracle数据库配置文件目录[root@localhost ~]# mkdir -p /home/database # oracle数据库软件包解压目录[root@localhost ~]# cd /home[root@localhost ~]# ls[root@localhost home]# chown -R oracle:oinstall /home/oracle # 将此目录的属主设置为oracle,并将组设置为oinstall,下同[root@localhost home]# chown -R oracle:oinstall /home/oraInventory[root@localhost home]# chown -R oracle:oinstall /home/database
4、修改OS系统标识
oracle默认不支持CentOS系统安装, 修改文件 /etc/RedHat-release 内容为RedHat-7
[root@localhost home]# vim /etc/redhat-release # 编辑配置文件将其调整为支持oracle安装的环境
redhat-7
5、安装oracle数据库所需要的软件包
这里我们安装oracle需要的依赖包,需要有网络支持,如果没有网络支持,就需要配置YUM源。
[root@localhost home]# yum install binutils* compat* gcc* glibc* ksh* libaio* libgcc* libstdc* libXi* libXtst* make* sysstat* elfutils*
6、关闭防火墙和selinux
临时关闭防火墙firewalld和selinux,防止安装出现其他异常问题。生产环境建议临时关闭防火墙,等安装完之后再重新打开,开启端口。
[root@localhost home]# systemctl status firewalld.service # 查看firewall的状态[root@localhost home]# systemctl stop firewalld.service # 停止firewall[root@localhost home]# systemctl disable firewalld.service # 禁止firewall开机启动[root@localhost home]# vim /etc/selinux/config # 编辑selinux配置文件,将其改为disabled,改完后需要重启才会生效,不重启也可以继续安装下去。
# This file controls the state of SELinux on the system.
# SELINUX= can take one of these three values:
#     enforcing - SELinux security policy is enforced.
#     permissive - SELinux prints warnings instead of enforcing.
#     disabled - No SELinux policy is loaded.
SELINUX=disabled                #此处修改为disabled
# SELINUXTYPE= can take one of three two values:
#     targeted - Targeted processes are protected,
#     minimum - Modification of targeted policy. Only selected processes are protected.
#     mls - Multi Level Security protection.
SELINUXTYPE=targeted
7、修改内核参数
调整内核参数,当前配置较低,请根据实际需要进行调整。
[root@localhost home]# vim /etc/sysctl.conf
net.ipv4.icmp_echo_ignore_broadcasts = 1
net.ipv4.conf.all.rp_filter = 1
fs.file-max = 6815744
fs.aio-max-nr = 1048576
kernel.shmall = 2097152
kernel.shmmax = 2147483648
kernel.shmmni = 4096
kernel.sem = 250 32000 100 128
net.ipv4.ip_local_port_range = 9000 65500
net.core.rmem_default = 262144
net.core.rmem_max= 4194304
net.core.wmem_default= 262144
net.core.wmem_max= 1048576
[root@localhost home]# sysctl -p # 使配置参数生效
参数介绍:
# net.ipv4.icmp_echo_ignore_broadcasts = 1 # 是否响应icmp echo请求广播,1-表示不响应
# net.ipv4.conf.all.rp_filter = 1 # 是否开启对数据包源地址的校验,1-开启严格的反向路径校验。开启后,会对每个进来的数据包,校验其反向路径是否是最佳路径。如果反向路径不是最佳路径,则直接丢弃该数据包。
# fs.file-max = 6815744 #设置最大打开文件数
# fs.aio-max-nr = 1048576 # 同时可以拥有的异步IO请求数量
# kernel.shmall = 2097152 #共享内存的总量,8G内存设置:2097152*4k/1024/1024,物理机的二分之一
# kernel.shmmax = 2147483648 #最大共享内存的段大小 #一般设置为物理机的80%,这里为2G的內存
# kernel.shmmni = 4096 #整个系统共享内存端的最大数
# kernel.sem = 250 32000 100 128 这四个值分别是信号集容纳最大信号的数量、所有信号的最大数量、调用单个信号集中的最大信号的数量和信号集的最大个数。
# net.ipv4.ip_local_port_range = 9000 65500 #可使用的IPv4端口范围
# net.core.rmem_default = 262144 接收套接字缓冲区大小的默认值,以字节为单位。
# net.core.rmem_max= 4194304 接收套接字缓冲区大小的最大值,以字节为单位。
# net.core.wmem_default= 262144 发送套接字缓冲区大小的默认值,以字节为单位。
# net.core.wmem_max= 1048576 发送套接字缓冲区大小的最大值,以字节为单位。
单实例运行内存参考:
一般情况下,调整主要是调整kernel.shmall和kernel.shmmax参数,一般调整为centos系统的80%。
这里给几个建议值:
内存为 12G 时, kernel.shmall = 3145728
内存为 16G 时, kernel.shmall = 4194304
内次为 32G 时, kernel.shmall = 8388608
内存为 64G 时, kernel.shmall = 16777216
内存为 128G 时, kernel.shmall = 33554432
内存为 12G 时,该值为 12102410241024-1 = 12884901887
内存为 16G 时,该值为 16102410241024-1 = 17179869183
内存为 32G 时,该值为 32102410241024-1 = 34359738367
内存为 64G 时,该值为 64102410241024-1 = 68719476735
内存为 128G 时,该值为 12810241024*1024-1 = 137438953471
8、对oracle用户设置限制,提高软件运行性能
[root@localhost home]# vim /etc/security/limits.conf # 编辑资源限制文件
oracle soft nproc 2047
oracle hard nproc 16384
oracle soft nofile 1024
oracle hard nofile 65536
参数介绍:
# oracle soft nproc 单个用户可用的进程数软限制
# oracle hard nproc 单个用户可用的进程数硬限制
# oracle soft nofile 打开文件描述符软限制
# oracle hard nofile 打开文件描述符硬限制
9、配置用户的环境变量
[root@localhost home]# vim /home/oracle/.bash_profile # 编辑用户配置
export ORACLE_BASE=/home/oracle
export ORACLE_HOME=/home/oracle/app/oracle/product/11.2.0/dbhome_1
export ORACLE_SID=orcl
export ORACLE_TERM=xterm
export PATH=$ORACLE_HOME/bin:/usr/sbin:$PATH
export LD_LIBRARY_PATH=$ORACLE_HOME/lib:/lib:/usr/lib
export LANG=C
export NLS_LANG=AMERICAN_AMERICA.ZHS16GBK
[root@localhost home]# source /home/oracle/.bash_profile # 使用户配置生效
参数介绍:
# export ORACLE_BASE=/home/oracle # oracle数据库安装目录
# export ORACLE_HOME=/home/oracle/app/oracle/product/11.2.0/dbhome_1 # oracle数据库路径
# export ORACLE_SID=orcl # oracle启动数据库实例名
# export ORACLE_TERM=xterm # xterm窗口模式安装
# export PATH=$ORACLE_HOME/bin:/usr/sbin:$PATH # 添加系统环境变量
# export LD_LIBRARY_PATH=$ORACLE_HOME/lib:/lib:/usr/lib # 添加系统环境变量
# export LANG=C # 防止安装过程出现乱码
# export NLS_LANG=AMERICAN_AMERICA.ZHS16GBK # 设置Oracle客户端字符集,必须与Oracle安装时设置的字符集保持一致
10、解压下载好的安装包
[root@localhost home]# cd /usr/local/src # 进入到目录[root@localhost src]# unzip Linux-x86-64_1of7 -d /home/database/ # 解压包至安装目录[root@localhost src]# unzip Linux-x86-64_2of7 -d /home/database/ # 解压包至安装目录[root@localhost src]# chown -R oracle:oinstall /home/database/database/ # 授权给oracle用户
11、开放端口
[root@localhost src]# firewall-cmd --permanent --zone=public --add-port=1521/tcp[root@localhost src]# systemctl restart firewalld
图型界面安装ORACLE软件
使用oracle用户登录到shell命令中,执行图型界面安装。 shell工具推荐使用MobaXterm 注意,安装必须使用oracle用户连接到ssh才行,不能使用su 切换oracle。
[oracle@localhost ~]$ cd /home/database/database # 进入到解压的目录中[oracle@localhost database]$ ./runInstaller -jreLoc /usr/lib/jvm/jre-1.8.0 # 执行安装命令
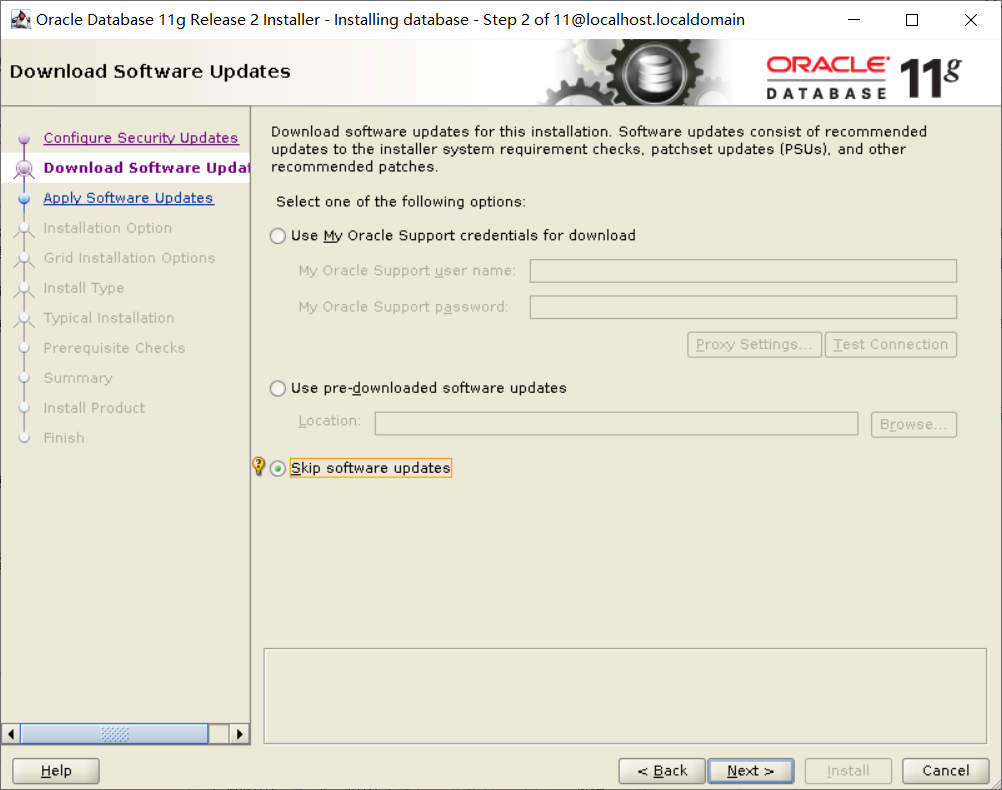
配置安全更新

跳过软件更新
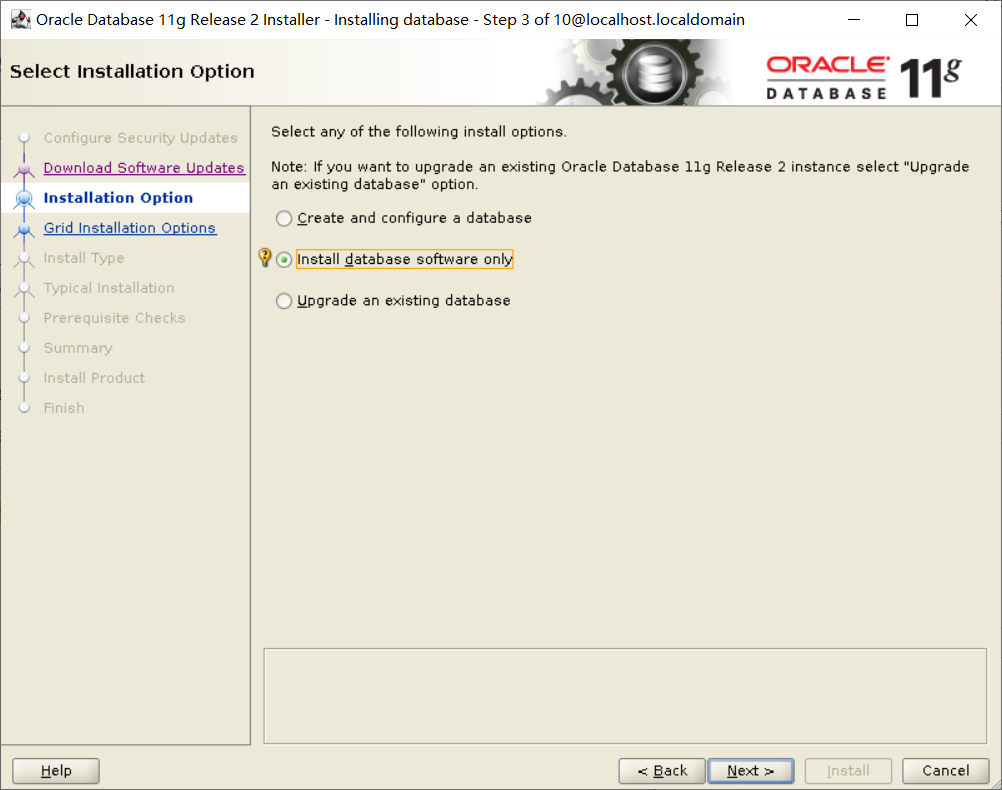
仅安装数据库软件
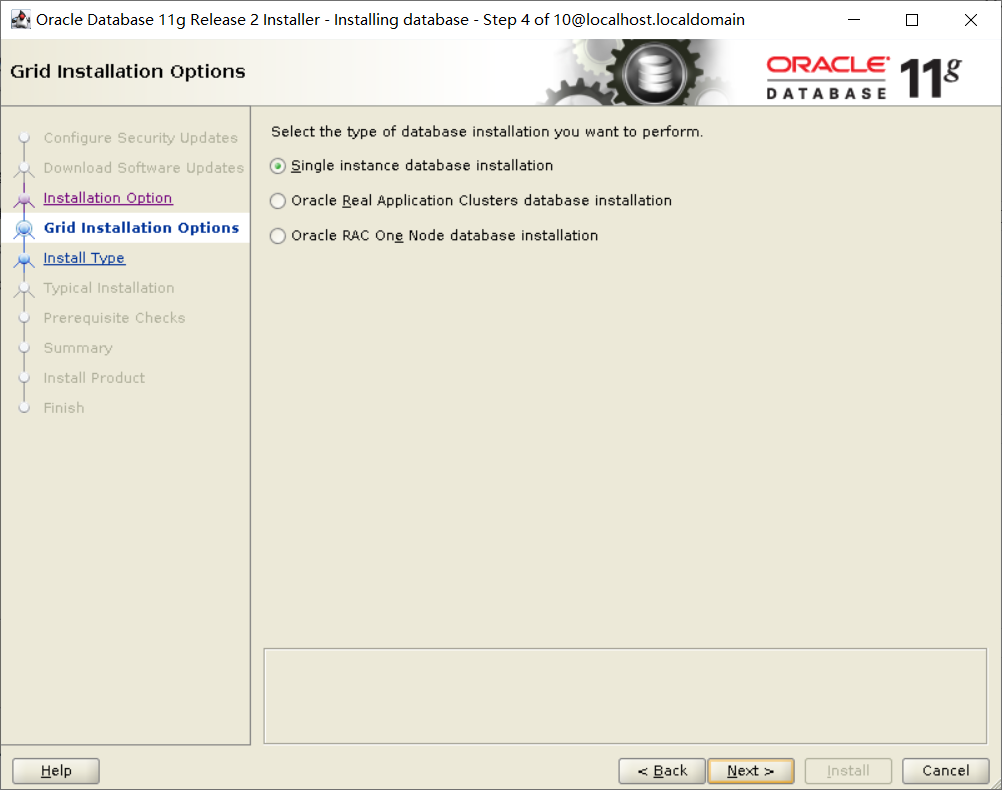
单实例安装
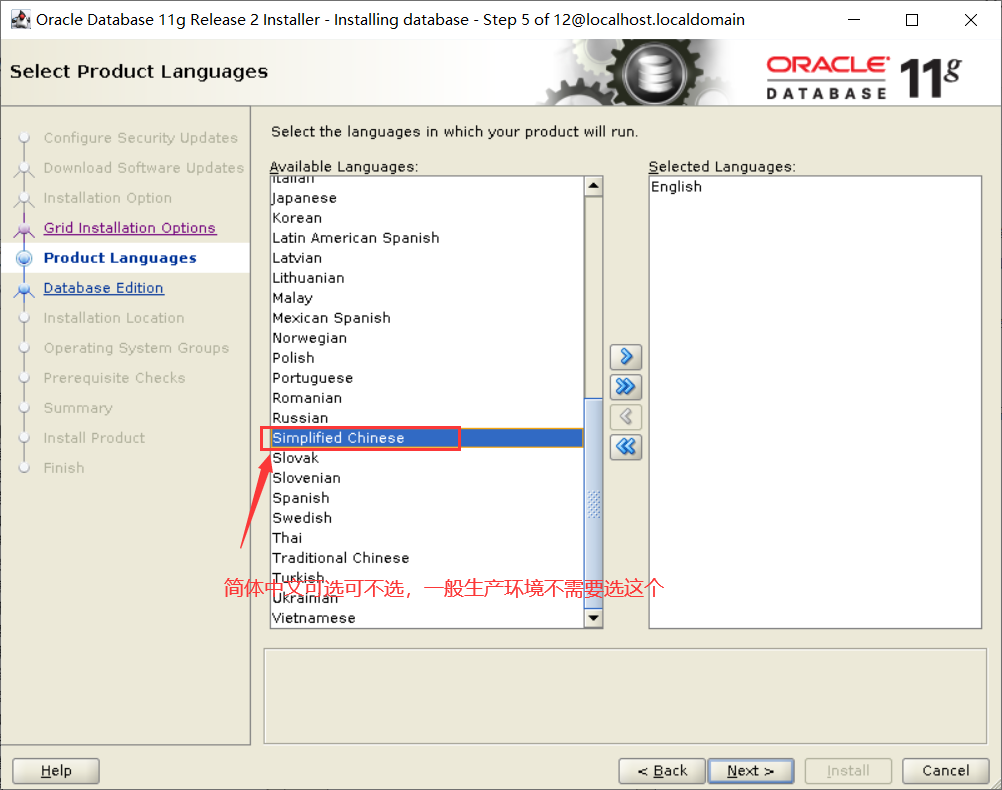
选择语言
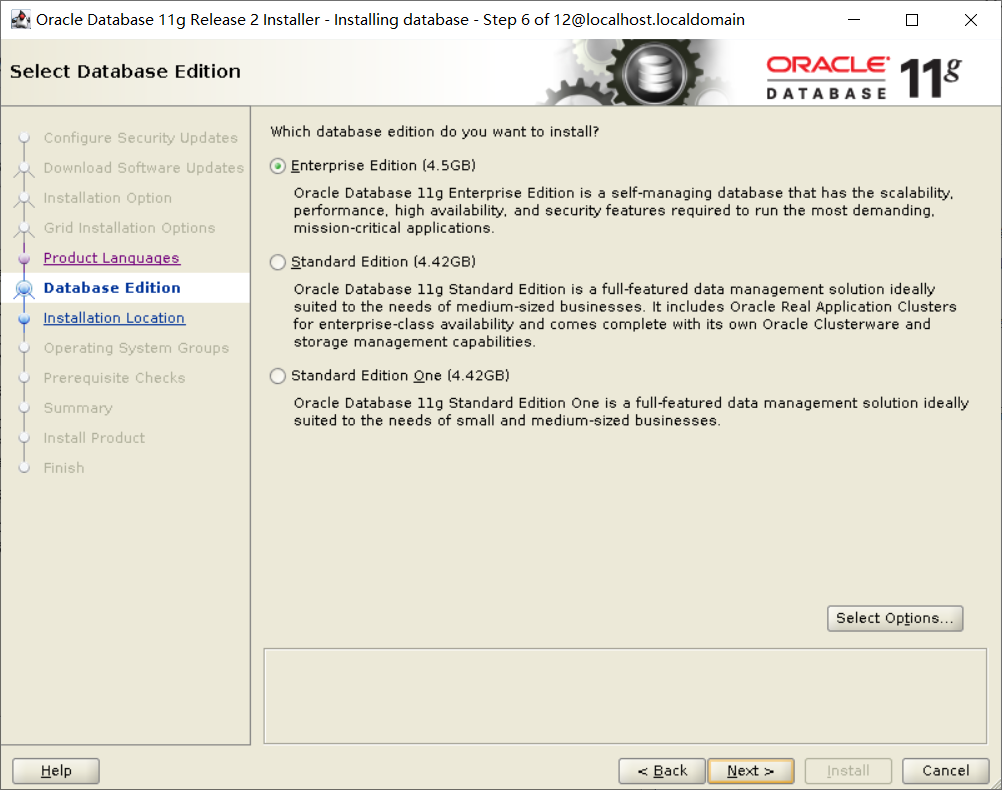
选择安装版本
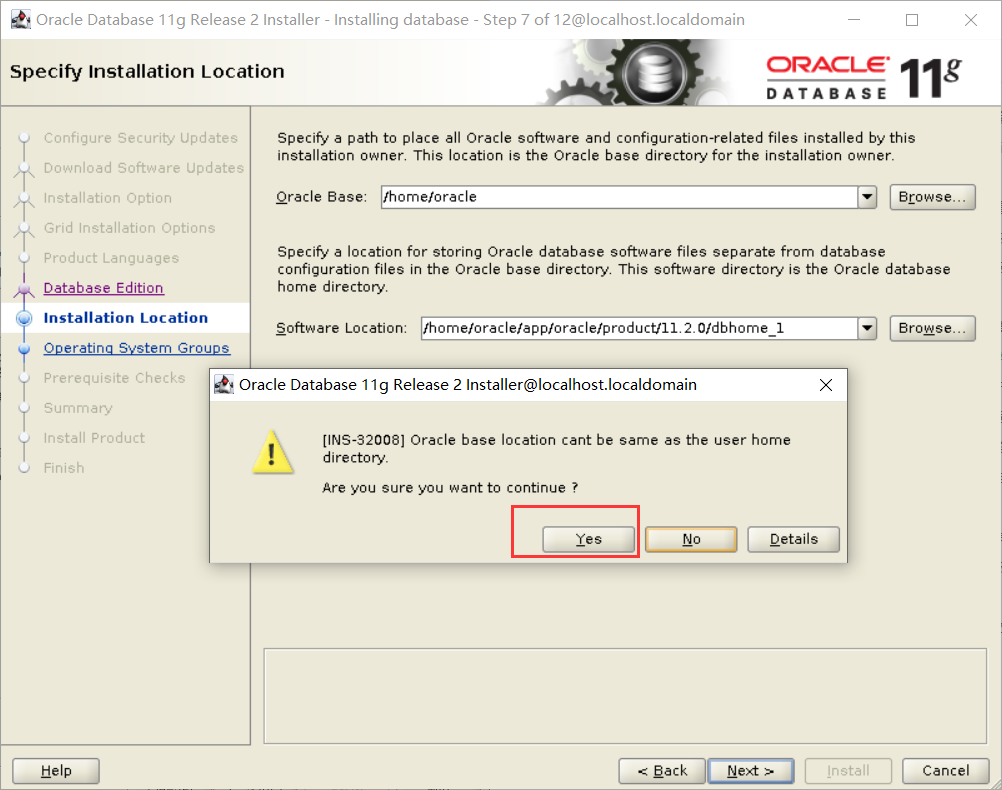
指定安装位置
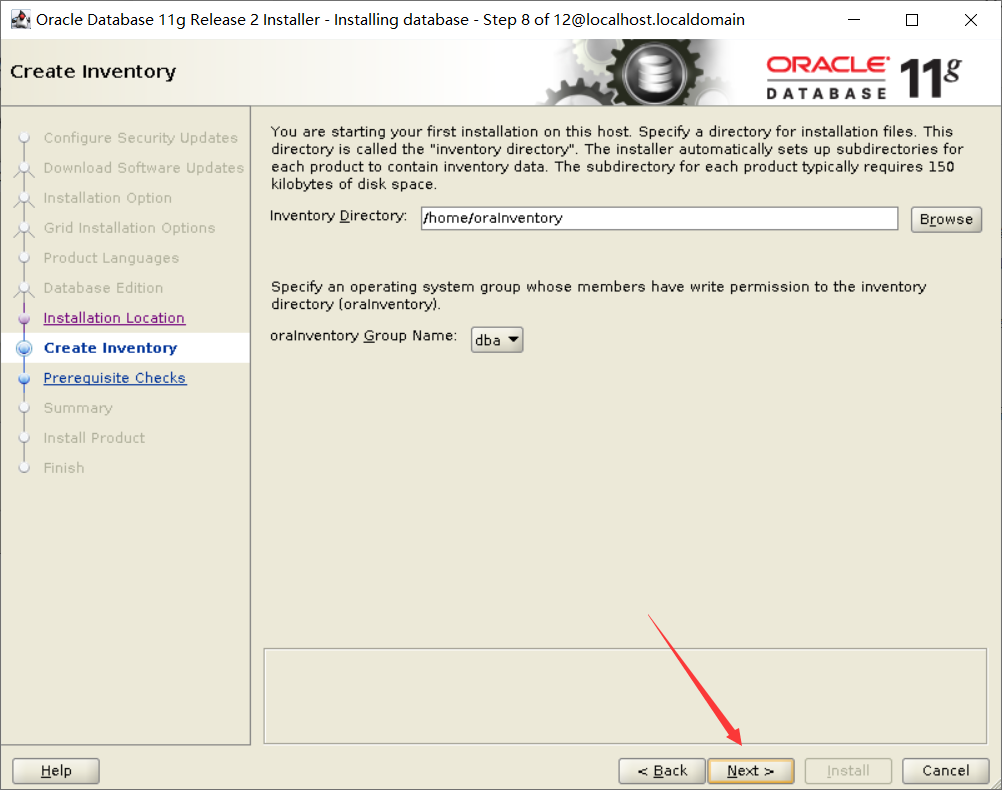
创建产品清单
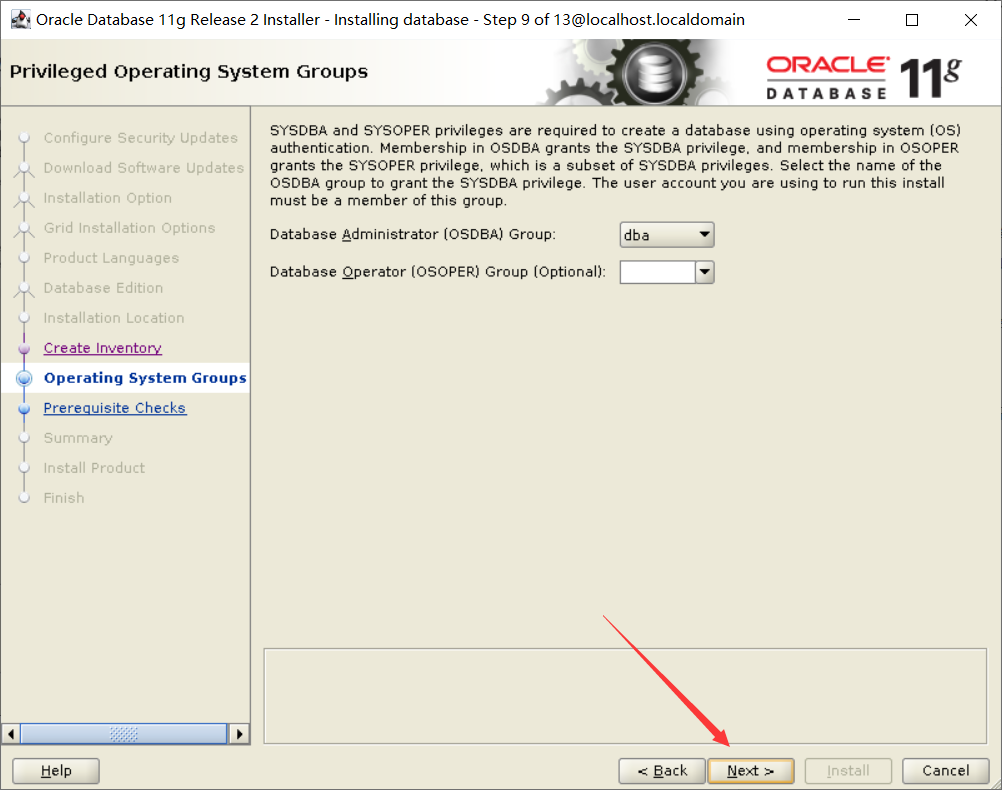
选择操作系统组
先决条件检查
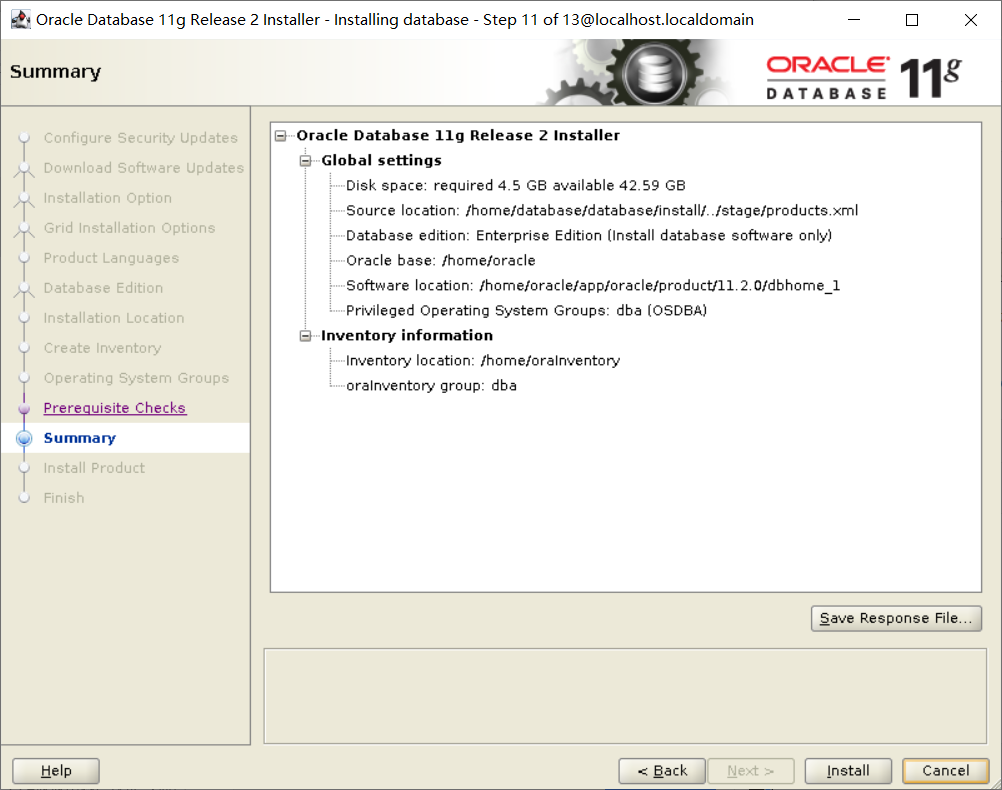
安装
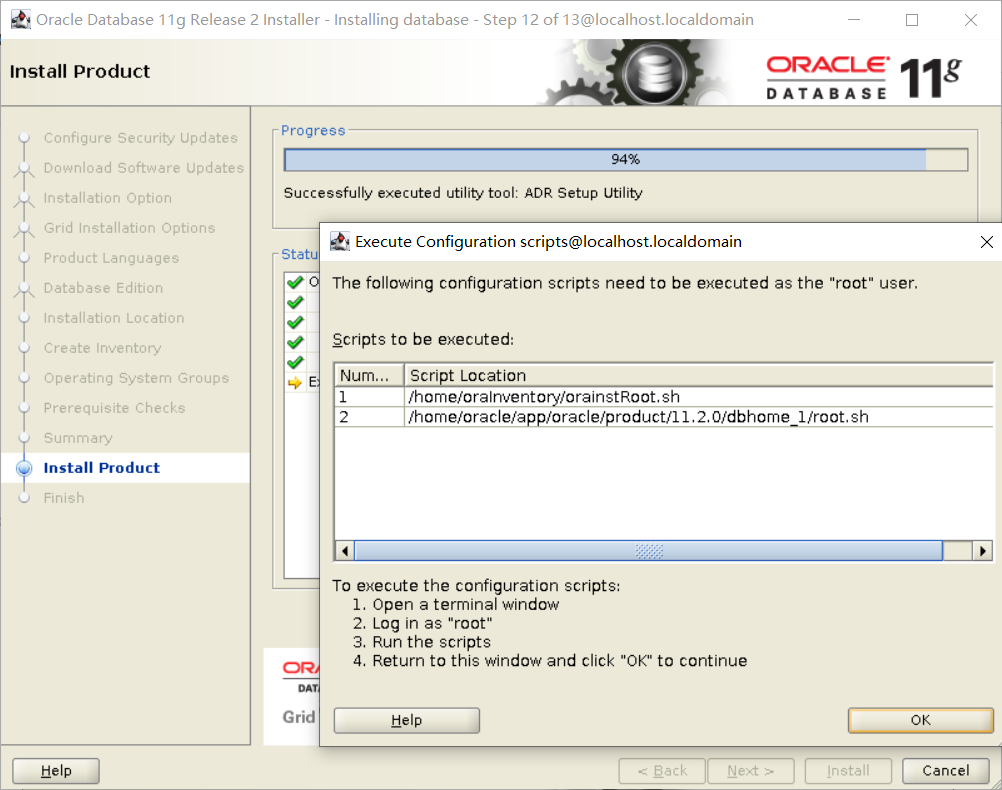
执行脚本
[root@localhost src]# /home/oraInventory/orainstRoot.sh[root@localhost src]# /home/oracle/app/oracle/product/11.2.0/dbhome_1/root.sh # 有询问直接回车即可
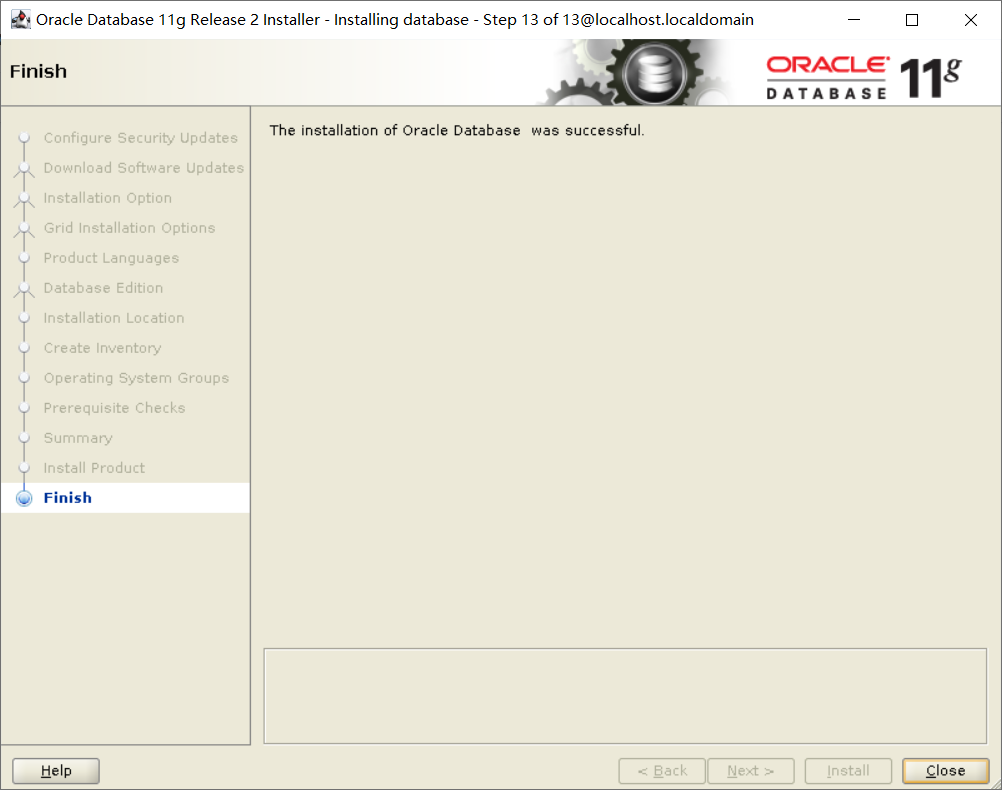
安装ORACLE软件完毕
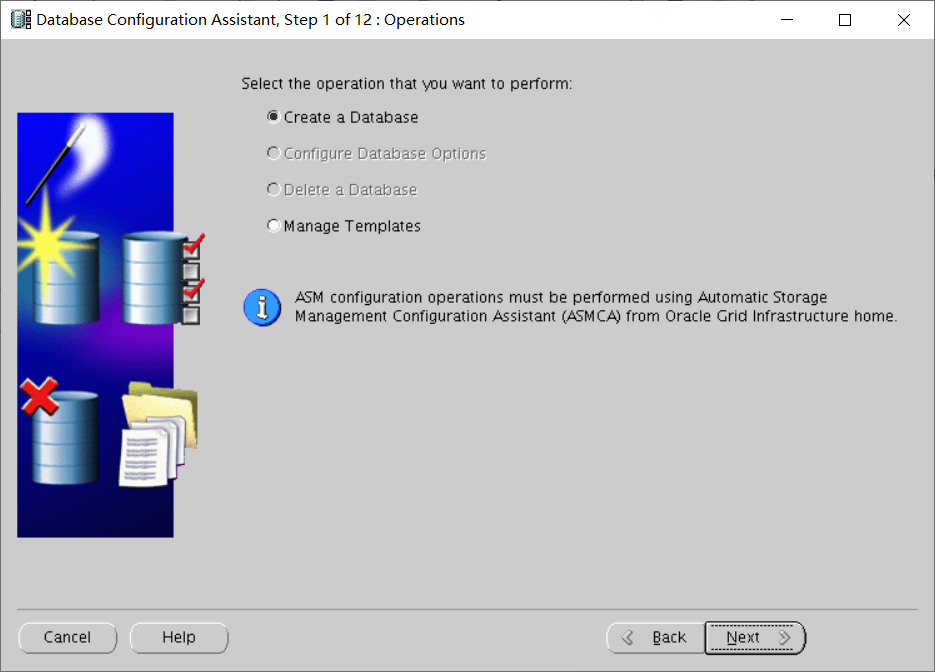
创建数据库
[oracle@localhost database]$ dbca # 调用界面创建数据库
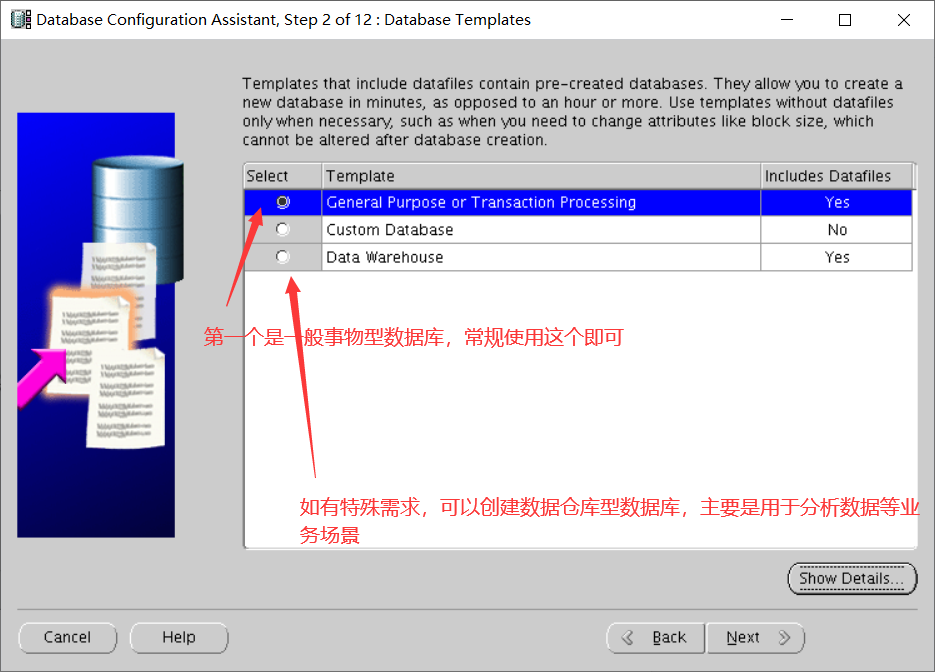
创建库
数据库选择
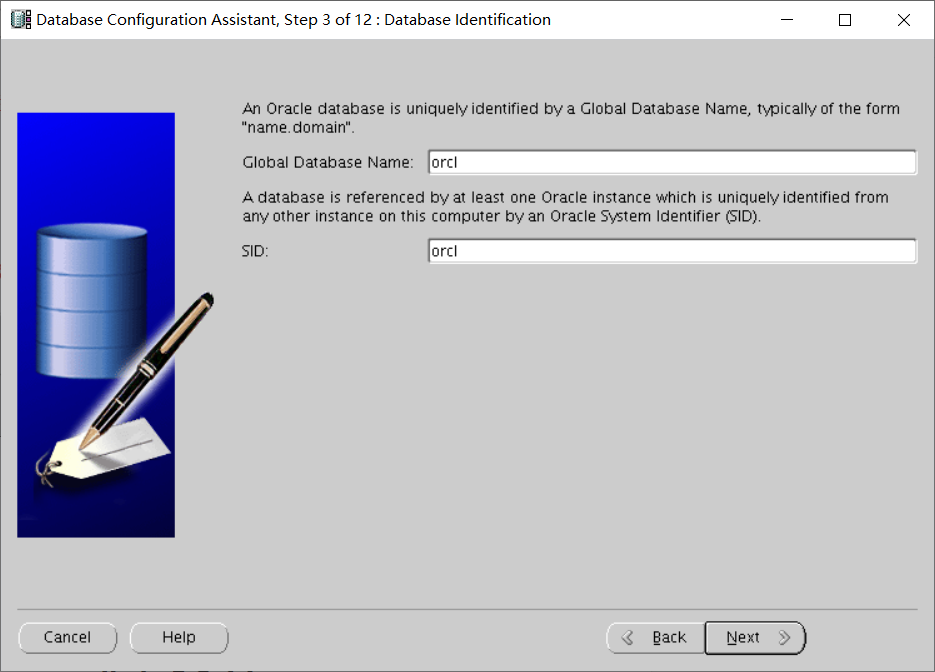
输入全局用户名和SID
取消EM管理功能

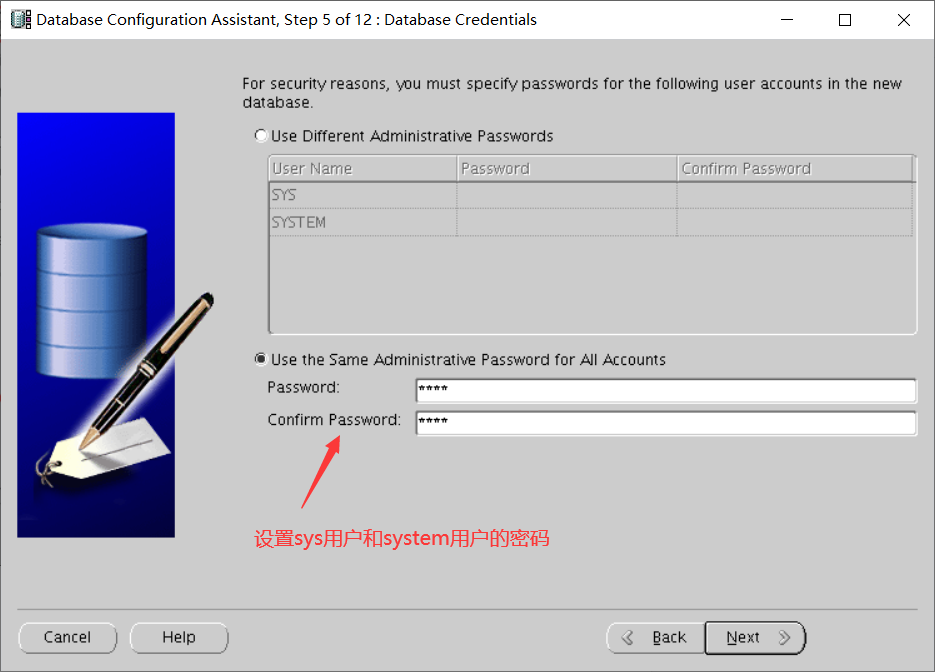
设置默认管理员用户的密码
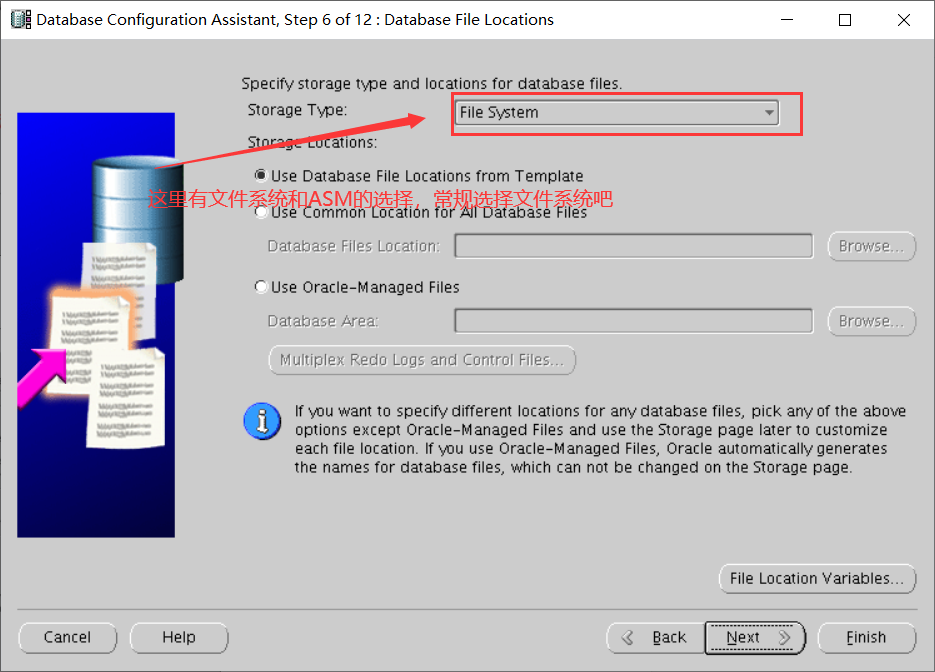
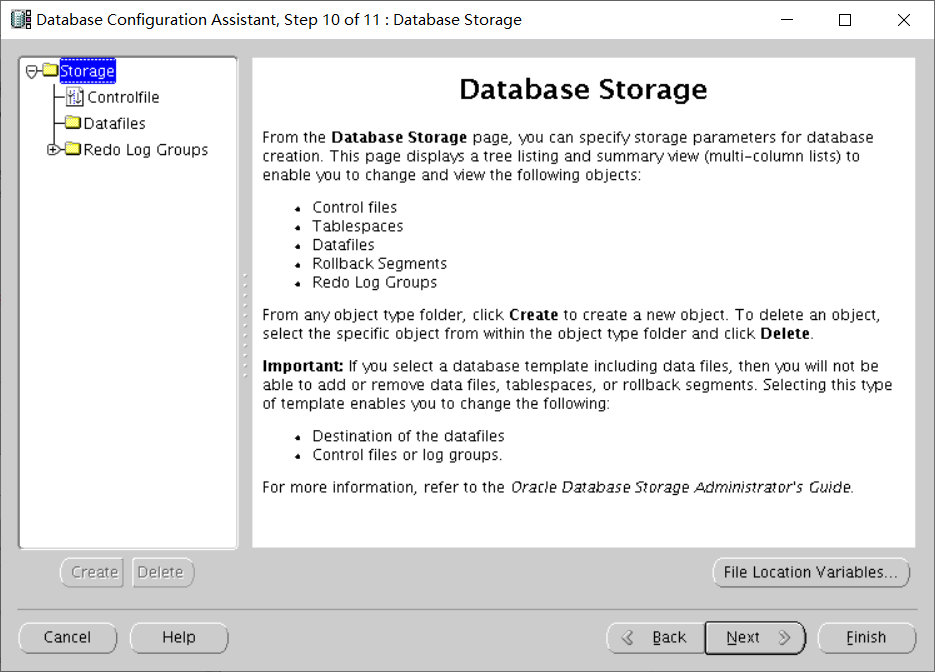
选择存储
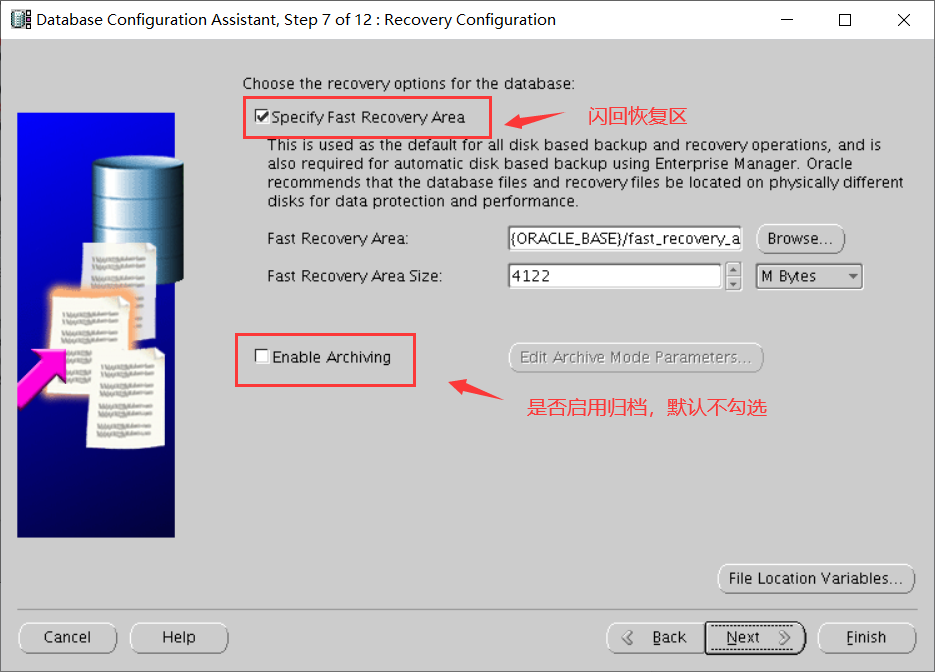
设置闪回区
示例方案

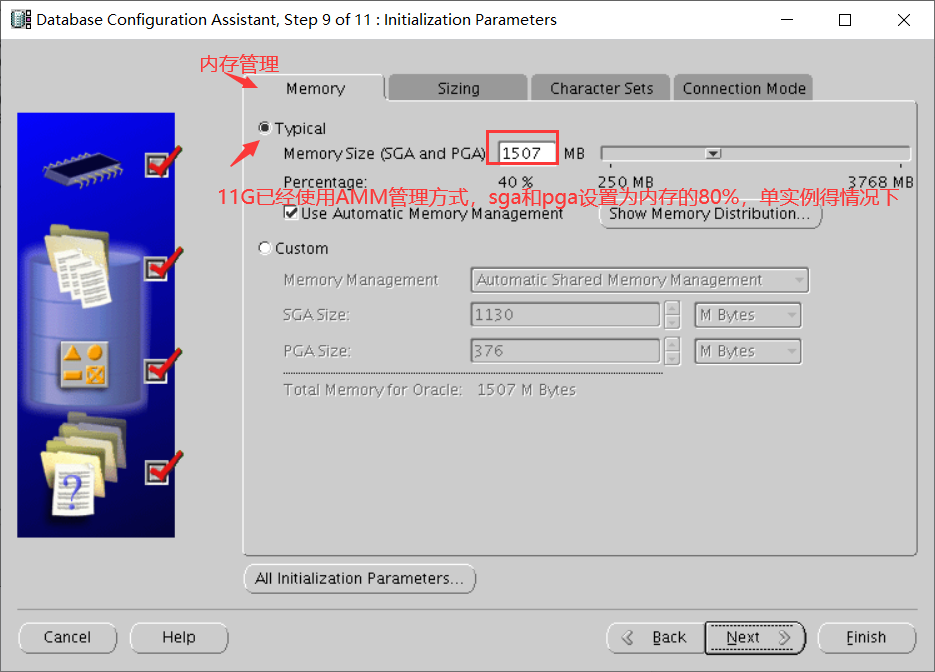
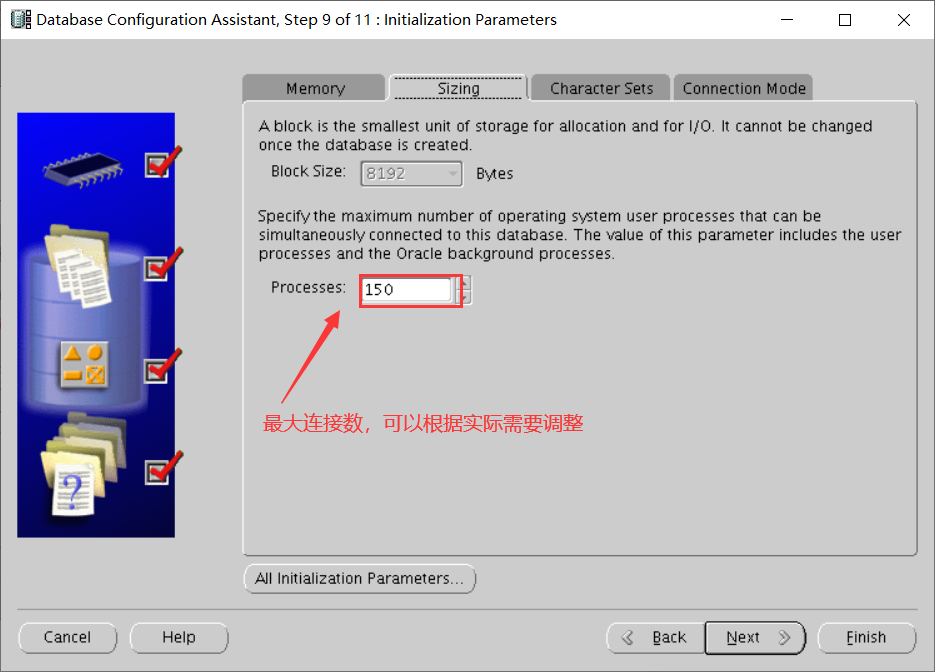
内存、进程和字符集调整

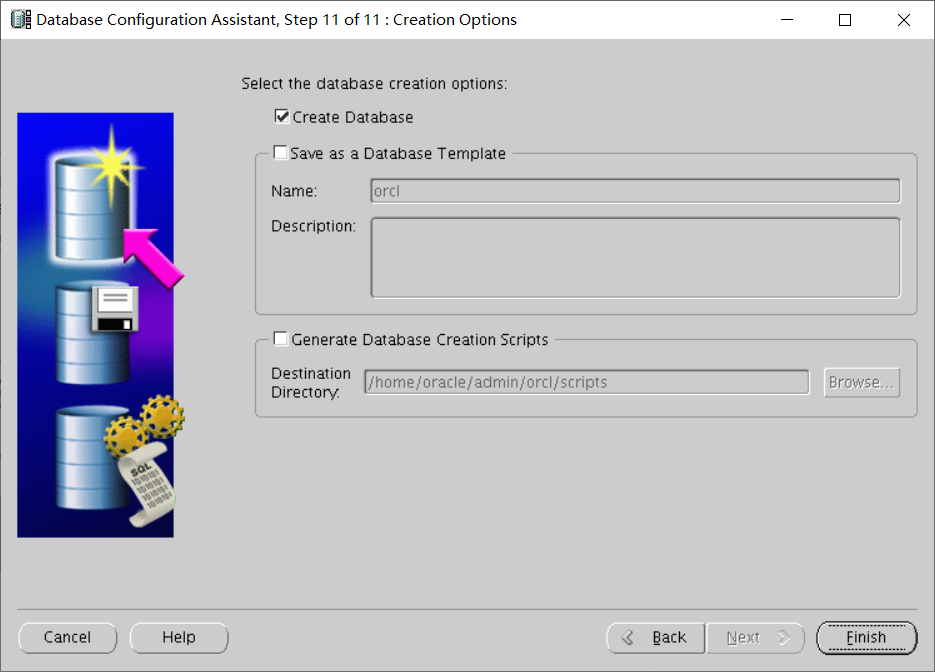
创建数据库
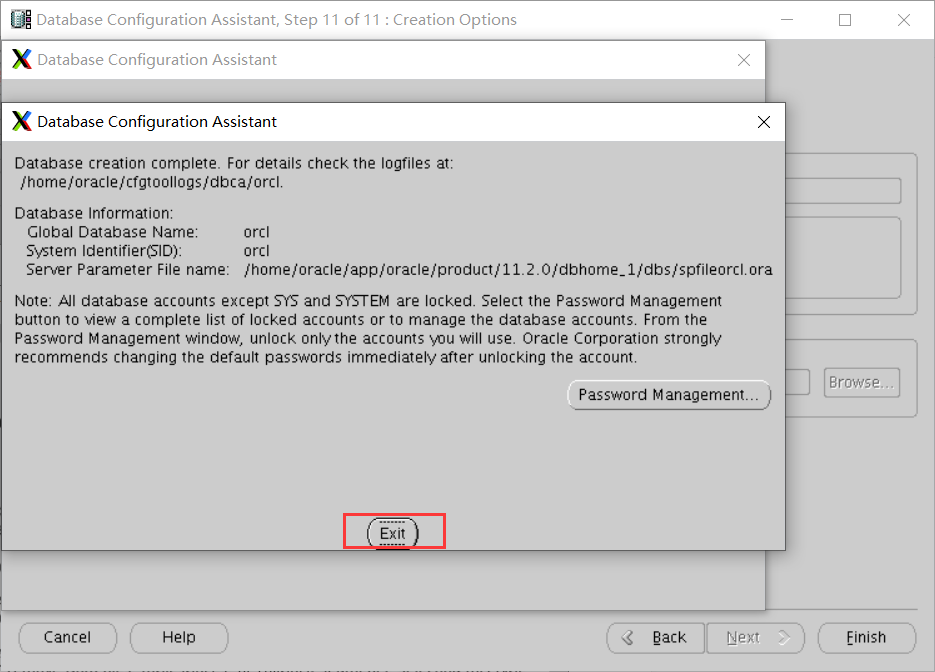
数据库创建完毕
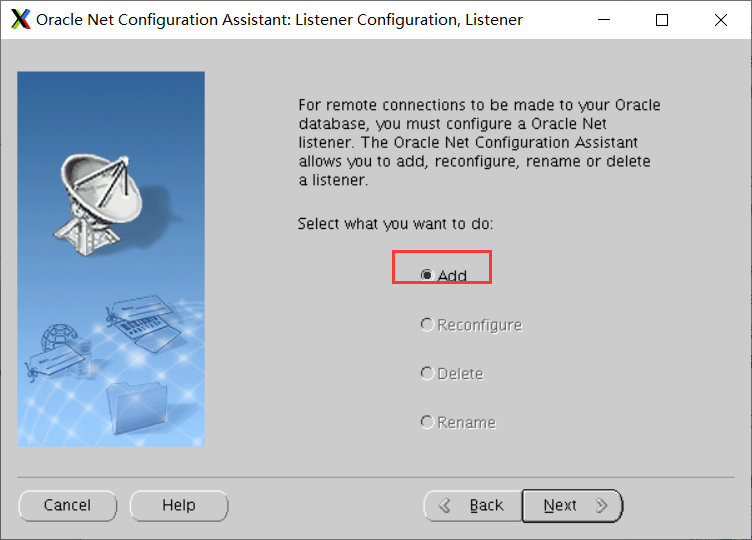
创建监听
[oracle@localhost database]$ netca # 调用图形界面创建监听
配置监听

增加监听
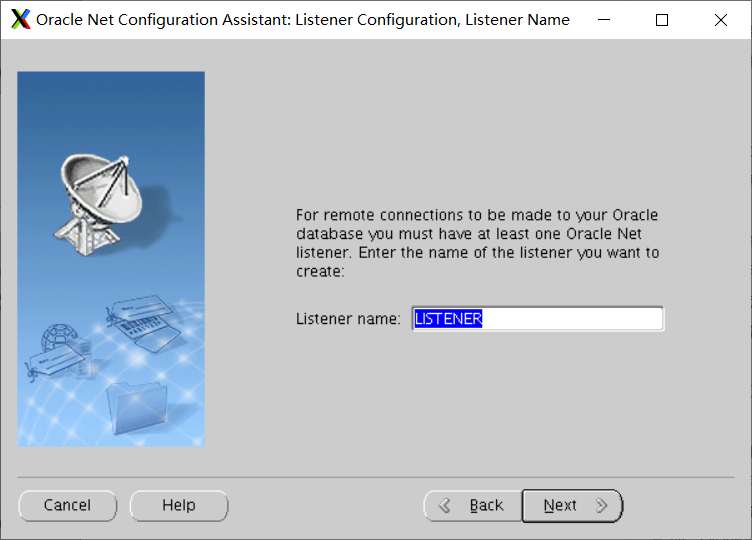
设置监听名
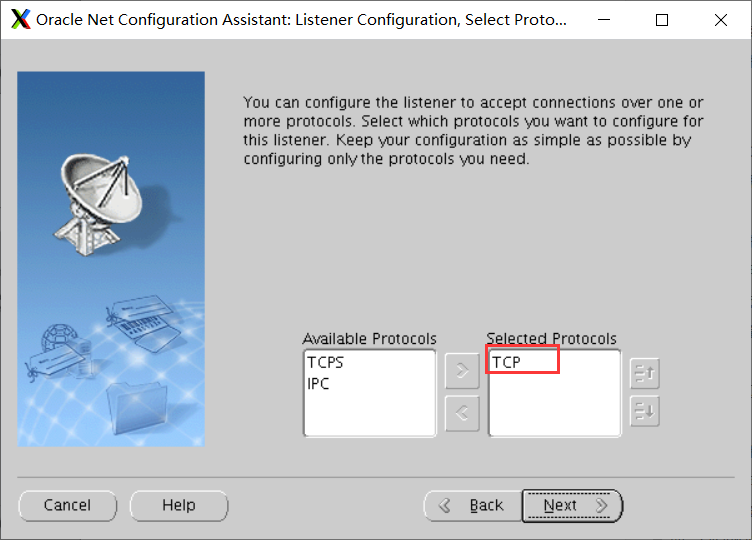
选择监听协议
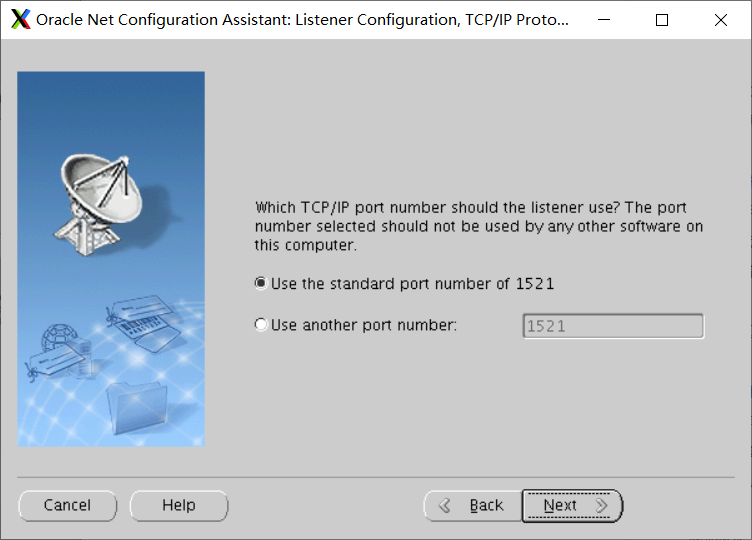
设置监听的端口
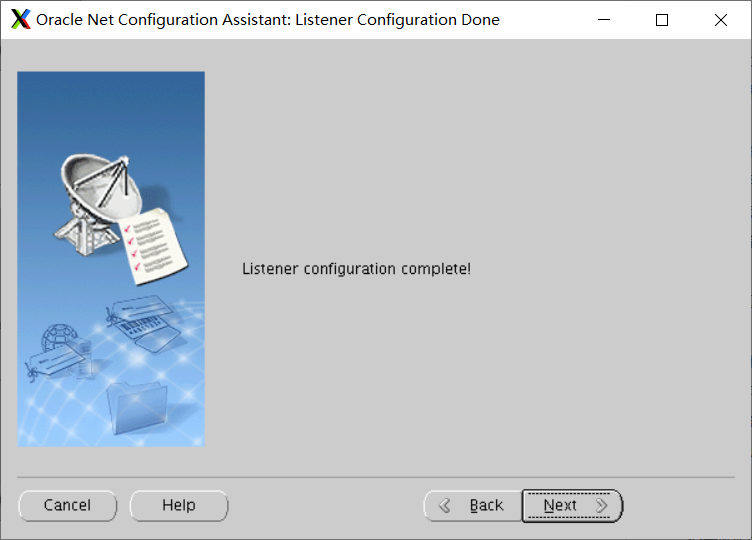
监听设置完毕
配置数据库自启动
鉴于每次服务器关机后,都需要手动启动数据库,配置数据库随服务器启动而启动。 不推荐此方案。主要是引导过程中是并行执行的,因此此脚本不会在其他服务全部启动之后运行。
1、修改配置文件
[root@localhost ~]# vim /etc/oratab
#


# This file is used by ORACLE utilities.  It is created by root.sh
# and updated by either Database Configuration Assistant while creating
# a database or ASM Configuration Assistant while creating ASM instance.

# A colon, ':', is used as the field terminator.  A new line terminates
# the entry.  Lines beginning with a pound sign, '#', are comments.
#
# Entries are of the form:
#   $ORACLE_SID:$ORACLE_HOME:<N|Y>:
#
# The first and second fields are the system identifier and home
# directory of the database respectively.  The third filed indicates
# to the dbstart utility that the database should , "Y", or should not,
# "N", be brought up at system boot time.
#
# Multiple entries with the same $ORACLE_SID are not allowed.
#
#
orcl:/home/oracle/app/oracle/product/11.2.0/dbhome_1:Y
2、配置rc.local文件
[root@localhost ~]# vim /etc/rc.d/rc.local
#!/bin/bash
# THIS FILE IS ADDED FOR COMPATIBILITY PURPOSES
#
# It is highly advisable to create own systemd services or udev rules
# to run scripts during boot instead of using this file.
#
# In contrast to previous versions due to parallel execution during boot
# this script will NOT be run after all other services.
#
# Please note that you must run 'chmod +x /etc/rc.d/rc.local' to ensure
# that this script will be executed during boot.

touch /var/lock/subsys/local
su oracle -lc "/home/oracle/app/oracle/product/11.2.0/dbhome_1/bin/lsnrctl start"
su oracle -lc /home/oracle/app/oracle/product/11.2.0/dbhome_1/bin/dbstart
3、授权rc.local文件
[root@localhost ~]# chmod +x /etc/rc.d/rc.local
至此,即可重启测试数据库是否自动启动。
错误
1、先决条件检查报错Package:pdksh-5.2.14
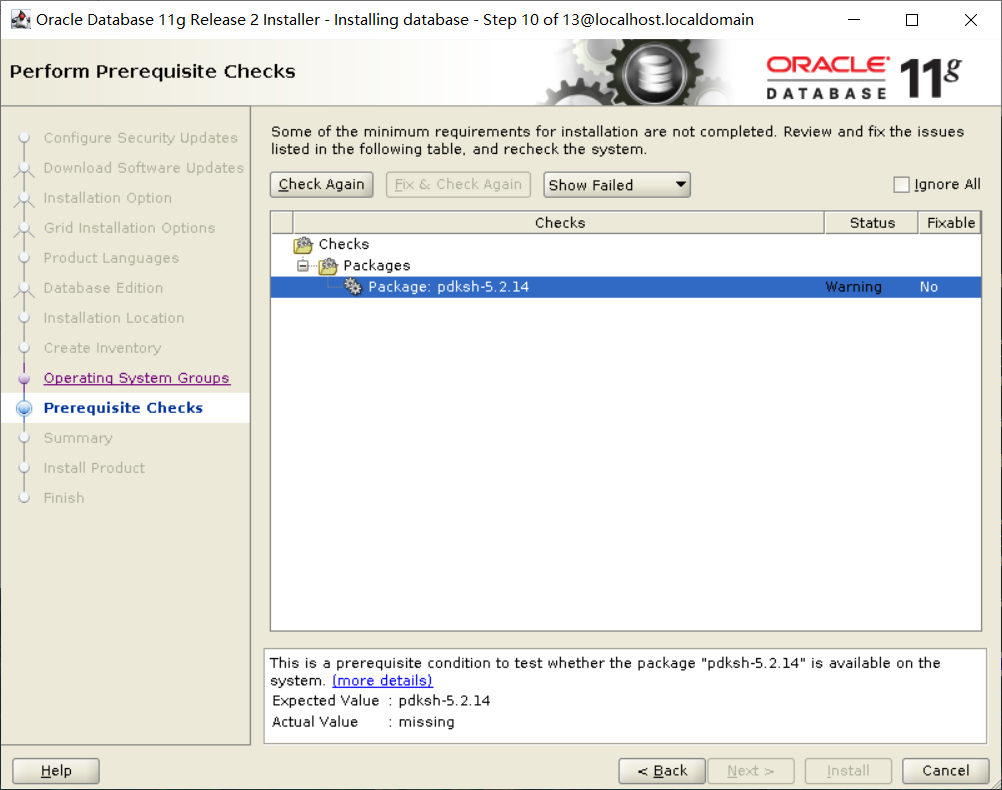
原因:pdksh包是个老包了,新的oracle都使用ksh,但是oracle的检查机制没有把这个检查去掉,检查的时候还是会出现警告,可以忽略它,也可以去编辑一下配置文件,然后重新安装即可。
解决方法:[oracle@localhost database]$ vim stage/cvu/cv/admin/cvu_config # 将oel4改为oel6,注意要大写
CV_ASSUME_DISTID=OEL6
2、安装ORACLE软件过程中报错agent nmhs
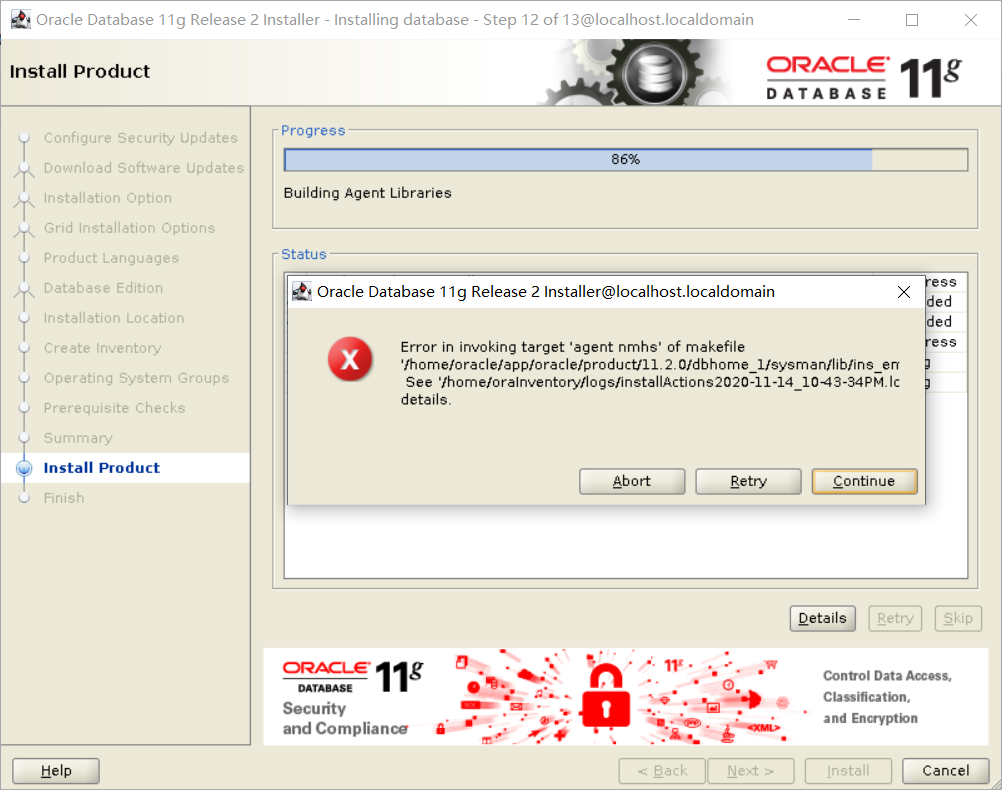
解决方法:
在mk文件中74%左右,后面追加 -lnnz11,改完,点确认即可。vim /home/oracle/app/oracle/product/11.2.0/dbhome_1/sysman/lib/ins_emagent.mk
#  emdctl
#===========================

$(SYSMANBIN)emdctl:
        $(MK_EMAGENT_NMECTL) -lnnz11

若有收获,就点个赞吧
0 人点赞
