非集群Eureka
服务注册中区分好“服务提供者”和“注册中心”,如果是服务注册中心,需要引入注册中心的依赖:
<!-- 服务注册中心的服务端 eureka-server --><!-- https://mvnrepository.com/artifact/org.springframework.cloud/spring-cloud-starter-eureka-server --><dependency><groupId>org.springframework.cloud</groupId><artifactId>spring-cloud-starter-netflix-eureka-server</artifactId></dependency>
而如果是服务提供者,需要引入服务提供者依赖:
<!-- 服务注册中心的客户端端 eureka-client -->
<!-- https://mvnrepository.com/artifact/org.springframework.cloud/spring-cloud-starter-eureka-server -->
<dependency>
   <groupId>org.springframework.cloud</groupId>
    <artifactId>spring-cloud-starter-netflix-eureka-client</artifactId>
</dependency>
注册中心配置
引入依赖
<!-- 服务注册中心的服务端 eureka-server -->
<!-- https://mvnrepository.com/artifact/org.springframework.cloud/spring-cloud-starter-eureka-server -->
<dependency>
    <groupId>org.springframework.cloud</groupId>
    <artifactId>spring-cloud-starter-netflix-eureka-server</artifactId>
</dependency>
单机版注册中心配置文件:
server:
  port: 7001

# 单机版
eureka:
  instance:
    hostname: localhost  #eureka服务端的实例名字
  client:
    register-with-eureka: false    #表识不向注册中心注册自己
    fetch-registry: false   #表示自己就是注册中心,职责是维护服务实例,并不需要去检索服务
    service-url:
      #设置与eureka server交互的地址查询服务和注册服务都需要依赖这个地址
      defaultZone: http://${eureka.instance.hostname}:${server.port}/eureka/
启动类上需要“@EnableEurekaServer”标注这个微服务是一个注册中心:
@SpringBootApplication
@EnableEurekaServer
/*
 * @EnableEurekaServer 设置为服务注册中心 EurekaServer
 */
public class CloudEurekaServer7001Application {
    public static void main(String[] args) {
        SpringApplication.run(CloudEurekaServer7001Application.class, args);
    }
}
如果访问注册中心所在的地址,出现下面页面说明注册中心配置成功: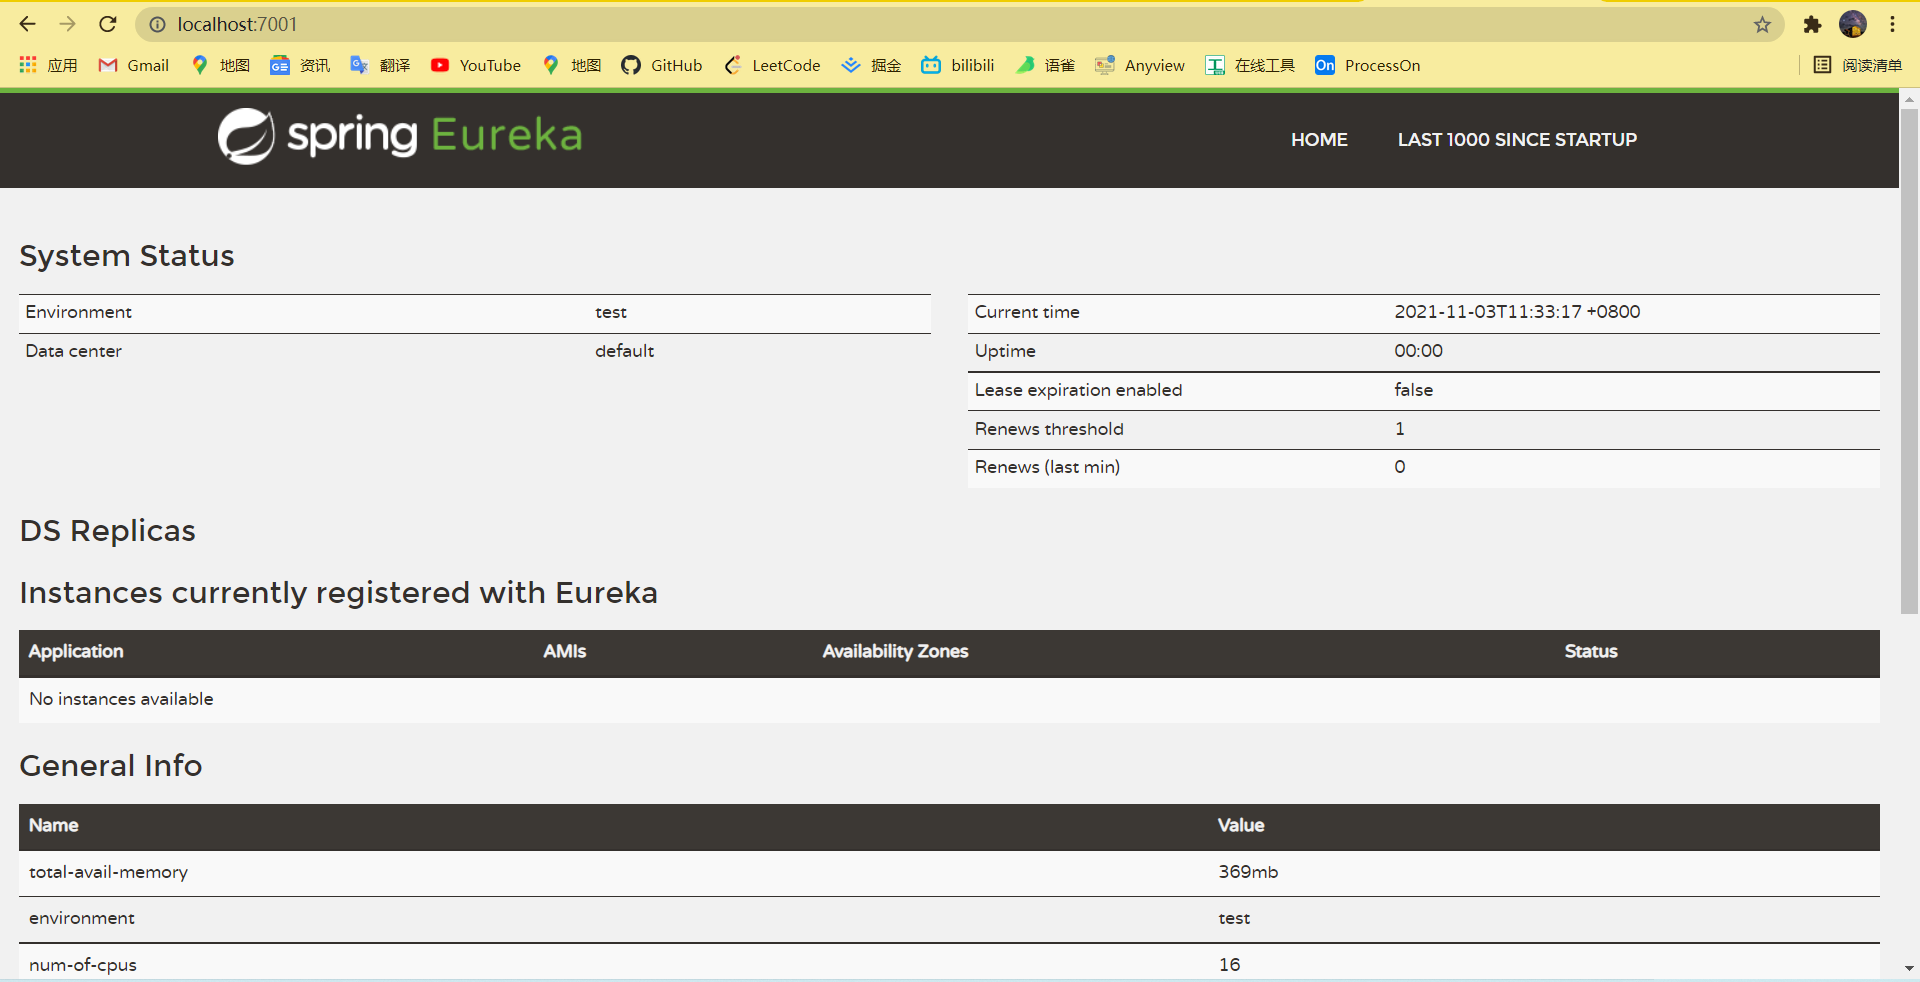
服务者配置
服务者要在注册中心注册,需要引入依赖:
<!-- 服务注册中心的客户端端 eureka-client -->
<!-- https://mvnrepository.com/artifact/org.springframework.cloud/spring-cloud-starter-eureka-server -->
<dependency>
    <groupId>org.springframework.cloud</groupId>
    <artifactId>spring-cloud-starter-netflix-eureka-client</artifactId>
 </dependency>
单机版服务者配置,这里采用了主动注册的方式:
#端口号配置
server:
  port: 8001

spring:
  application:
    name: cloud-payment-service
  #连接数据库(jdbc),配置数据源
  datasource:
    username: root
    password: wujiahao269139
    url: jdbc:mysql://127.0.0.1:3306/mybatis?useSSL=false&characterEncoding=utf8&serverTimezone=Asia/Shanghai&allowPublicKeyRetrieval=true
    driver-class-name: com.mysql.cj.jdbc.Driver
    type: com.alibaba.druid.pool.DruidDataSource


eureka:
  client:
    register-with-eureka: true #是否向注册中心注册自己
    fetchRegistry: true #是否从注册中心抓取已有的注册信息 默认true,集群必须设置为true
    service-url:
      #      设置与eureka server交互的地址查询服务和注册服务都需要依赖这个地址
      defaultZone: http://localhost:7001/eureka #单机版
      # defaultZone: http://eureka7001.com:7001/eureka,http://eureka7002.com:7002/eureka  #集群版
微服务启动类需要标上注解“@EnableEurekaClient”,注意和注册中心的注解不是同一个注解:
@SpringBootApplication
@EnableEurekaClient
public class CloudProviderHystrixPayment8001Application {

    public static void main(String[] args) {
        SpringApplication.run(CloudProviderHystrixPayment8001Application.class, args);
    }

}
启动这个8001的微服务,再次访问注册中心地址:
发现出现了服务者:CLOUD-PAYMENT-SERVER,就是服务者配置文件里面spring.application.name
,所以这个name一旦确定下来就最好不要修改了。这个微服务对应的端口号也正式8001。我们在以同样的方式把80微服务也注册进注册中心里面,再次访问注册中心:
图解非集群Eureka

集群Eureka
简介
一般的微服务架构中,注册中心都是需要实现集群配置的,所谓集群Eureka就是多个端口号实现注册服务,比如7001、7002都可以进行注册服务,然后这两个端口“互相注册、相互守望”,正因为如此,服务者只需要在其中一个端口完成注册就算完成了在Eureka进行了注册,下图是集群的原理简介:
集群配置
为了模拟集群,我们需要修改windows/system32/etc/hosts文件,127.0.0.1可以分别映射到eureka7001.com、eureka7001.com和eureka7001.com三个节点。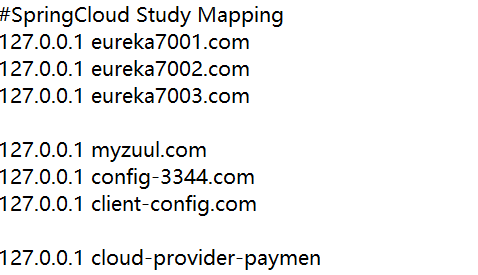
springboot配置文件修改
7001节点配置文件:
server:
  port: 7001

#集群版
eureka:
  instance:
    hostname: eureka7001.com    #eureka服务端的实例名字
  client:
    register-with-eureka: false    #表识不向注册中心注册自己
    fetch-registry: false   #表示自己就是注册中心,职责是维护服务实例,并不需要去检索服务
    service-url:
      #设置与eureka server交互的地址查询服务和注册服务都需要依赖这个地址
      defaultZone: http://eureka7002.com:7002/eureka/
7002节点配置文件:
server:
  port: 7002

#集群版
eureka:
  instance:
    hostname: eureka7002.com    #eureka服务端的实例名字
  client:
    register-with-eureka: false    #表识不向注册中心注册自己
    fetch-registry: false   #表示自己就是注册中心,职责是维护服务实例,并不需要去检索服务
    service-url:
      #设置与eureka server交互的地址查询服务和注册服务都需要依赖这个地址
      defaultZone: http://eureka7001.com:7001/eureka/
其中可以看到7001守望7002,7002守望7001,符合“互相注册、相互守望”的原理
启动两个节点,访问7001节点“http://eureka7001.com:7001/”:
发现守望者7002节点
访问7002节点“http://eureka7002.com:7002/”: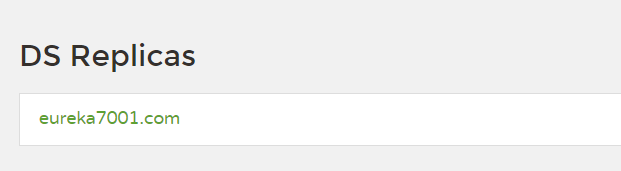
同样也守望着7001节点

若有收获,就点个赞吧
0 人点赞
