上一章示例代码
function createRenderer(options) {const { createElement, setElementText, insert } = options//挂载函数function mountElement(vnode, container) {const el = createElement(vnode.type)if (typeof vnode.children === "string") {setElementText(el, vnode.children)}insert(el, container)}//n1旧vnode n2新vnodefunction patch(n1, n2, container) {if (!n1) {//n1为空说明是首次挂载mountElement(n2, container)} else {//...}}function render(vnode, container) {if (vnode) {//如果vnode存在,将其与旧vnode一起传递给patch,进行打补丁patch(container._vnode, vnode, container)} else {//如果不存在,说明是卸载操作container.innerHTML = ""}//保存vnode为旧vnodecontainer._vnode = vnode//...}return {render,}}const renderer = createRenderer({createElement(tag) {return document.createElement(tag)},setElementText(el, text) {el.textContent = text},insert(el, parent, anchor = null) {parent.insertBefore(el, anchor)},})//首次渲染renderer.render(vnode, document.querySelector("#app"))
在上一章只实现了子节点是文本的插入,但vnode的子节点一般也是vnode而且通常有多个。
const vnode = {type :'div',children:[{type:'p',children:'hello'}]}
为了实现子节点的渲染我们需要修改mountElement函数:
//挂载函数function mountElement(vnode, container) {const el = createElement(vnode.type)//为元素添加属性if(vnode.props){for(key in vnode.props){el.setAttribute(key,vnode.props[key])}}if (typeof vnode.children === "string") {setElementText(el, vnode.children)} else if (Array.isArray(vnode.children)) {//如果子节点是数组,则遍历每一个节点并且使用patch挂载它们vnode.children.forEach((child) => {patch(null, child, el)})}insert(el, container)}
HTML Attribute 与DOM Properties
HTML Attribute 指的是定义在HTML标签上的属性,例如
<input id="my-input" value="foo" type="text"/>
这里指的就是id=”my-input” value=”foo” type=”text”。当浏览器解析这段HTML代码后,会创建一个与之相符的DOM元素对象,可以通过JavaScript来读取这个DOM对象
const input = document.querySelector('#my-input')
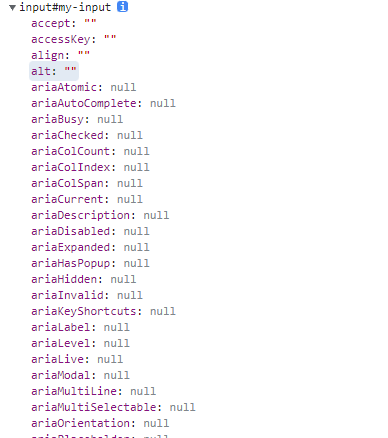
可以看到这个DOM有很多自己的属性。
HTMl Attribute与DOm Properties的关系很复杂,但其实我们只需要记住一个核心原则:HTML Attribute的作用是设置对应DOM Properties的初始值。
节点更新
//更新节点function patchElement(n1, n2) {const el = (n2.el = n1.el)const oldProps = n1.propsconst newProps = n2.props//更新propfor (key in newProps) {if (oldProps[key] !== newProps[key]) {patchProps(el, key, oldProps[key], newProps[key])}}for (key in oldProps) {if (!key in newProps) {patchProps(el, key, oldProps[key], null)}}//更新childrenpatchChildren(n1, n2, el)}//更新子节点function patchChildren(n1, n2, el) {//新子节点是文本if (typeof n2.children === "string") {//新子节点如果是数组则逐个挂载if (Array.isArray(n1.children)) {n1.children.forEach((child) => {unmount(child)})}//设为文本setElementText(el, n2.children)} else if (Array.isArray(n2.children)) {//新节点是数组if (Array.isArray(n1.children)) {//如果旧几点是数组要进行diff} else {setElementText(el, "")n2.children.forEach((child) => {patch(null, child, el)})}} else {//新节点为空if (Array.isArray(n1.children)) {n1.children.forEach((child) => {unmount(child)})} else {setElementText(el, "")}}}//n1旧vnode n2新vnodefunction patch(n1, n2, container) {if (n1 && n1.type != n2.type) {unmount(n1)n1 = null}const type = typeof n2.typeif (type === "string") {if (!n1) {//n1为空说明是首次挂载mountElement(n2, container)} else {patchElement(n1, n2)}}}

若有收获,就点个赞吧
0 人点赞
