Swagger 简介
Swagger 是一个规范和完整的框架,用于生成、描述、调用和可视化 RESTful 风格的 Web 服务。
总体目标是使客户端和文件系统作为服务器以同样的速度来更新。文件的方法、参数和模型紧密集成到服务器端的代码,允许 API 来始终保持同步。Swagger 让部署管理和使用功能强大的 API 从未如此简单。
简单的来讲,Swagger 就是一个可以自动生成 接口文档** **的工具。
快速开始
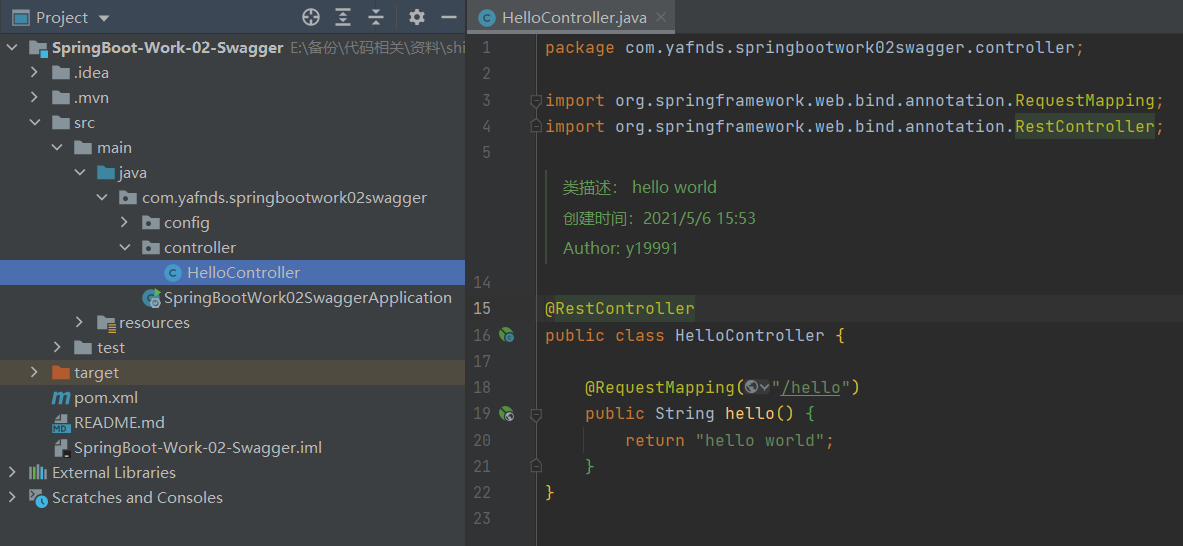
1. 新建 SpringBoot 项目并创建对应的 Controller 层
2. 在 Maven 中加入对 Swagger 的依赖
<!-- Swagger Api文档生成框架 --><!-- Swagger2 --><!-- https://mvnrepository.com/artifact/io.springfox/springfox-swagger2 --><dependency><groupId>io.springfox</groupId><artifactId>springfox-swagger2</artifactId><version>2.9.2</version></dependency><!-- Swagger 生成的接口文档 --><!-- https://mvnrepository.com/artifact/io.springfox/springfox-swagger-ui --><dependency><groupId>io.springfox</groupId><artifactId>springfox-swagger-ui</artifactId><version>2.9.2</version></dependency>
3. 创建 Swagger 的配置类
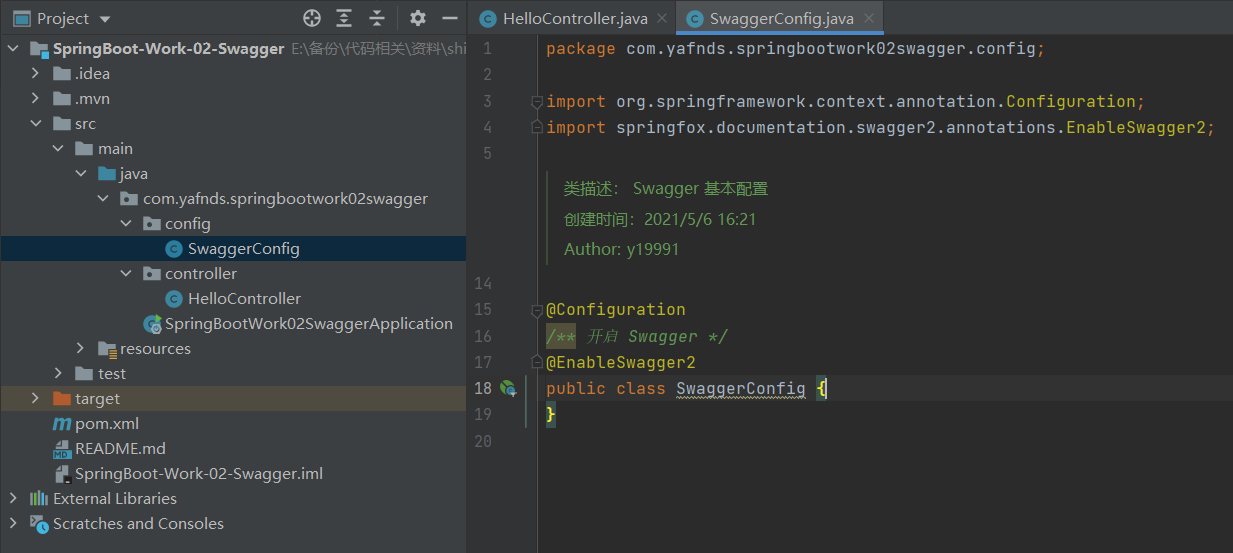
注:
- @EnableSwagger2:开启 Swagger,使用该注释时应附带注解 @Configuration
4. 打开 Swagger 生成的接口文档
地址:项目地址后 + swagger-ui.html
例:http://localhost:8080/swagger-ui.html
显示: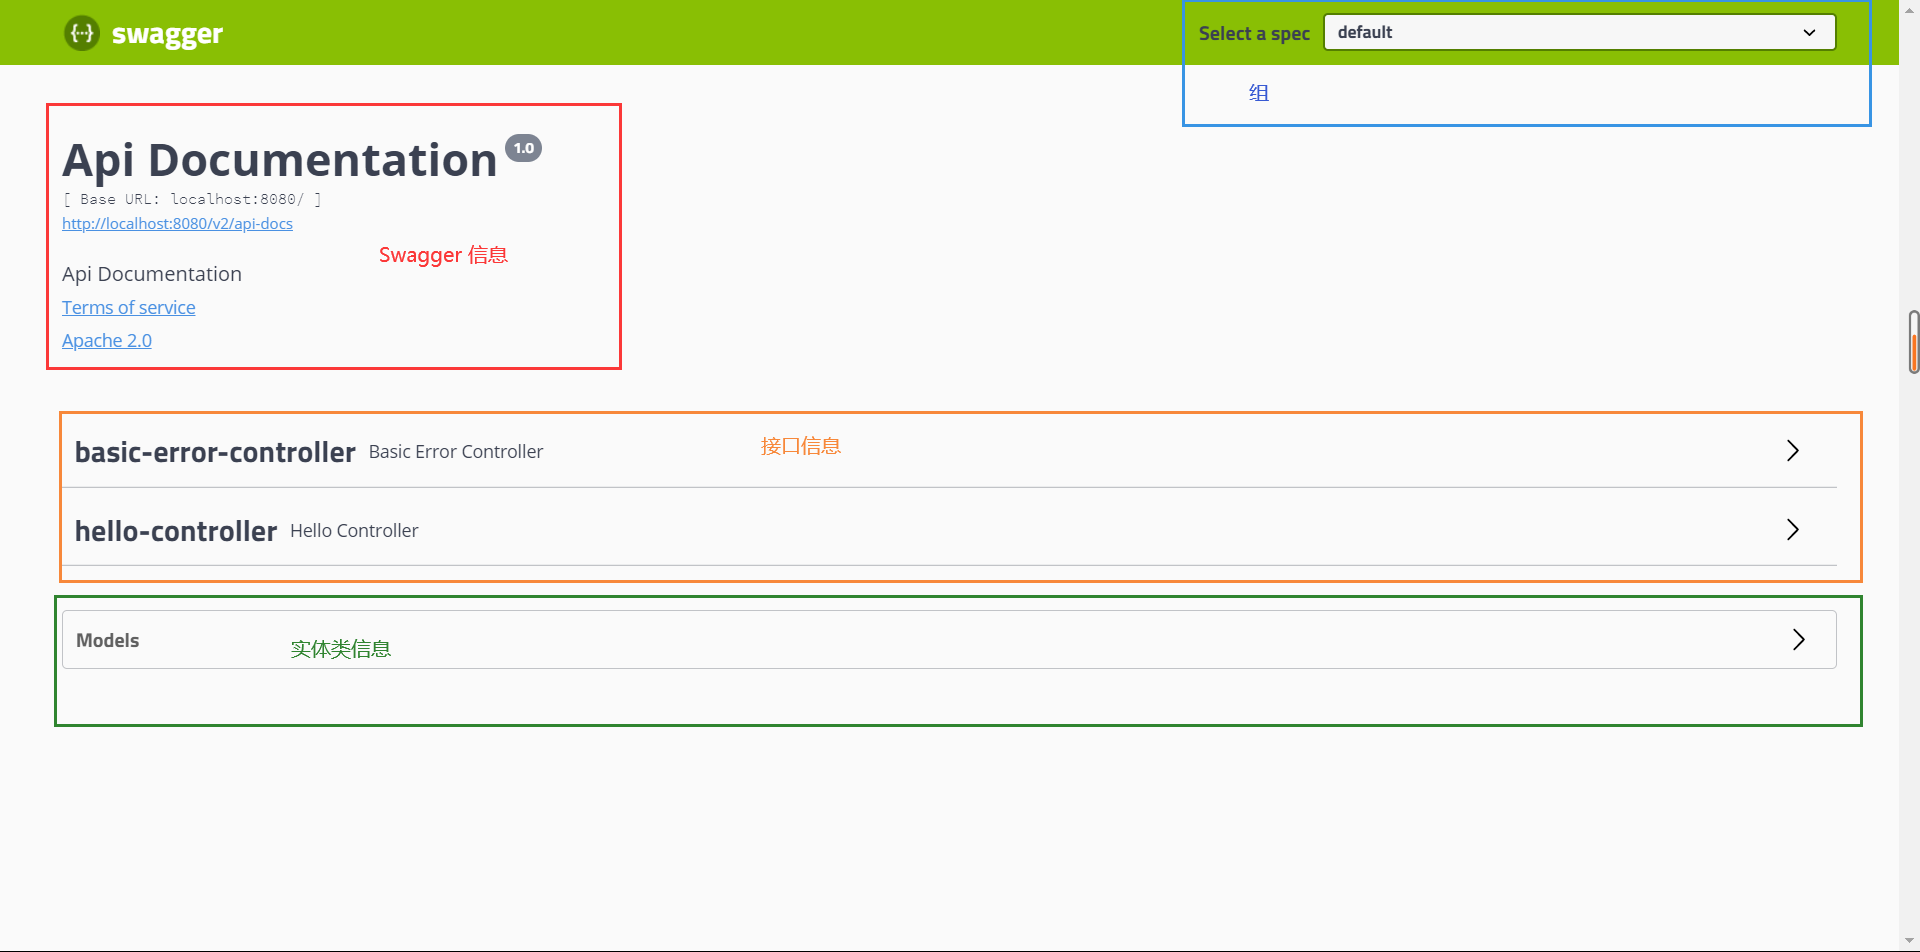
配置 Swagger 接口信息
1. 代码
@Configuration/** 开启 Swagger */@EnableSwagger2public class SwaggerConfig {/*** 将 Swagger 的主要接口 docket 注入 bean*/@Beanpublic Docket docket() {return new Docket(DocumentationType.SWAGGER_2).apiInfo(apiInfo());}/*** 配置 Swagger 信息*/private ApiInfo apiInfo() {// 作者信息Contact contact = new Contact("yafnds","https://github.com/y19991","yafnds@163.com");return new ApiInfo("Swagger 接口文档","接口文档","v1.0","https://github.com/y19991",contact,"Apache 2.0","http://www.apache.org/licenses/LICENSE-2.0",new ArrayList<VendorExtension>());}}
2. 构造器参数
作者信息
- name:作者名称
- url:作者主页
- email:作者邮箱
new Contact( String name, String url, String email )
Swagger 信息
- title:Api 标题
- description:Api 概述
- version:Api 版本号
- termsOfServiceUrl:创建该 Api 的团队主页
- contact:作者信息
- license:开源许可证(一般固定填 Apache 2.0)
- licenseUrl:许可证地址(一般固定填 http://www.apache.org/licenses/LICENSE-2.0)
public ApiInfo(String title,String description,String version,String termsOfServiceUrl,Contact contact,String license,String licenseUrl,Collection<VendorExtension> vendorExtensions) {this.title = title;this.description = description;this.version = version;this.termsOfServiceUrl = termsOfServiceUrl;this.contact = contact;this.license = license;this.licenseUrl = licenseUrl;this.vendorExtensions = newArrayList(vendorExtensions);}
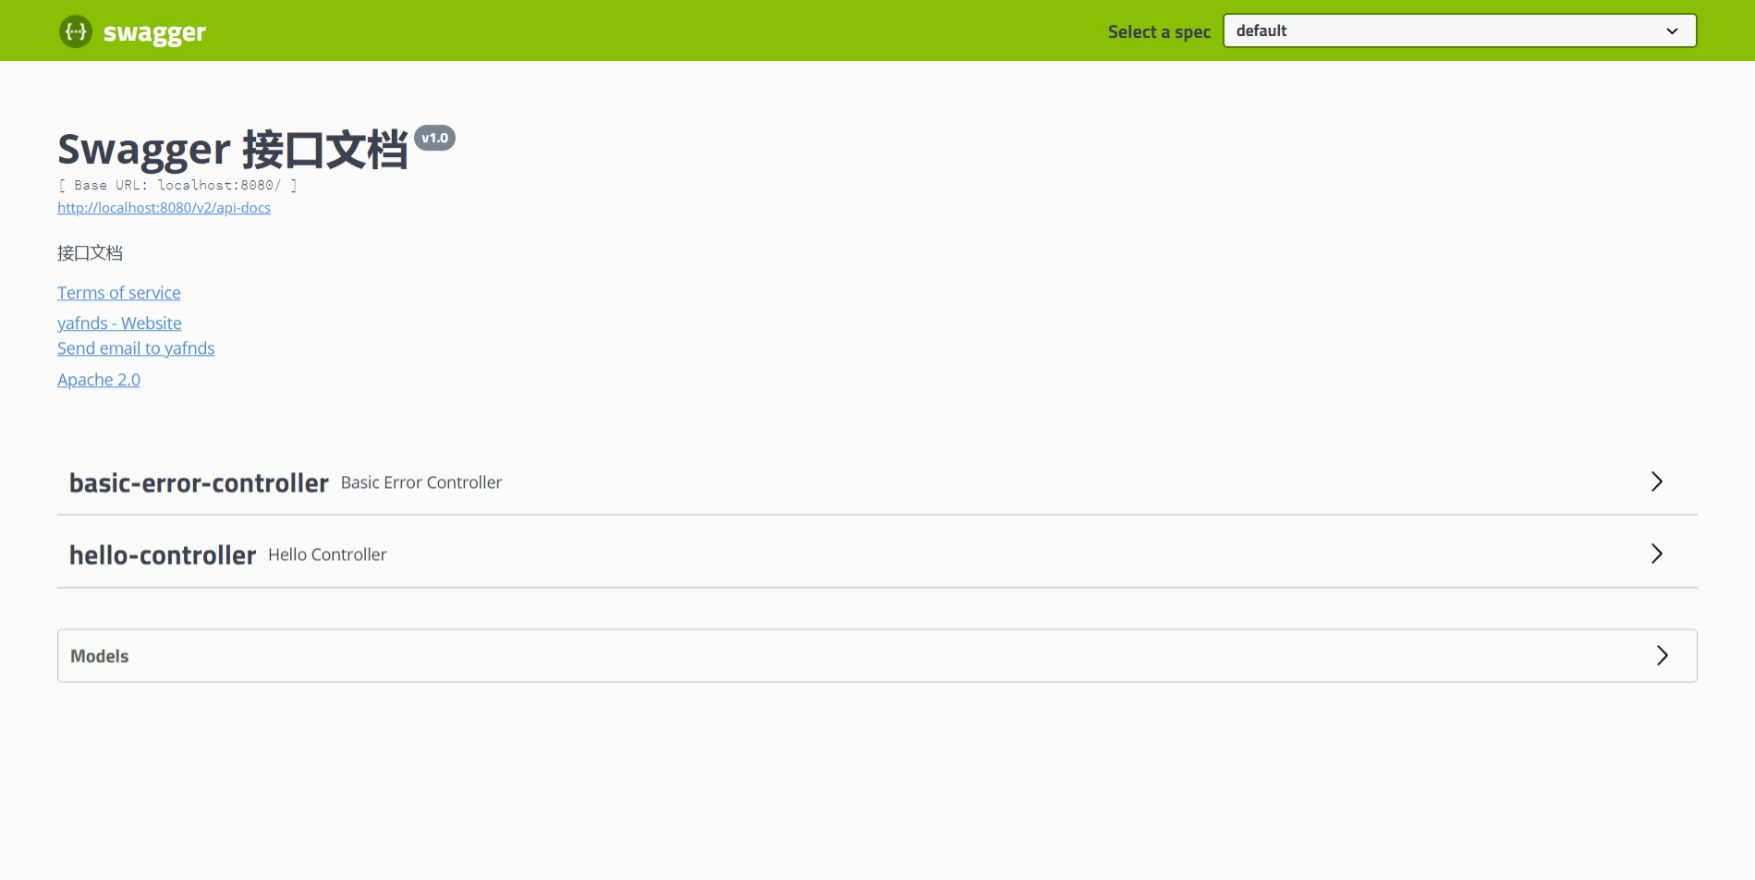
3. 效果
过滤扫描的接口
1. 代码
@Beanpublic Docket docket() {return new Docket(DocumentationType.SWAGGER_2).apiInfo(apiInfo()).select()/*apis: 定义要包含的类RequestHandlerSelectors 配置要扫描接口的方式basePackage: 指定要扫描的包any():扫描全部none():都不扫描withClassAnnotation(Controller.class):扫描类的注解,参数是一个注解的反射对象withMethodAnnotation:扫描方法上的注解*///.apis(RequestHandlerSelectors.basePackage("com.yafnds.springbootwork02swagger.controller"))/*paths: 根据路径映射定义应包含哪个控制器的方法PathSelectors 路径选择器ant() 匹配所有none() 全不匹配regex(String pathRegex) 根据正则匹配ant(String antPattern) ant 风格的匹配模式*///.paths(PathSelectors.ant("/hello/**")).paths(PathSelectors.any()).build();}
2. 方法说明
- select( ):初始化 api 选择构建器
build( ):构建器配置完成,开始执行
apis( Predicate<_RequestHandler> _selector ):选择要包含的类
- RequestHandlerSelectors:配置要扫描接口的方式
- basePackage:指定要扫描的包
- any( ):扫描全部
- none( ):都不扫描
- withClassAnnotation( Class<? extends Annotation_> _annotation ):扫描 类的注解,参数是 目标注解的反射对象
- withMethodAnnotation( Class<? extends Annotation_> _annotation ):扫描方法上的注解
- RequestHandlerSelectors:配置要扫描接口的方式
paths( Predicate<_String> _selector ):根据路径映射定义应包含哪个控制器的方法
- PathSelectors 地址选择器
- any( ):全部匹配
- none( ):都不匹配
- regex( String pathRegex ):根据正则匹配
- ant( String antPattern ):ant 风格的匹配模式
- PathSelectors 地址选择器
其他方法
1. 关闭 Swagger
public Docket docket() {return new Docket(DocumentationType.SWAGGER_2).apiInfo(apiInfo()).enable(false).select()...;}
说明:enable 配置是否启用 Swagger,如果是 false,在浏览器将无法访问
效果:
**
2. 组名
public Docket docket() {return new Docket(DocumentationType.SWAGGER_2).apiInfo(apiInfo()).groupName("yafnds").select()...;}
说明:如果存在多个Docket实例,则每个实例都必须有由该方法提供的唯一groupName。默认为“default”。
3. 指定启动 Swagger 的环境
例:只有在开发环境中,才启动 Swagger
代码:
@Beanpublic Docket docket(Environment environment) {// 设置要显示的 Swagger 环境Profiles profiles = Profiles.of("dev");// 通过 environment.acceptsProfiles 判断是否处在自己设定的环境当中boolean flag = environment.acceptsProfiles(profiles);return new Docket(DocumentationType.SWAGGER_2).apiInfo(apiInfo()).enable(flag).select()...;}

若有收获,就点个赞吧
0 人点赞
