This is the installation wizard for your Magento
Domain Binding (not necessary)
- Complete Domain resolution on your Cloud console if you want to use domain for this application
Use SFTP to modify the /etc/httpd/conf.d/vhost.conf to binding your Domain
<VirtualHost *:80>ServerName www.yourdomain.comServerAlias other.yourdomain.com.....</VirtualHost>
Use SSH to restart httpd service
sudo systemctl restart httpd
Installation Wizard
- Using your local Chrome or Firefox to visit URL http://domain or http://Internet IP,you will enter the interface of installation
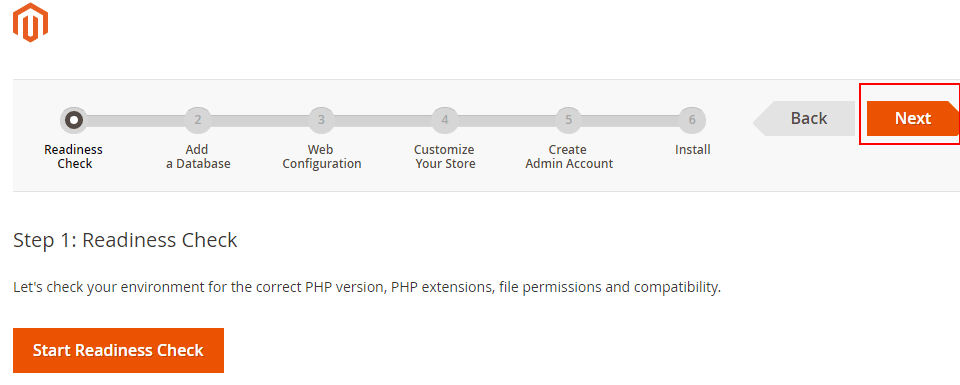
If you can’t see this interface, that means your TCP 80 port on your Security Group of Cloud Server is not allowed, then you must open the 80 port
Click “Next” button to next step
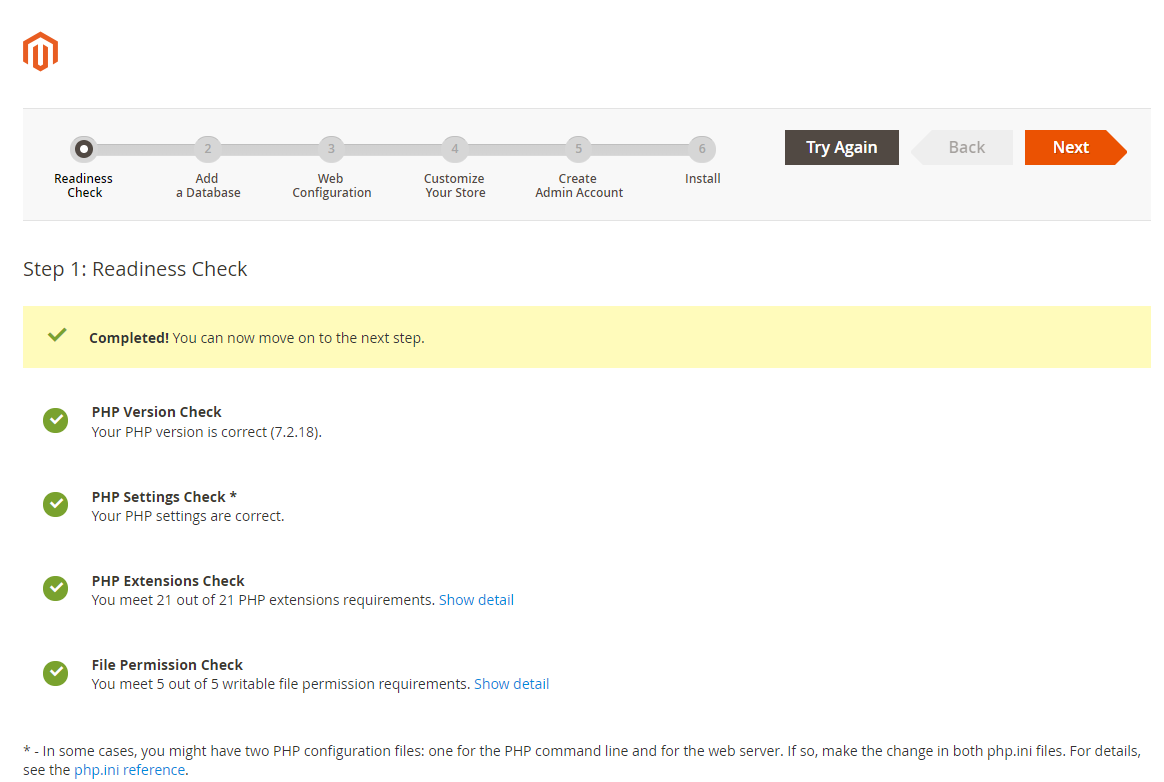
Complete the check and go to next step
- Set database connection information
-Database Server Host: localhost
-Database Server Username: root
-Database Server Password: get password from file /credentials/password.txt or /root/password.txt on your Cloud Server-Database Name: magento (This Image has a create database instance magento)
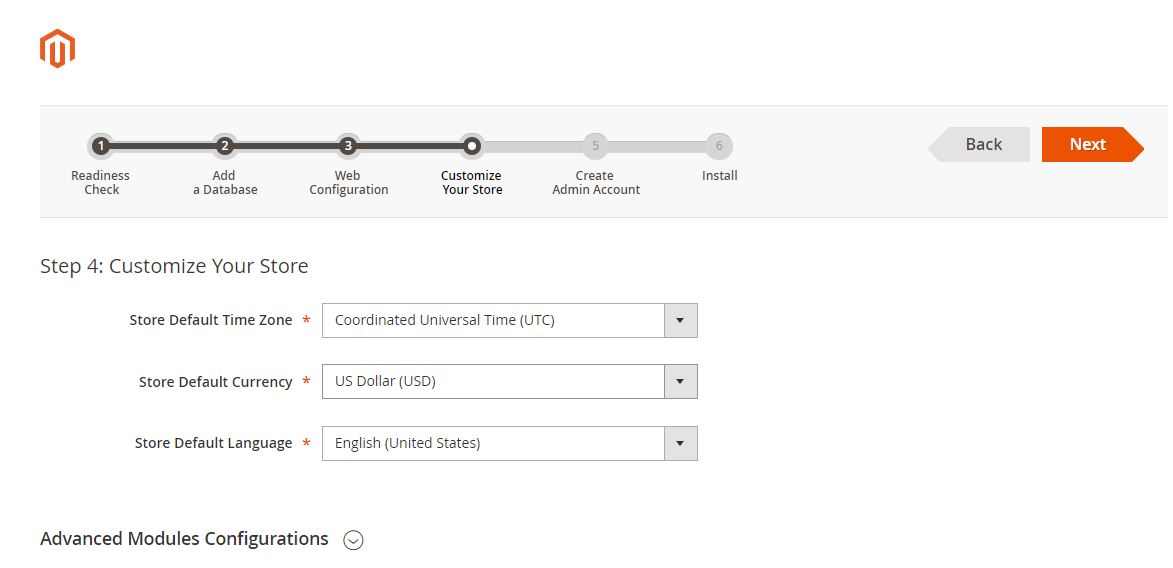
- Select the language and go to next step

- Set the administrator URL
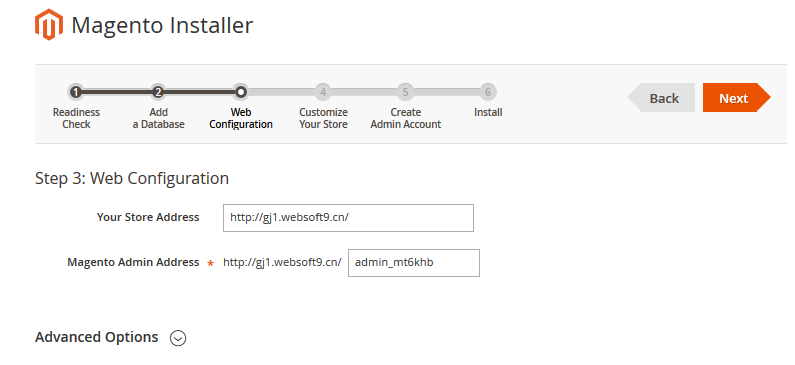
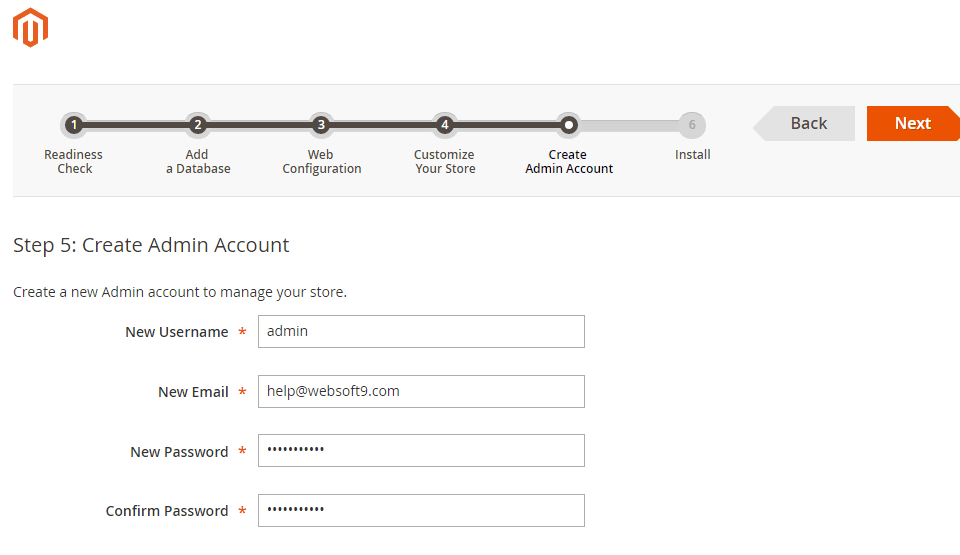
- Set the administrator account
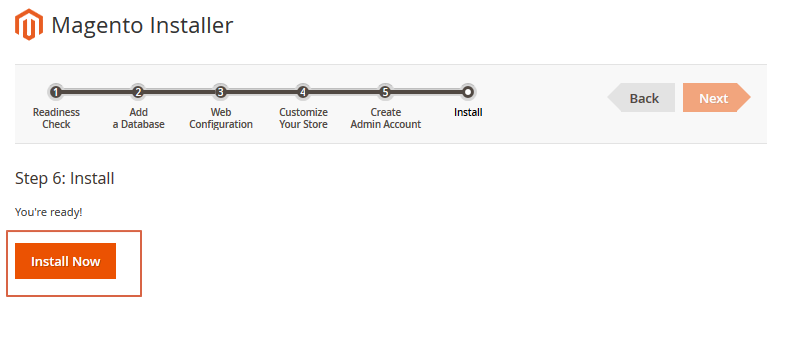
- Click the “Install Now”
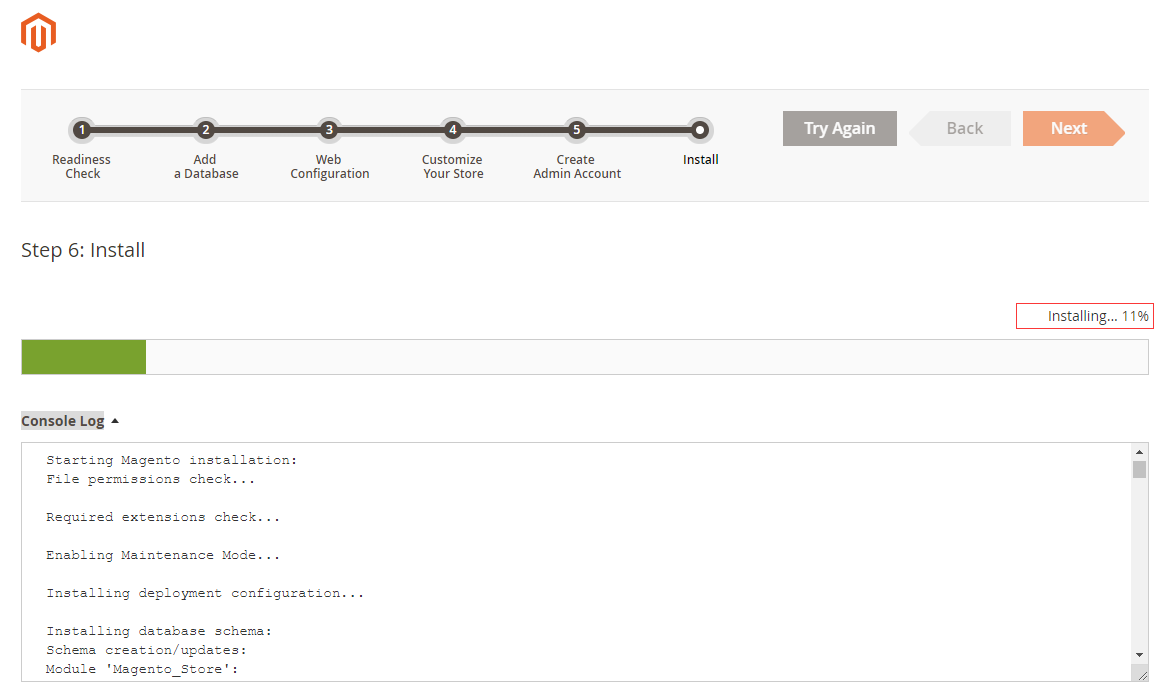
Waiting for 2-3 minutes
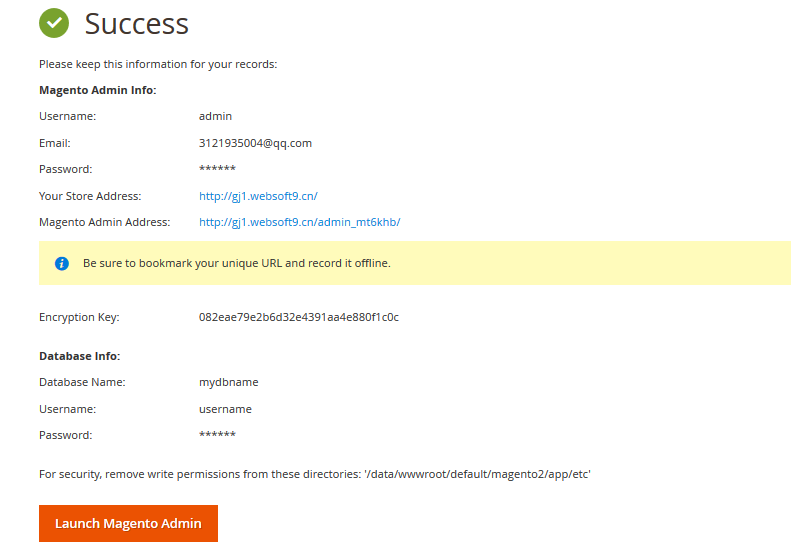
OK, it has been installed successfully, the page displays the installed site information. Click “Launch Magento Admin”.
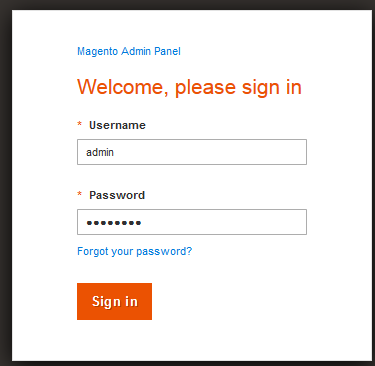
Login to backend of Magento
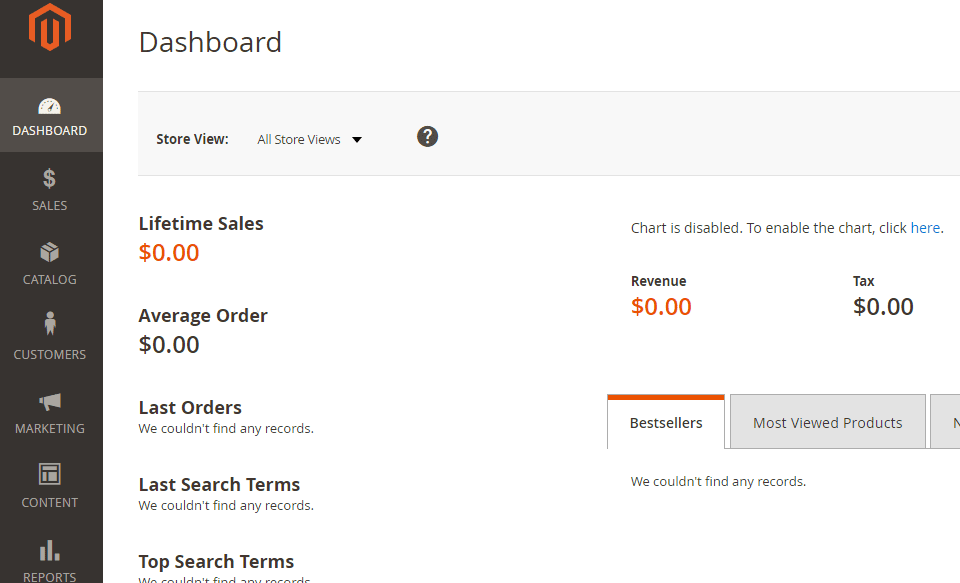
You can see the console of Mangento now
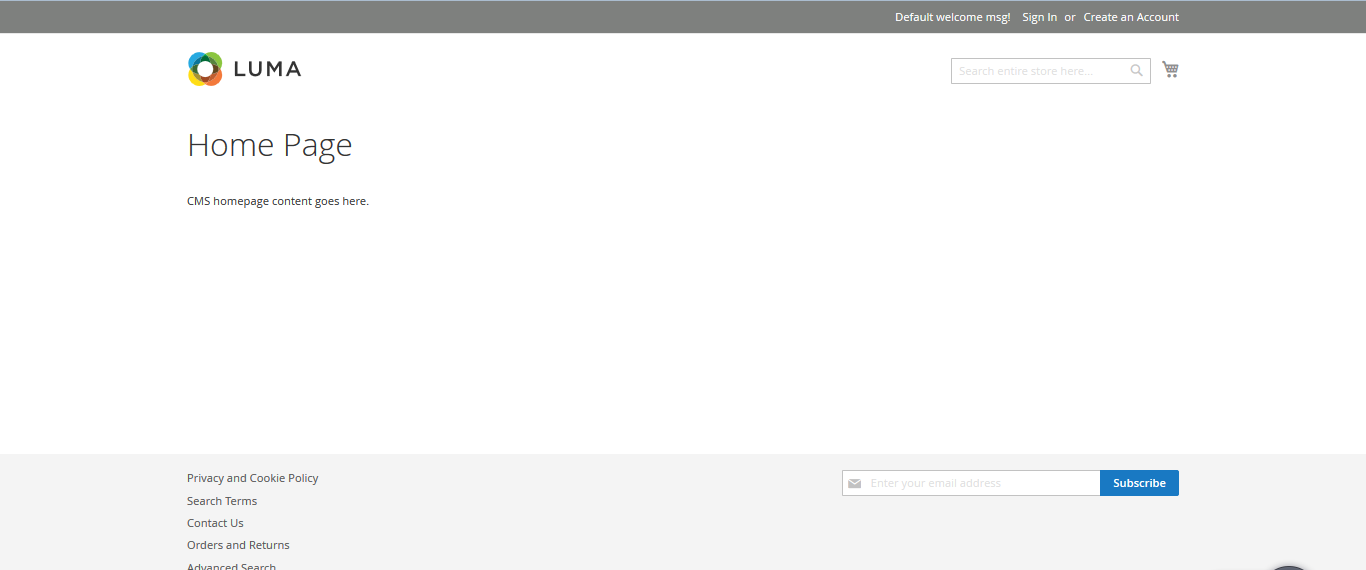
Magento frontpage likes below
Refers to the Magento Documentation to get start your Odoo tutorial

若有收获,就点个赞吧
0 人点赞
