作者采用Beego框架主要是用来做后端接口的服务,swagger大家应该知道是一款优秀的自动化Api生成文档的工具,可用于提供接口测试,参数显示。帮助开发者进行快速的接口开发。
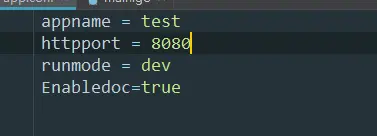
1.配置文件开启应用内的文档
2.打开Terminal终端采用命令
bee run -gendoc=true -downdoc=true
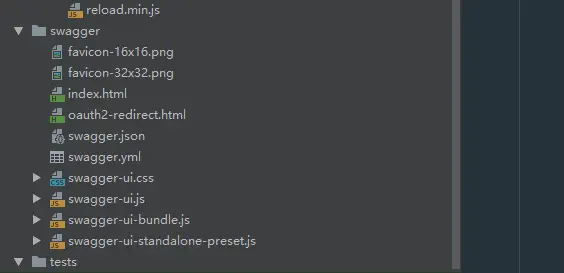
自动从github下载swagger.zip压缩包并解压 在项目当中会出现一个swagger文件夹
下载报错的话 则重新下载
文件夹下面会出现 swagger文件夹查看swagger文件夹则表示下载成功
swagger全局注释在router.go的package上面声明
编写接口
package controllersimport "github.com/astaxie/beego"// hello Apitype HelloWorld struct {beego.Controller}func (this*HelloWorld)UrlMapping(){this.Mapping("GetHello",this.GetHello)}// @Title GetHello// @Description get all the staticblock by key// @Param key path string true "The email for login"// @Success 200 {object} models.ZDTCustomer.Customer// @Failure 400 Invalid email supplied// @Failure 404 User not found// @router /GetHellofunc (this *HelloWorld)GetHello(){this.Data["json"]="HelloWorld"//输出json格式this.ServeJSON()}
应用开启自动化文档
package mainimport (_ "test/routers""github.com/astaxie/beego")func main() {beego.BConfig.WebConfig.DirectoryIndex = truebeego.BConfig.WebConfig.StaticDir["/swagger"] = "swagger"beego.Run()}
// @APIVersion 1.0.0// @Title first API// @Description HelloWorld Api// @Contact 3285198650@qq.compackage routersimport ("test/controllers""github.com/astaxie/beego")func init() {beego.Router("/", &controllers.MainController{})//配置路由namespace := beego.NewNamespace("v1",beego.NSNamespace("hello",beego.NSInclude(&controllers.HelloWorld{},),),)beego.AddNamespace(namespace)}
采用bee run -gendoc=true 运行
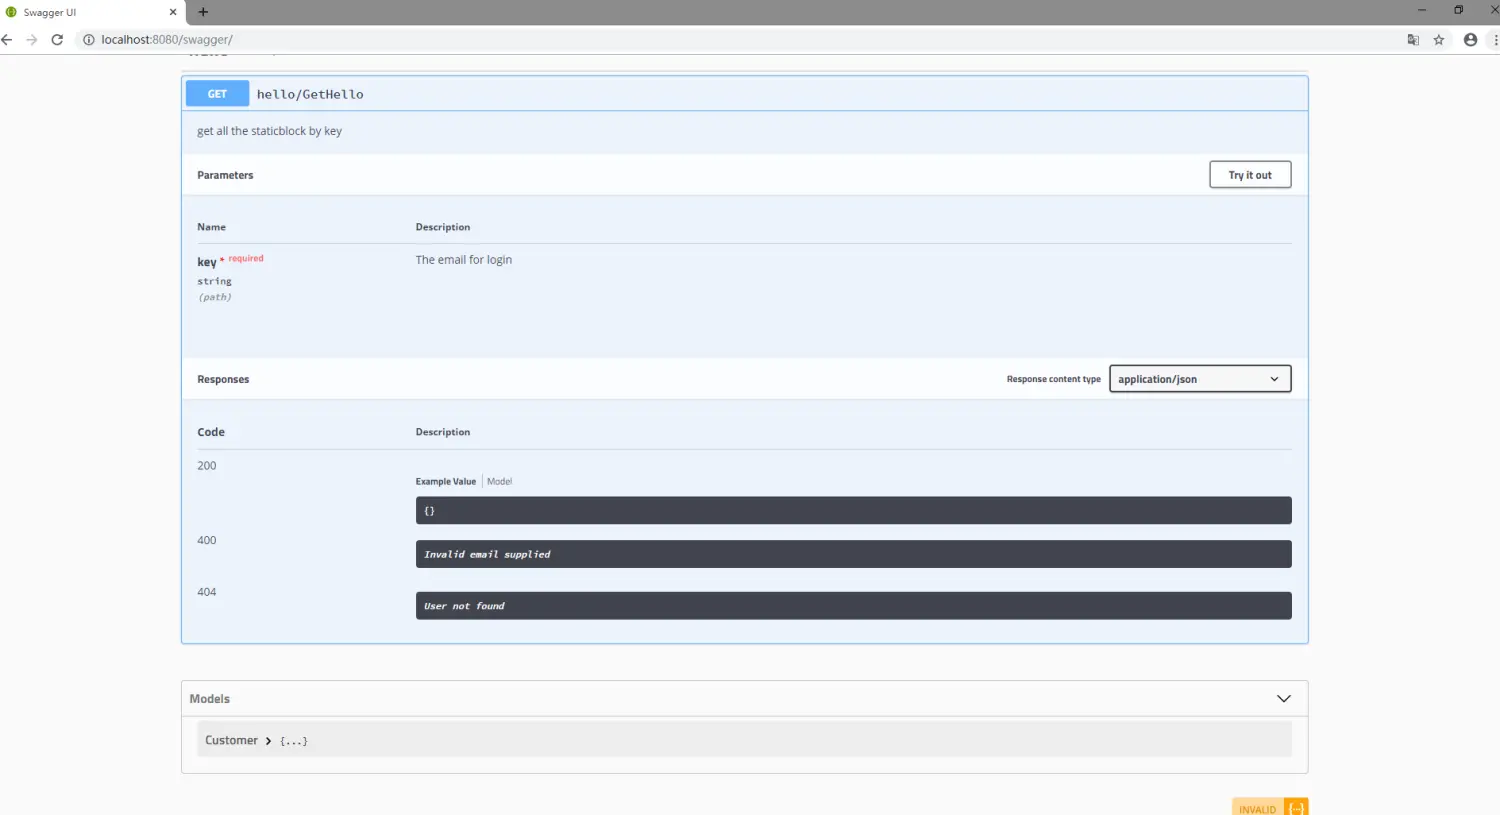
浏览器访问:http://localhost:8080/swagger 出现如下图表示swagger文档整合成功

若有收获,就点个赞吧
0 人点赞
