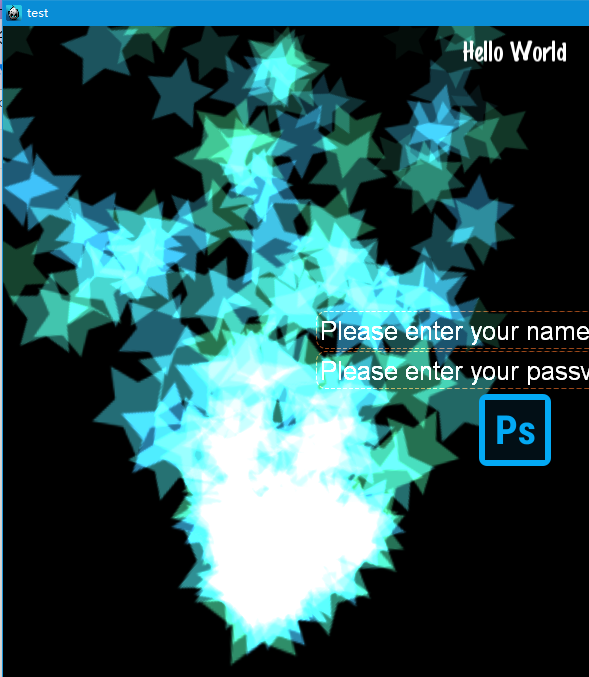
Cocos2d-X的粒子系统
在cocos2dx中,提供了一套可供使用的粒子系统,相关的对象为
CCParticleSystem; //默认的粒子系统CCParticleSystemQuad; //此为象限粒子系统,发射的粒子随机分布在一个矩形区域CCParticleSystemPoint; //此为点粒子系统,发射的粒子由一个点发出,注意,新版本中移除了此点系统
创建一个粒子系统
CCParticleSystem* particleSystem1 = CCParticleFire::create(); //火焰粒子效果
CCParticleSystem* particleSystem2 = CCParticleSnow::create(); //下雪效果
CCParticleSystem* particleSystem3 = CCParticleExplosion::create(); //爆炸的粒子效果
CCParticleSystem* particleSystem4 = CCParticleFlower::create(); //花束效果
CCParticleSystem* particleSystem5 = CCParticleFireworks::create(); //烟花效果
CCParticleSystem* particleSystem6 = CCParticleGalaxy::create(); //星系效果
CCParticleSystem* particleSystem7 = CCParticleMeteor::create(); //流星效果
CCParticleSystem* particleSystem8 = CCParticleRain::create(); //下雨效果
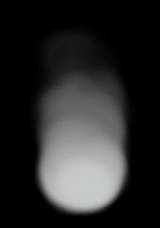
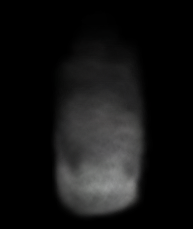
CCParticleSystem* particleSystem9 = CCParticleSmoke::create(); //烟雾效果
CCParticleSystem* particleSystem10 = CCParticleSpiral::create(); //漩涡效果
CCParticleSystem* particleSystem11 = CCParticleSun::create(); //太阳效果
更换粒子
上面创建的粒子,为系统自带的粒子,但是,如果我们想要使效果更丰富,可以使用自己的贴图,例如,我们使用这个烟雾的smoke.png图片
添加代码
particleSystem->setTexture(CCTextureCache::sharedTextureCache()->addImage("smoke.png"));
/*或者使用
    particleSystem->setTexture(TextureCache::getInstance()->addImage("smoke.png"));
来更换也是可以的*/
particleSystem->setPosition(Vec2(visibleSize.width / 2 + origin.x, 200));
 即可将原来的点更改为我们提供的贴图
粒子参数设置
如果我们不满意粒子才出来时的数量,可以在创建时使用createWithTotalParticles,而非单单的create
//设置粒子初始化的个数
CCParticleSystem* particleSystem = CCParticleSnow::createWithTotalParticles(600);
更多设置参考
//设置混合模式(主要设置src和dst参数) ,其功能类似于PS软件的图层叠加模式
ccBlendFunc blend;
blend.src = GL_DST_ALPHA;
blend.dst = GL_ONE;
TestParticle->setBlendFunc(blend);
更多有关混合模式的参考链接
//设置开始时候的粒子大小以及偏差
TestParticle->setStartSize(12);
TestParticle->setStartSizeVar(10);

//设置粒子结束时候大小以及偏差
TestParticle->setEndSize(6);
TestParticle->setEndSizeVar(5);
//粒子自身旋转
TestParticle->setStartSpin(-270); //开始时的旋转角度
TestParticle->setStartSpinVar(0);

TestParticle->setEndSpin(0); //结束时的旋转角度
TestParticle->setEndSpinVar(0);

//设置开始时候的颜色以及偏差
TestParticle->setStartColor(Color4F(1, 0.5, 0.4, 0.15));
TestParticle->setStartColorVar(Color4F(0.2, 0.05, 0, 0.05));

//设置结束时候的颜色以及偏差
TestParticle->setEndColor(Color4F(1, 0.55, 0.34, 0.15));
TestParticle->setEndColorVar(Color4F(0, 0, 0, 0));

//设置发射粒子的持续时间 -1表示永远持续
TestParticle->setDuration(-1);
//TestParticle->setDuration(-1);

//设置粒子生命期以及偏差
TestParticle->setLife(2.25);
TestParticle->setLifeVar(1);

//设置每秒钟产生粒子的数量即排放速率
TestParticle->setEmissionRate(241);

//设置角度以及偏差
TestParticle->setAngle(-8);
TestParticle->setAngleVar(180);

//设置粒子初始速度及偏差
TestParticle->setSpeed(111);
TestParticle->setSpeedVar(0);

//设置粒子初始化位置偏差
TestParticle->setPosVar(Point(0, 0));

//设置粒子的重力方向
TestParticle->setGravity(Point(-31, 0));

//设置径向加速度以及偏差
TestParticle->setRadialAccel(-106);
TestParticle->setRadialAccelVar(0);

//设置横向及偏差
TestParticle->setTangentialAccel(-20);
TestParticle->setTangentialAccelVar(0);

TestParticle->setPosition(Vec2(visibleSize.width /4, visibleSize.height/4));

this->addChild(TestParticle, 1);
图形界面设置粒子
由于cocos2d-x没有图形化的操作界面,所以大多数时候,我们不用理会上面一大堆复杂的参数,只需要大致了解其作用即可,调节粒子的时候,可以使用
- particle2dx :Web界面,打开浏览器即可使用(可能连接略卡)(跳转链接)
- V-play particle editor :一款跨平台的粒子特效编辑器
我们以第一个Web界面为例
动作界面可以调节上一节中大部分我们手动代码调节的效果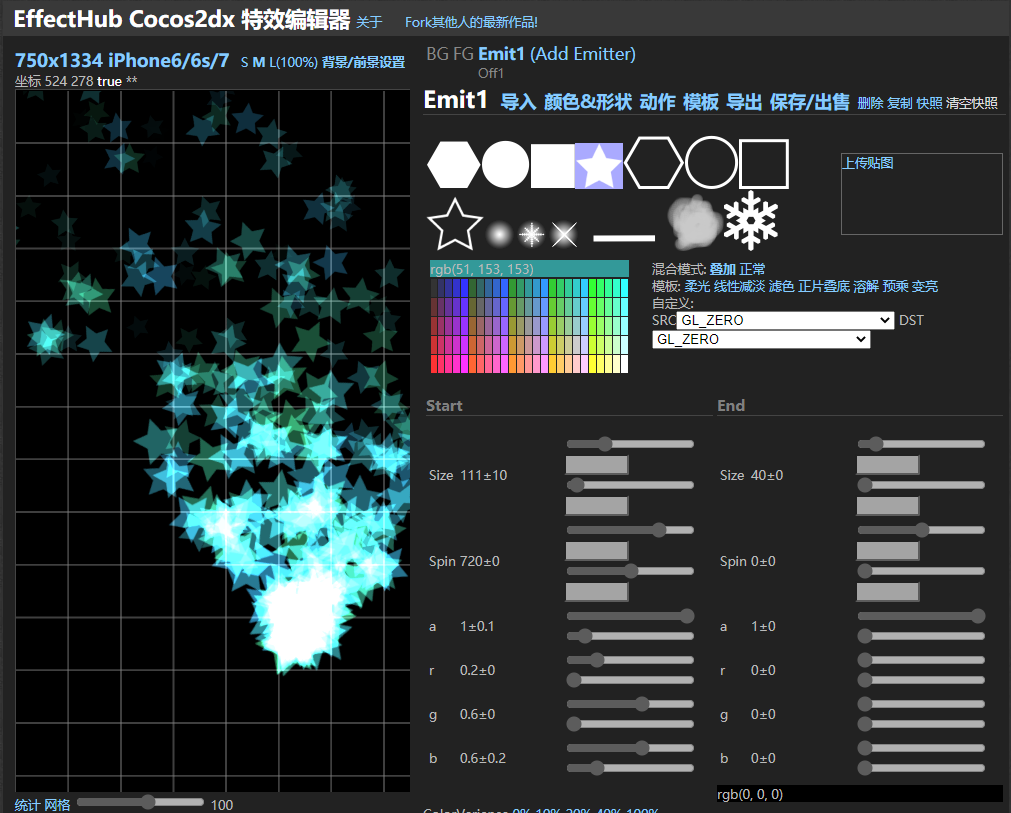
颜色形状界面可以更换粒子效果,以及混合模式
导出plist文件
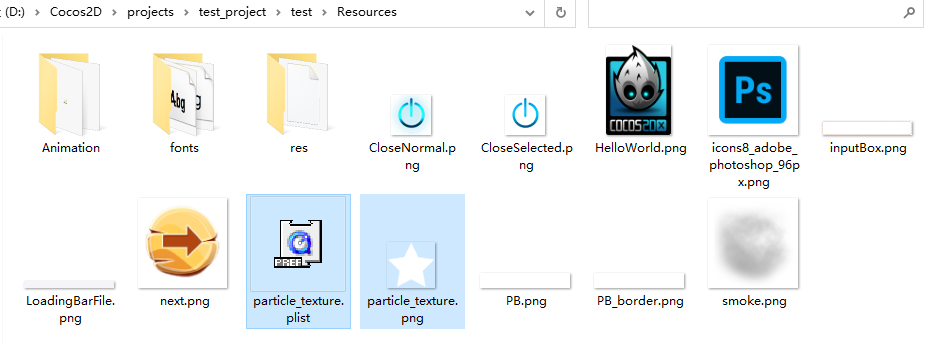
使用plist文件创建粒子
CCParticleSystemQuad* particleSystem = CCParticleSystemQuad::create("particle_texture.plist");
particleSystem->setPosition(Vec2(visibleSize.width / 4, visibleSize.height / 4));
this->addChild(particleSystem, 0);
即可在我们的工程中使用 particle2dx 上创建的粒子了

若有收获,就点个赞吧
0 人点赞
