/*** 添加实现了ApplicationListener的bean作为监听器* 这些监听器可以以一个不是bean对象的形式被添加而不会影响其它的监听器* Add beans that implement ApplicationListener as listeners.* Doesn't affect other listeners, which can be added without being beans.*/protected void registerListeners() {// 首先注册静态的指定的监听器,注册的是特殊的事件监听器,而不是配置中的bean// 所谓静态指定的监听器,就是容器在初始化时已经指定的一些监听器,相当于默认的一些监听器。// getApplicationListeners就是获取applicationListenersfor (ApplicationListener<?> listener : getApplicationListeners()) {getApplicationEventMulticaster().addApplicationListener(listener);}/*** 从容器中获取所有实现了ApplicationListener接口的bd的bdName* 放入applicationListenerBeans*/String[] listenerBeanNames = getBeanNamesForType(ApplicationListener.class, true, false);for (String listenerBeanName : listenerBeanNames) {getApplicationEventMulticaster().addApplicationListenerBean(listenerBeanName);}/*** 这里先发布早期的监听器*/Set<ApplicationEvent> earlyEventsToProcess = this.earlyApplicationEvents;this.earlyApplicationEvents = null;if (!CollectionUtils.isEmpty(earlyEventsToProcess)) {for (ApplicationEvent earlyEvent : earlyEventsToProcess) {getApplicationEventMulticaster().multicastEvent(earlyEvent);}}}
二、通过addApplicationListener(listen)注册监听器
关于ApplicationEventMulticaster的详细介绍可以参考这篇文章:
06-Spring事件监听机制及原理
三、自定义实现ApplicationListen接口的bd
四、发布早期的监听器这里最后一步还会发布早期的事件,默认为空
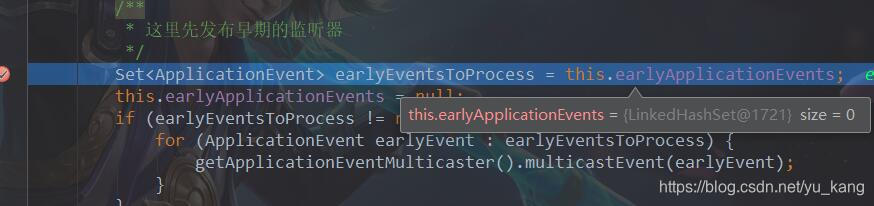
最难的就是理解这个this.earlyApplicationListeners。如果我们调用两次refresh()方法,那么这里的this.earlyApplicationListeners就不为空了。
public static void main(String[] args) {AnnotationConfigApplicationContext context = new AnnotationConfigApplicationContext();// 注册监听器context.addApplicationListener(new DemoMyListener());// 注册配置类context.register(AppConfig.class);// 刷新上下文context.refresh();}

若有收获,就点个赞吧
0 人点赞
