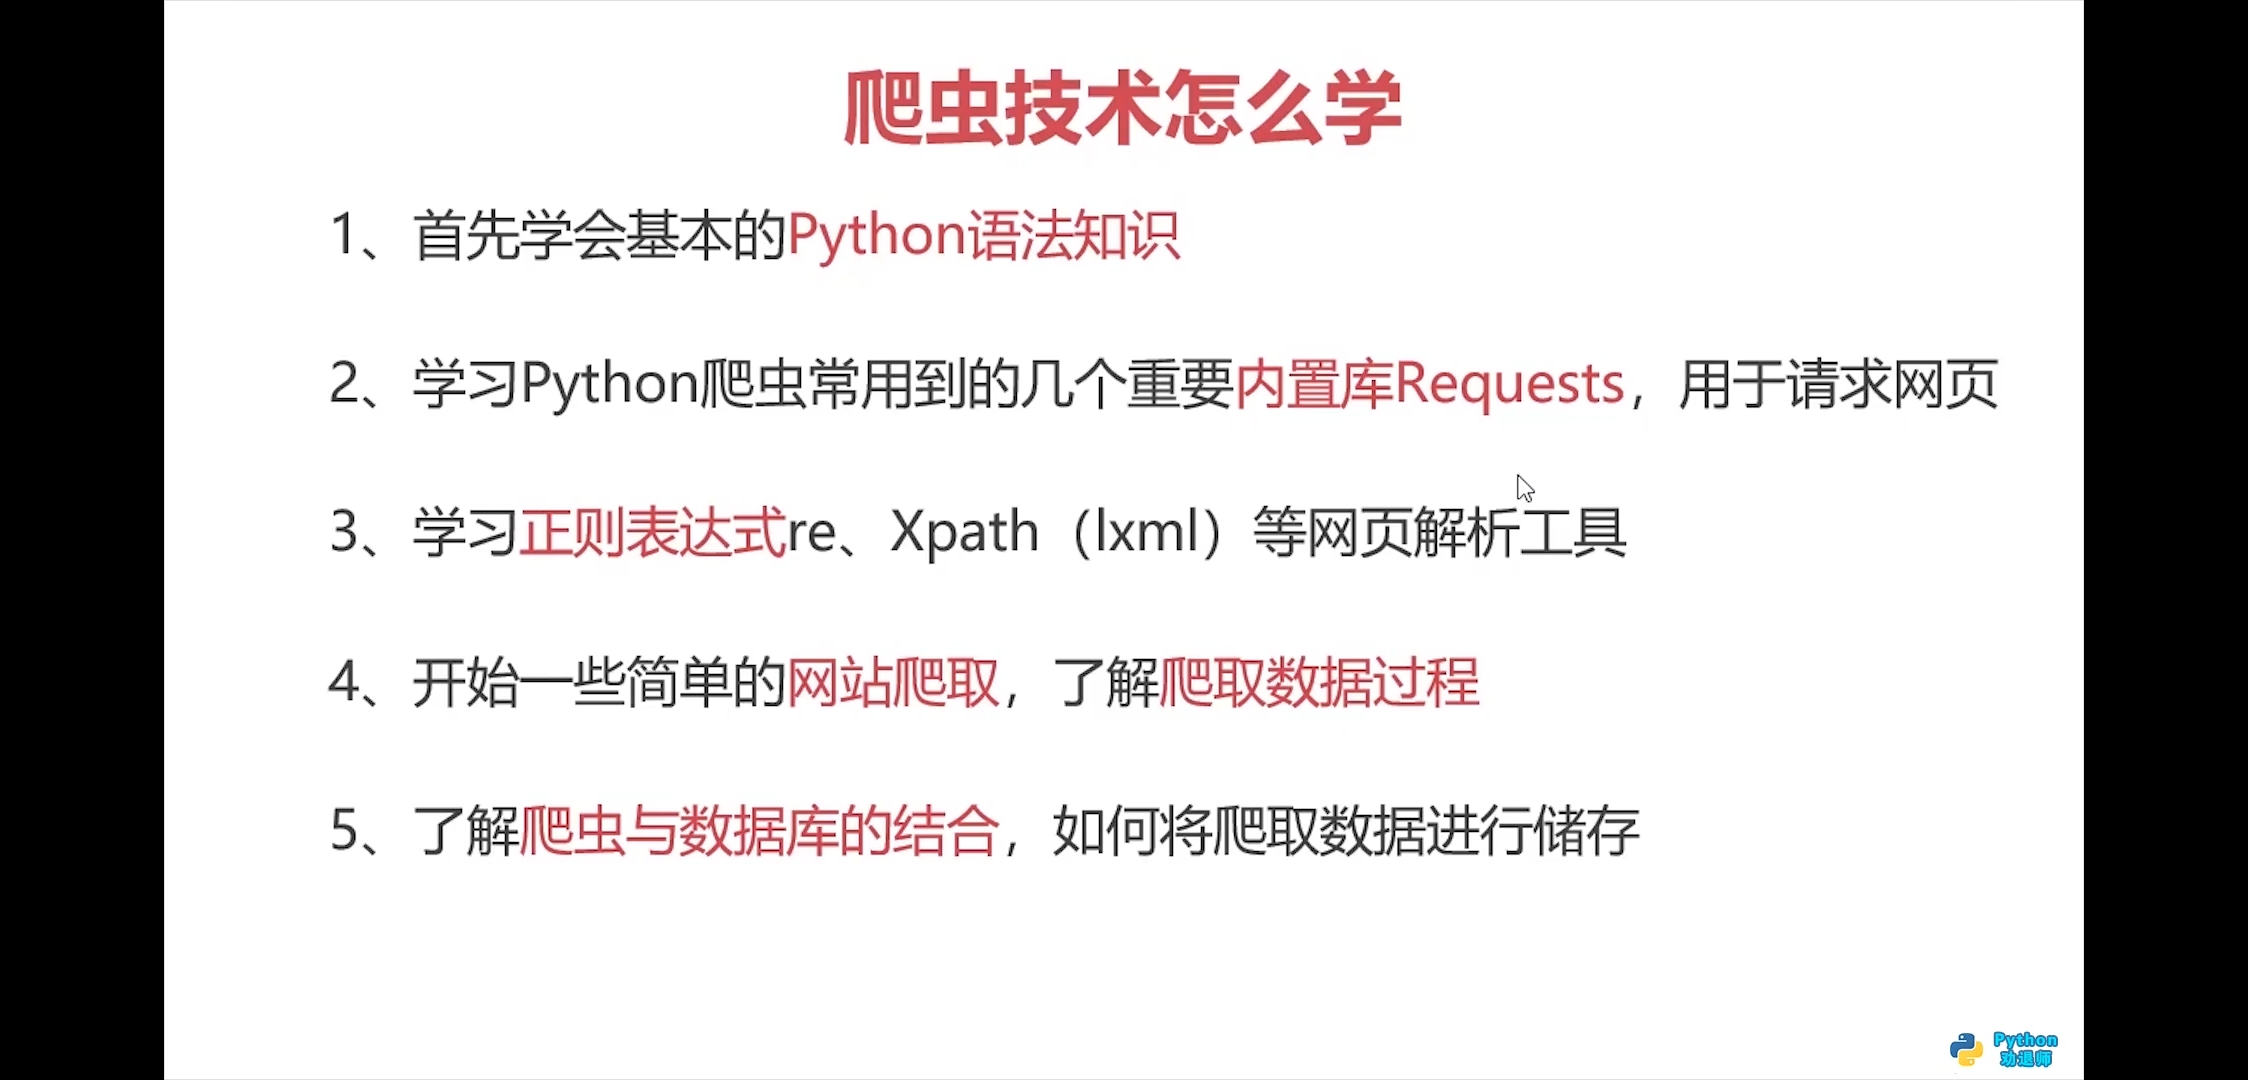
- 1.爬虫技术怎么学
- 2.http和https基础知识
- 3.requests模块入门
- 输出结果:b’{\n “origin”: “211.142.27.39”\n}\n’
- 输出结果:
- {
- “origin”: “211.142.27.39”
- }
- 输出结果:{‘origin’: ‘211.142.27.39’}
- 输出结果:211.142.27.39
- 查看请求头
- 输出结果:
- {‘User-Agent’: ‘python-requests/2.25.0’, ‘Accept-Encoding’: ‘gzip, deflate’, ‘Accept’: ‘/‘, ‘Connection’: ‘keep-alive’}
- 输出结果:
- 输出结果:
- 4.requests模块进阶
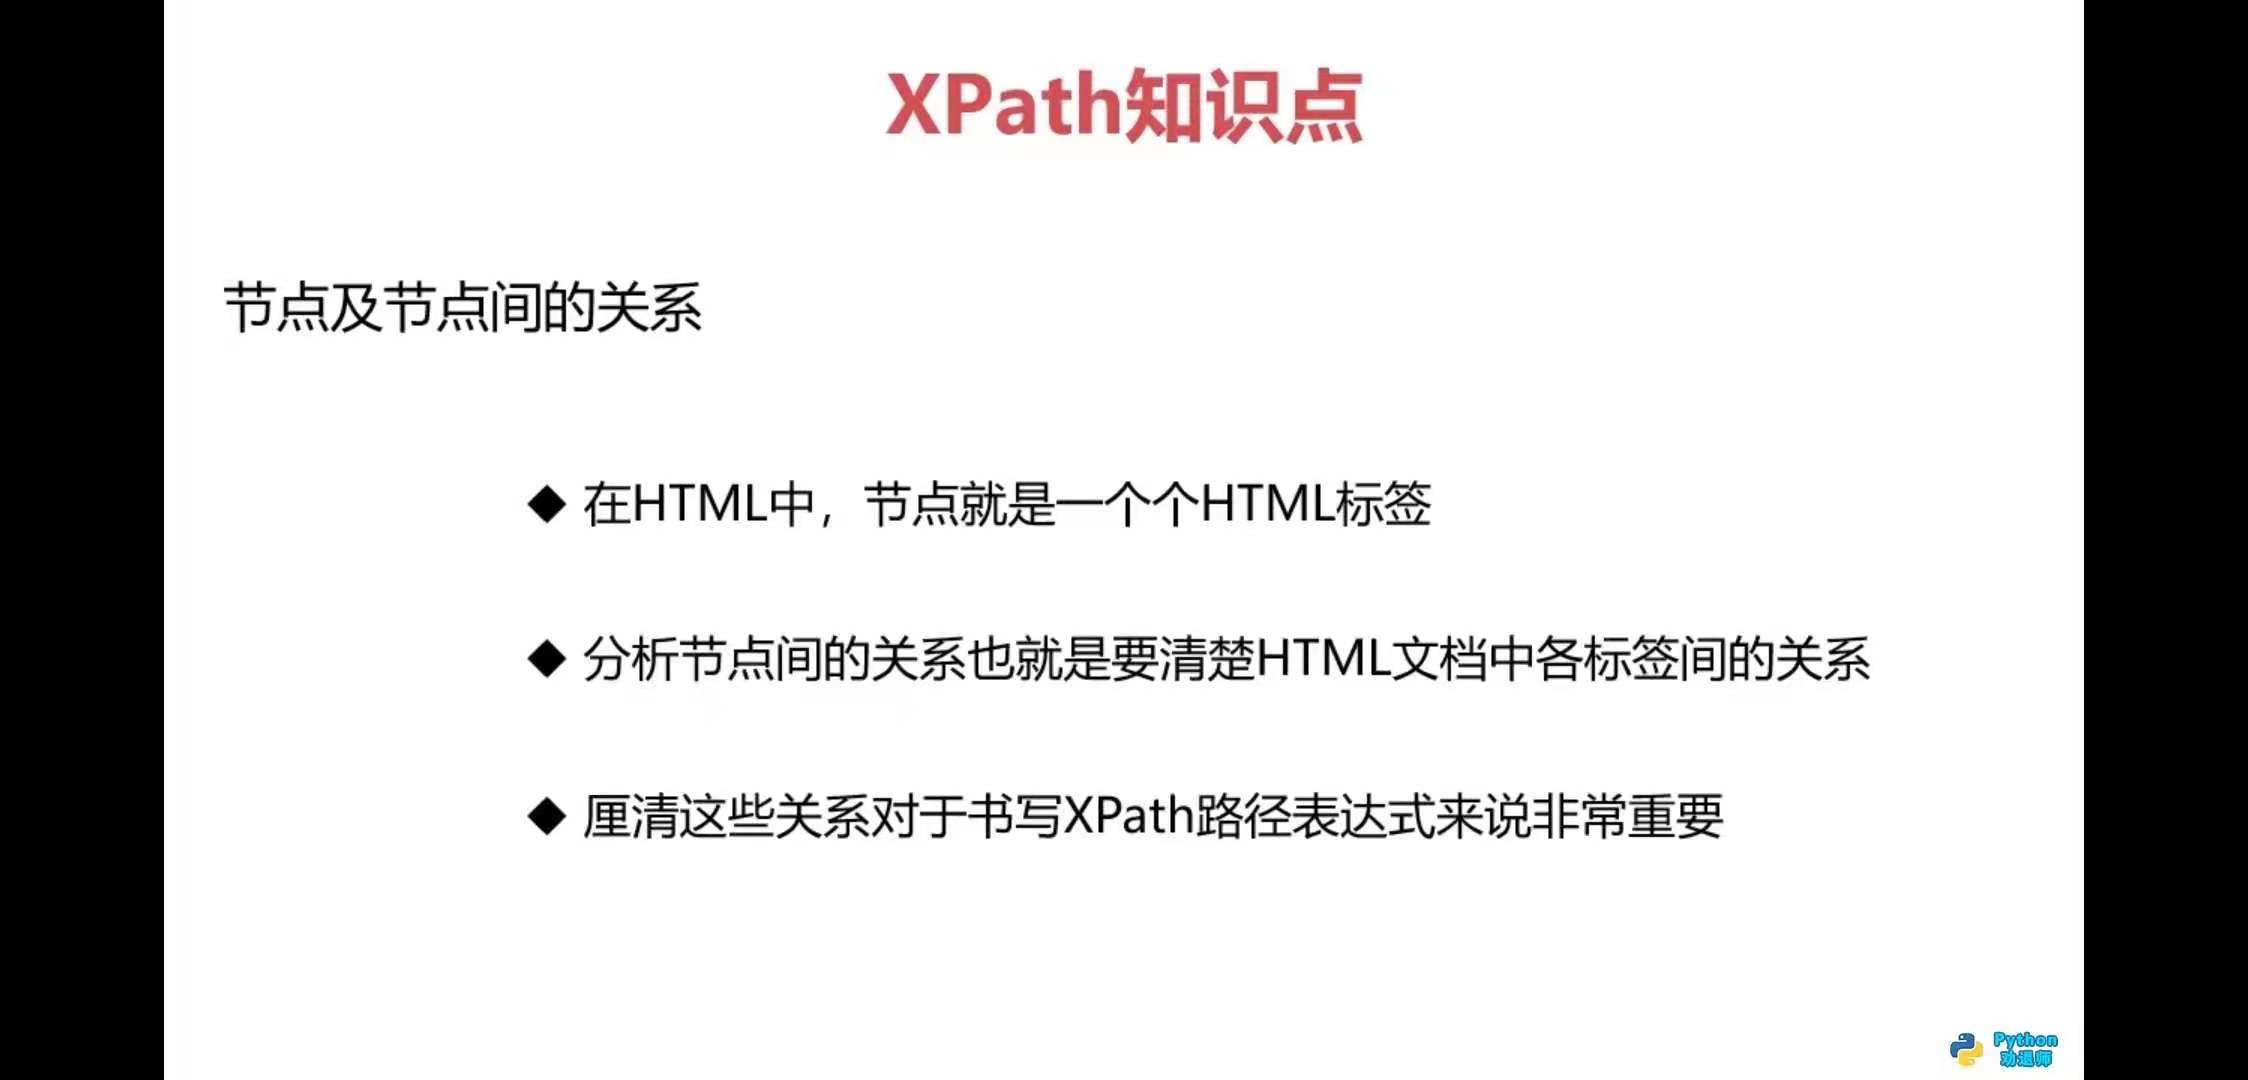
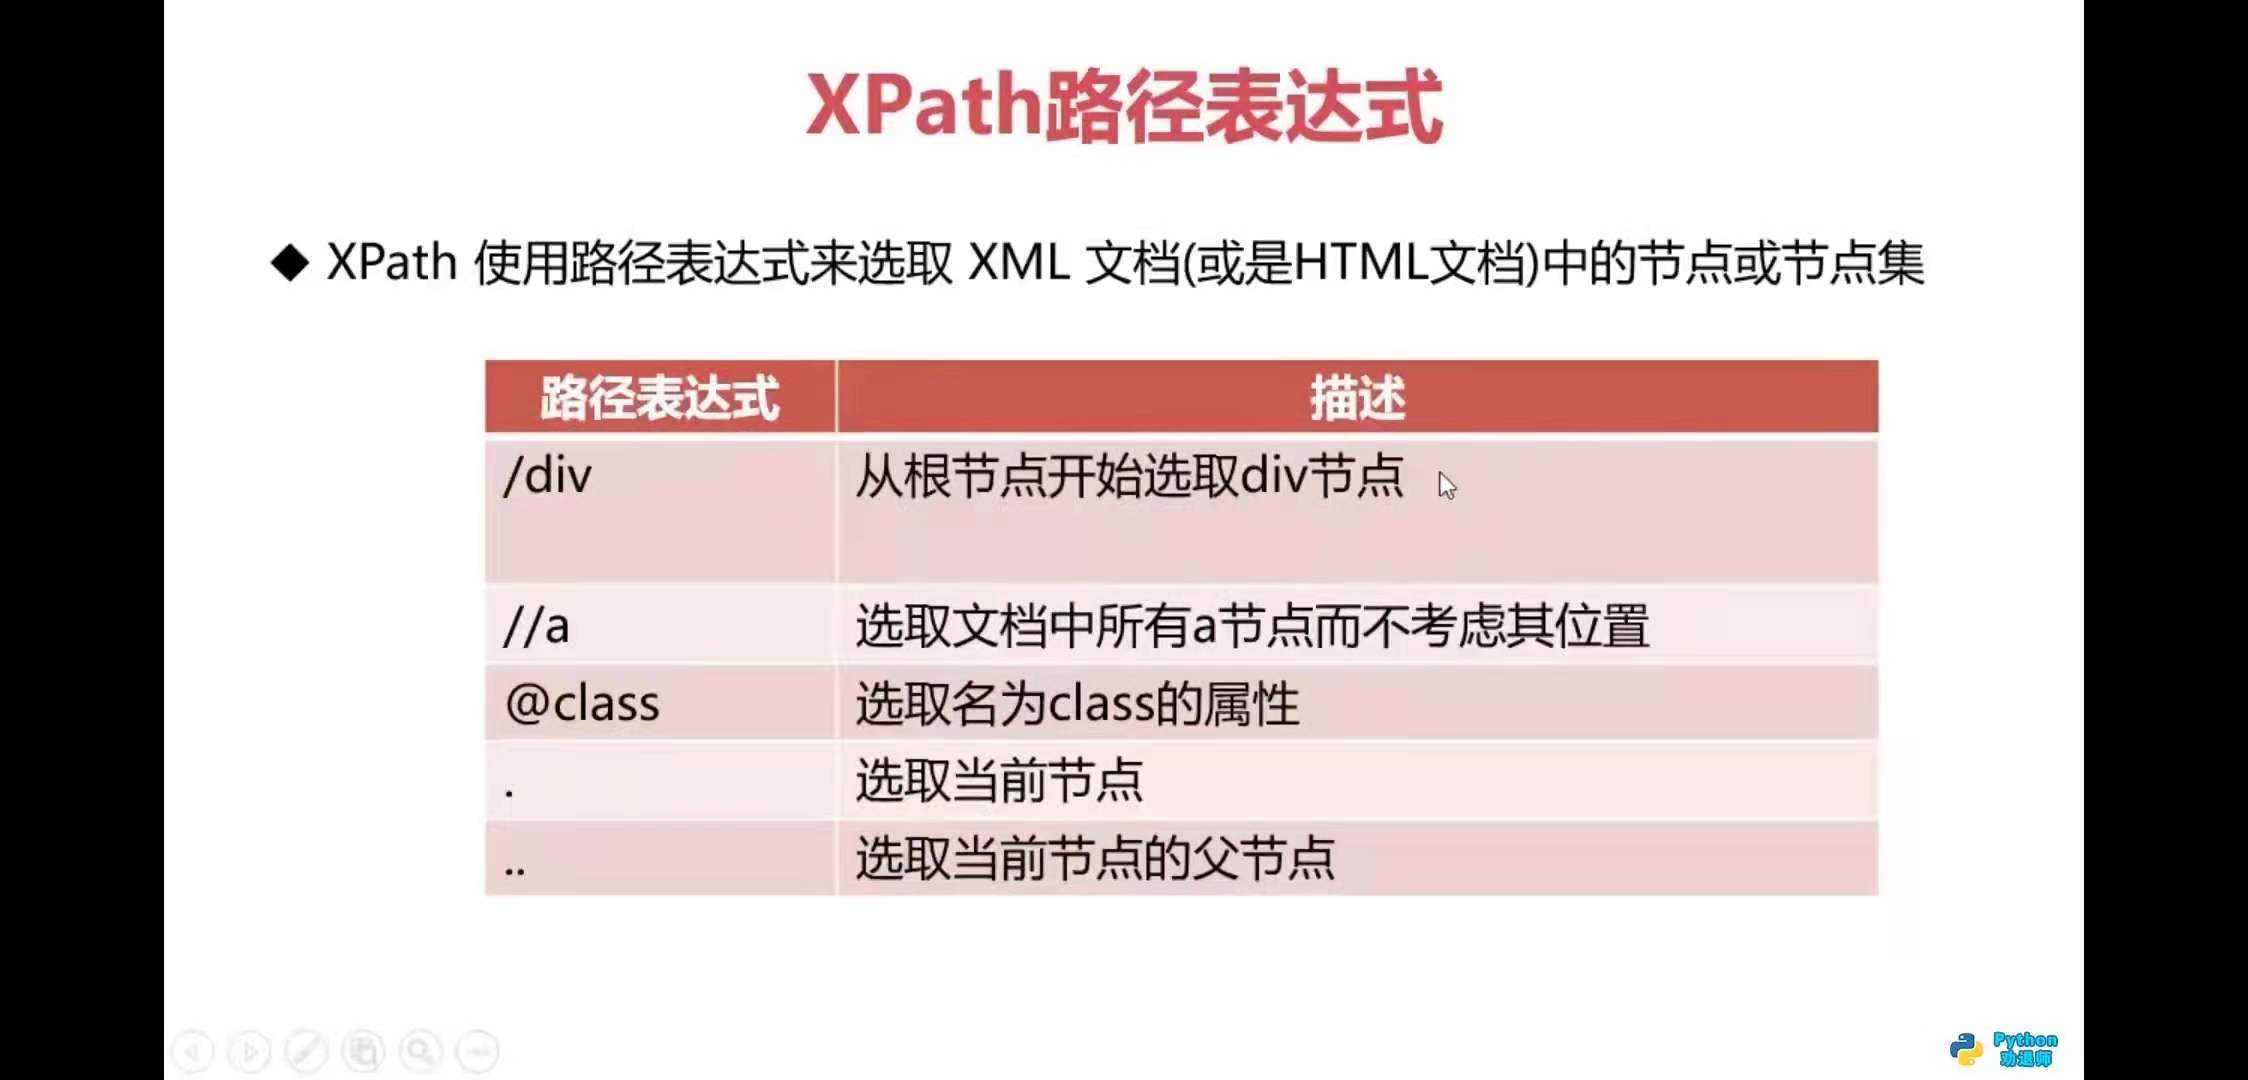
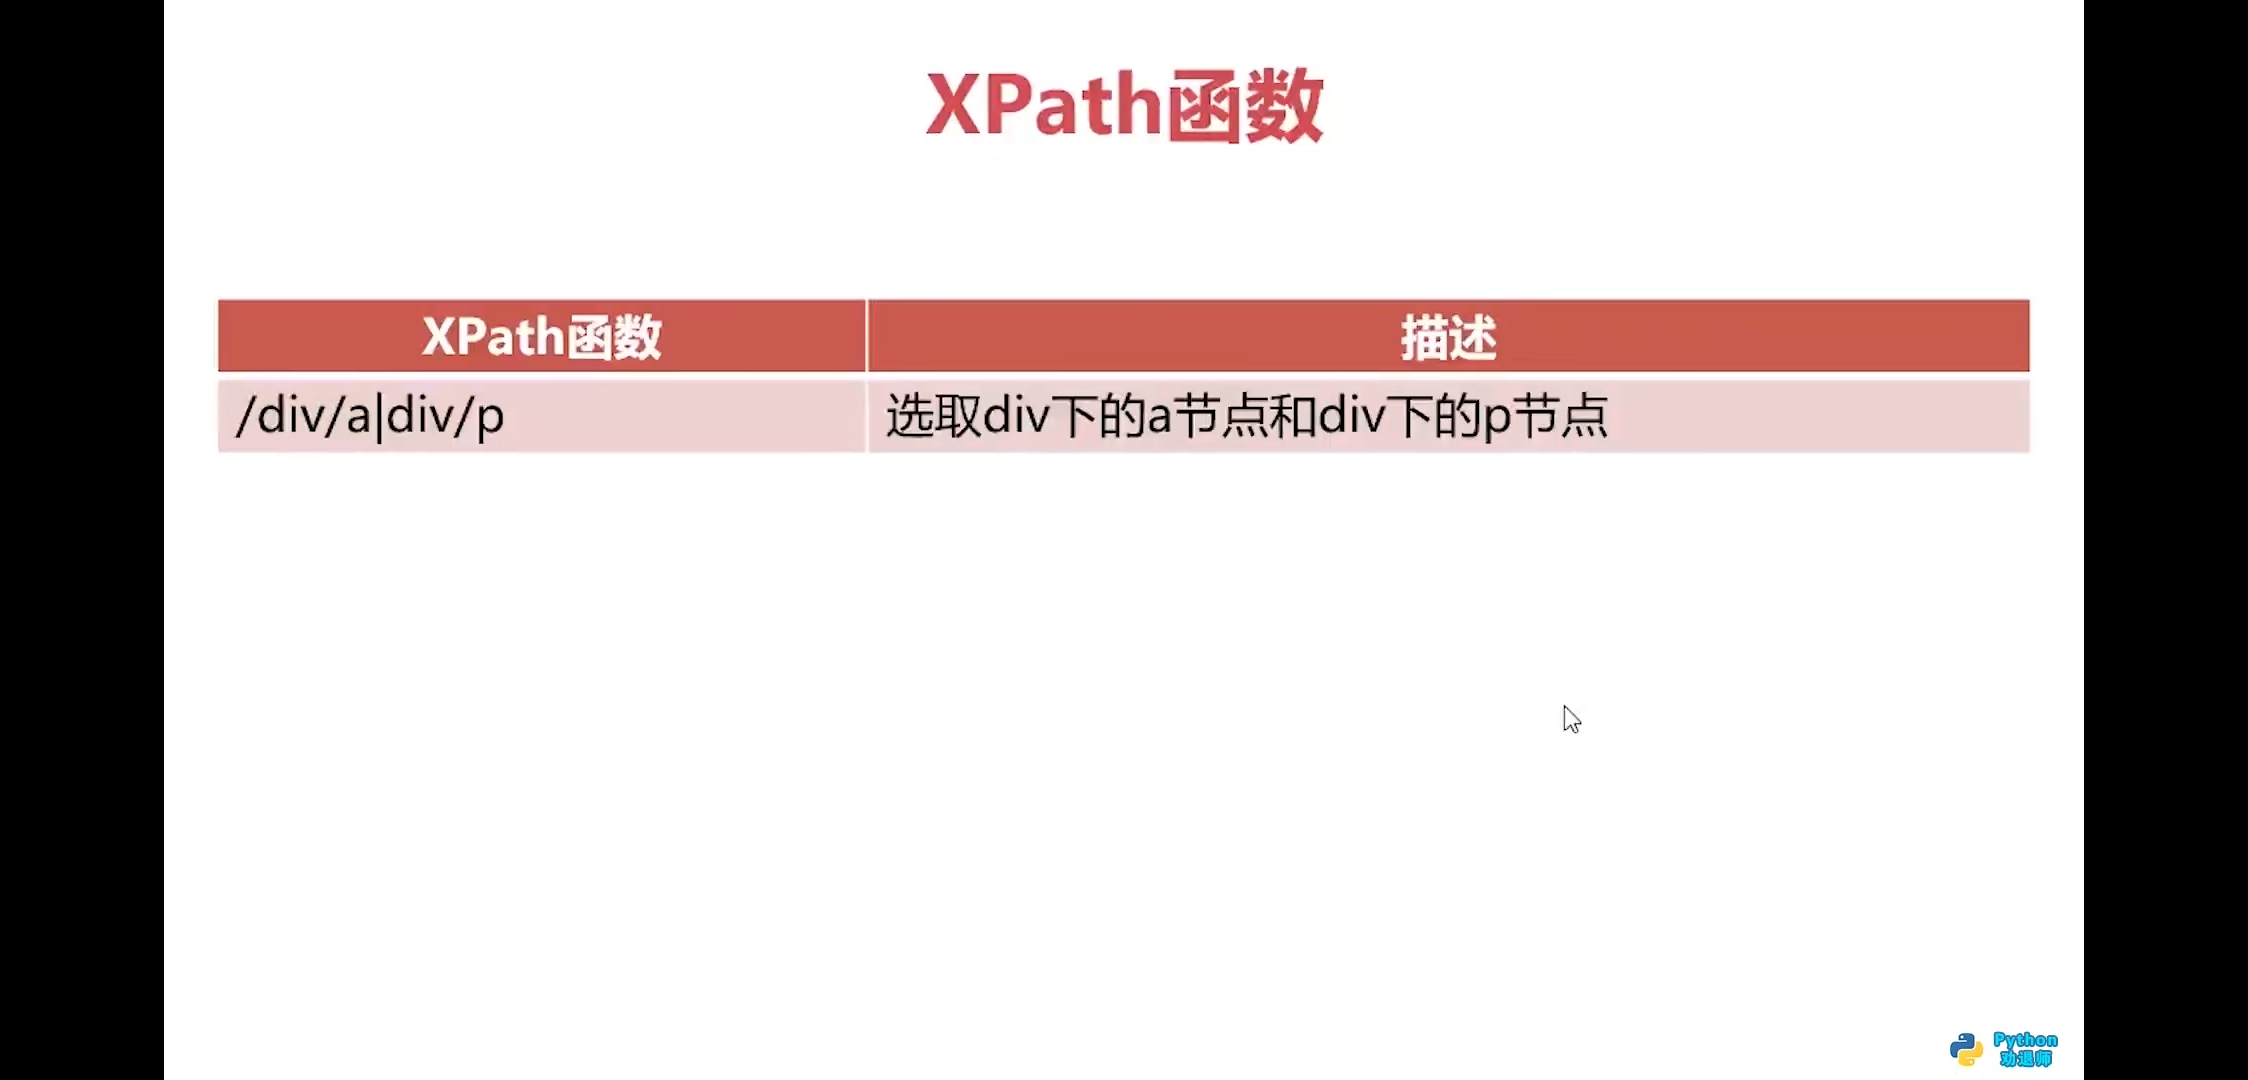
- 5.xpath基础语法
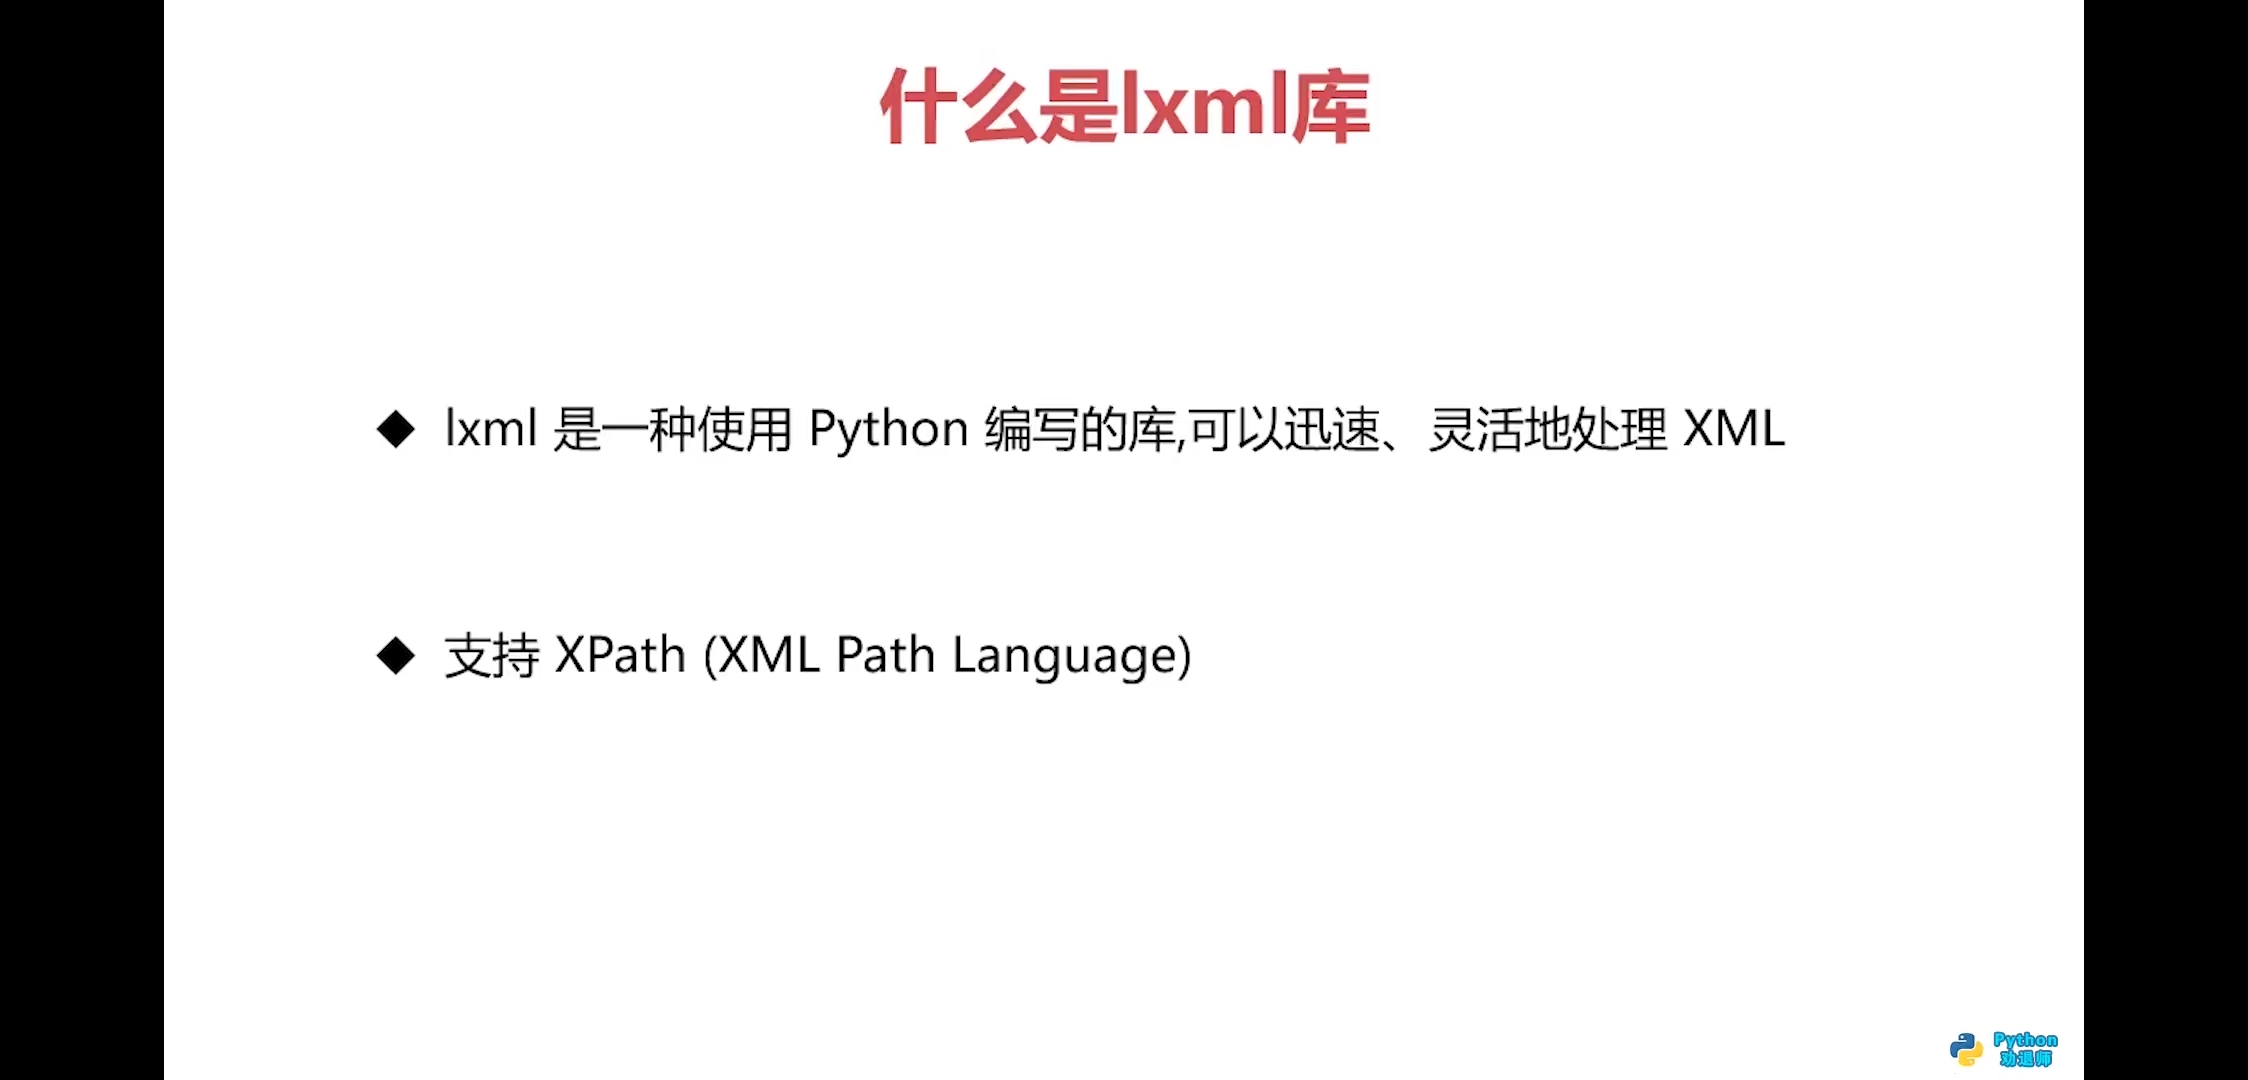
- 6.lxml模块
- 7.安装mongodb数据库
- 8.使用Navicat连接mongodb数据库


 ">
">
1.爬虫技术怎么学
2.http和https基础知识


3.requests模块入门
中文文档: https://docs.python-requests.org/zh_CN/latest/

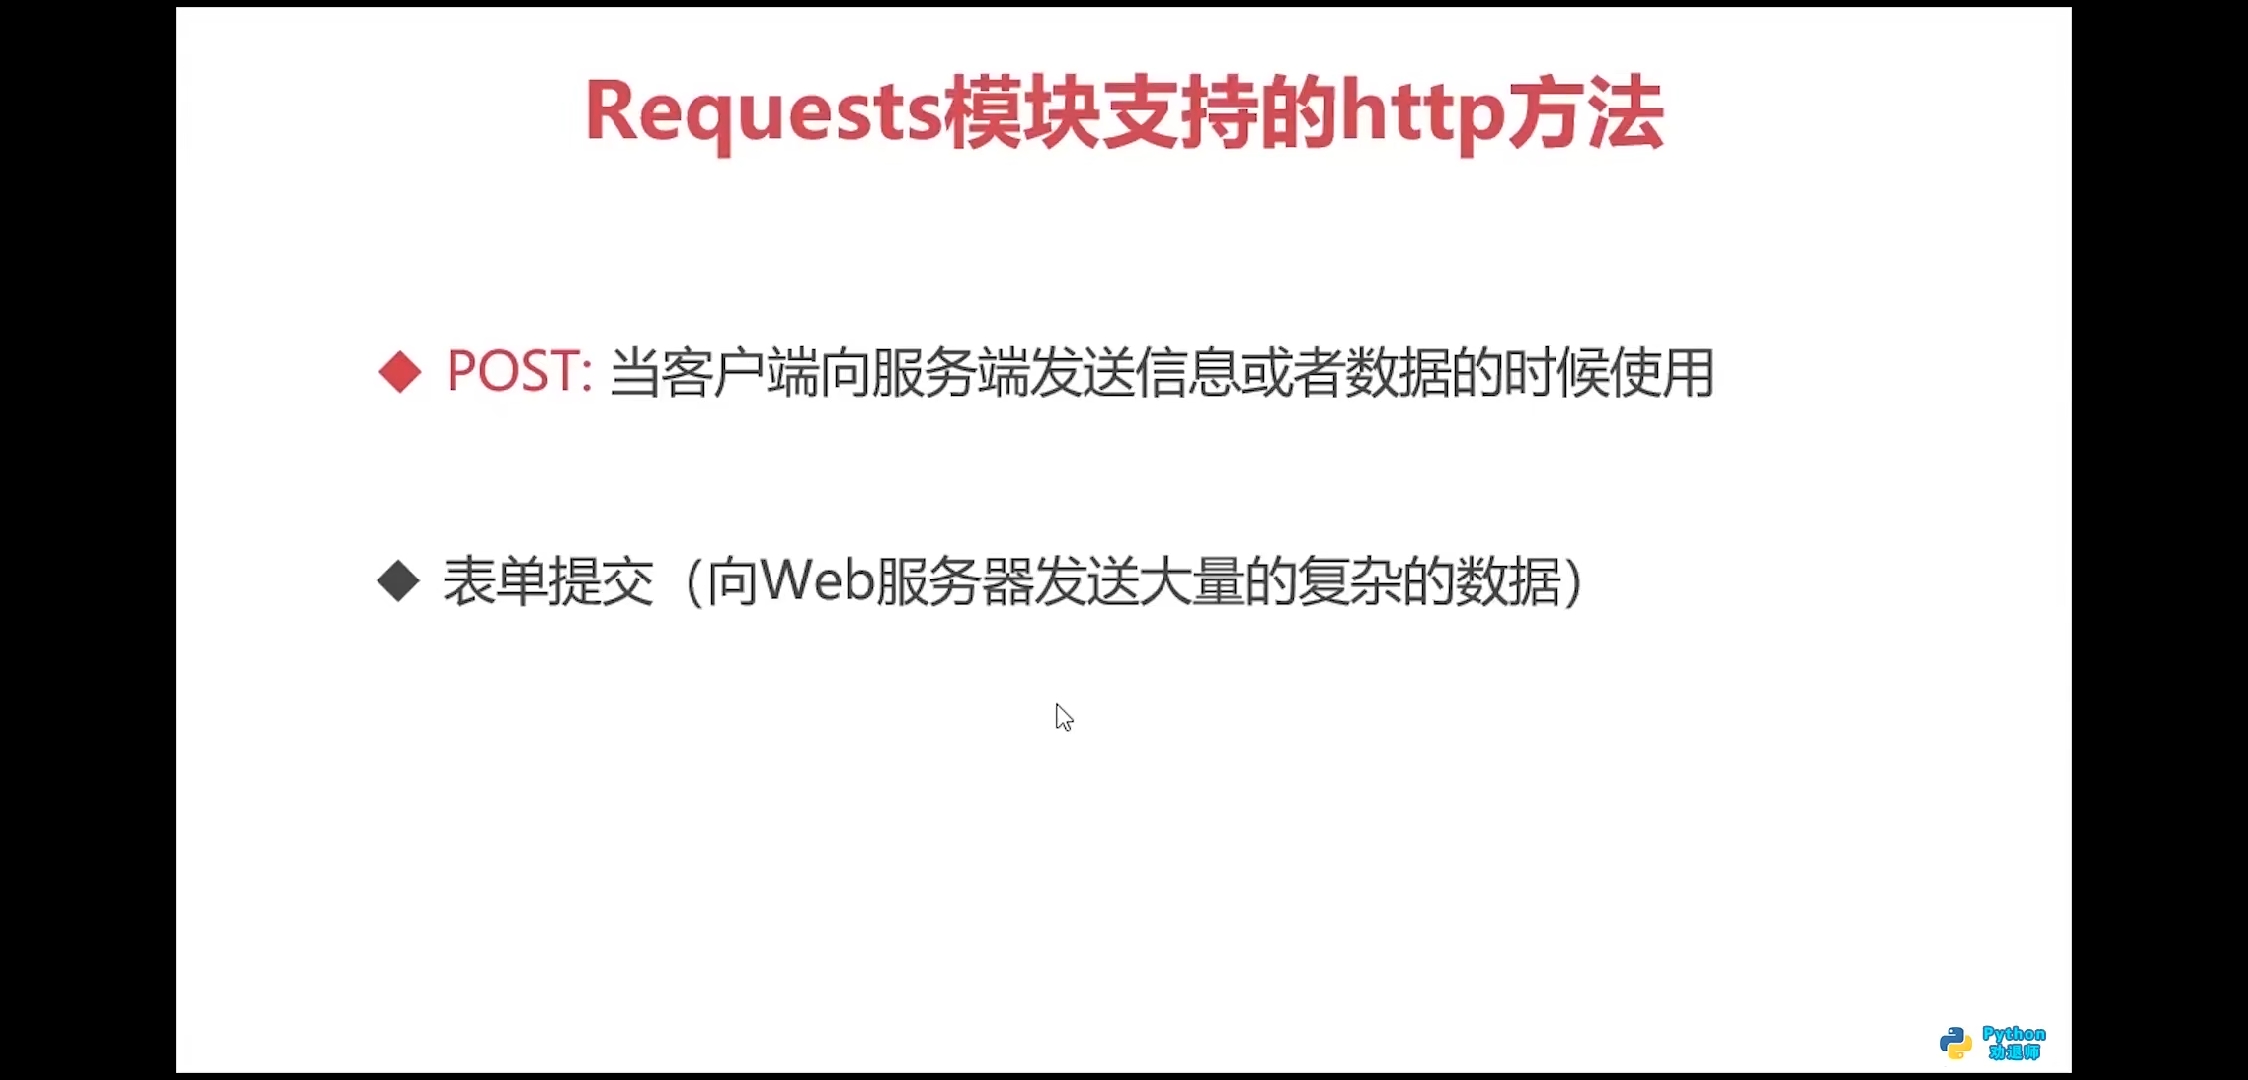
requests模块支持的http方法
- get\post\pull\delete\head\trace\options\connect
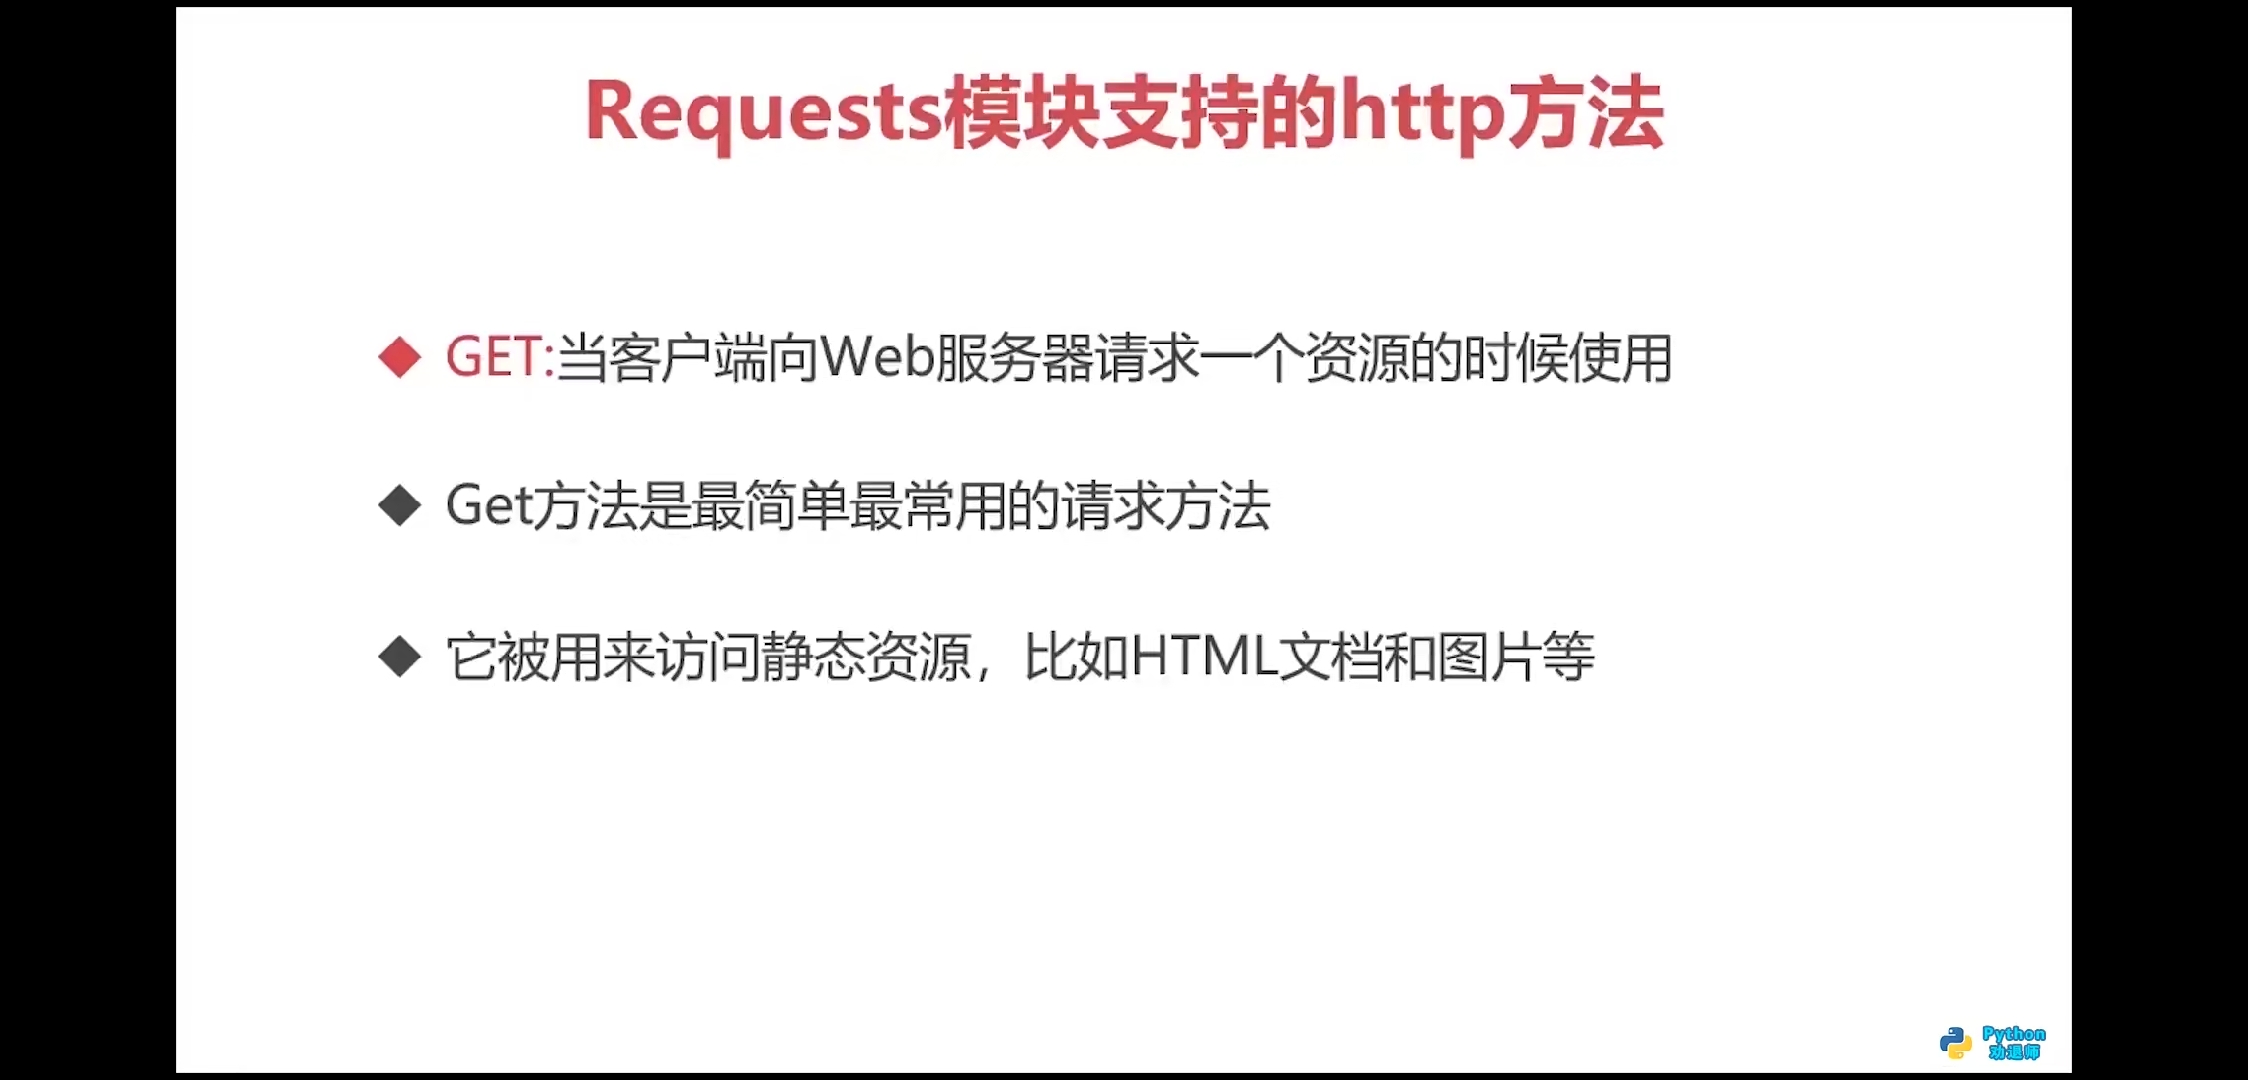


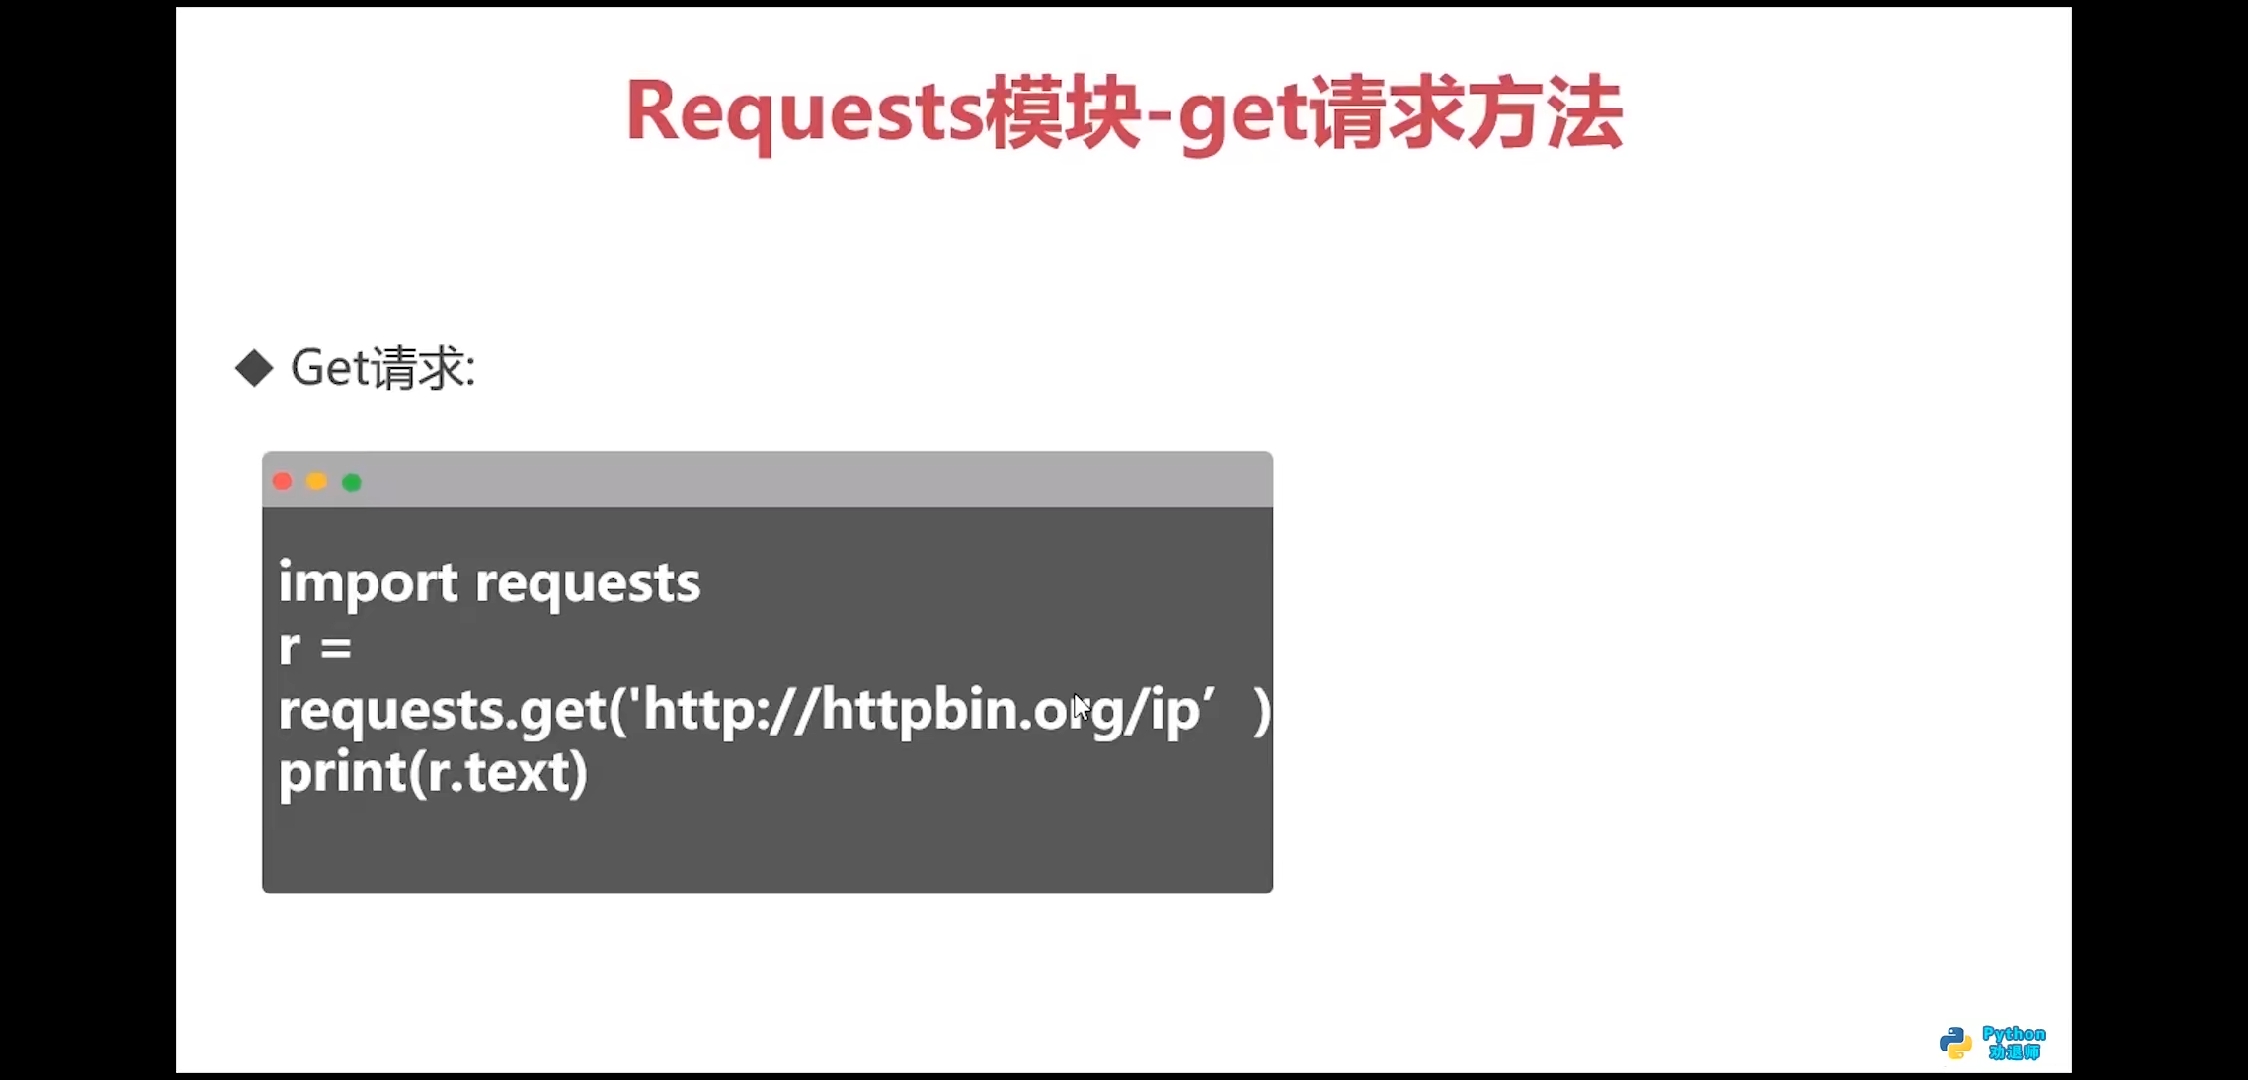
get方法
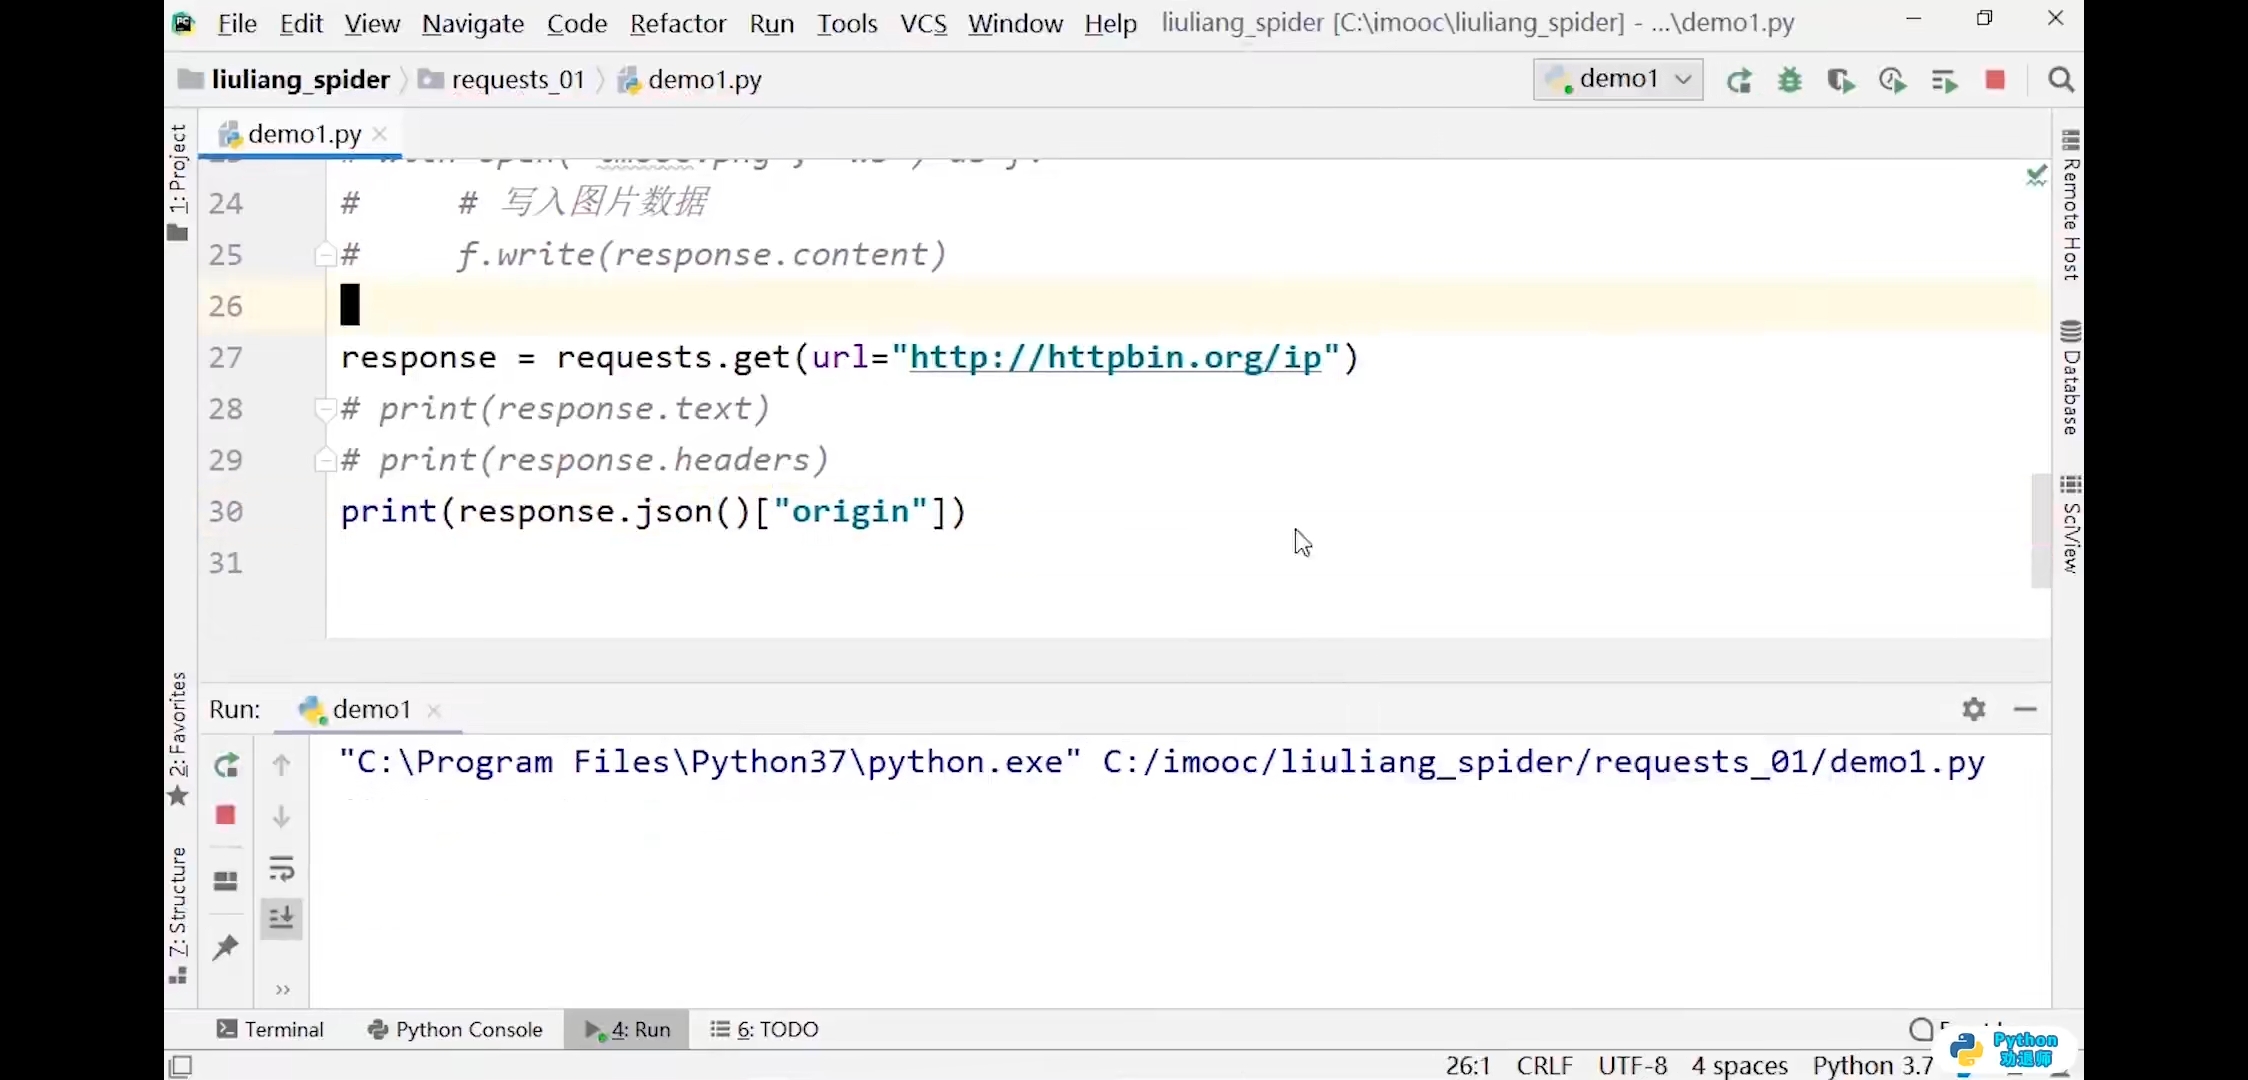
import requestsresponse = requests.get(url='http://httpbin.org/ip')print(response.text)# 输出结果:# {# "origin": "211.142.27.39"# }print(response.content)# 输出结果:b'{\n "origin": "211.142.27.39"\n}\n'


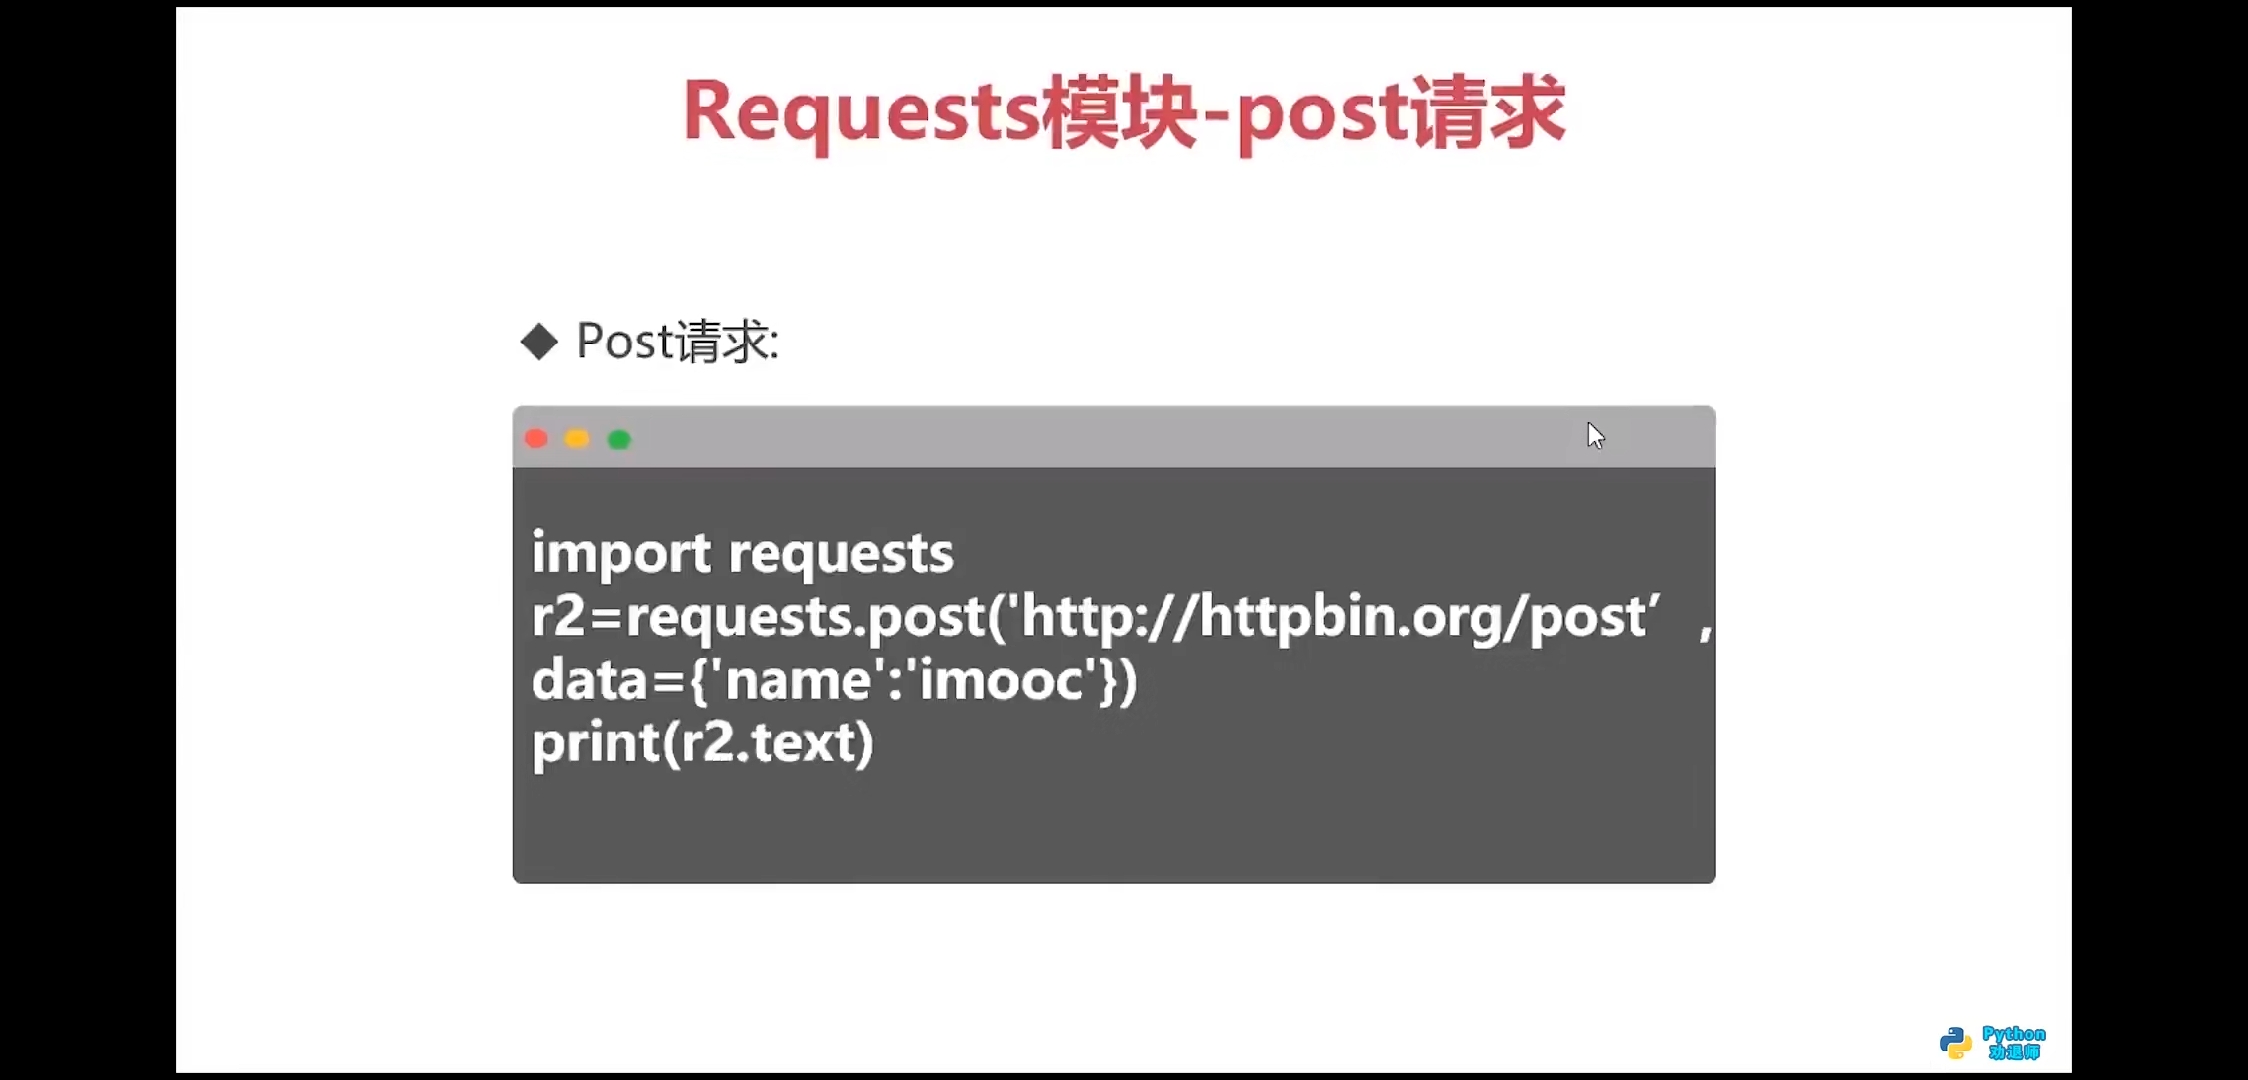
post方法
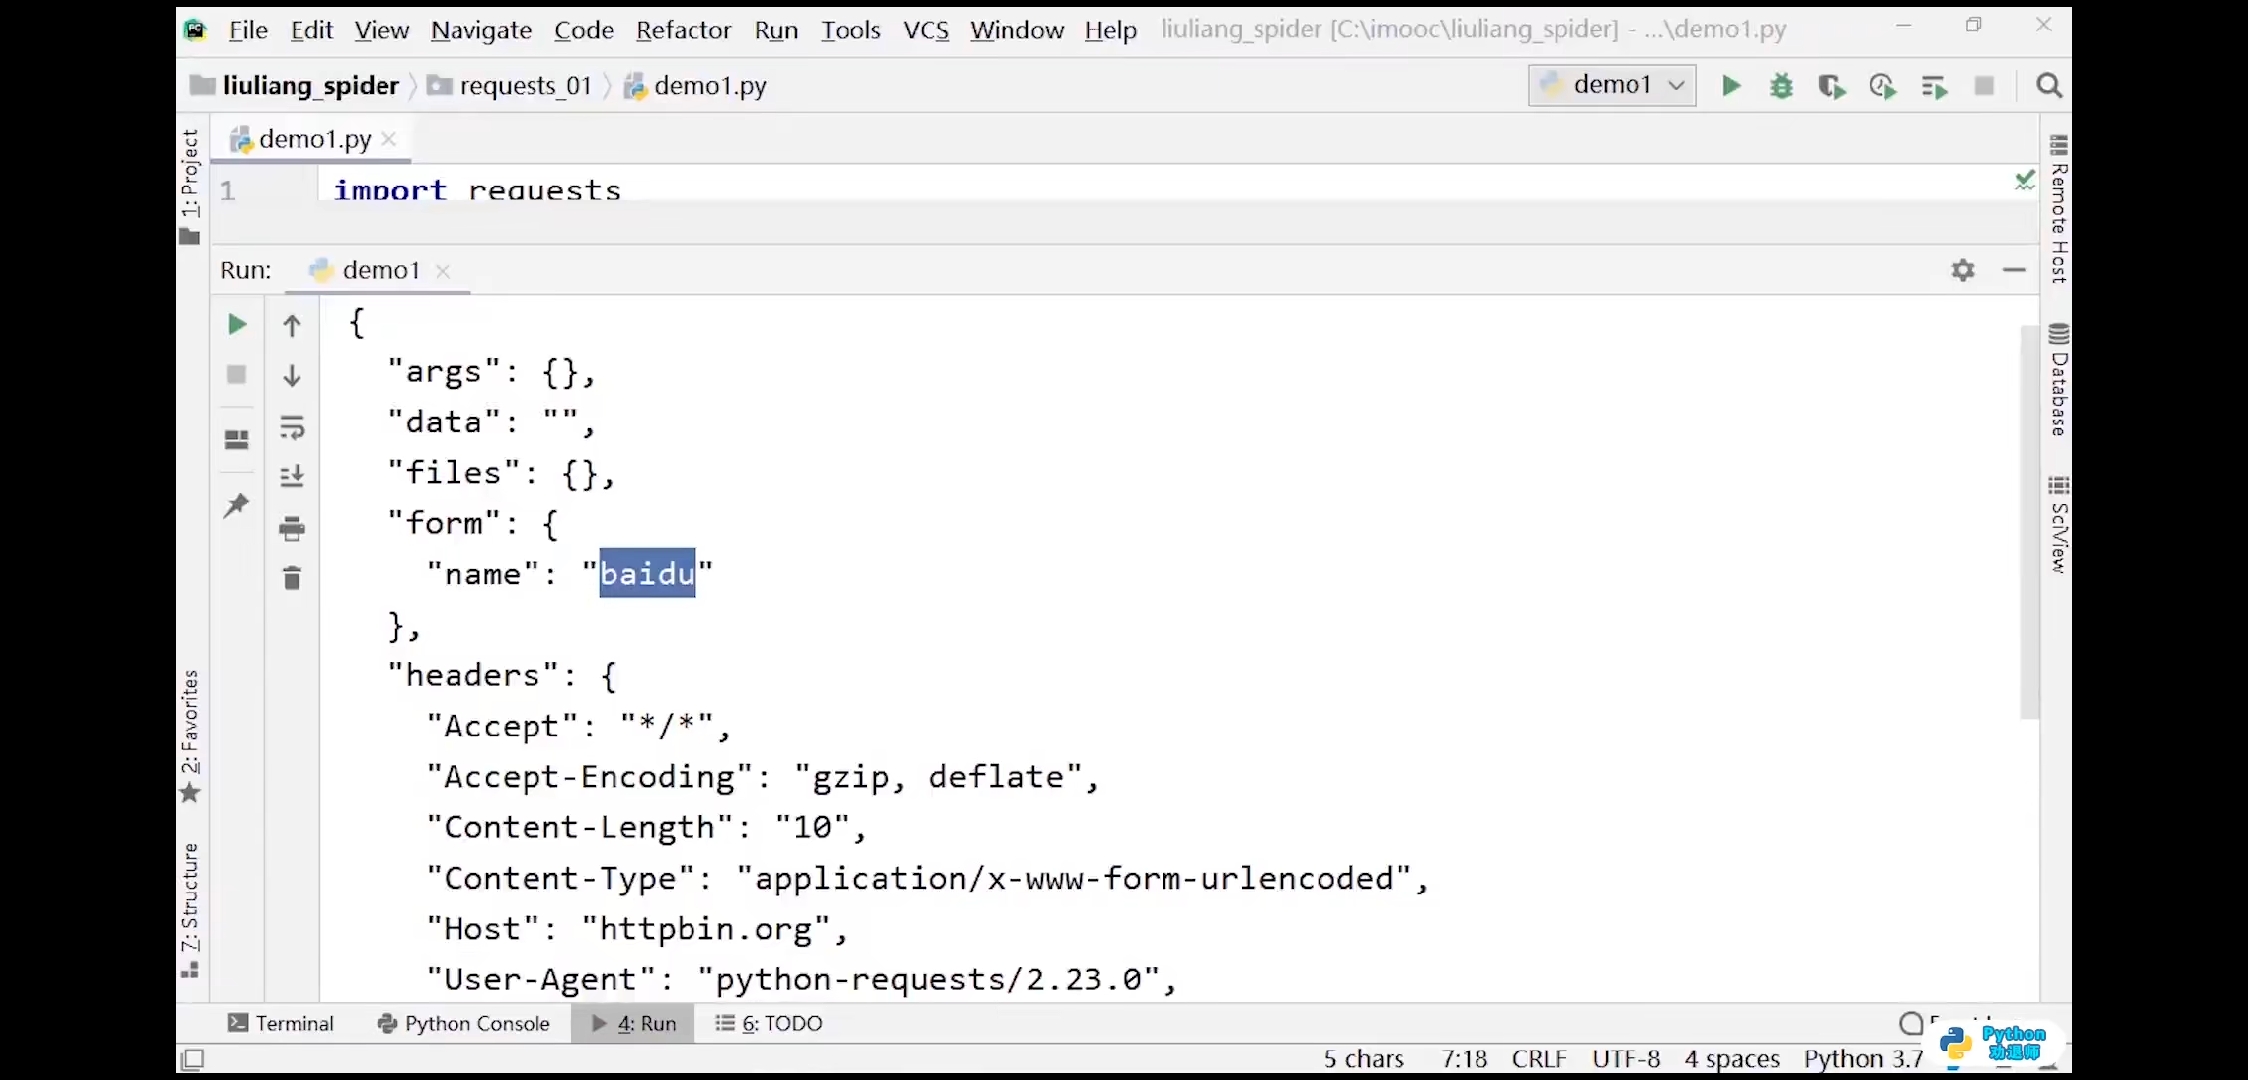
import requestsresponse = requests.get(url='http://httpbin.org/post',data={'name':'baidu'})print(response.text)# 输出结果:(不知道什么原因)# <!DOCTYPE HTML PUBLIC "-//W3C//DTD HTML 3.2 Final//EN"># <title>405 Method Not Allowed</title># <h1>Method Not Allowed</h1># <p>The method is not allowed for the requested URL.</p>

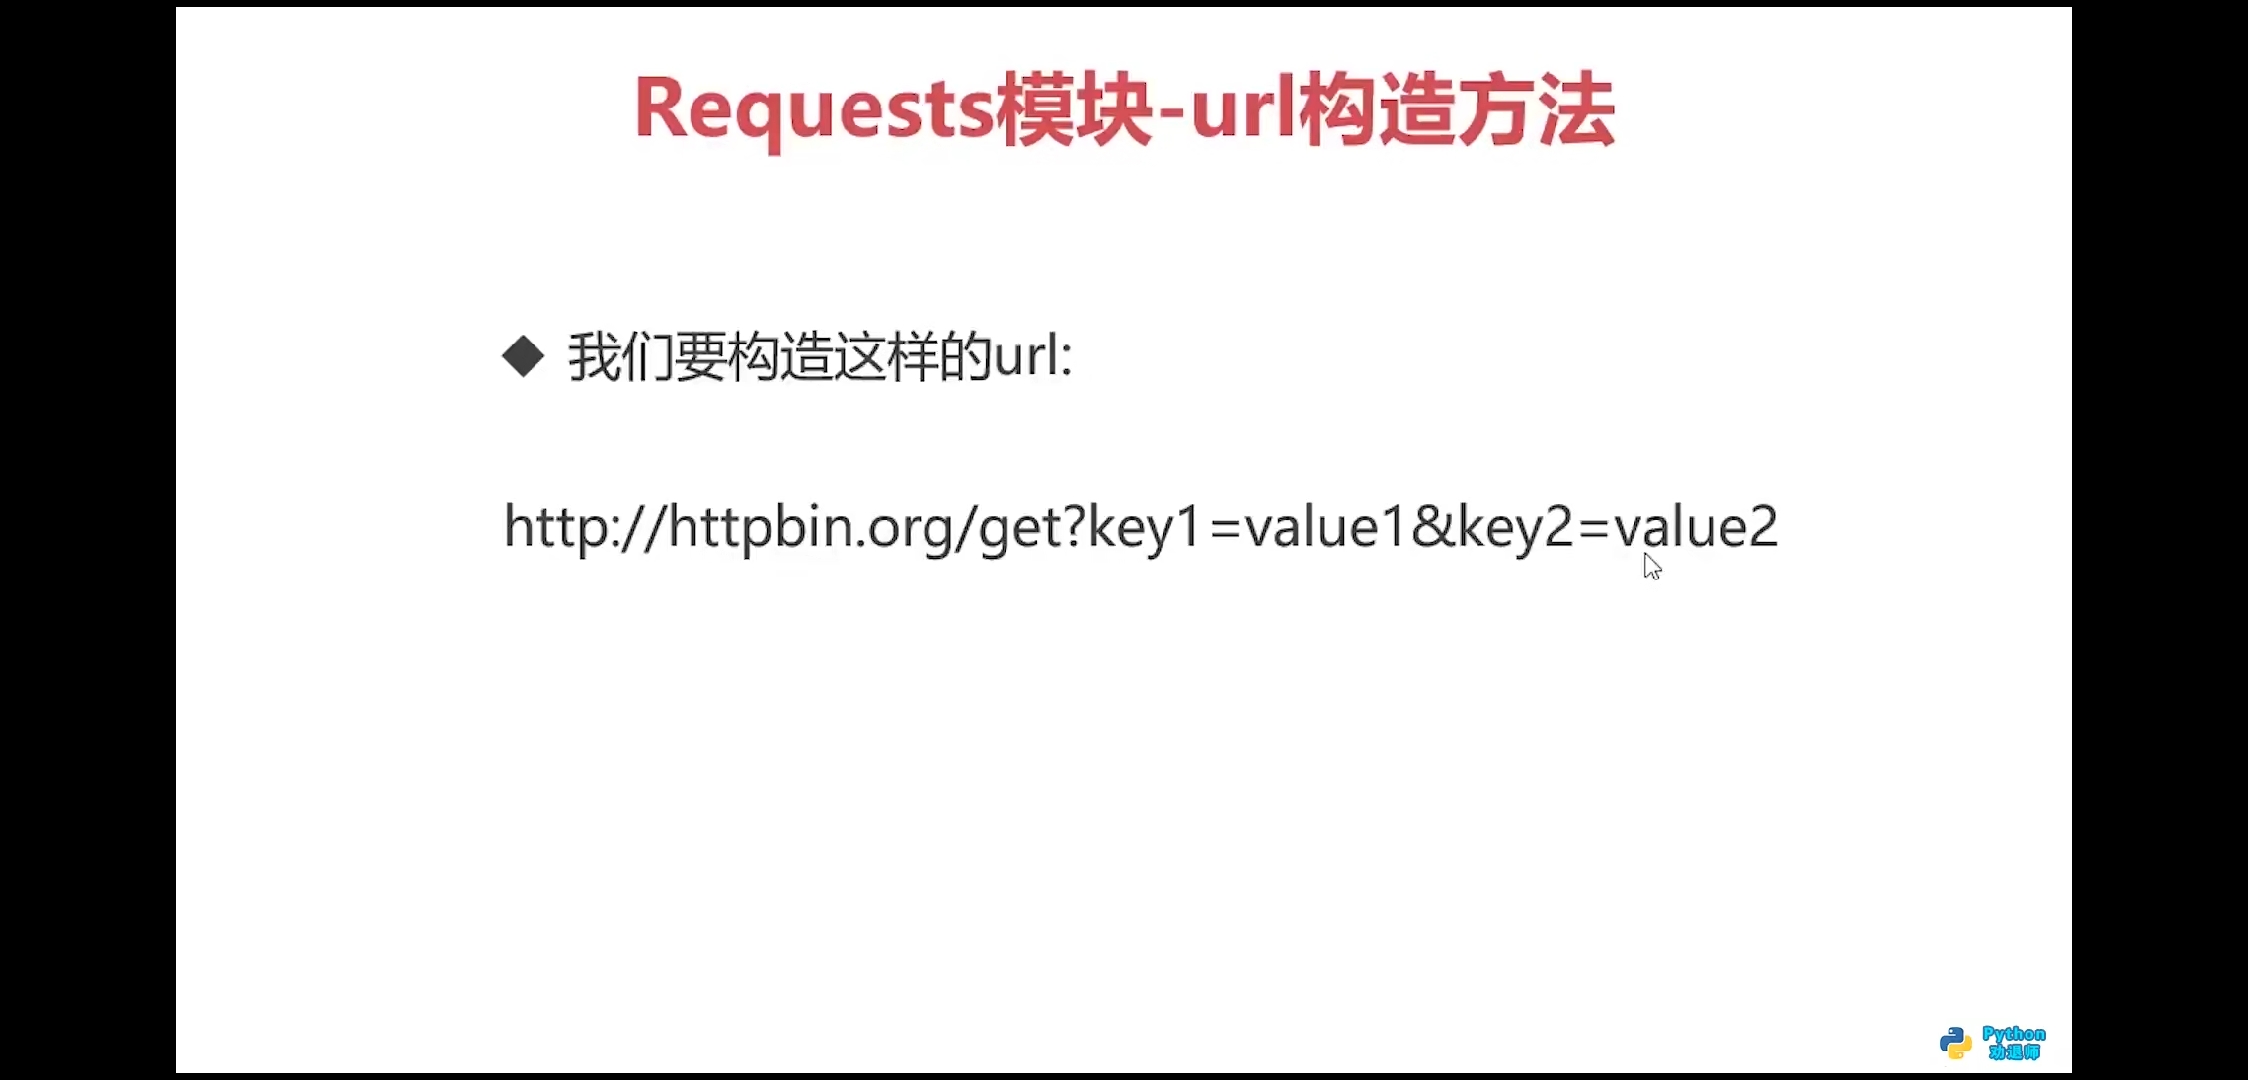
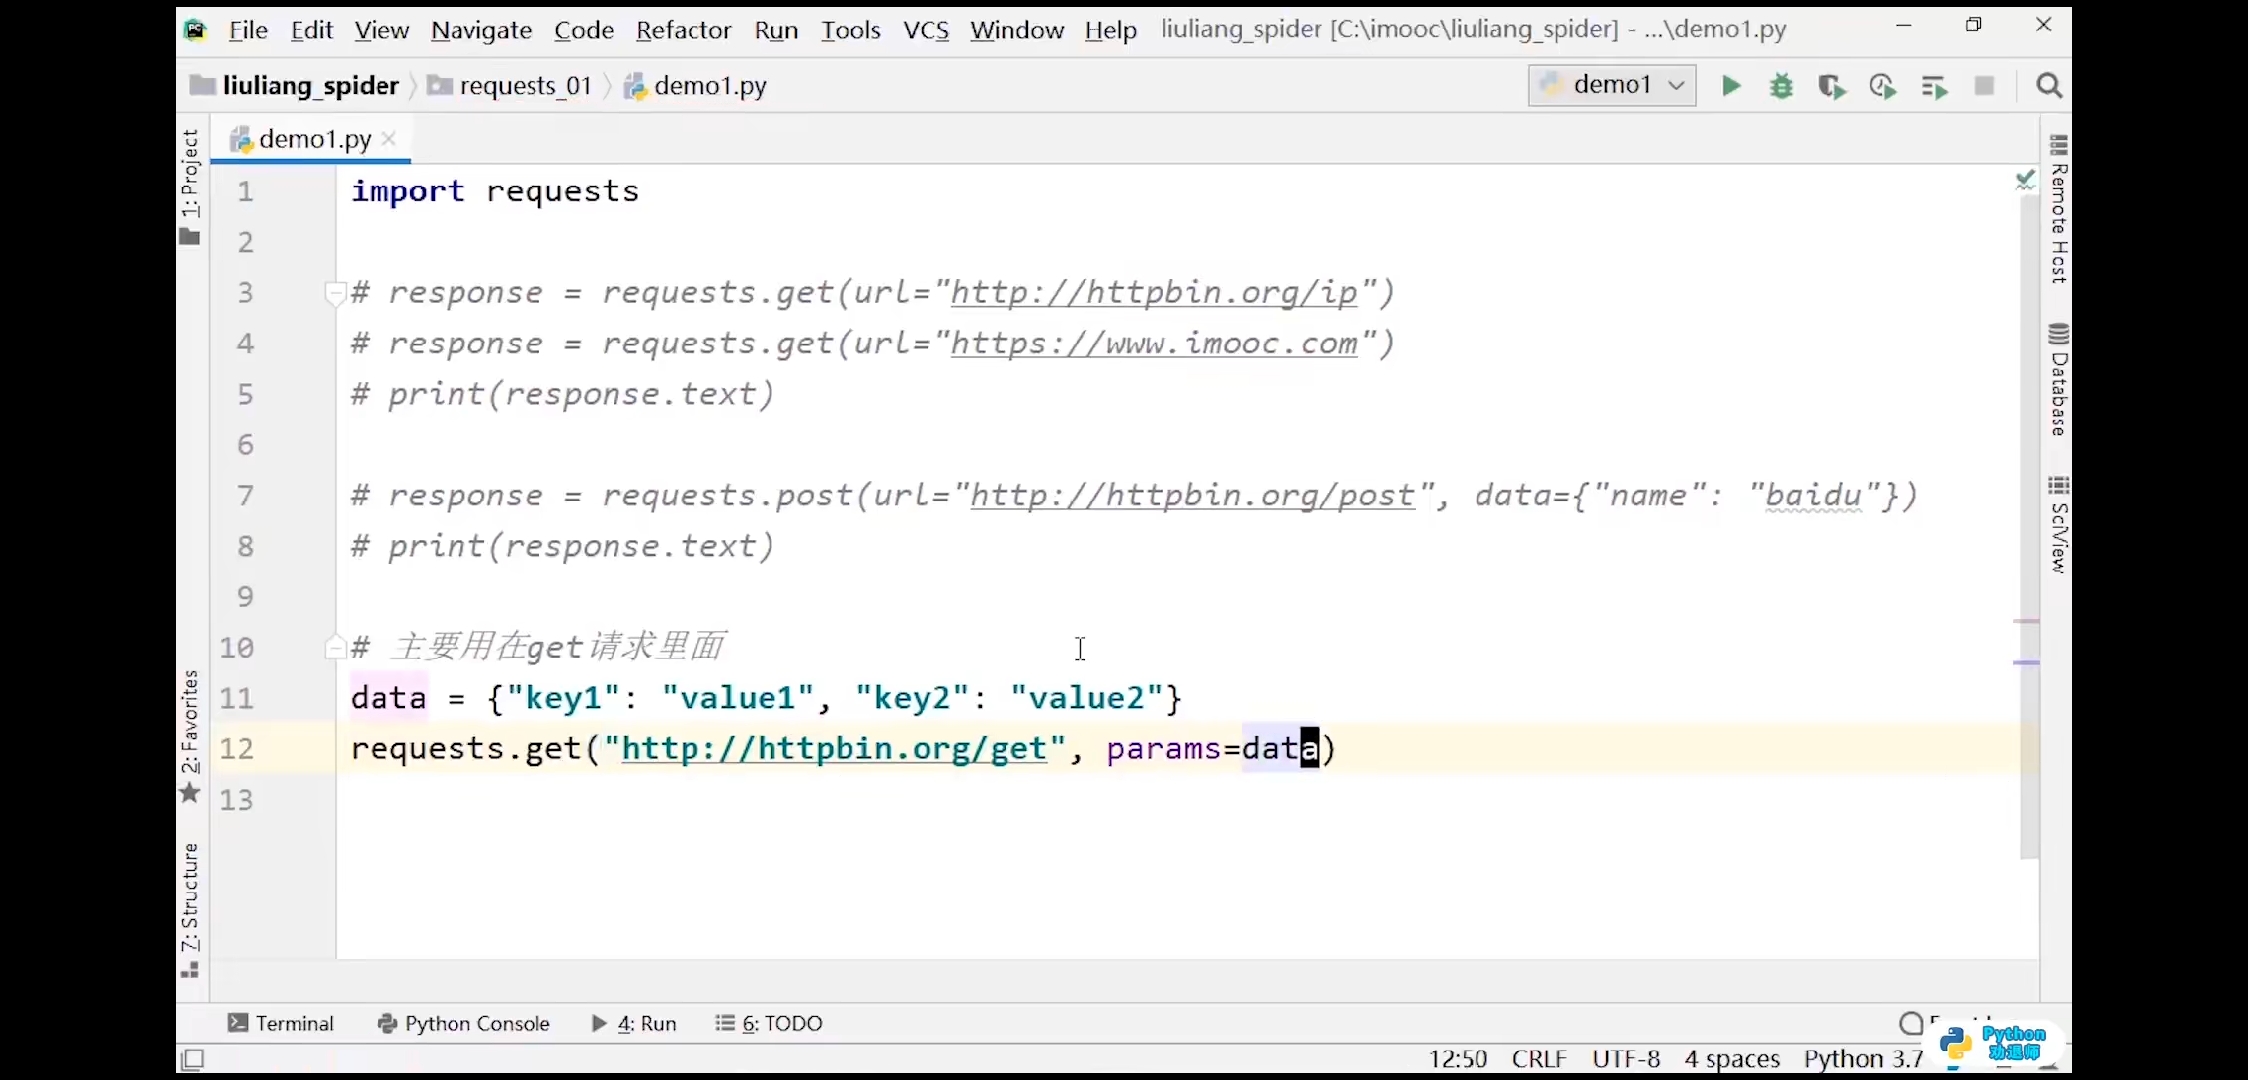
url构造方法
import requests# 主要用在get请求里data = {'key1':'value1','key2':'value2'}response = requests.get(url='http://httpbin.org/get',params=data)# 查看当前请求的url是谁print(response.url)# 输出结果:http://httpbin.org/get?key1=value1&key2=value2print(response.headers)# 输出结果:{'Date': 'Thu, 03 Jun 2021 03:40:25 GMT', 'Content-Type': 'application/json', 'Content-Length': '377', 'Connection': 'keep-alive', 'Server': 'gunicorn/19.9.0', 'Access-Control-Allow-Origin': '*', 'Access-Control-Allow-Credentials': 'true'}


响应图片
import requestsurl = 'https://www.imooc.com/static/img/index/logo2020.png'response = requests.get(url)# 查看图片的二进制数据print(response.content)with open('imooc.png','wb') as f:# 写入图片数据f.write(response.content)


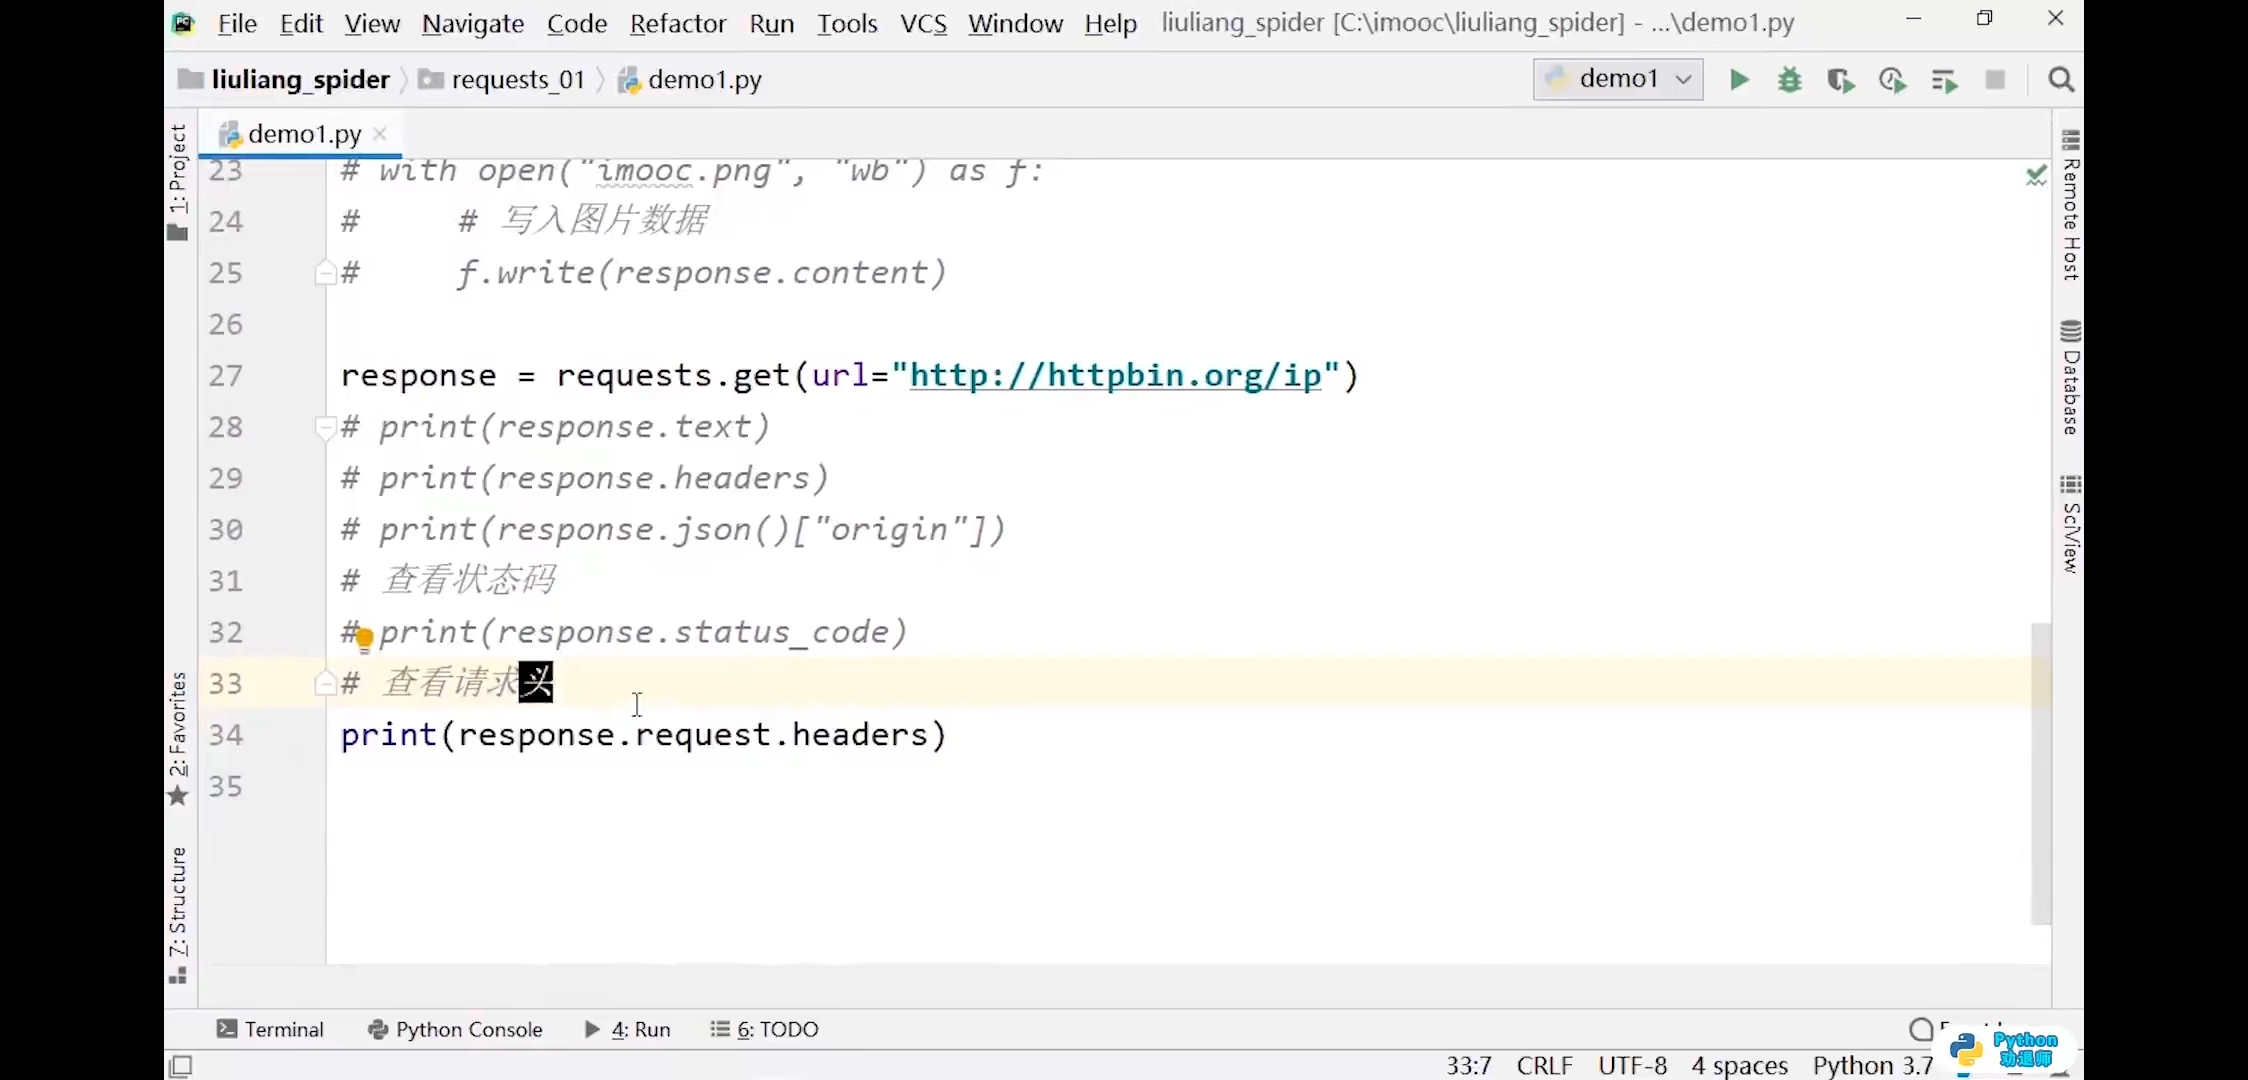
请求的内容
- response.url
- response.status_code
- response.text
- response.content
- response.content.decode()
- response.content.decode(“gbk”)
- response.headers
- response.json()
- response.request.headers
- response.cookies
请求代码练习1
```python import requests
response = requests.get(url=’http://httpbin.org/ip‘) print(response.content)
输出结果:b’{\n “origin”: “211.142.27.39”\n}\n’
print(response.text)
输出结果:
{
“origin”: “211.142.27.39”
}
print(type(response.text))
print(response.json())
输出结果:{‘origin’: ‘211.142.27.39’}
print(response.json()[‘origin’])
输出结果:211.142.27.39
查看请求头
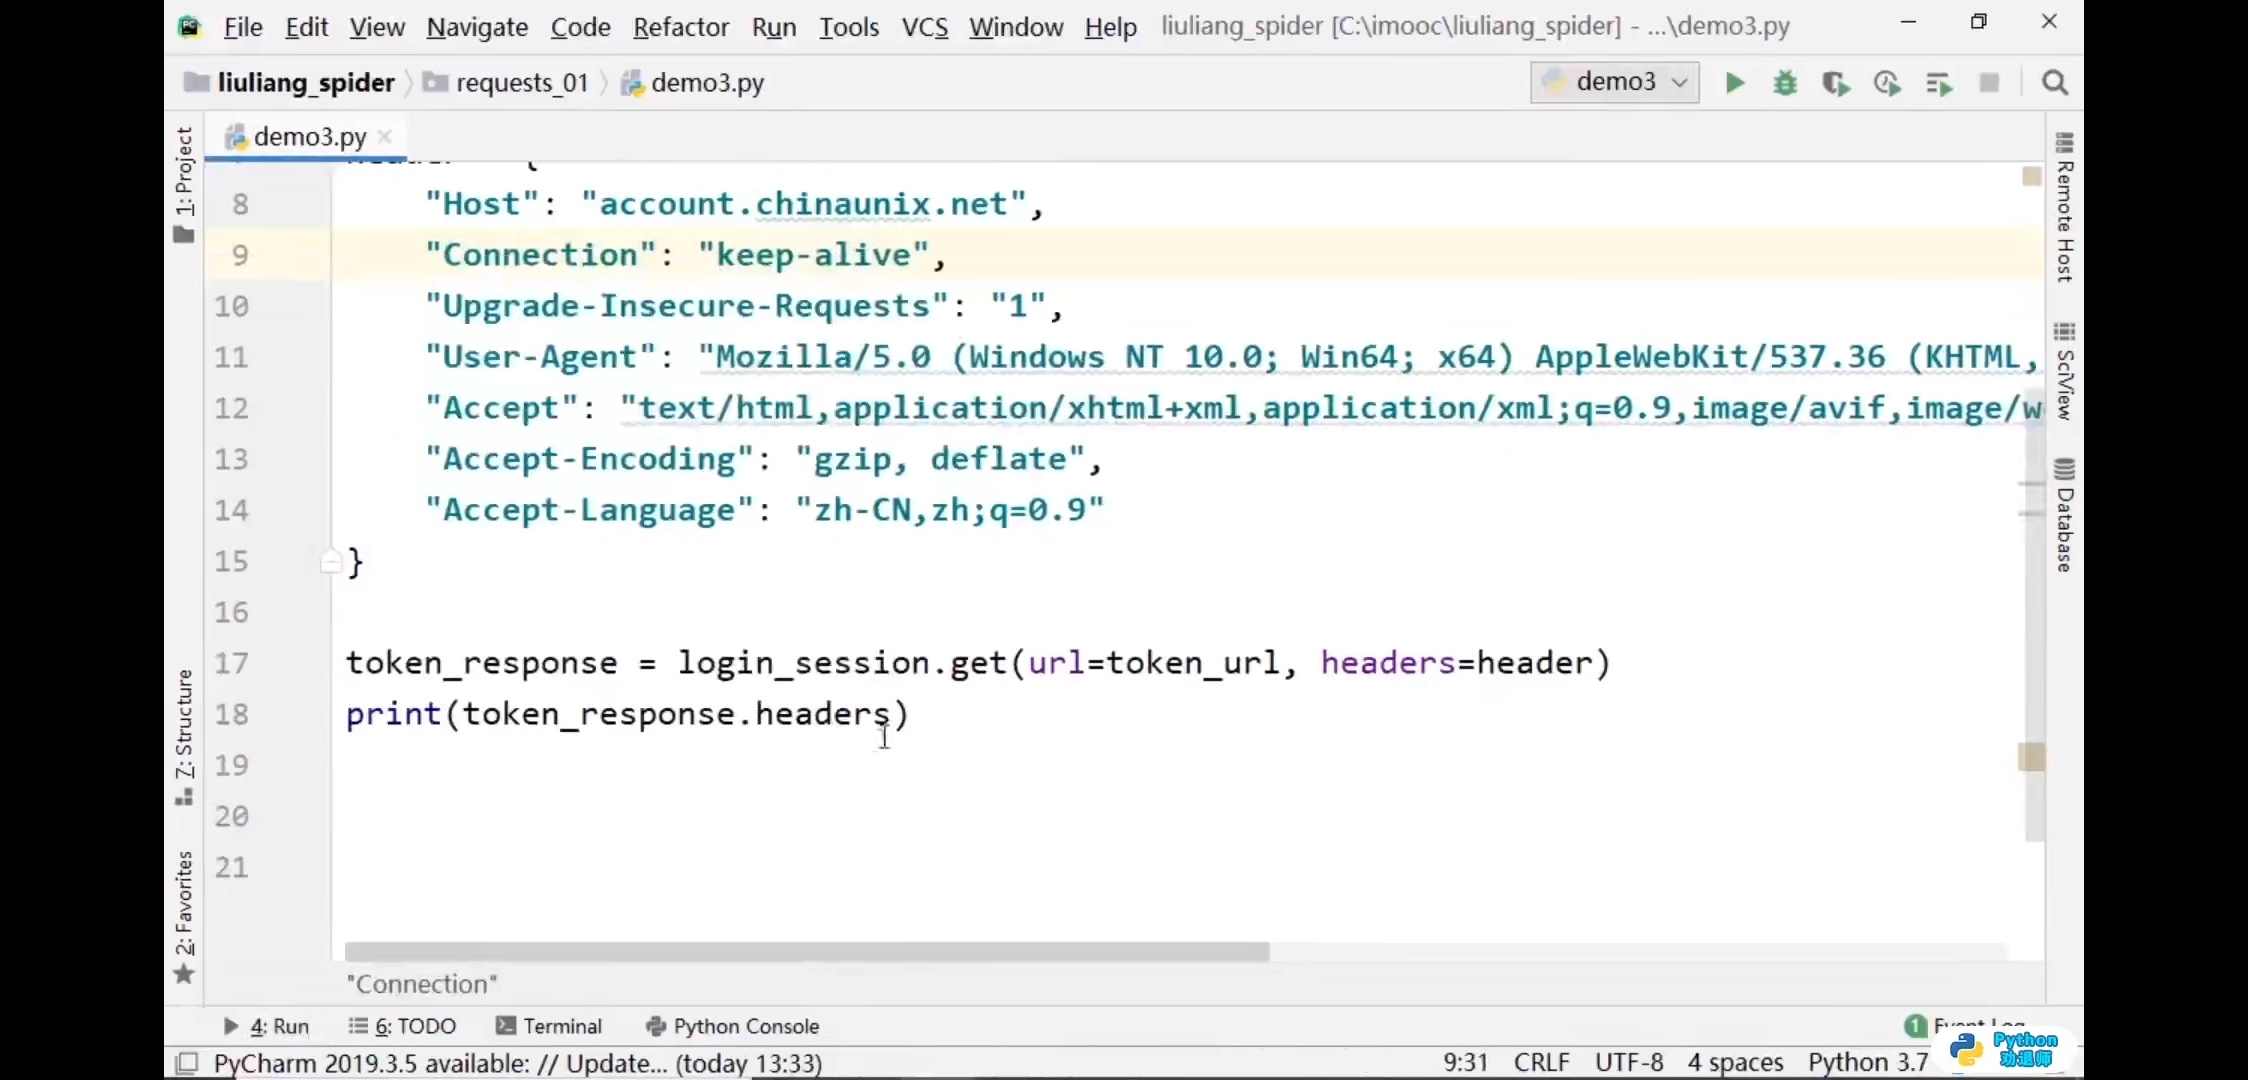
print(response.request.headers)
输出结果:
{‘User-Agent’: ‘python-requests/2.25.0’, ‘Accept-Encoding’: ‘gzip, deflate’, ‘Accept’: ‘/‘, ‘Connection’: ‘keep-alive’}
print(type(response.request.headers))
输出结果:
print(response.cookies)
输出结果:
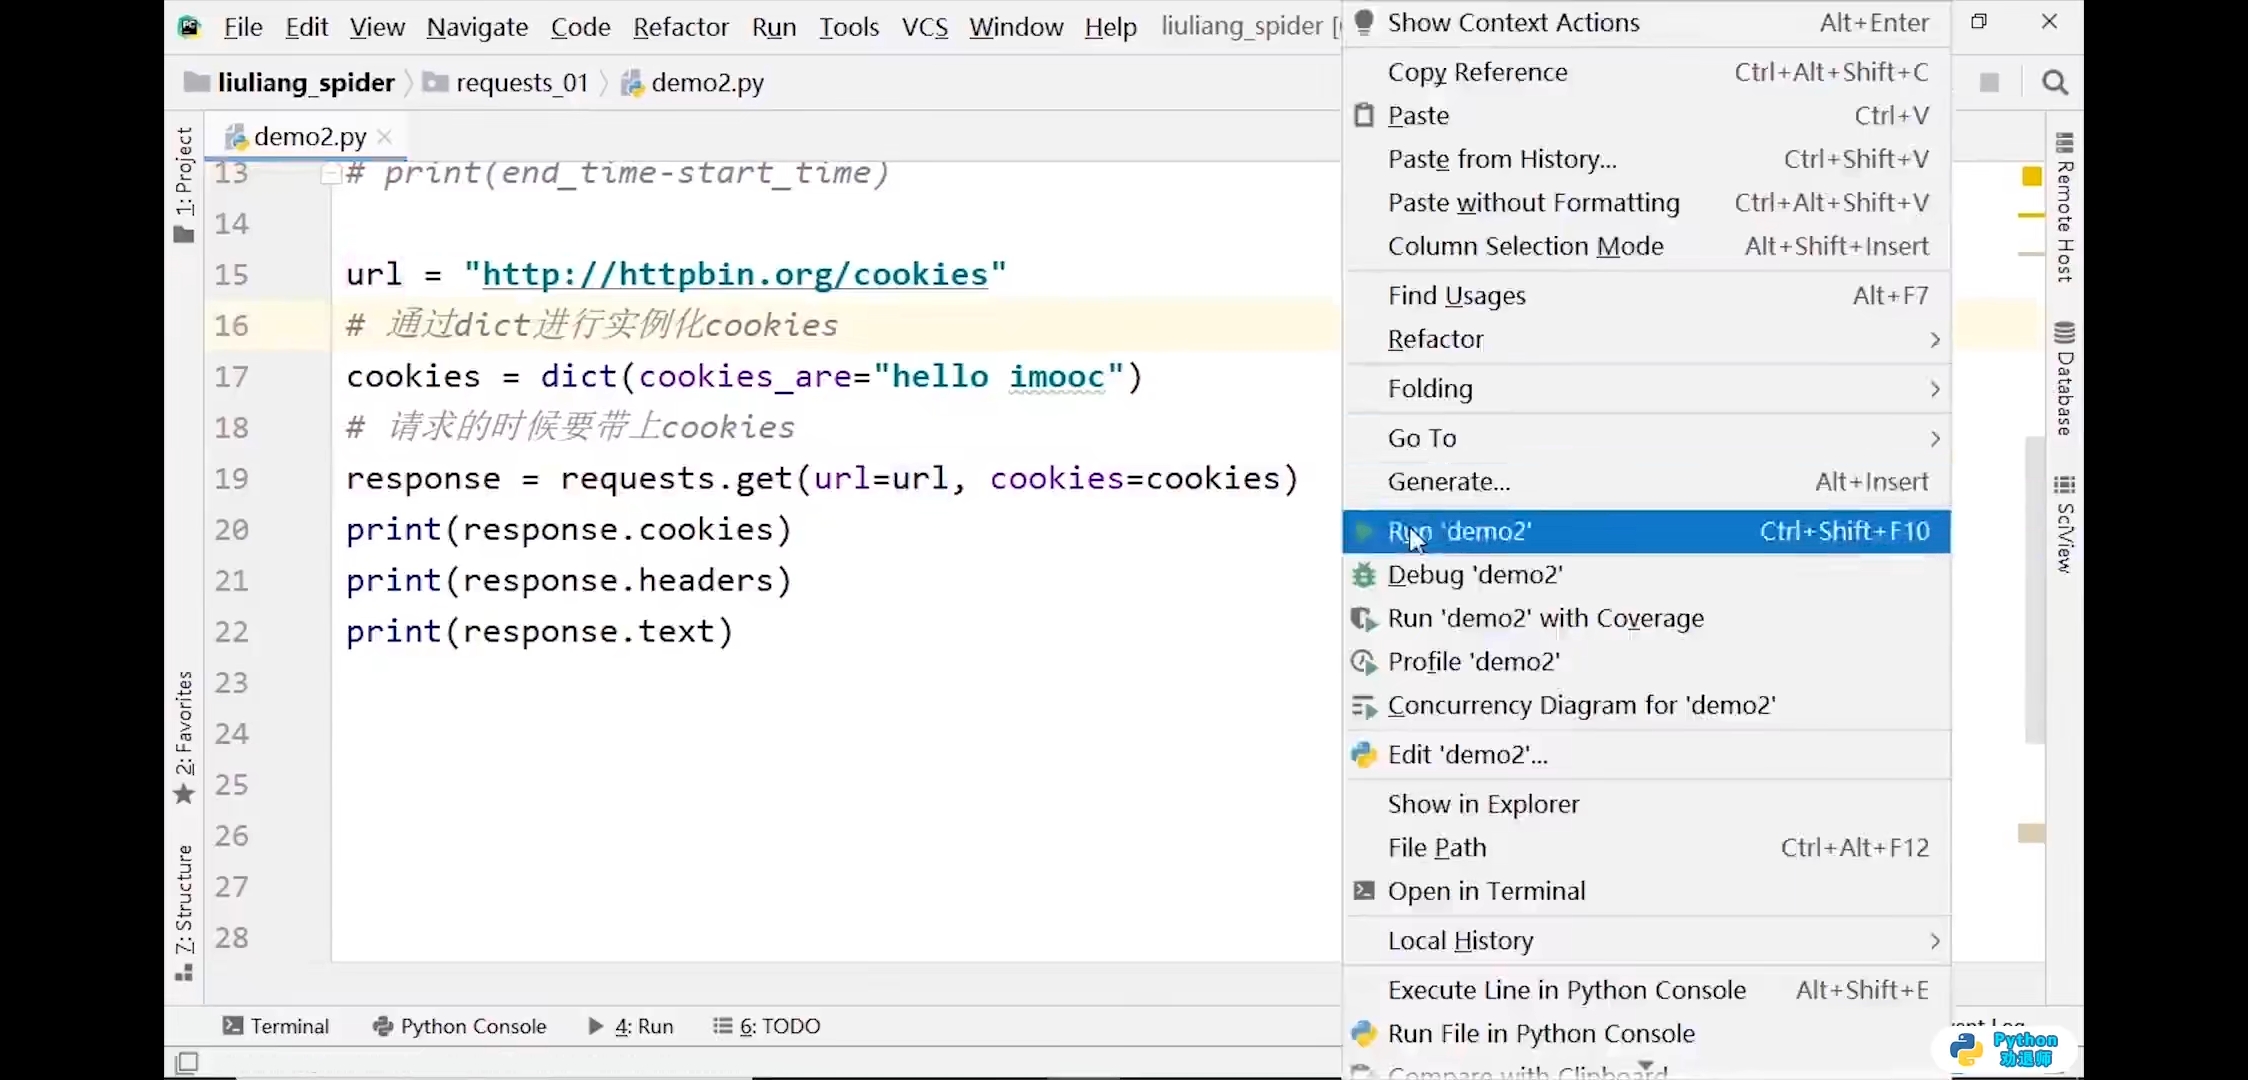
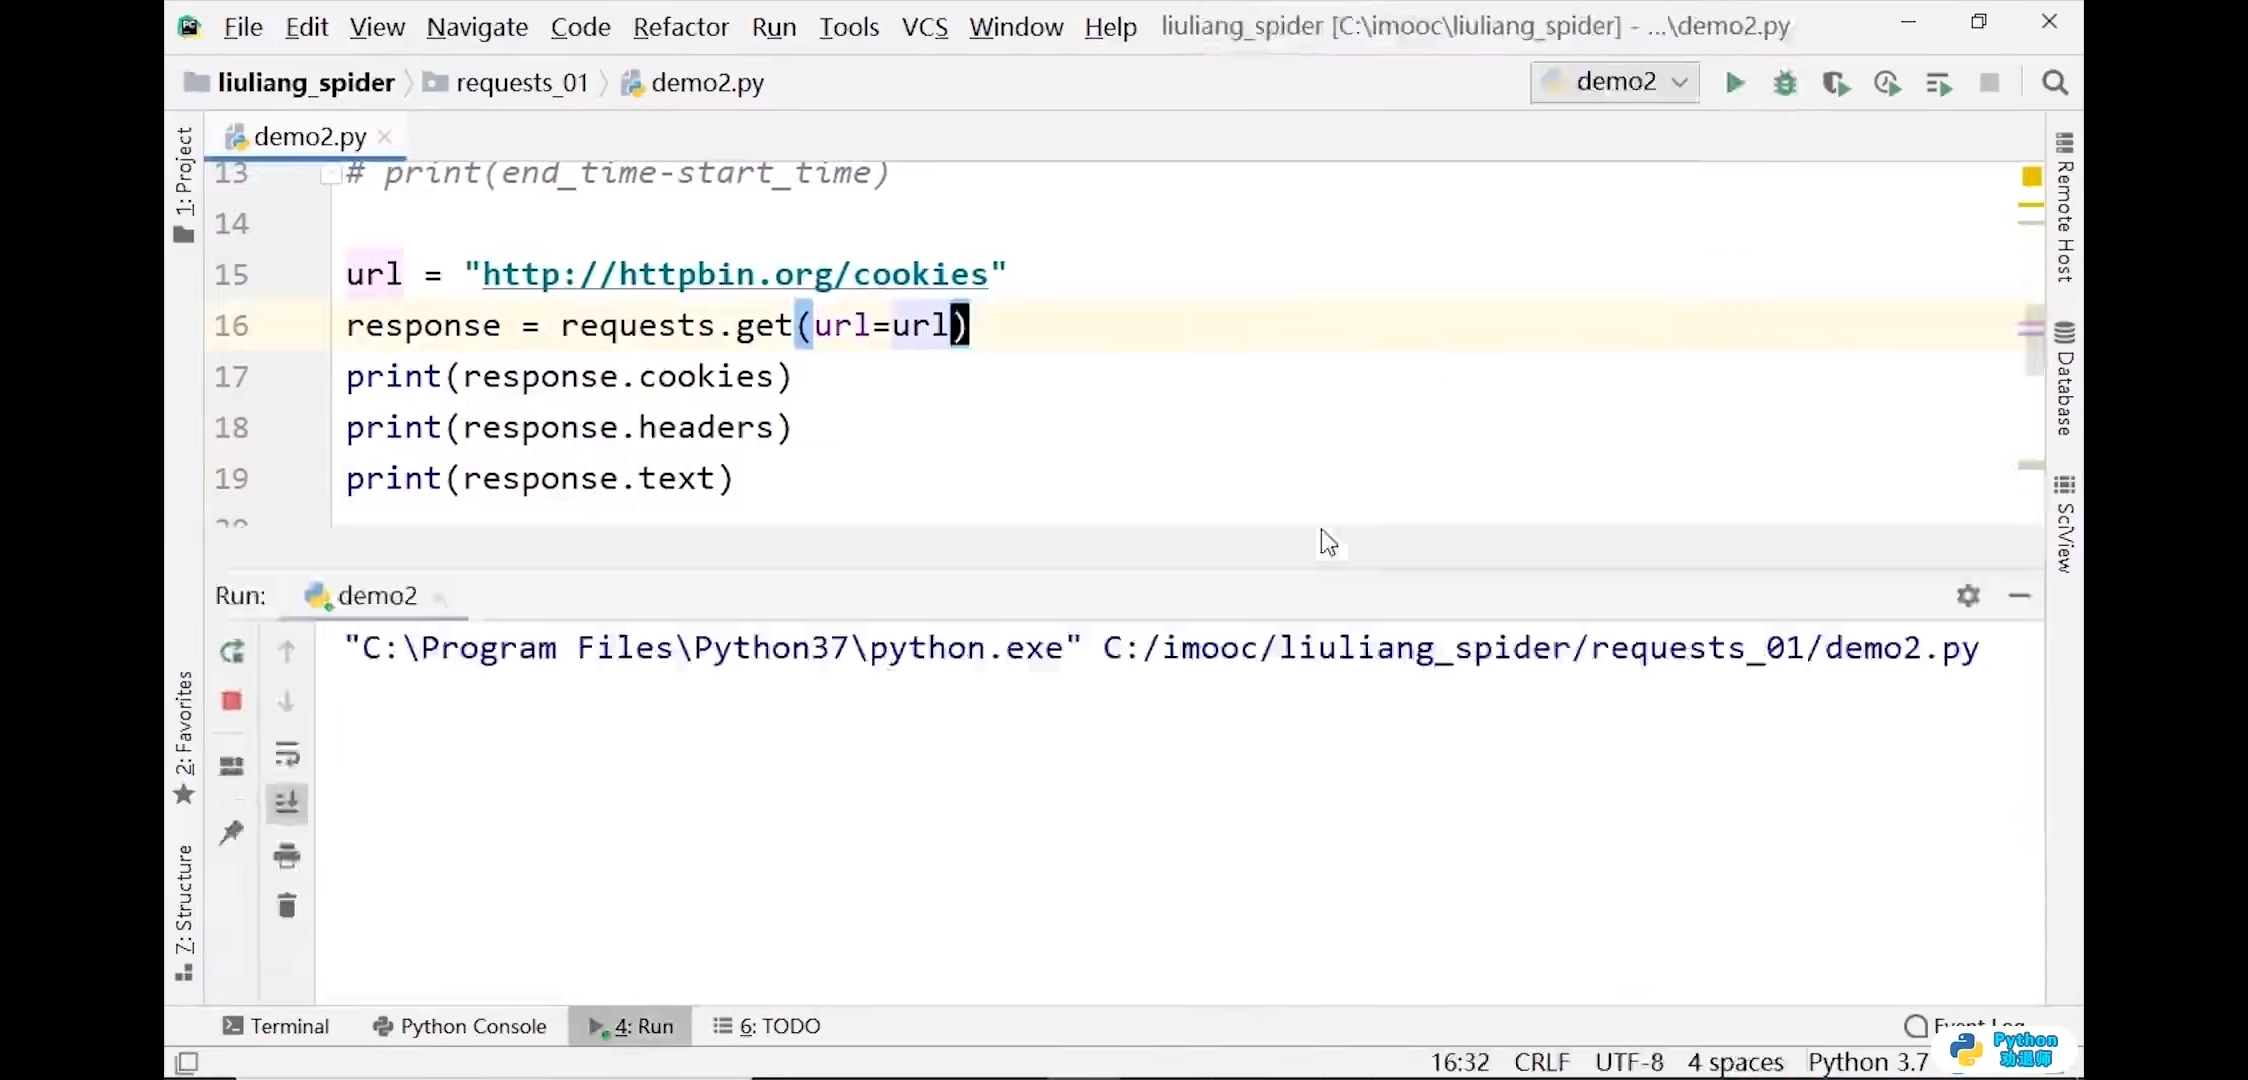
<a name="iCpcs"></a>## cookies```pythonimport requestsurl = 'http://httpbin.org/cookies'response = requests.get(url)print(response.text)# 输出结果:# {# "cookies": {}# }# 通过dict进行实例化cookiescookies = dict(cookies_are='hello imooc')# 请求的时候要带上cookiesresponse = requests.get(url,cookies=cookies)print(response.text)# 输出结果:# {# "cookies": {# "cookies_are": "hello imooc"# }# }
4.requests模块进阶
查看cookies
import requests# 查看cookiesurl = 'http://www.baidu.com'response = requests.get(url)print(response.headers)# 输出结果:# {'Cache-Control': 'private, no-cache, no-store, proxy-revalidate, no-transform', 'Connection': 'keep-alive', 'Content-Encoding': 'gzip', 'Content-Type': 'text/html', 'Date': 'Thu, 03 Jun 2021 03:59:48 GMT', 'Last-Modified': 'Mon, 23 Jan 2017 13:27:36 GMT', 'Pragma': 'no-cache', 'Server': 'bfe/1.0.8.18', 'Set-Cookie': 'BDORZ=27315; max-age=86400; domain=.baidu.com; path=/', 'Transfer-Encoding': 'chunked'}print(response.cookies)# 输出结果:<RequestsCookieJar[<Cookie BDORZ=27315 for .baidu.com/>]>print(response.cookies['BDORZ'])# 输出结果:27315

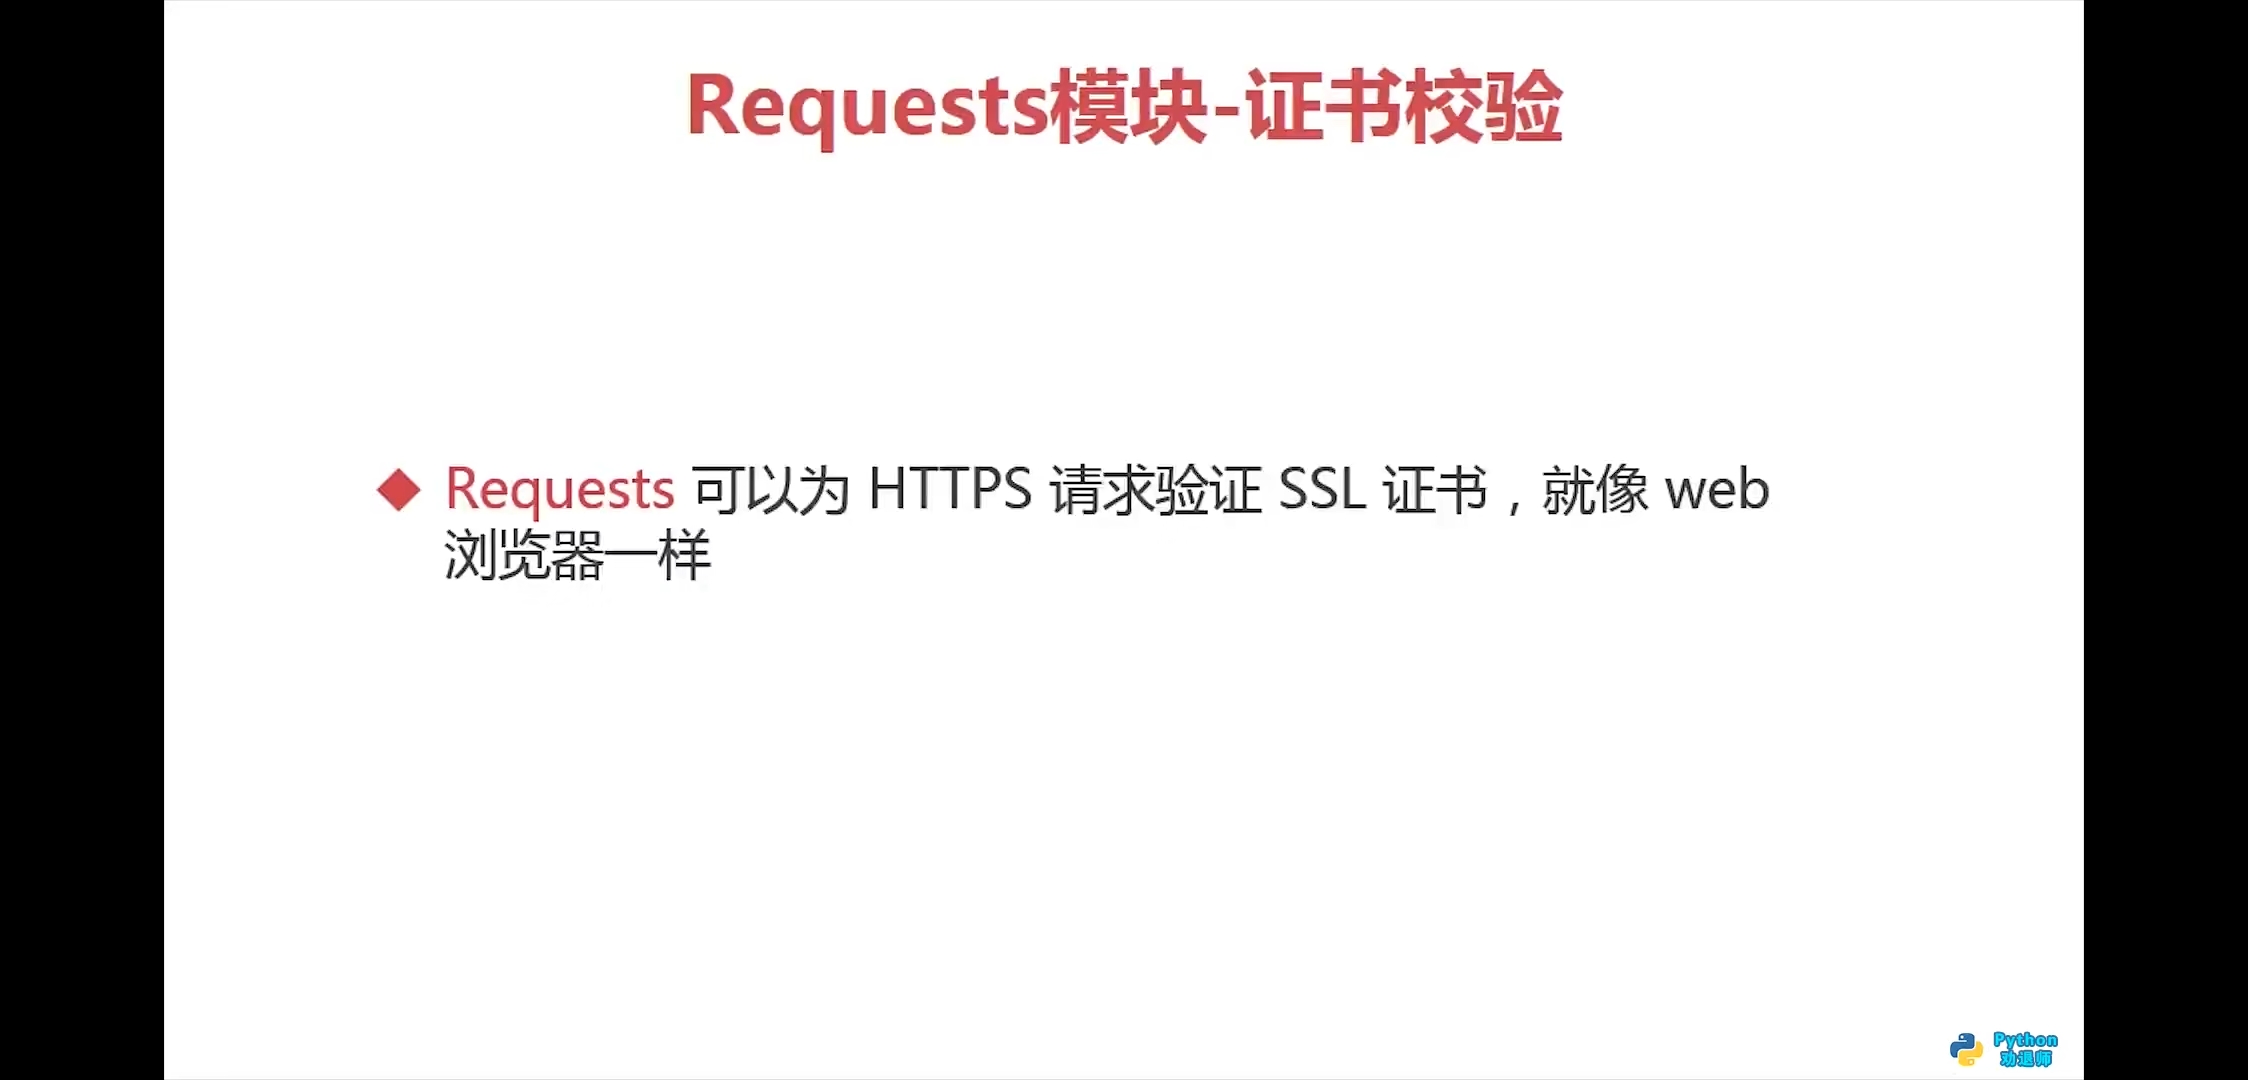
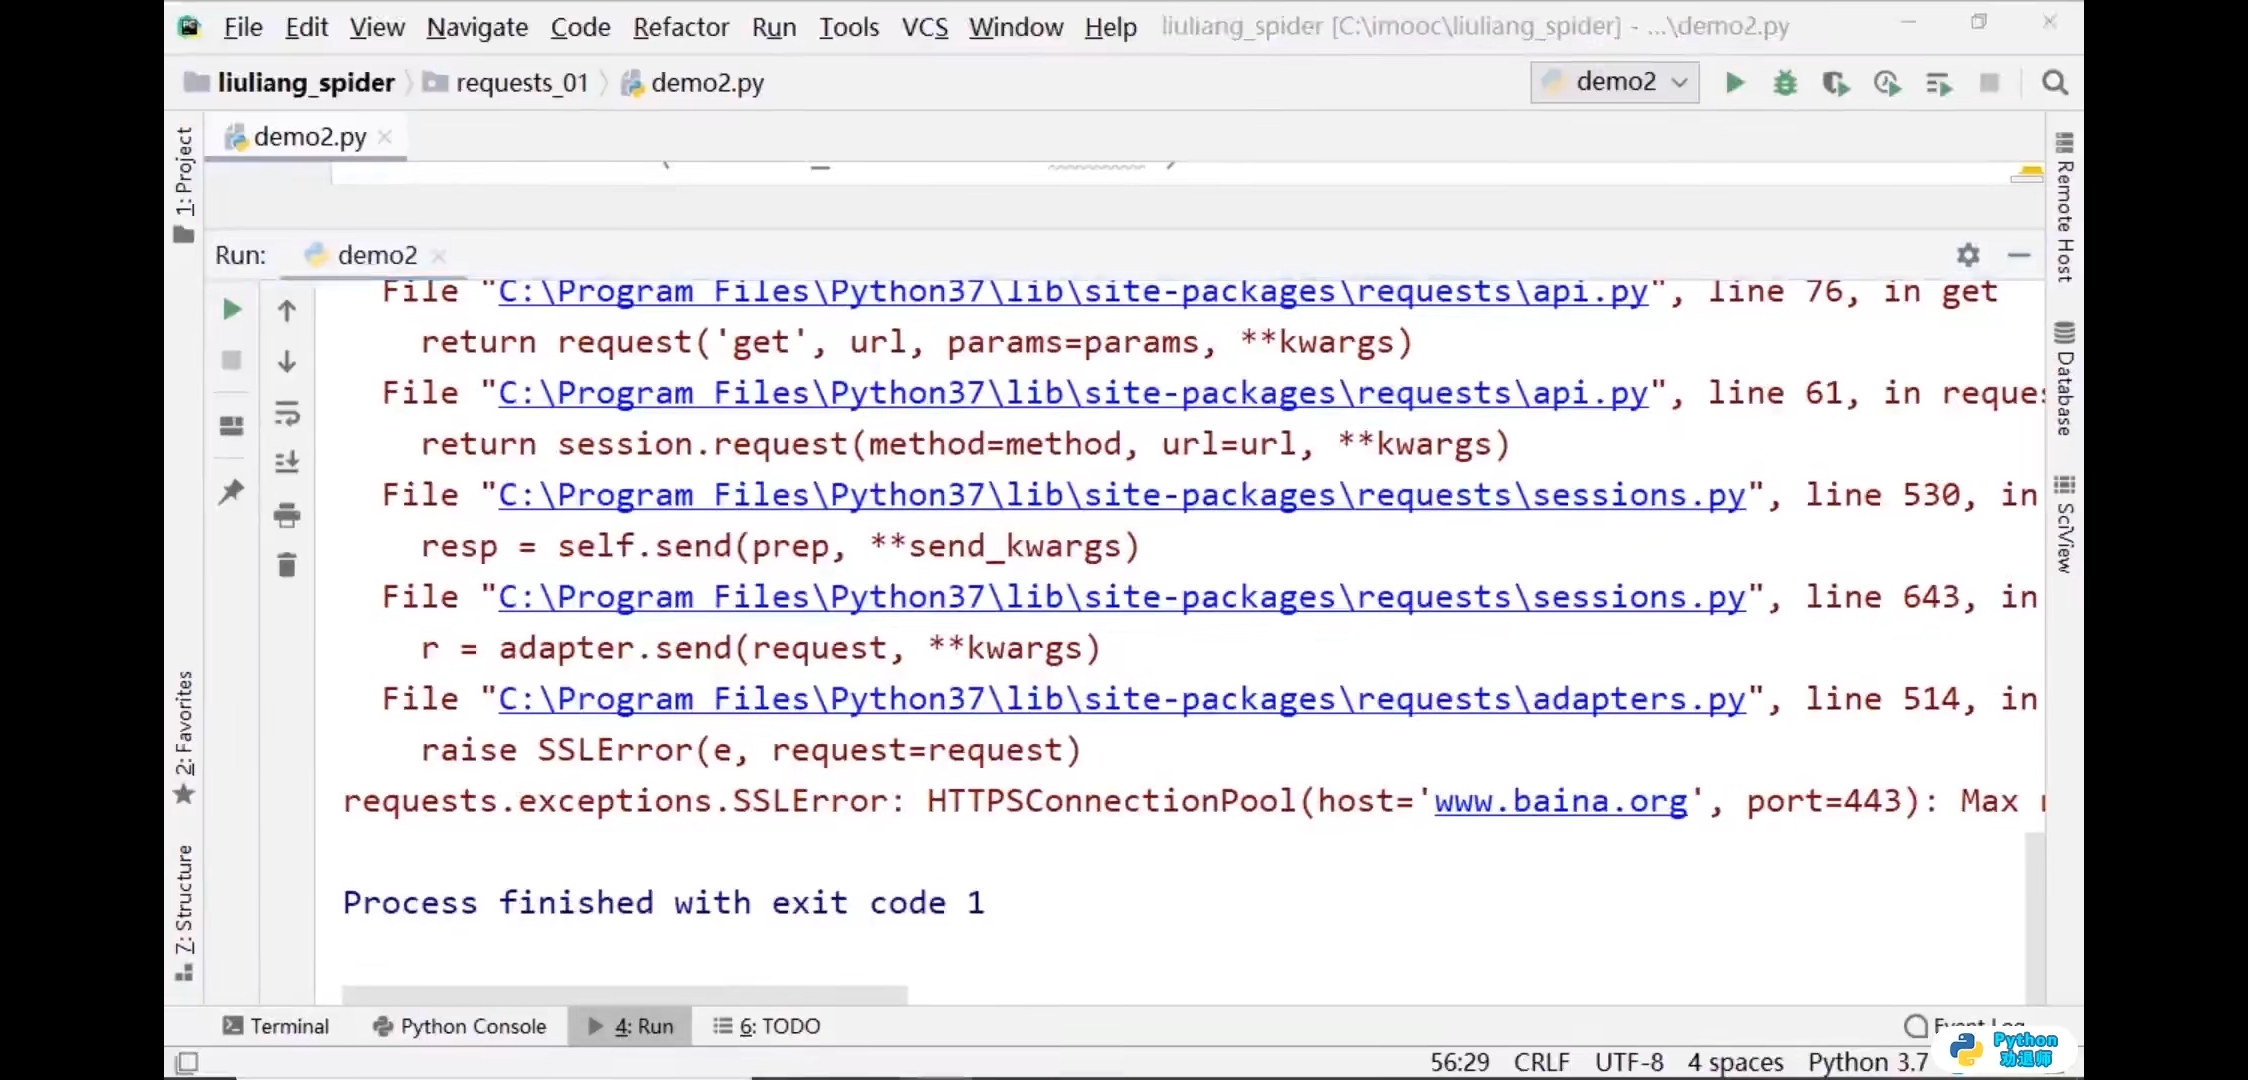
证书校验
import requests# 关闭SSL校验response = requests.get(url='http://www.baidu.com',verify=False)print(response.text)


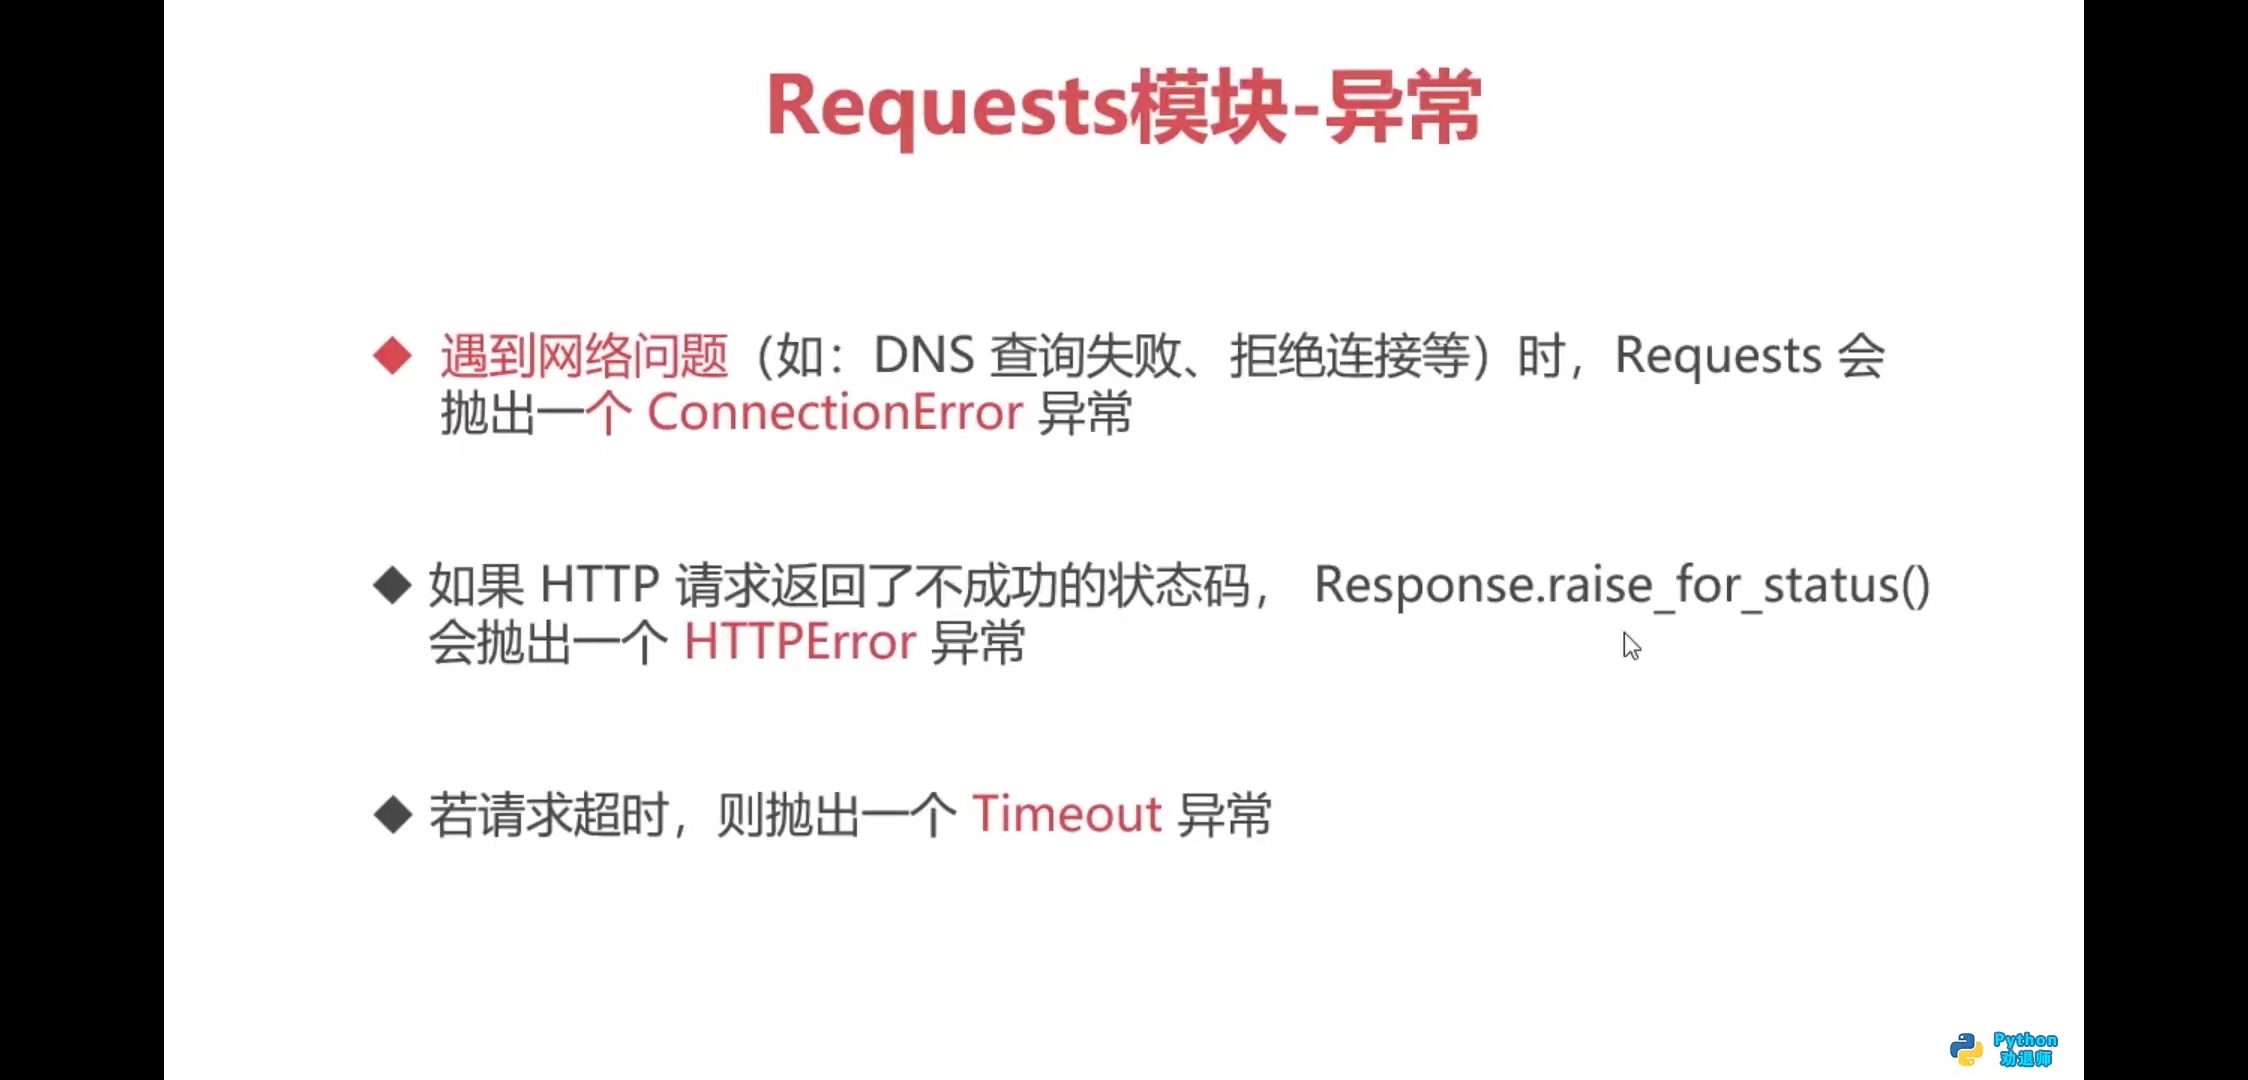
异常
import requests# 超时参数timeoutstart_time = time.time()# 一般设置为2-3秒response = requests.get(url='https://www.imooc.com/',timeout=2)print(response.text)end_time = time.time()print(end_time-start_time)

import requestsurl = 'http://www.baidu.com'response = requests.get(url)print(response.status_code)print(response.text) # 输出内容有乱码print(response.content.decode())print(type(response.content.decode())) # 输出为"str"html_str = response.content.decode()print(type(html_str))with open('baidu.html','w',encoding='utf-8') as f:f.write(response.content.decode())print(response.url)print(response.headers)print(response.content)print(type(response.content)) # 二进制数据print(response.json())print(response.request.headers)
cookies
学习网址
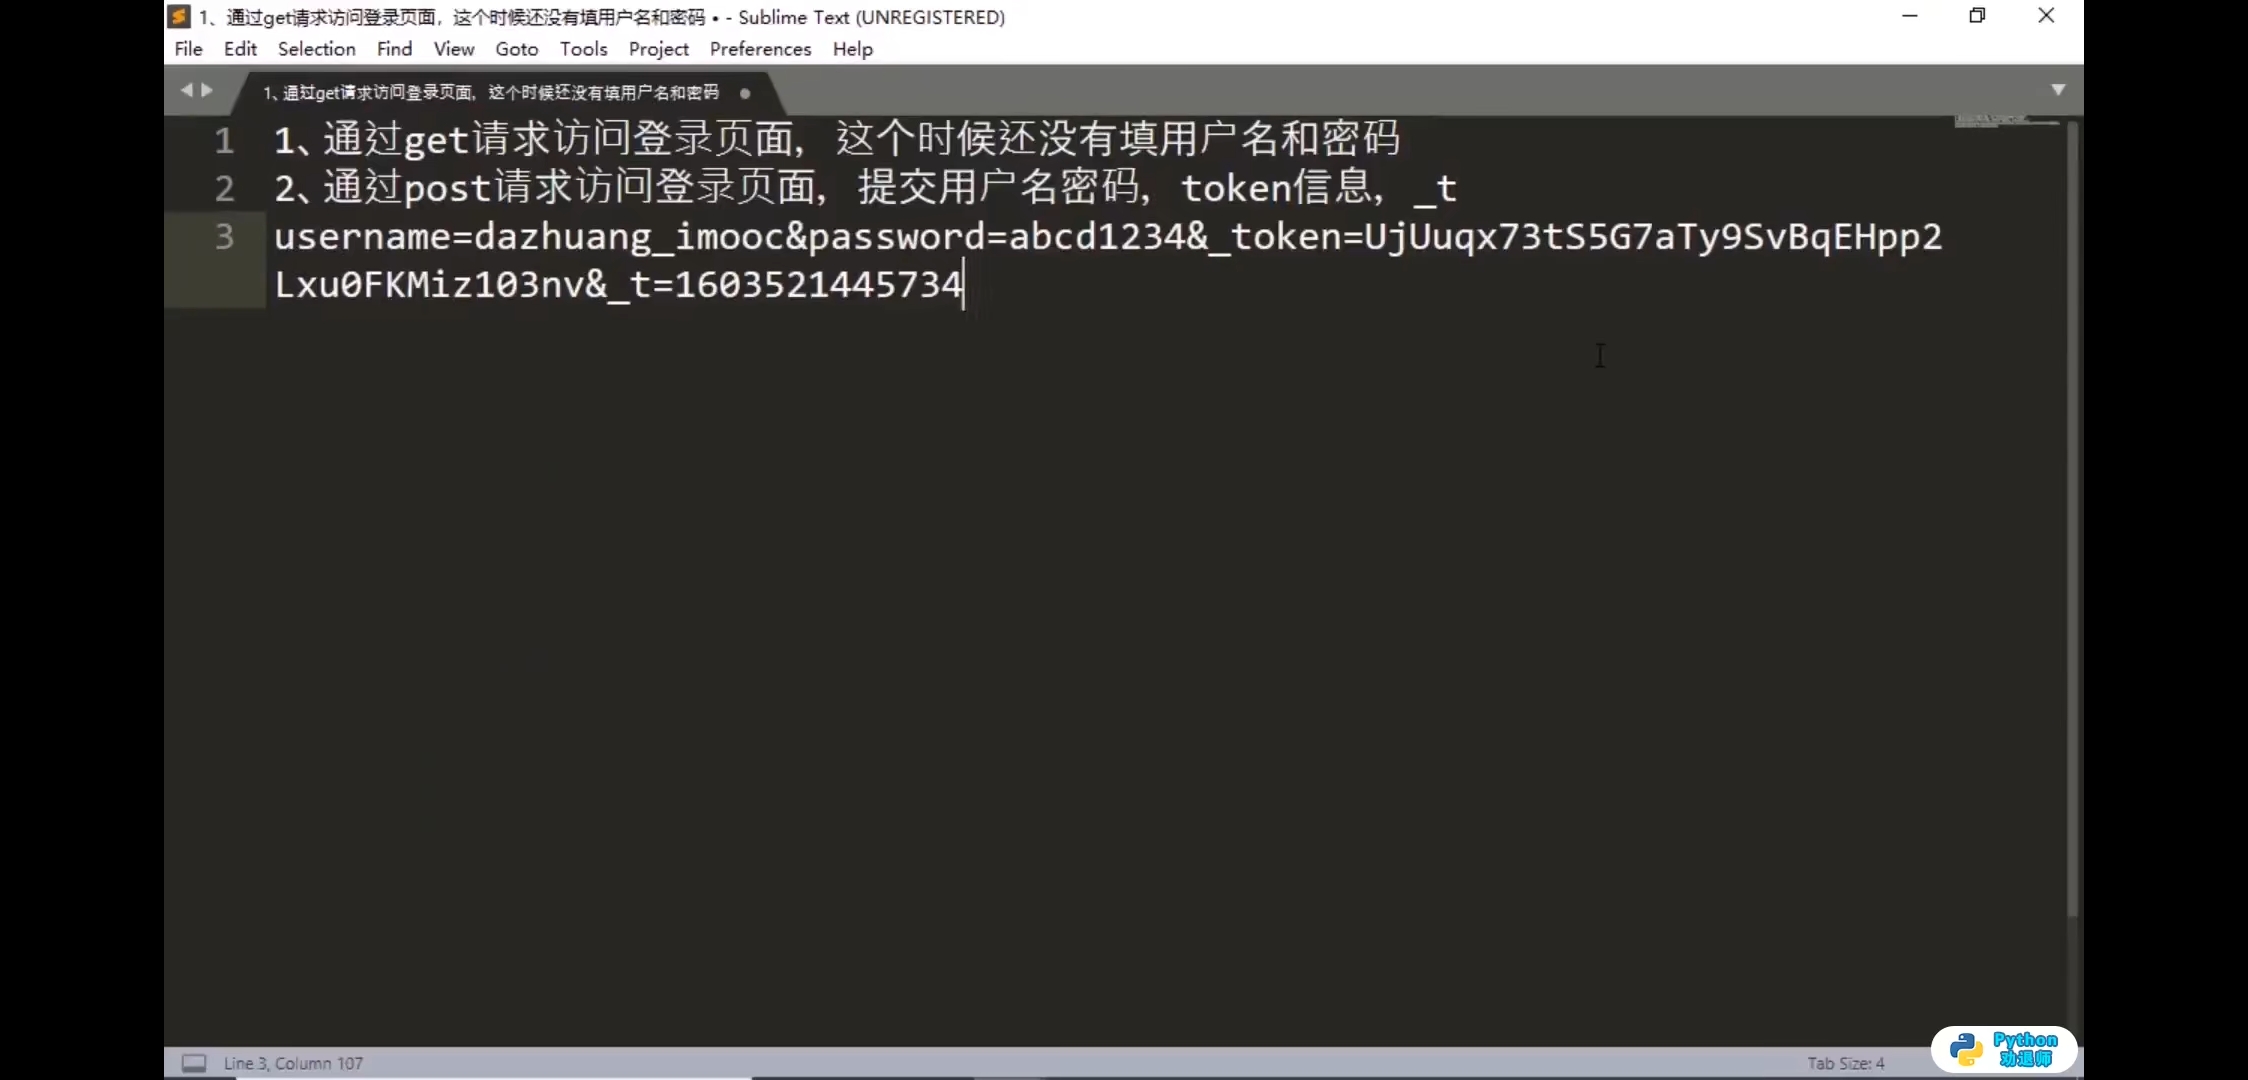
http://account.chinaunix.net/login
第一步,更多工具—>清除浏览数据
在线工具
时间戳转换:https://tool.lu/timestamp/
时间戳:1603521445734 后3位删掉进行转换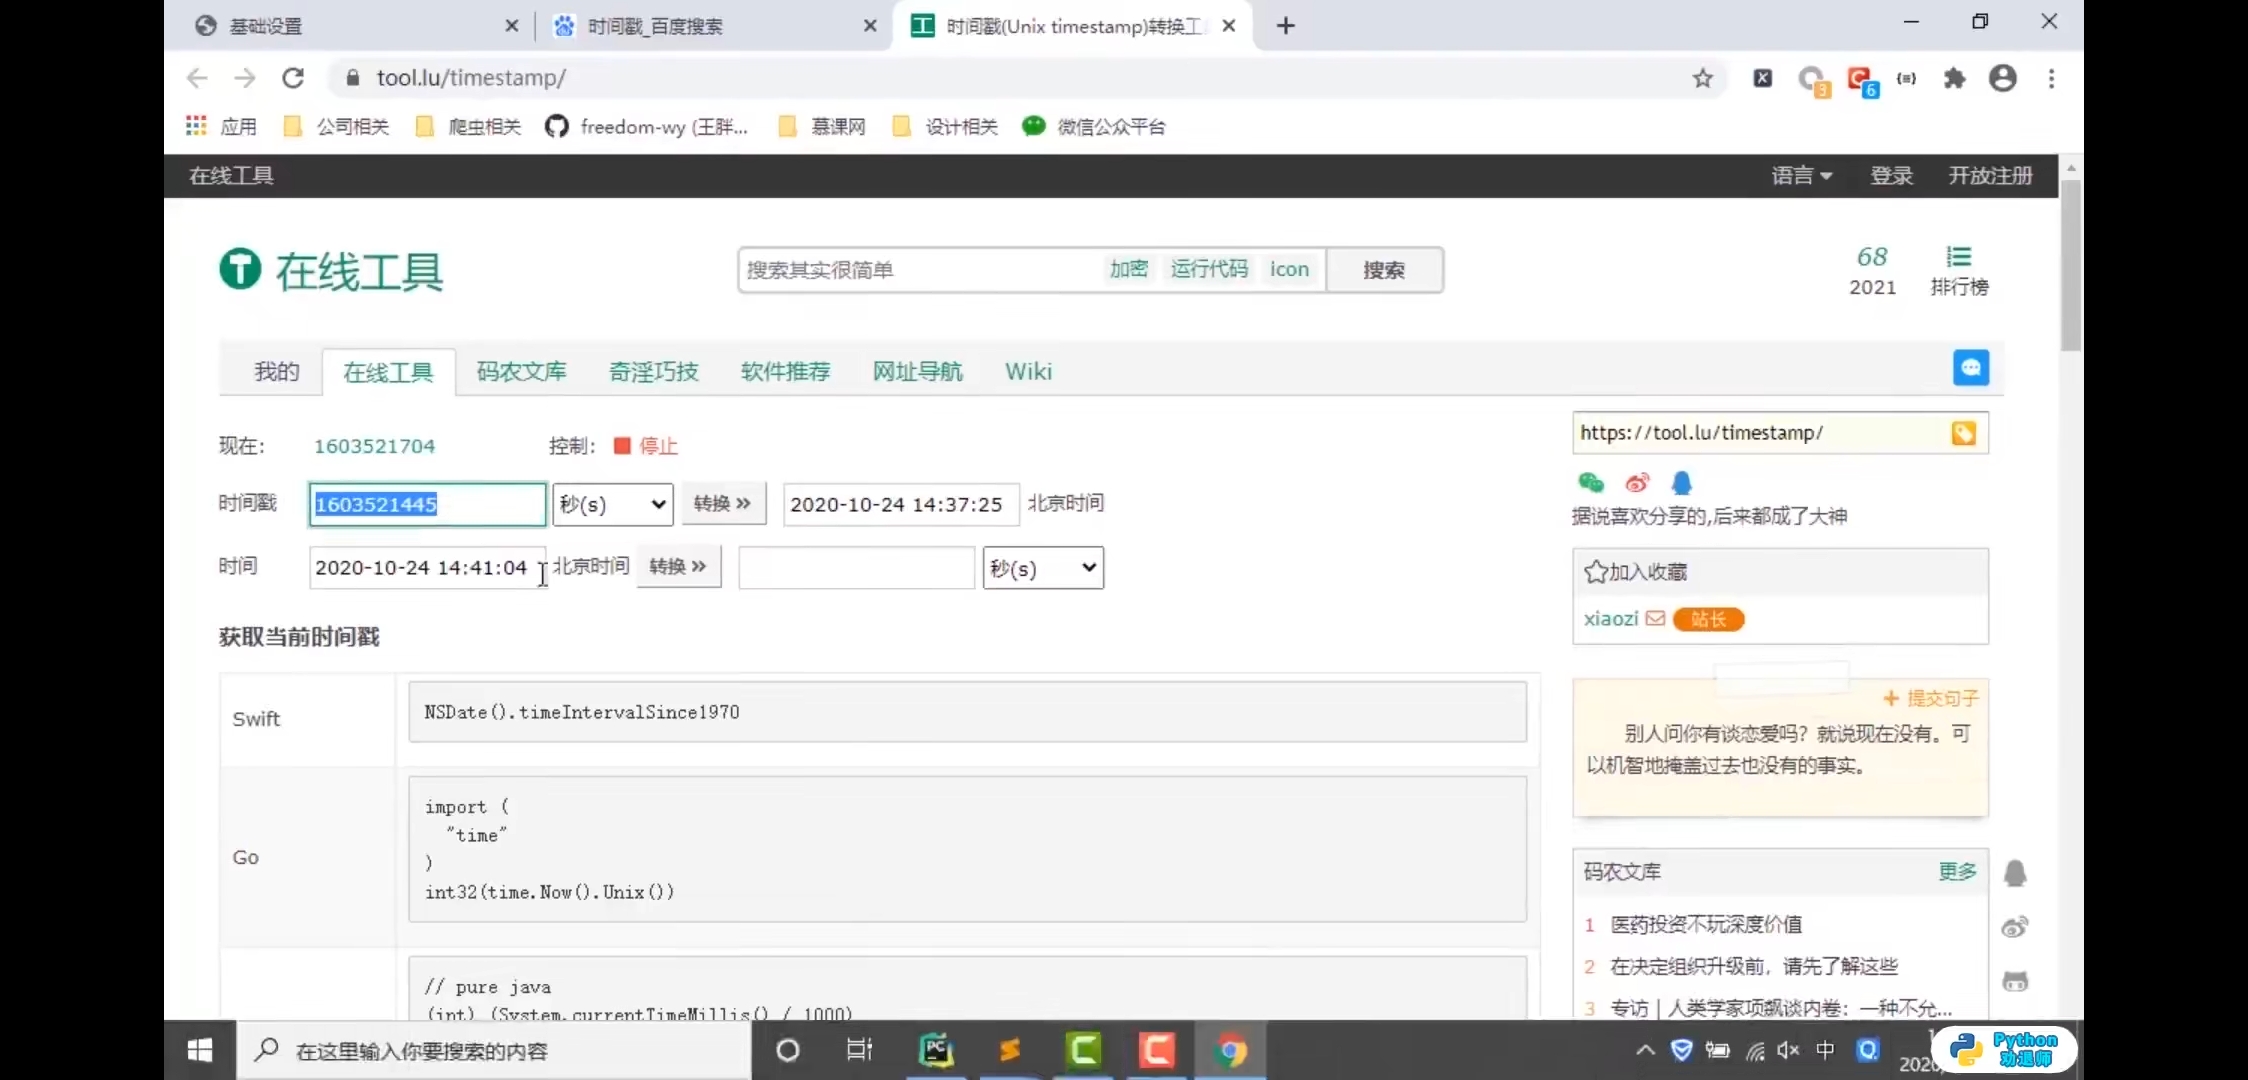
set-cookies


代码练习


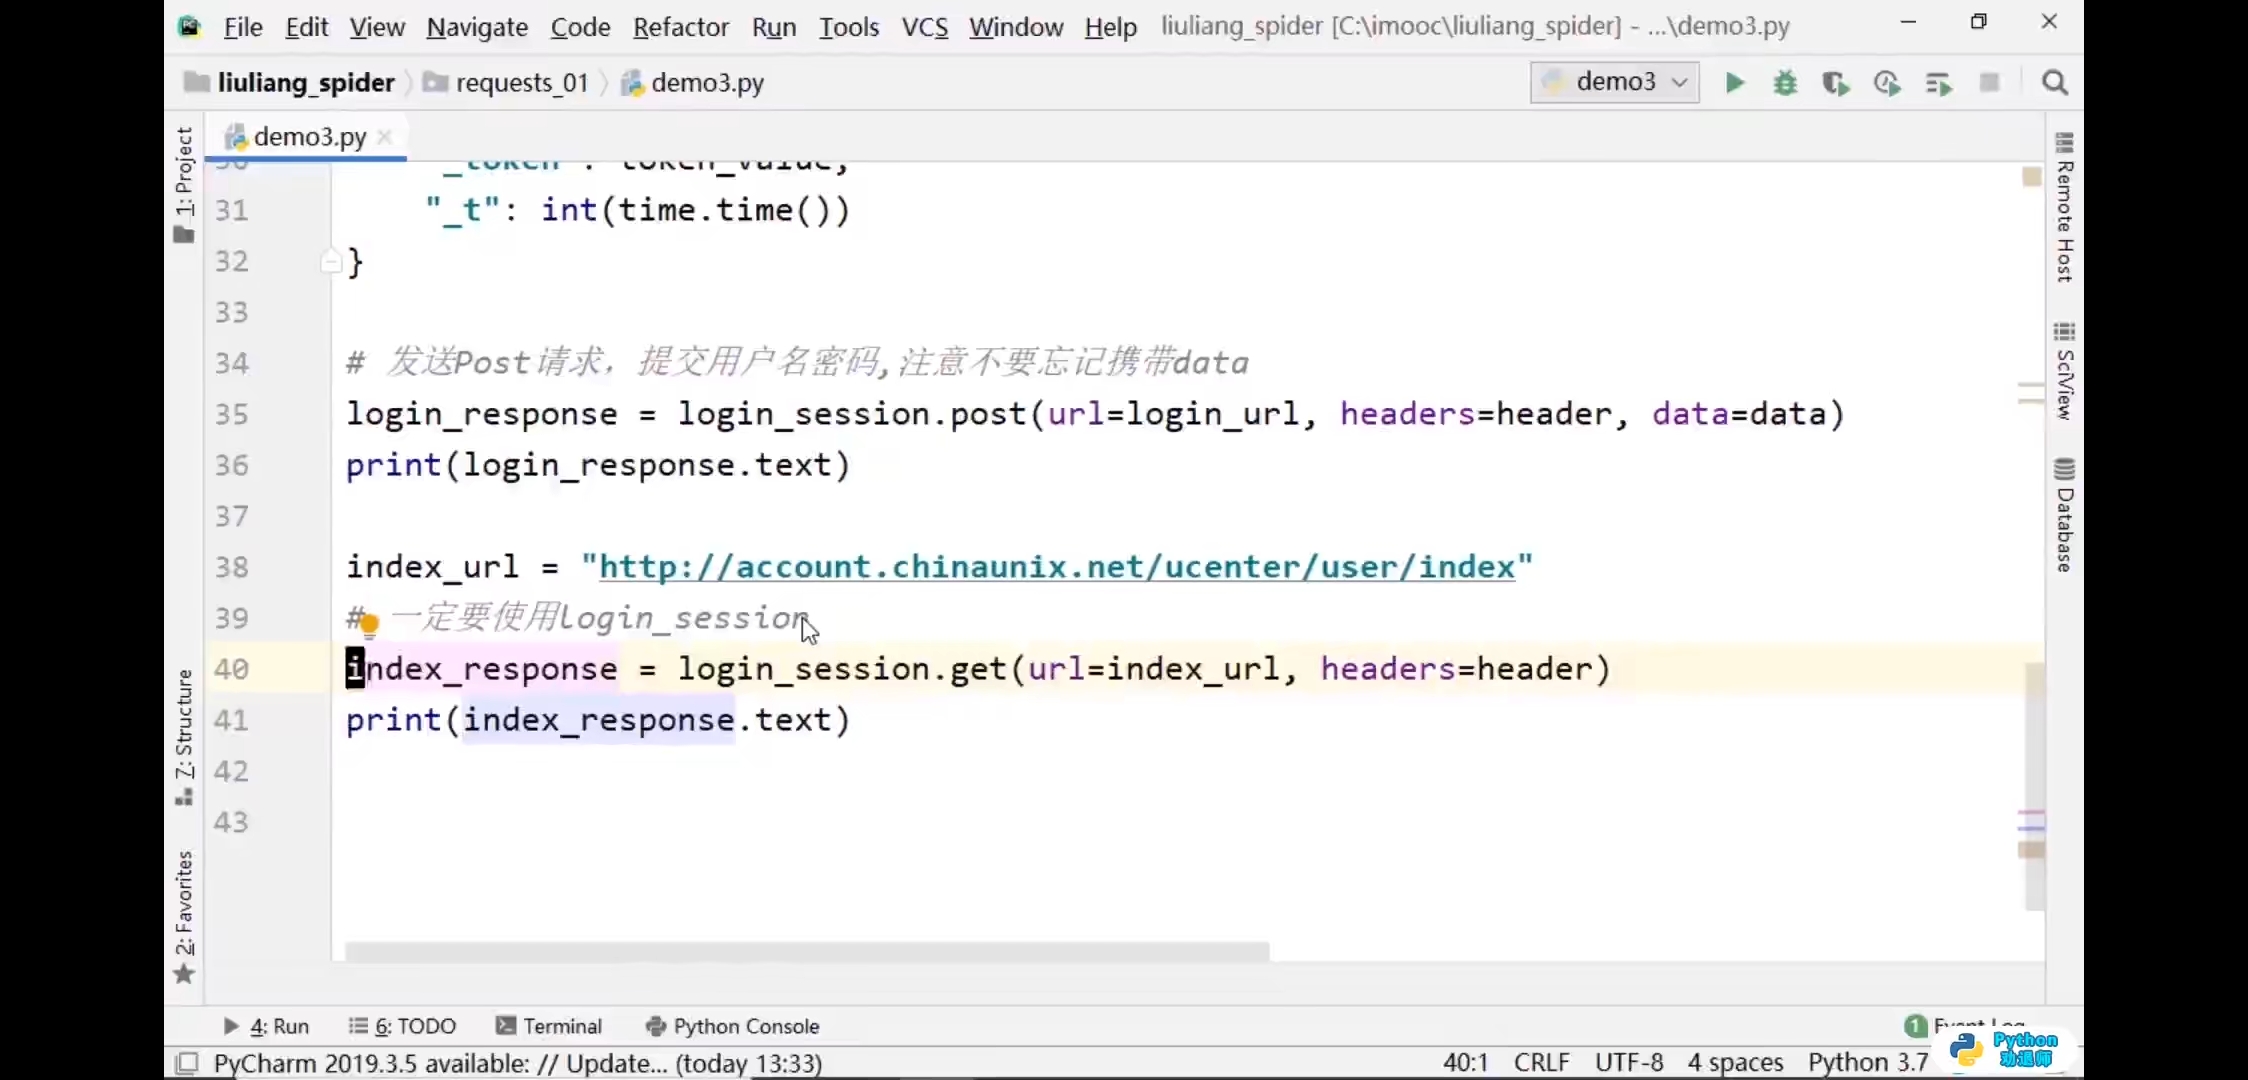
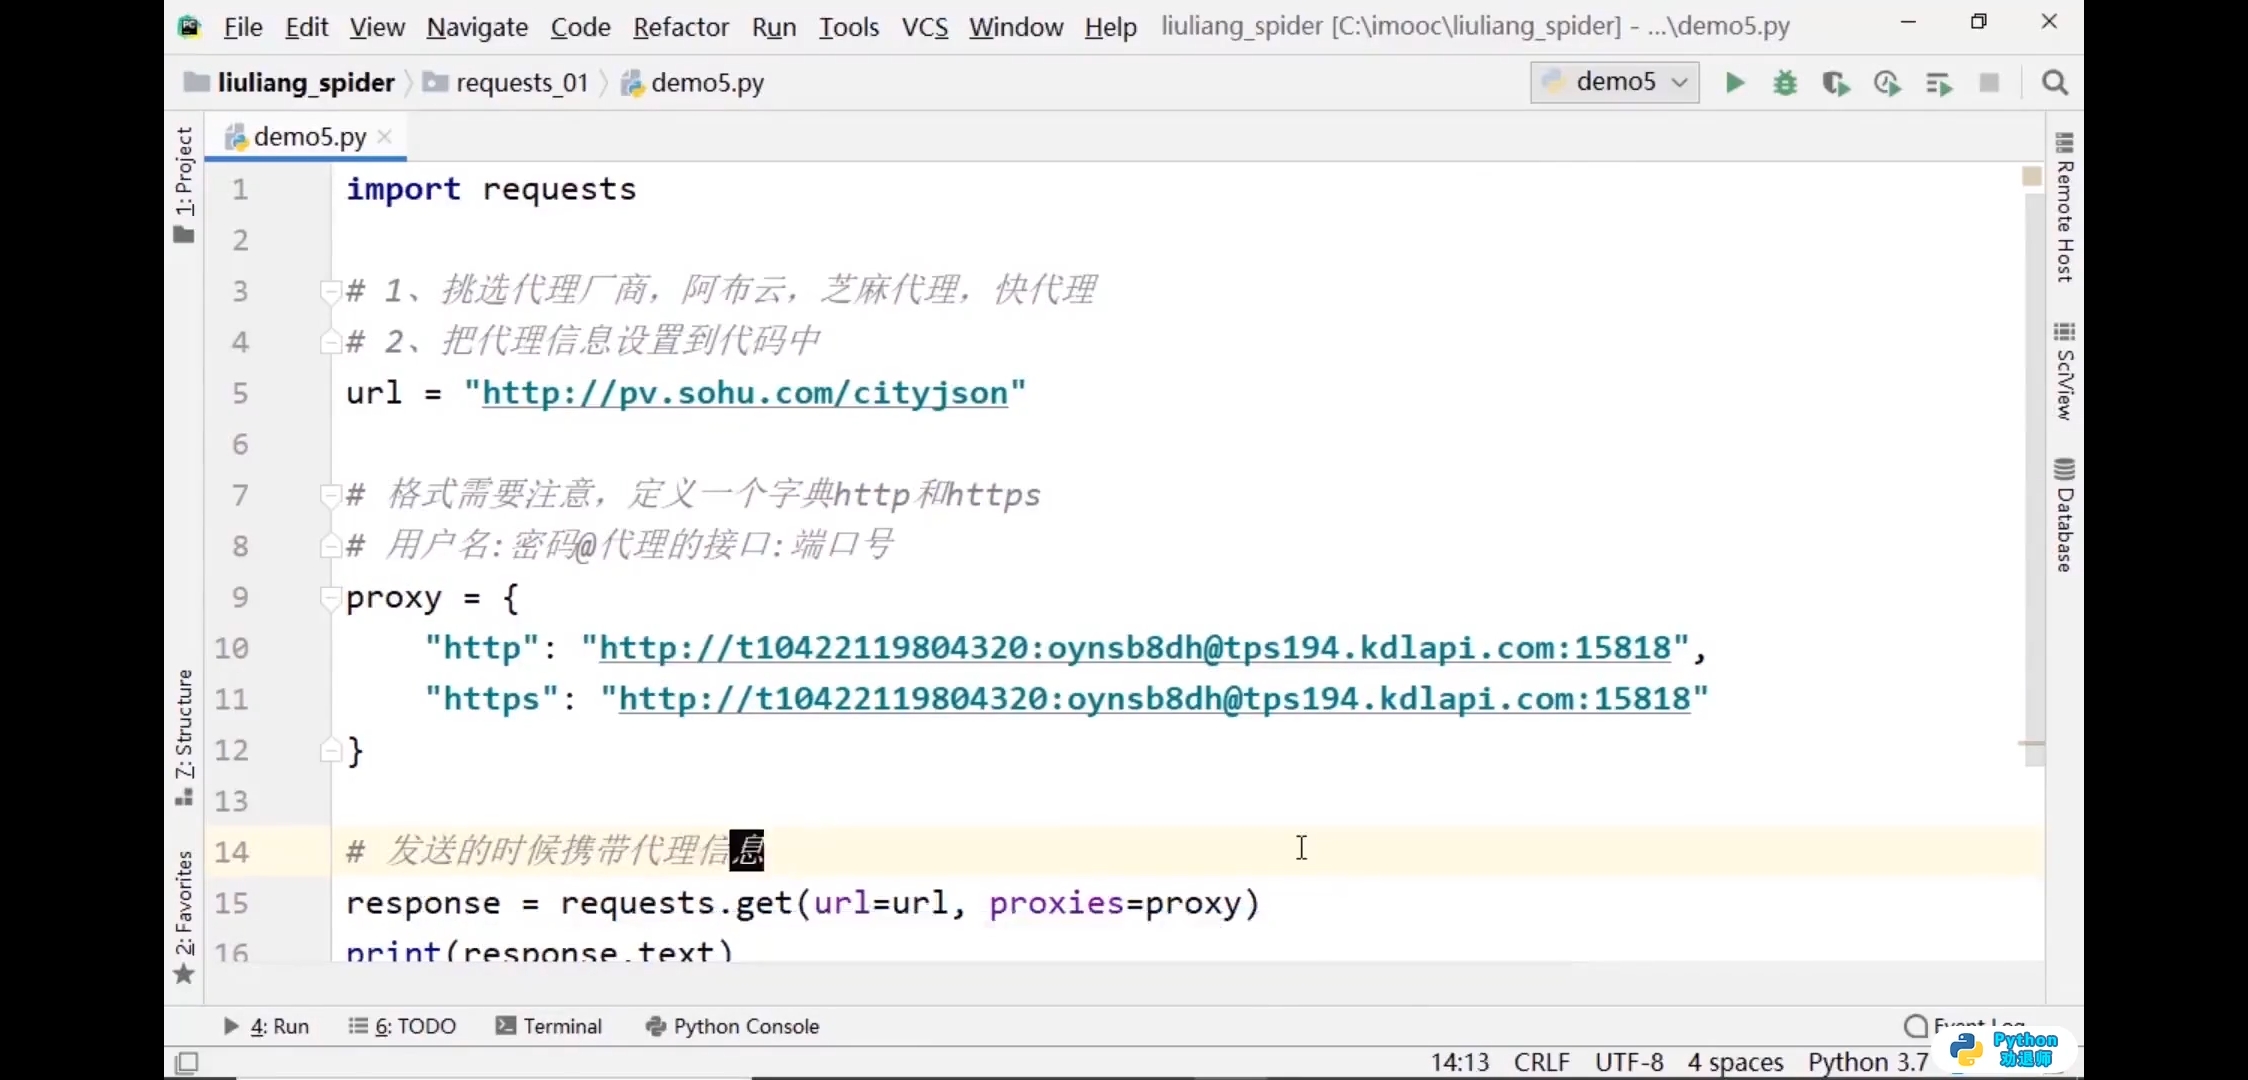
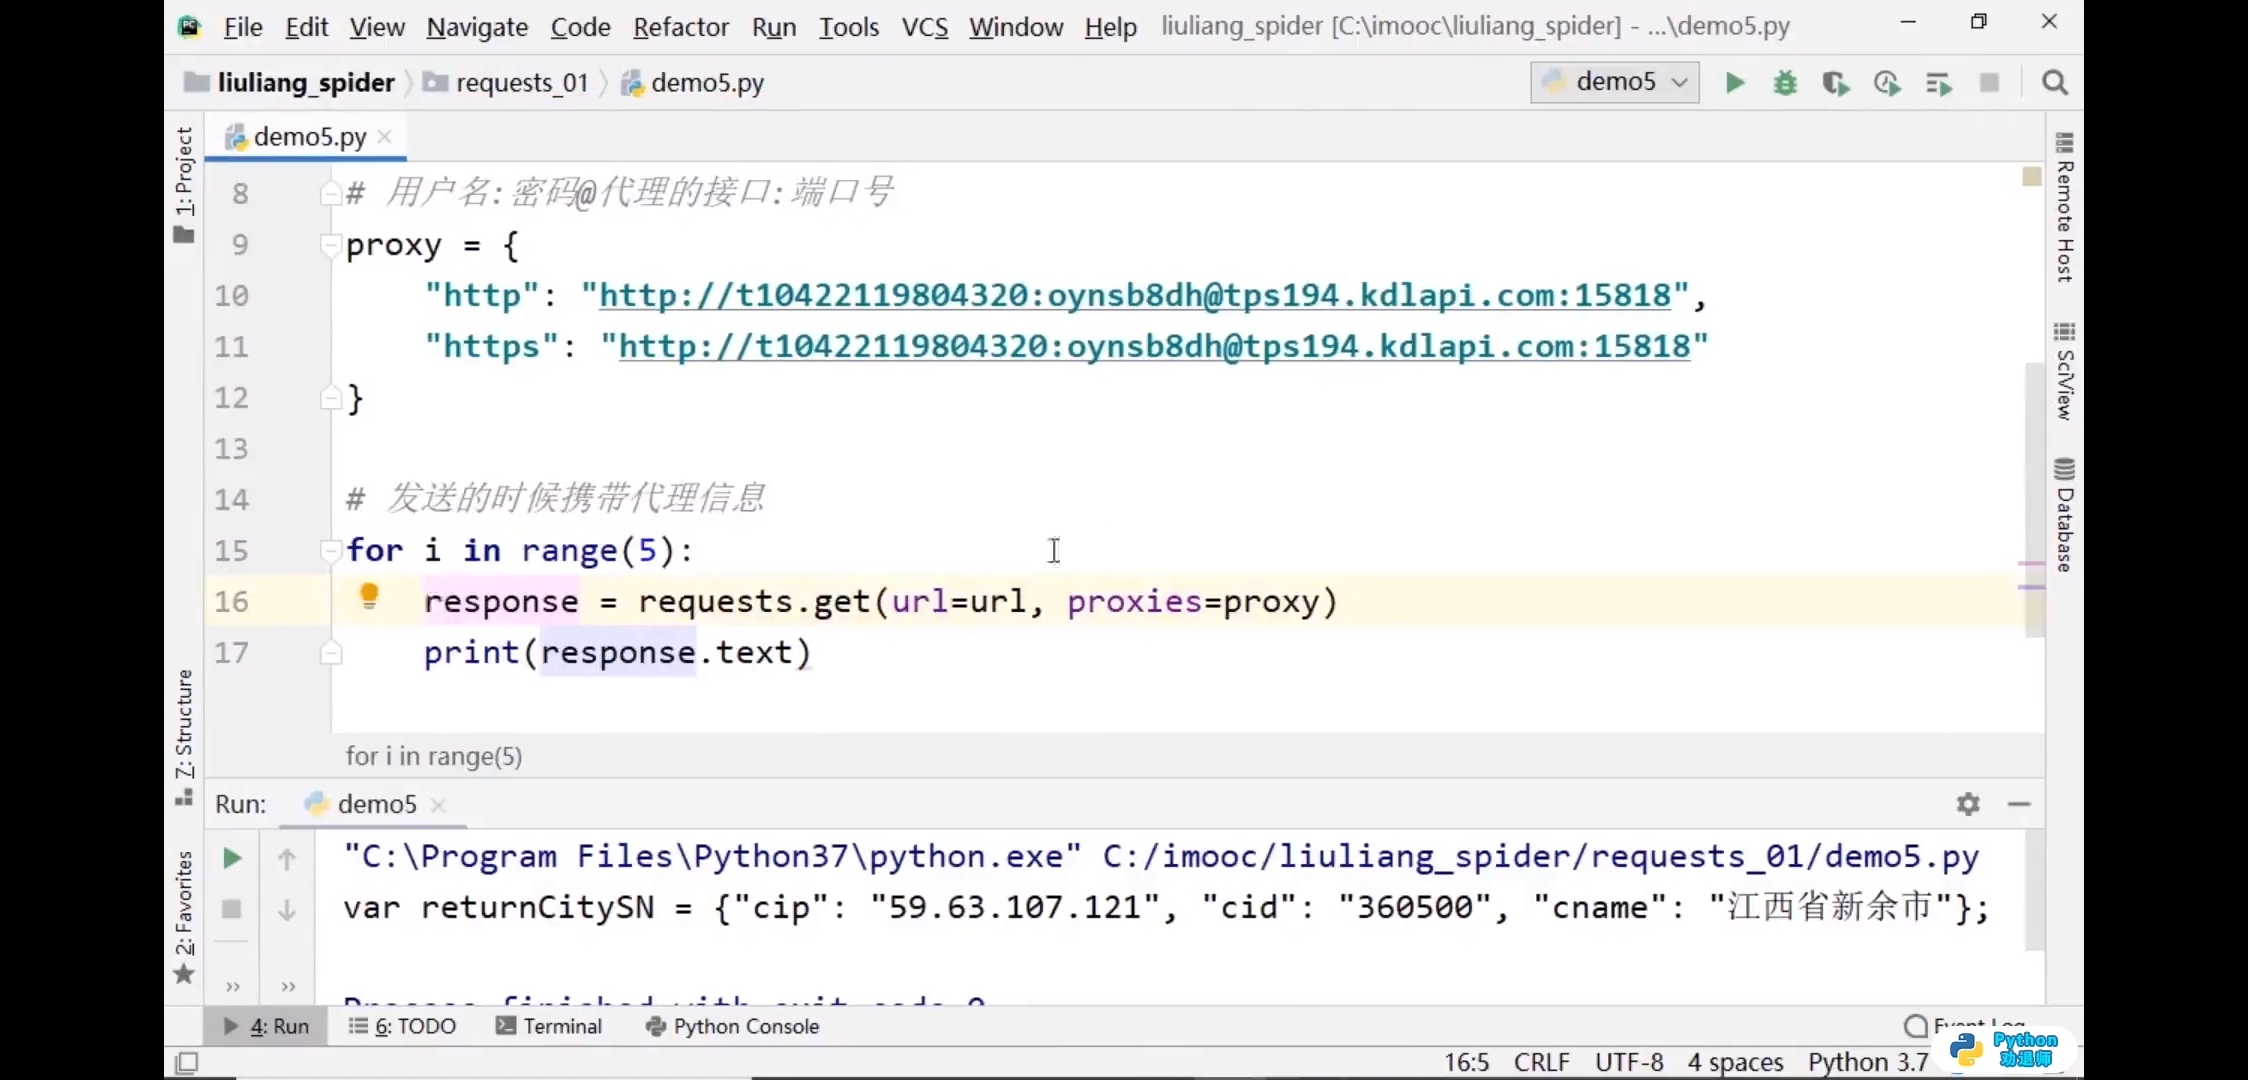
代理信息

5.xpath基础语法
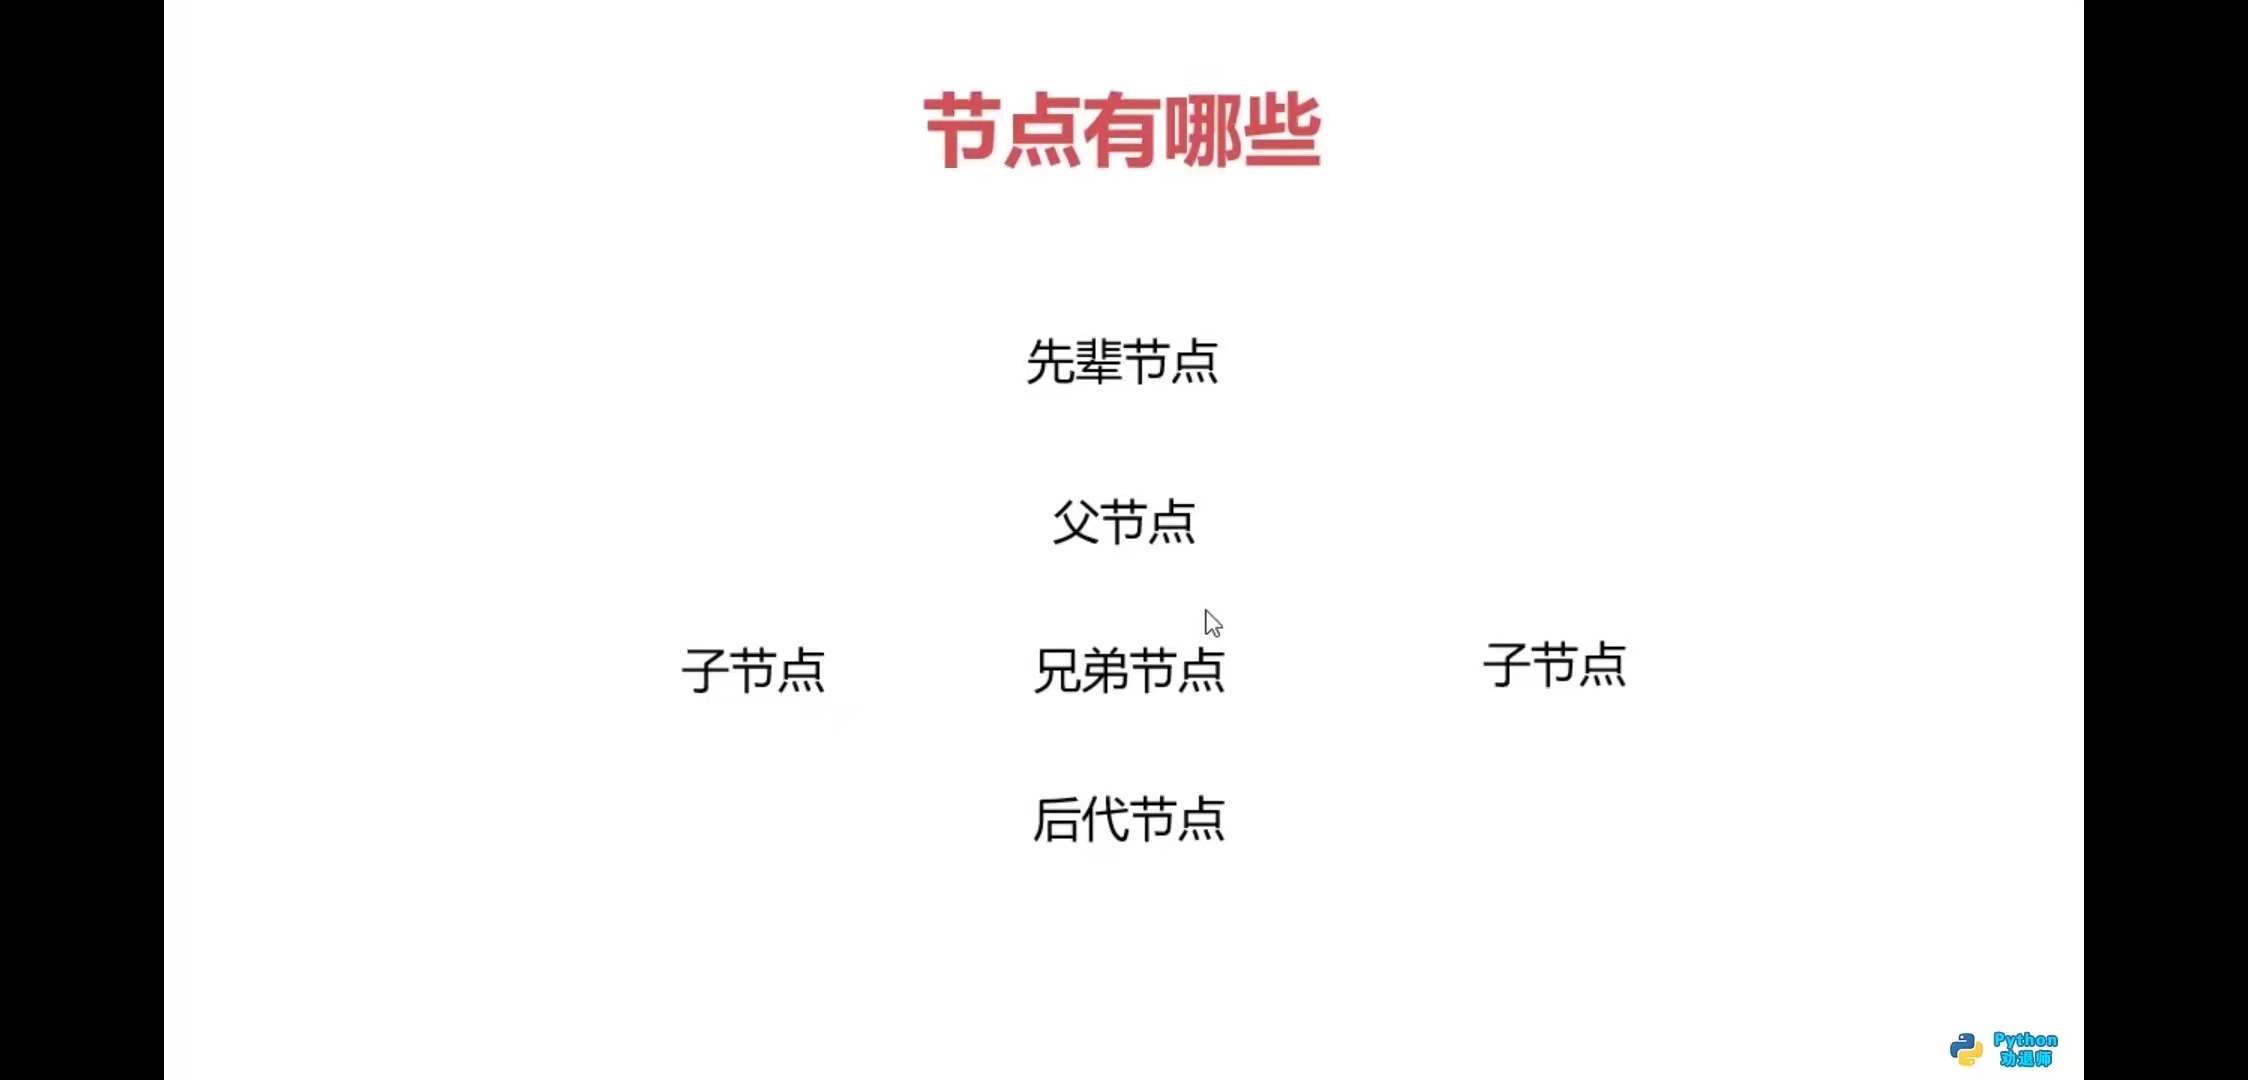
什么是xpath


xpath helper安装方法
- 更多工具—>扩展程序—>chrom应用商店


6.lxml模块
什么是lxml库

代码练习1
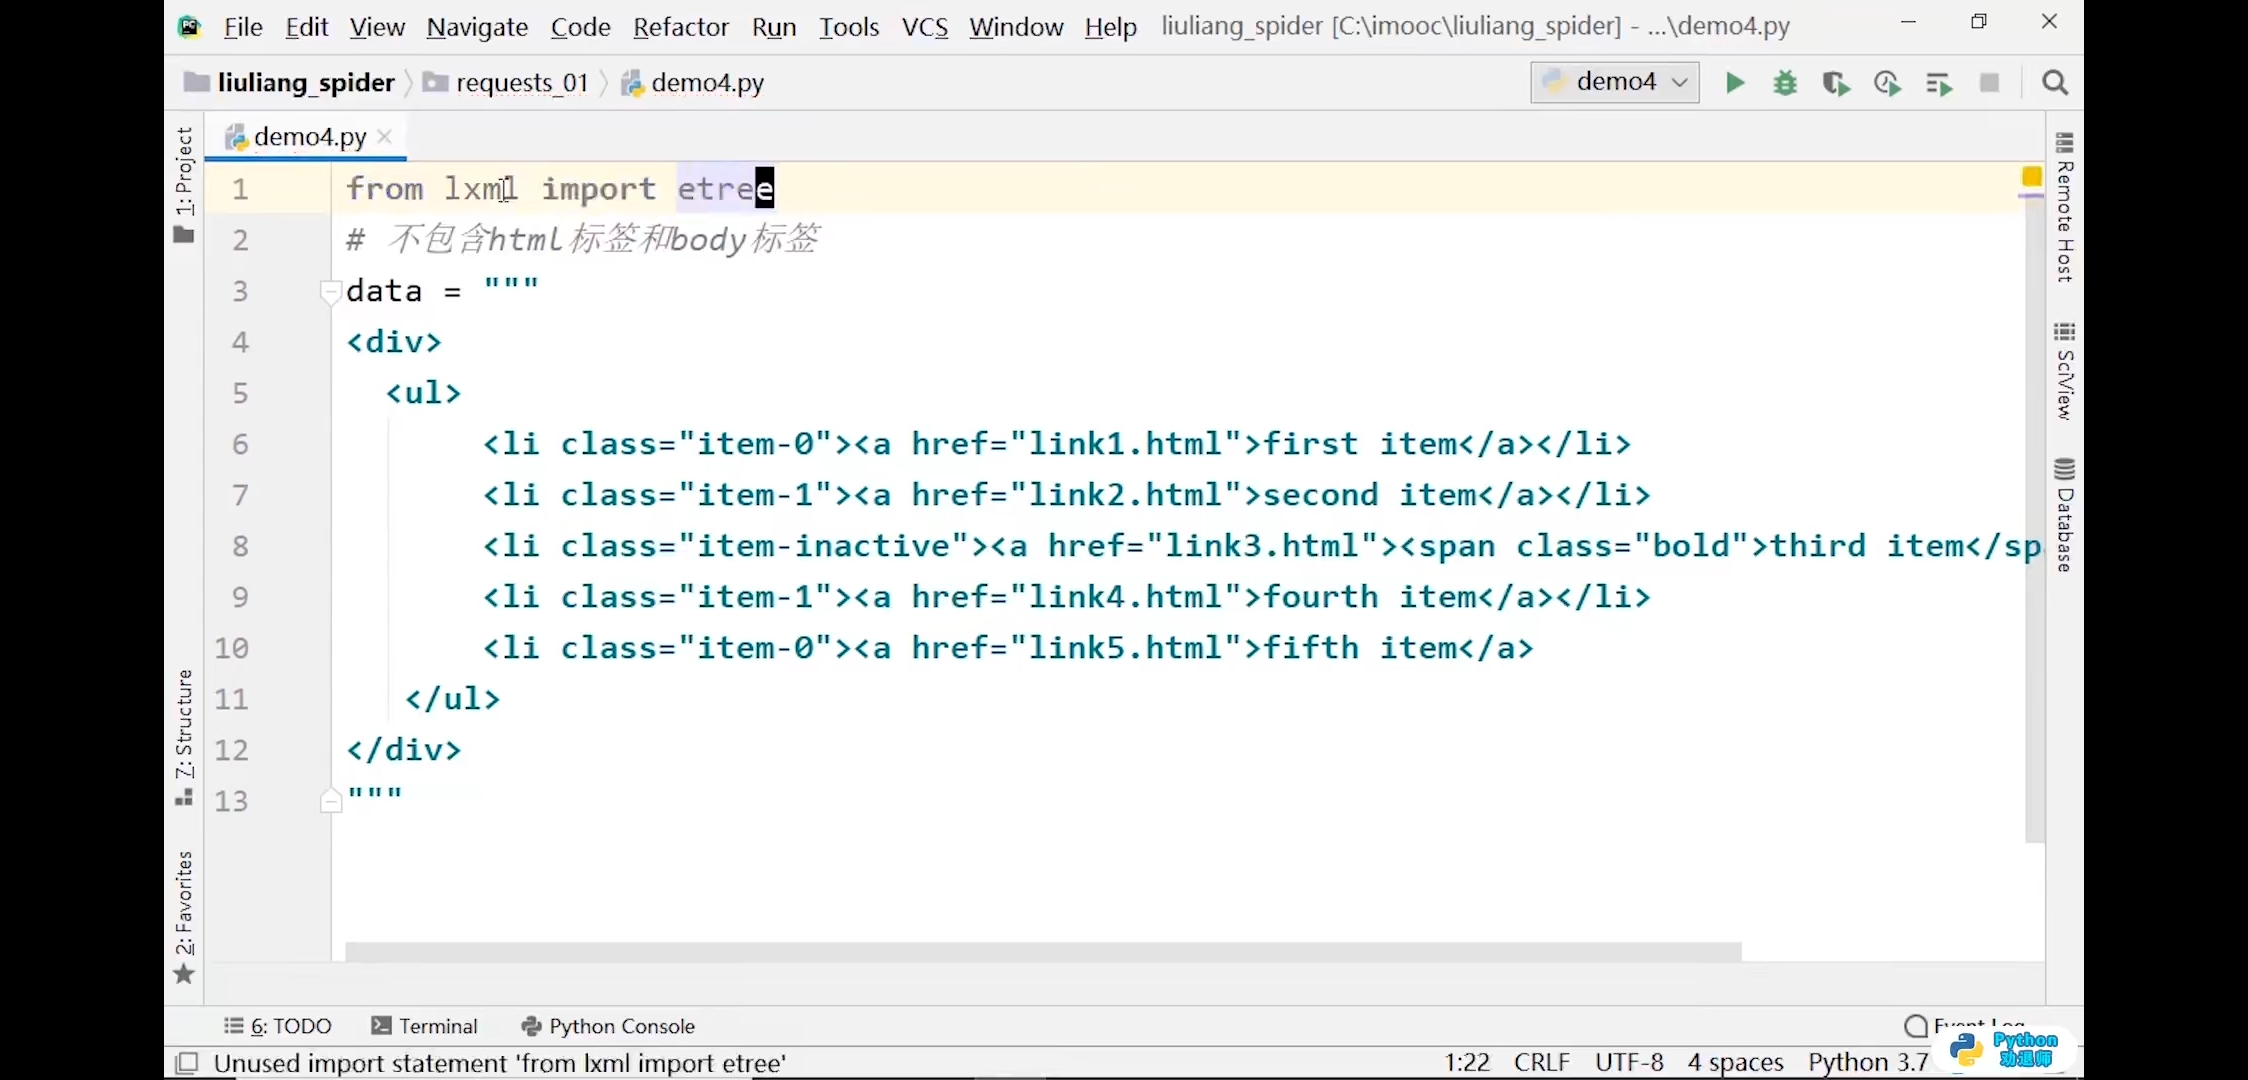
from lxml import etree# 不包含html标签和body标签data = """<div><ul><li class="item-0"><a href="link1.html">first item</a></li><li class="item-1"><a href="link2.html">second item</a></li><li class="item-3"><a href="link3.html">third item item</a></li><li class="item-4"><a href="link4.html">fouth item</a></li></ul></div>"""# 添加了html和body标签html = etree.HTML(data)print(html)# 输出结果:<Element html at 0x1db5588>print(etree.tostring(html).decode())


代码练习2
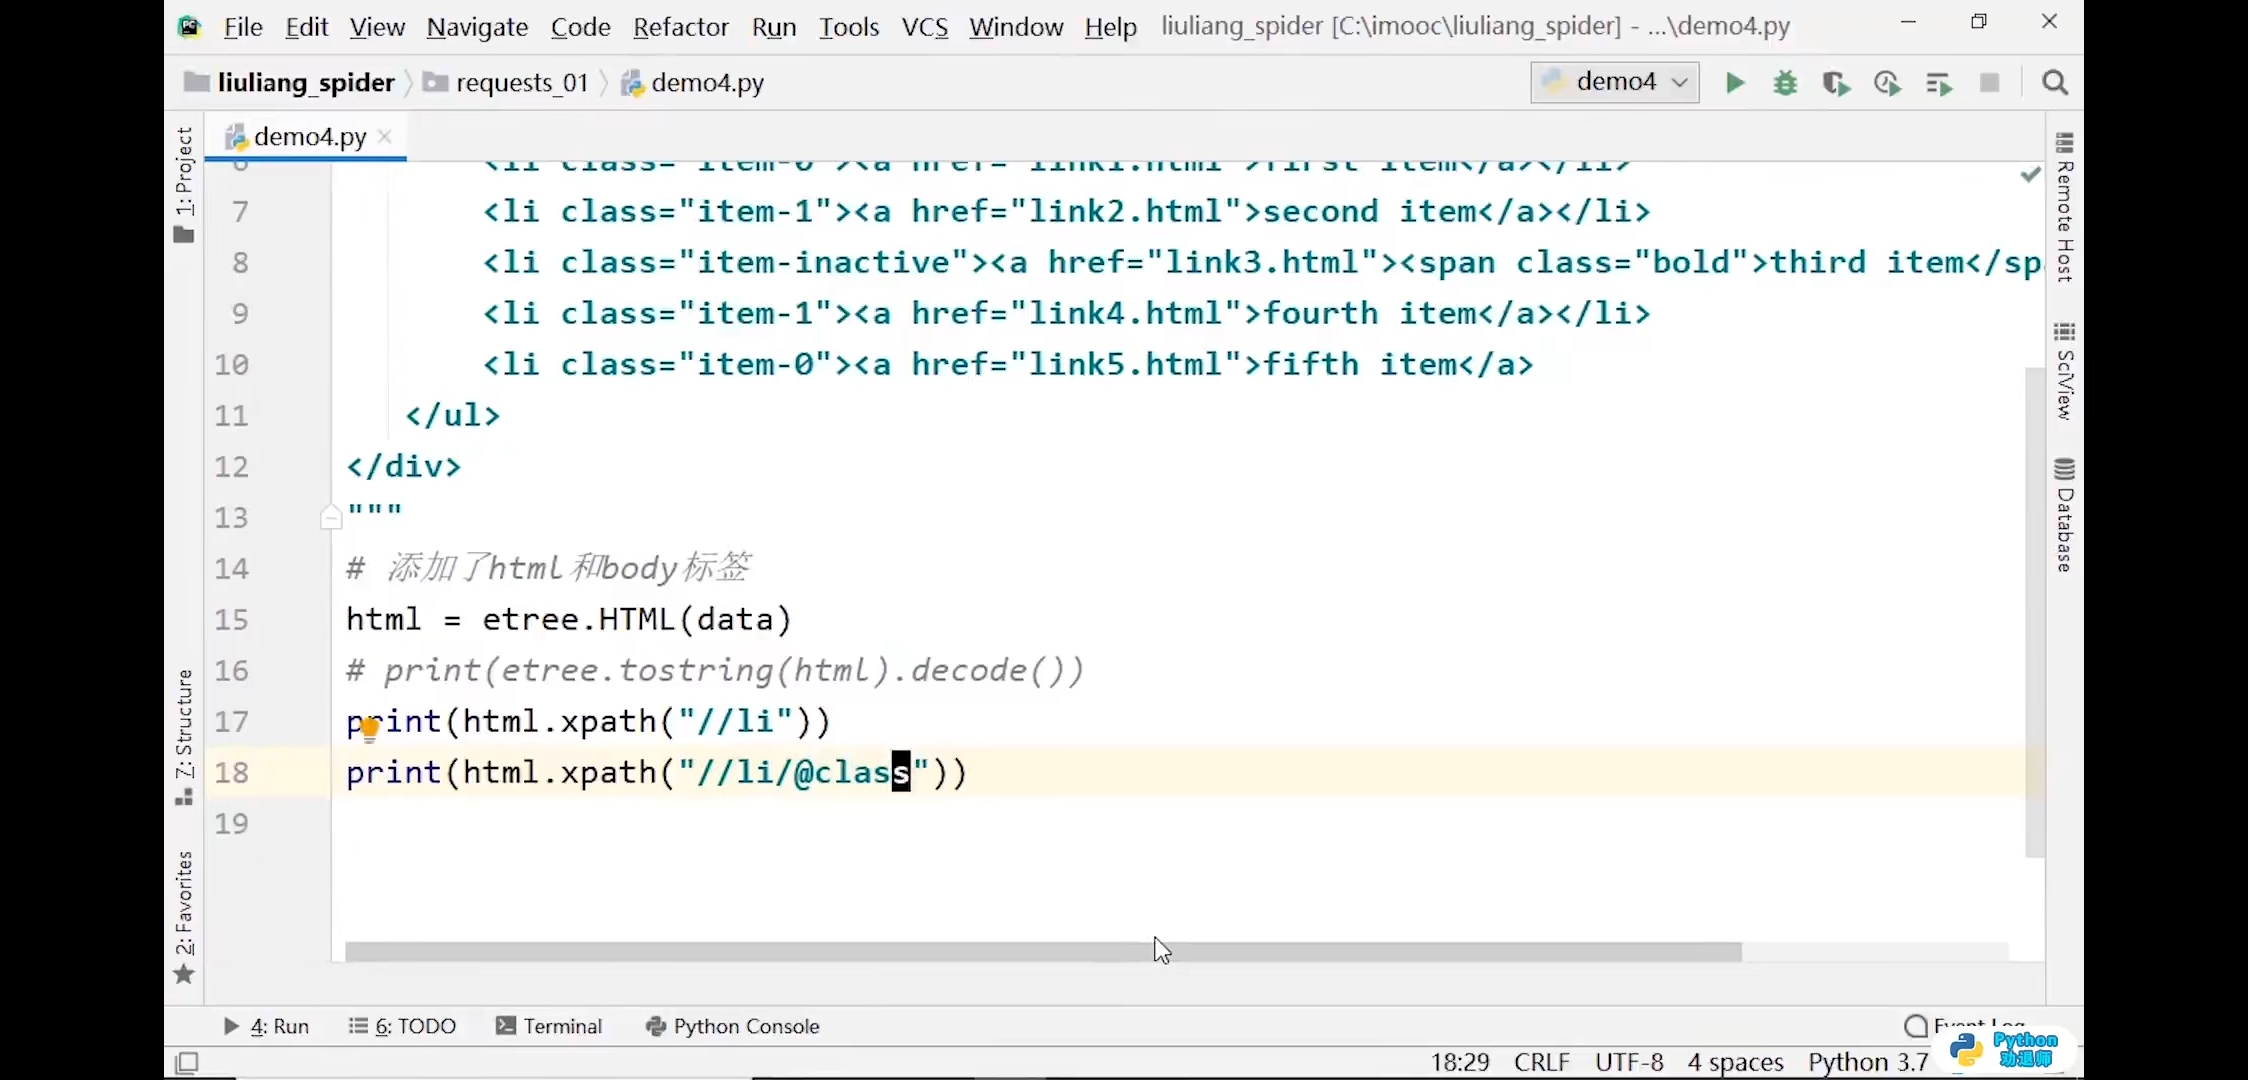
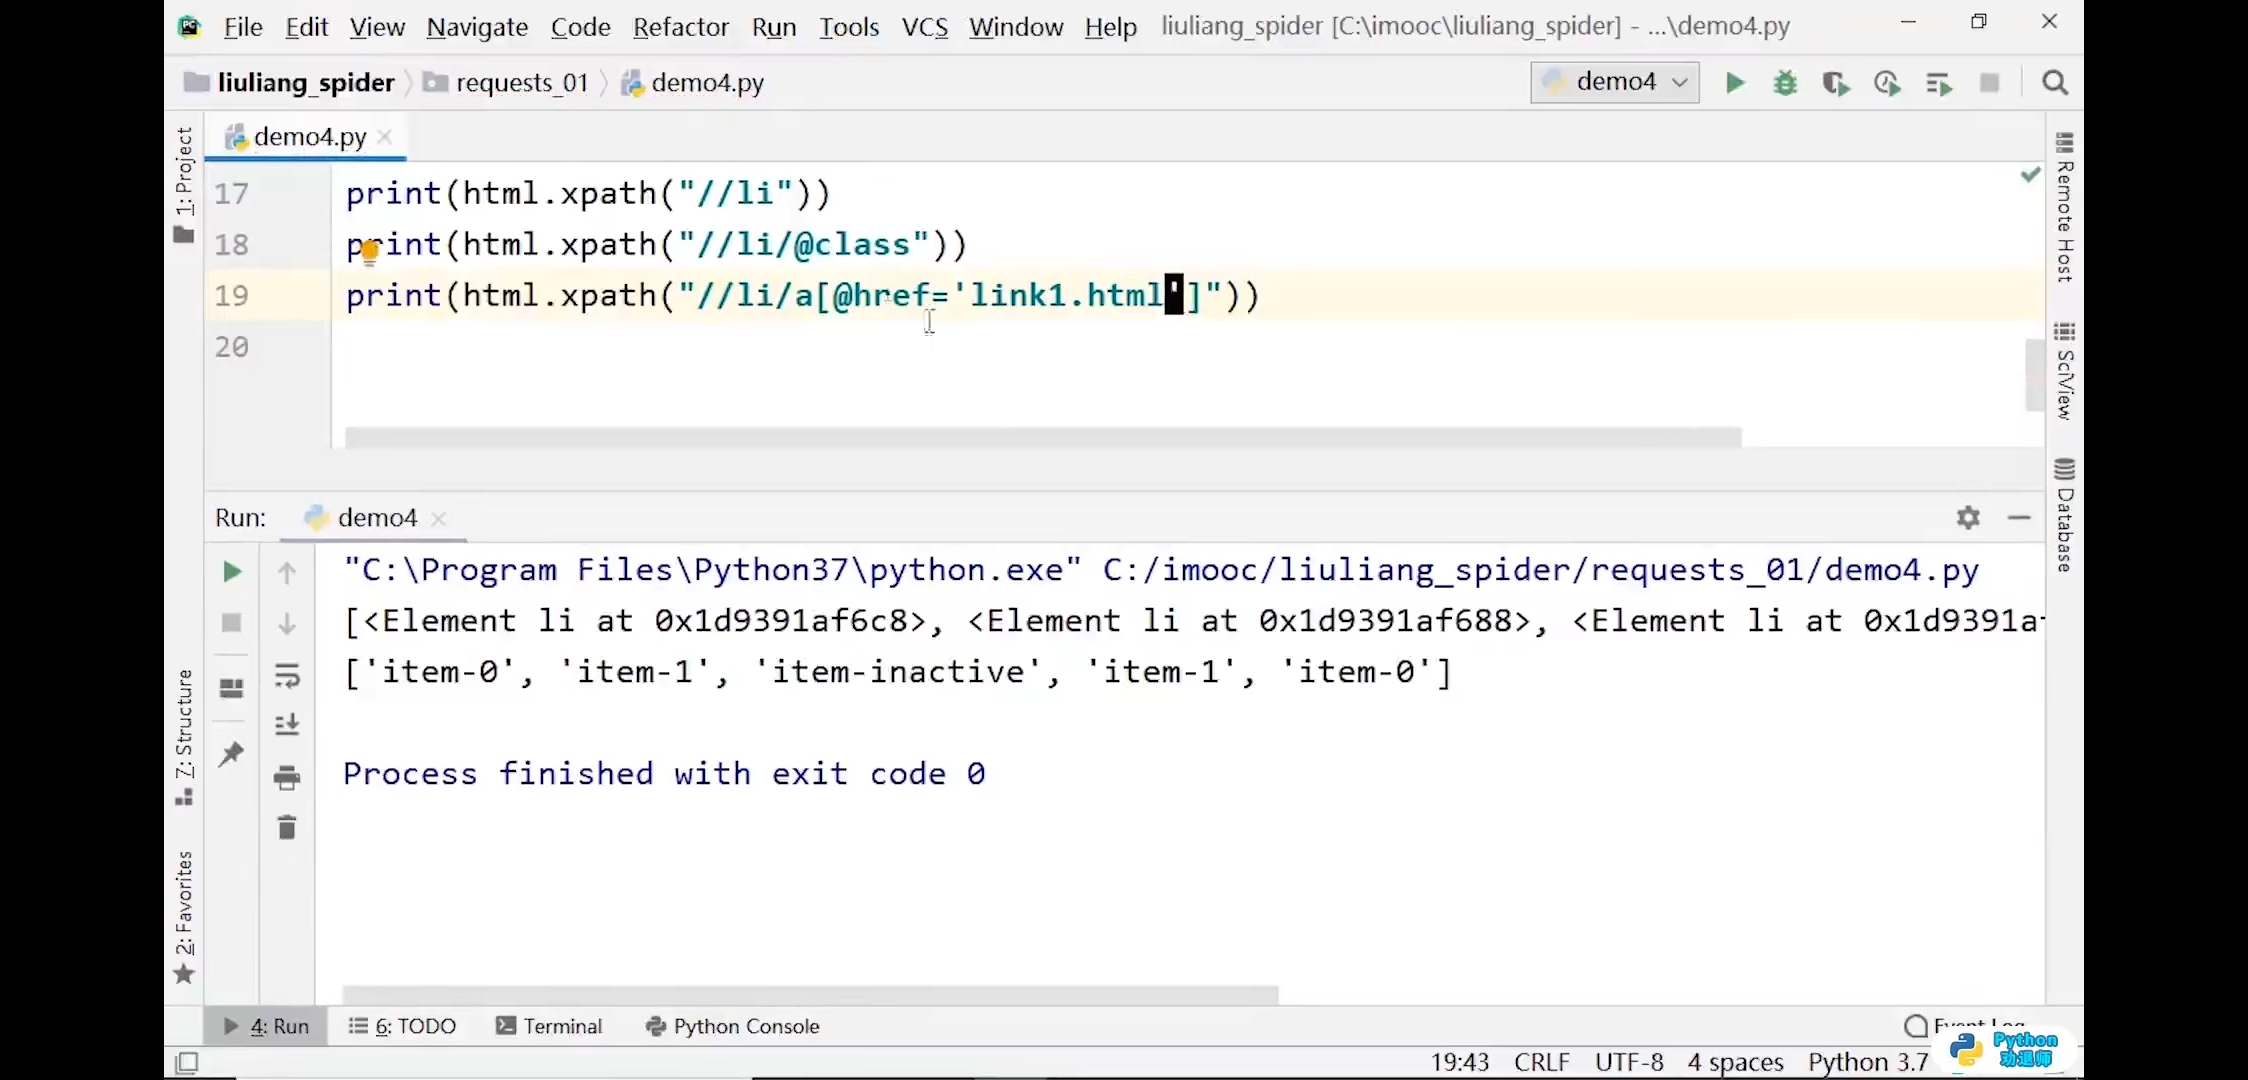
from lxml import etree# 不包含html标签和body标签data = """<div><ul><li class="item-0"><a href="link1.html">first item</a></li><li class="item-1"><a href="link2.html">second item</a></li><li class="item-3"><a href="link3.html">third item item</a></li><li class="item-4"><a href="link4.html">fouth item</a></li></ul></div>"""# 添加了html和body标签html = etree.HTML(data)print(html)# 输出结果:<Element html at 0x1db5588>print(etree.tostring(html).decode())print(html.xpath('//li'))# 输出结果:[<Element li at 0x291d208>, <Element li at 0x291d1c8>, <Element li at 0x291d2c8>, <Element li at 0x291d308>]print(html.xpath('//li/@class'))# 输出结果:['item-0', 'item-1', 'item-3', 'item-4']print(html.xpath('//li/@class="item-0"'))print(html.xpath("//li/@class='item-0'"))# 输出结果:Trueprint(html.xpath('//li/a[@href="link1.html"]'))# 输出结果:[<Element a at 0x3009348>]print(html.xpath('//li[2]/a[1]'))print(html.xpath('//li[last()-1]/a/@href'))# 输出结果:['link3.html']

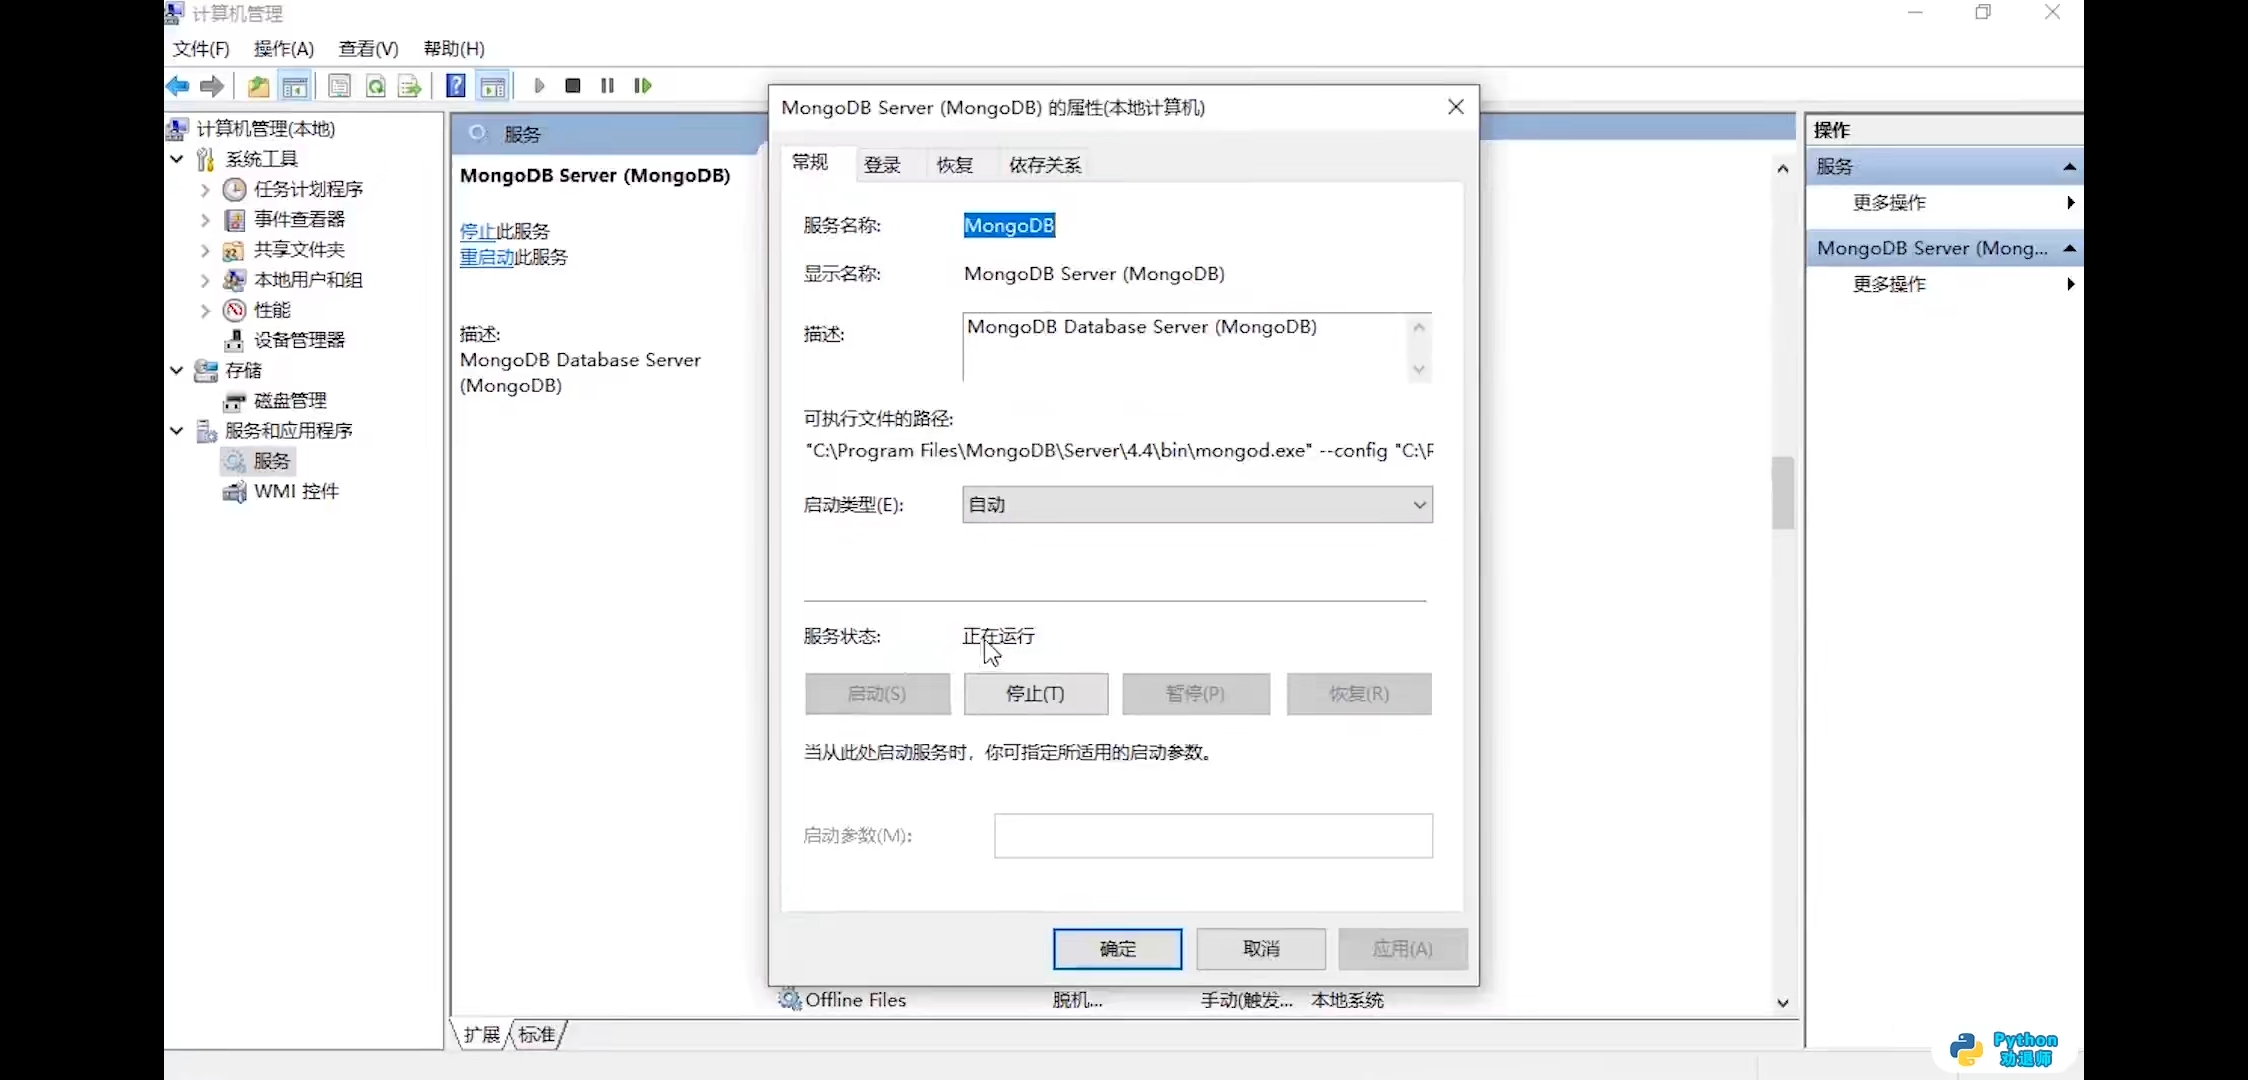
7.安装mongodb数据库
安装数据库
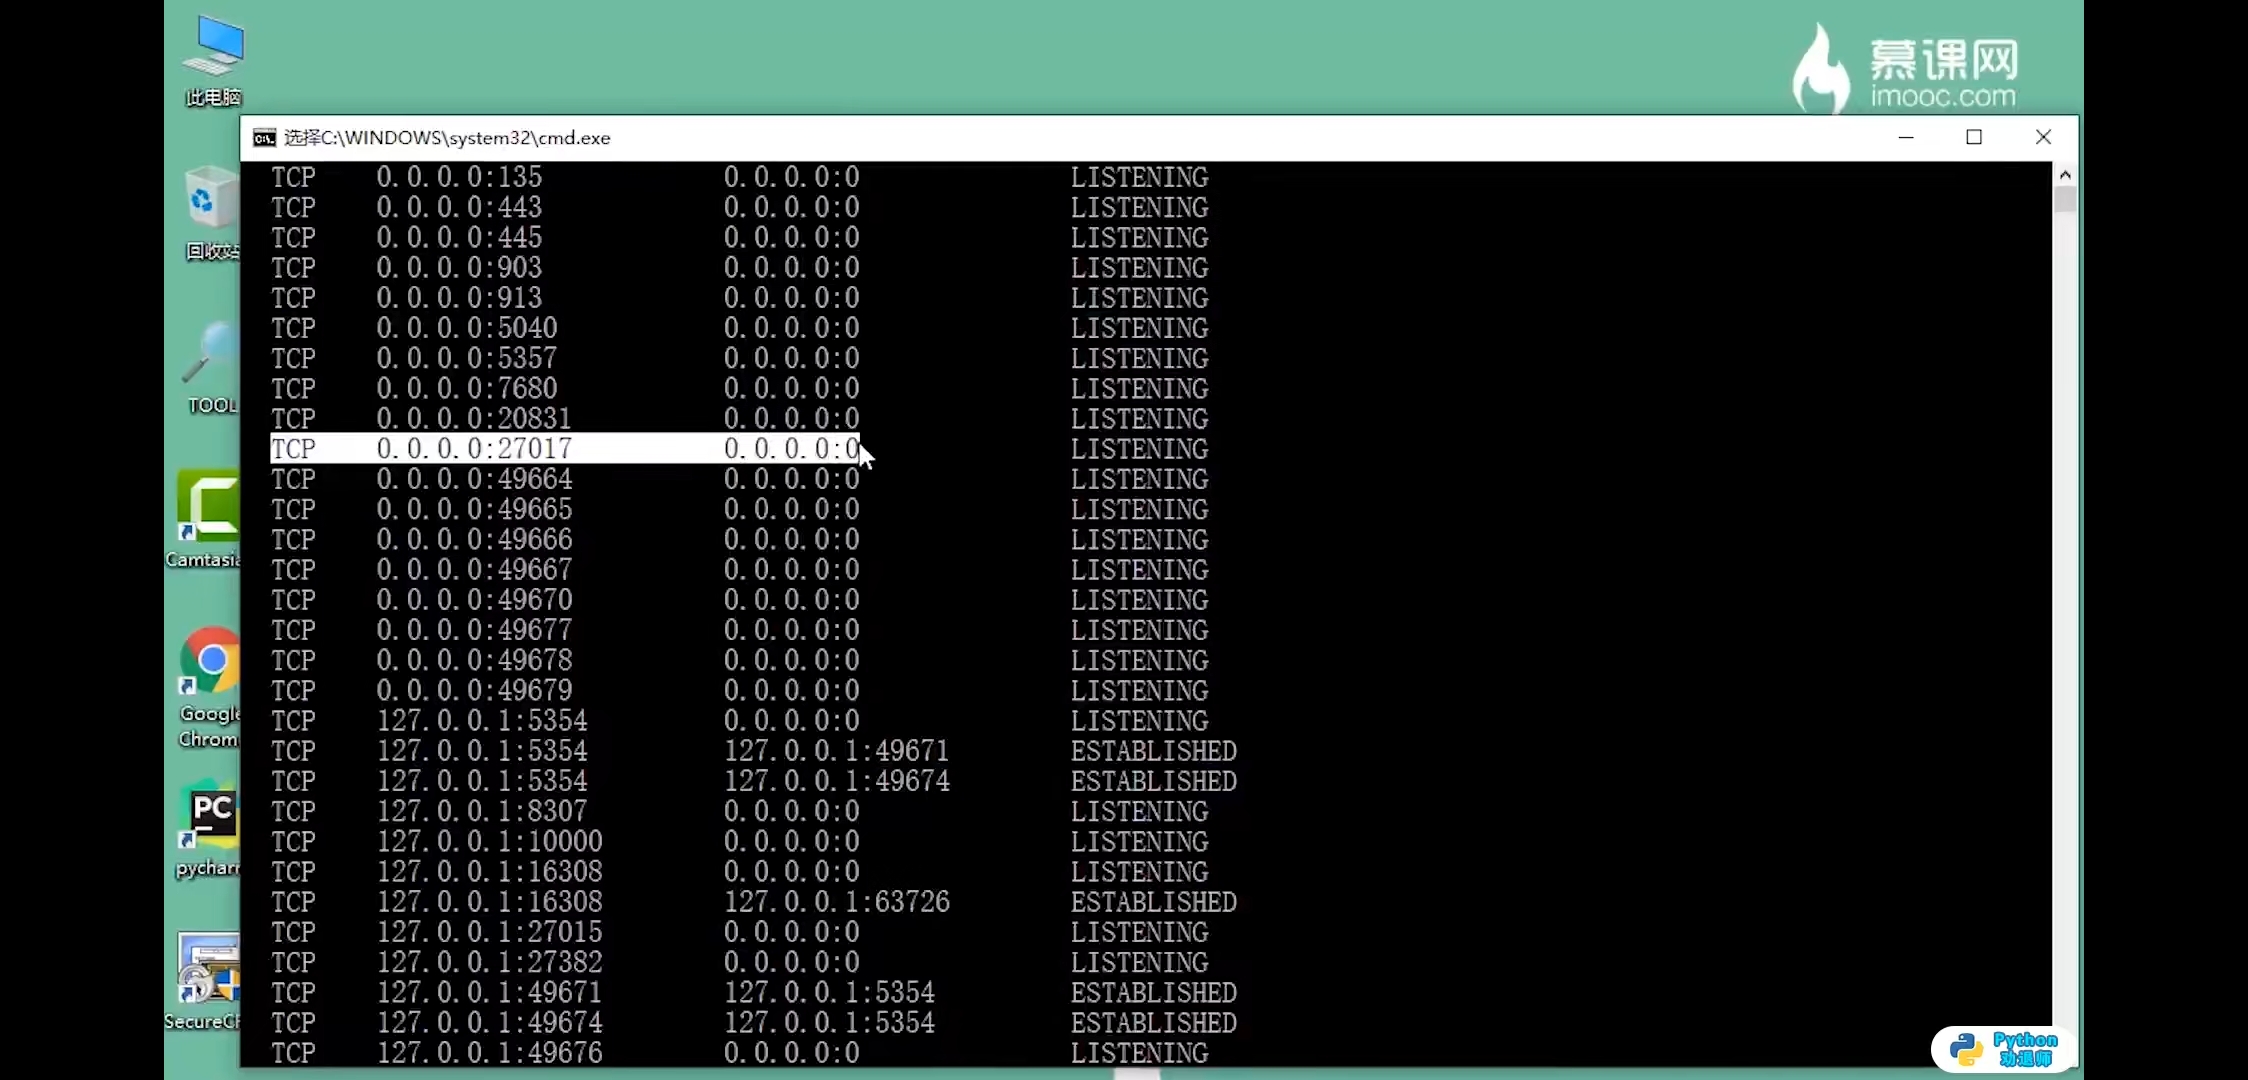
第一步,查看是否安装成功
netstat -an
第二种方式查看是否成功
第三步,修改ip地址
bin文件夹没找到cfg文件,修改接口ip地址0.0.0.0

再次进去服务,点击数据库重启动
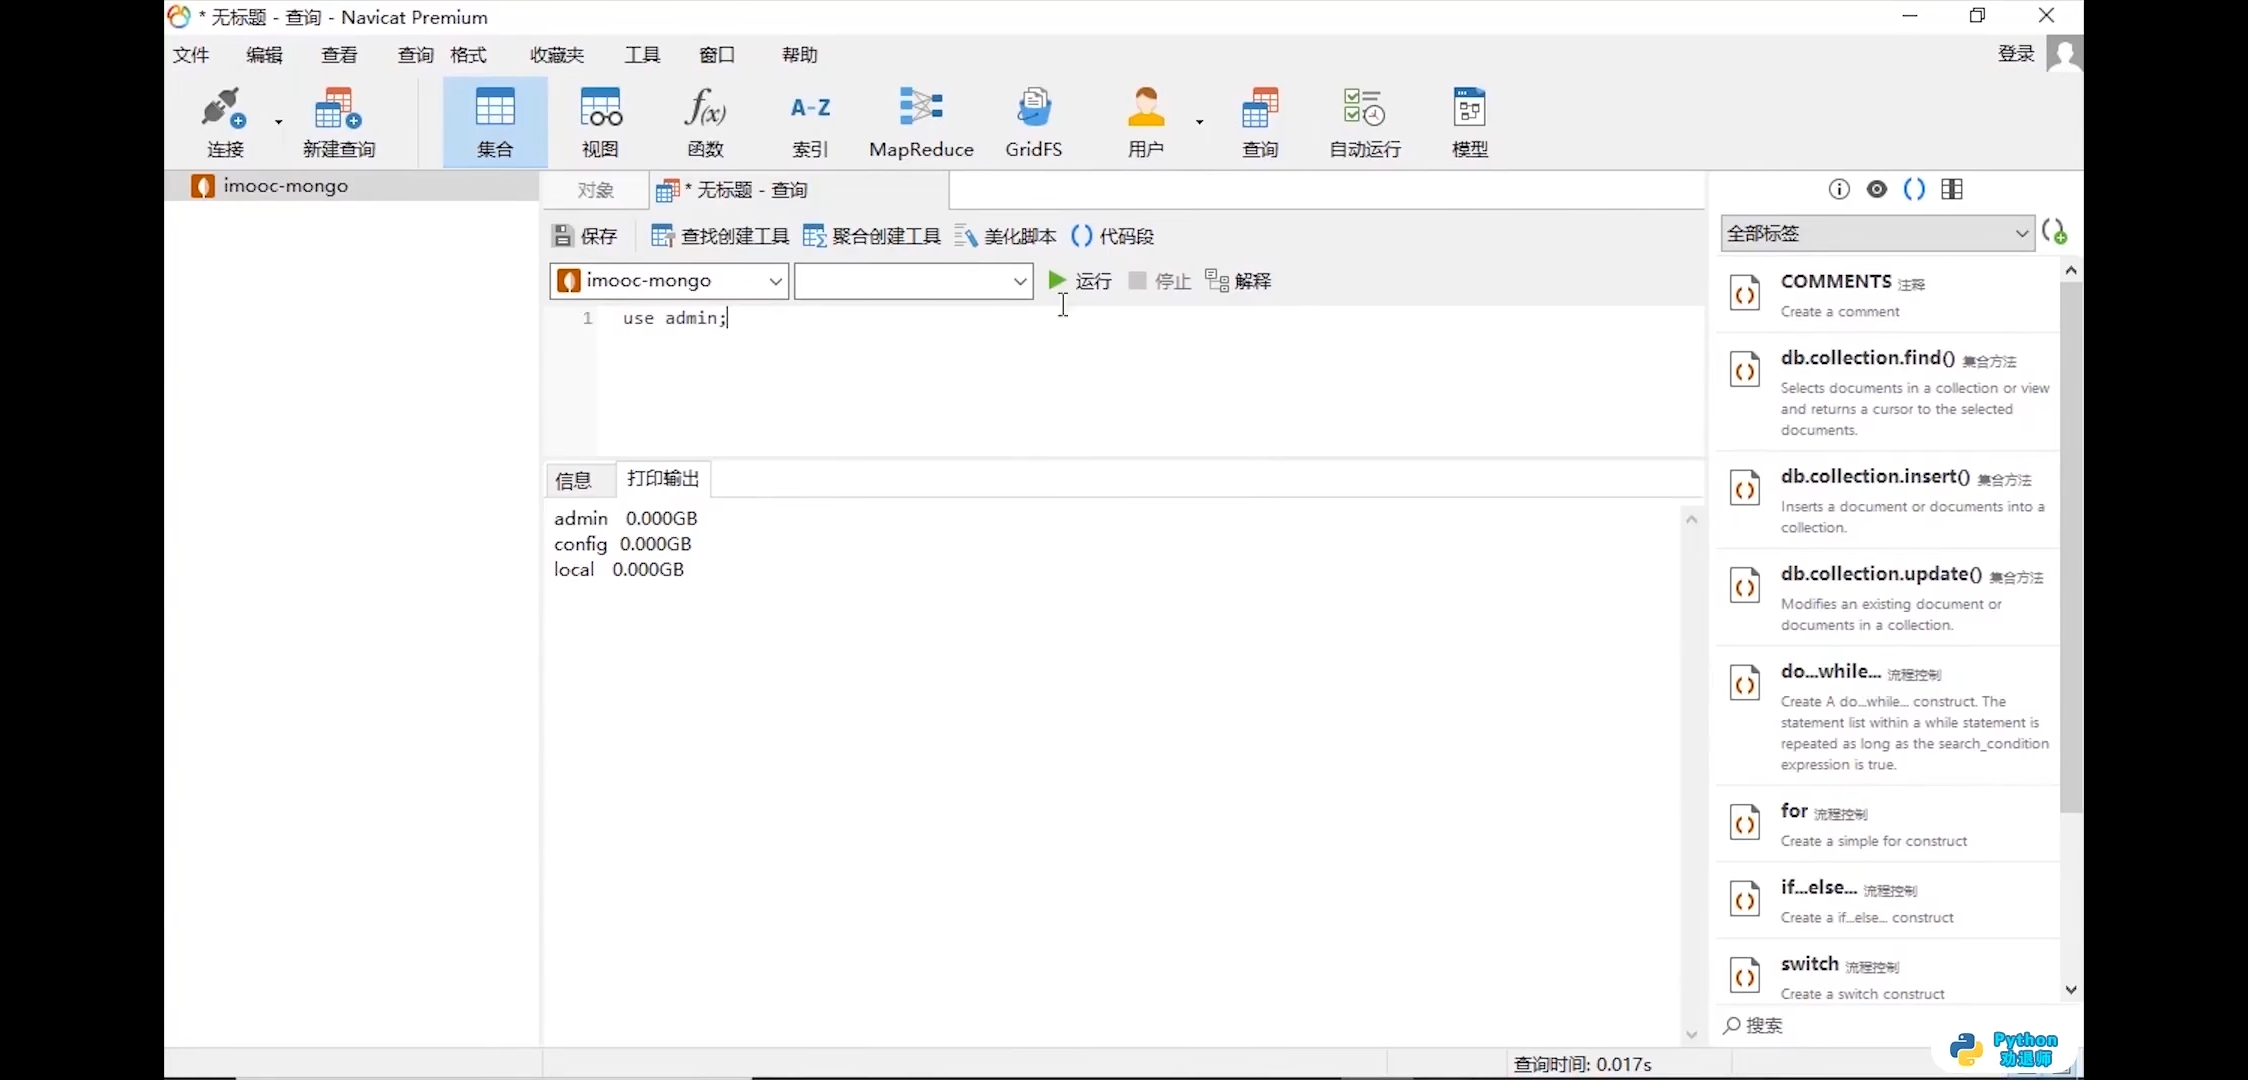
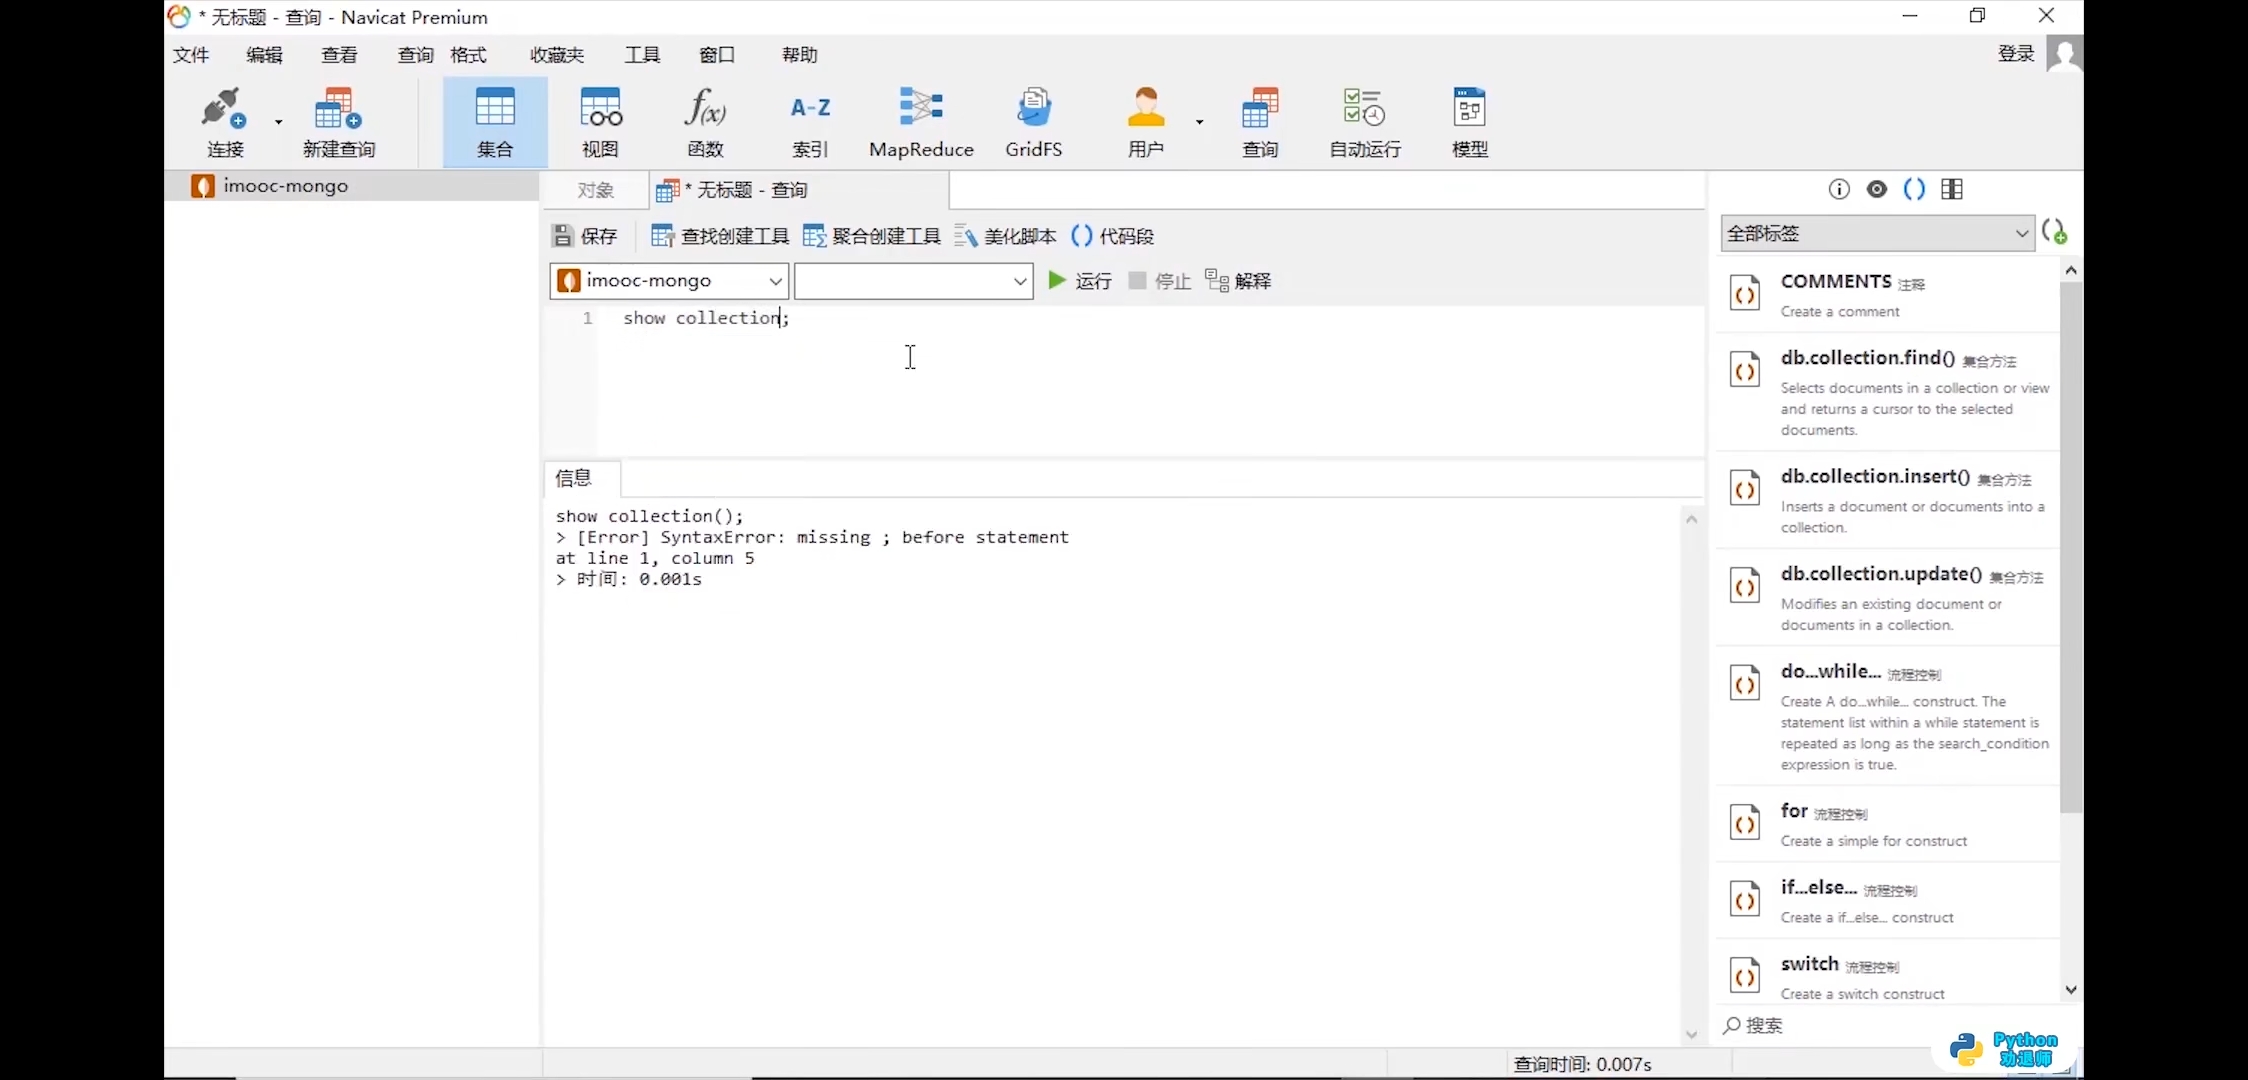
8.使用Navicat连接mongodb数据库
第一步,安装
第二步,配置连接数据库

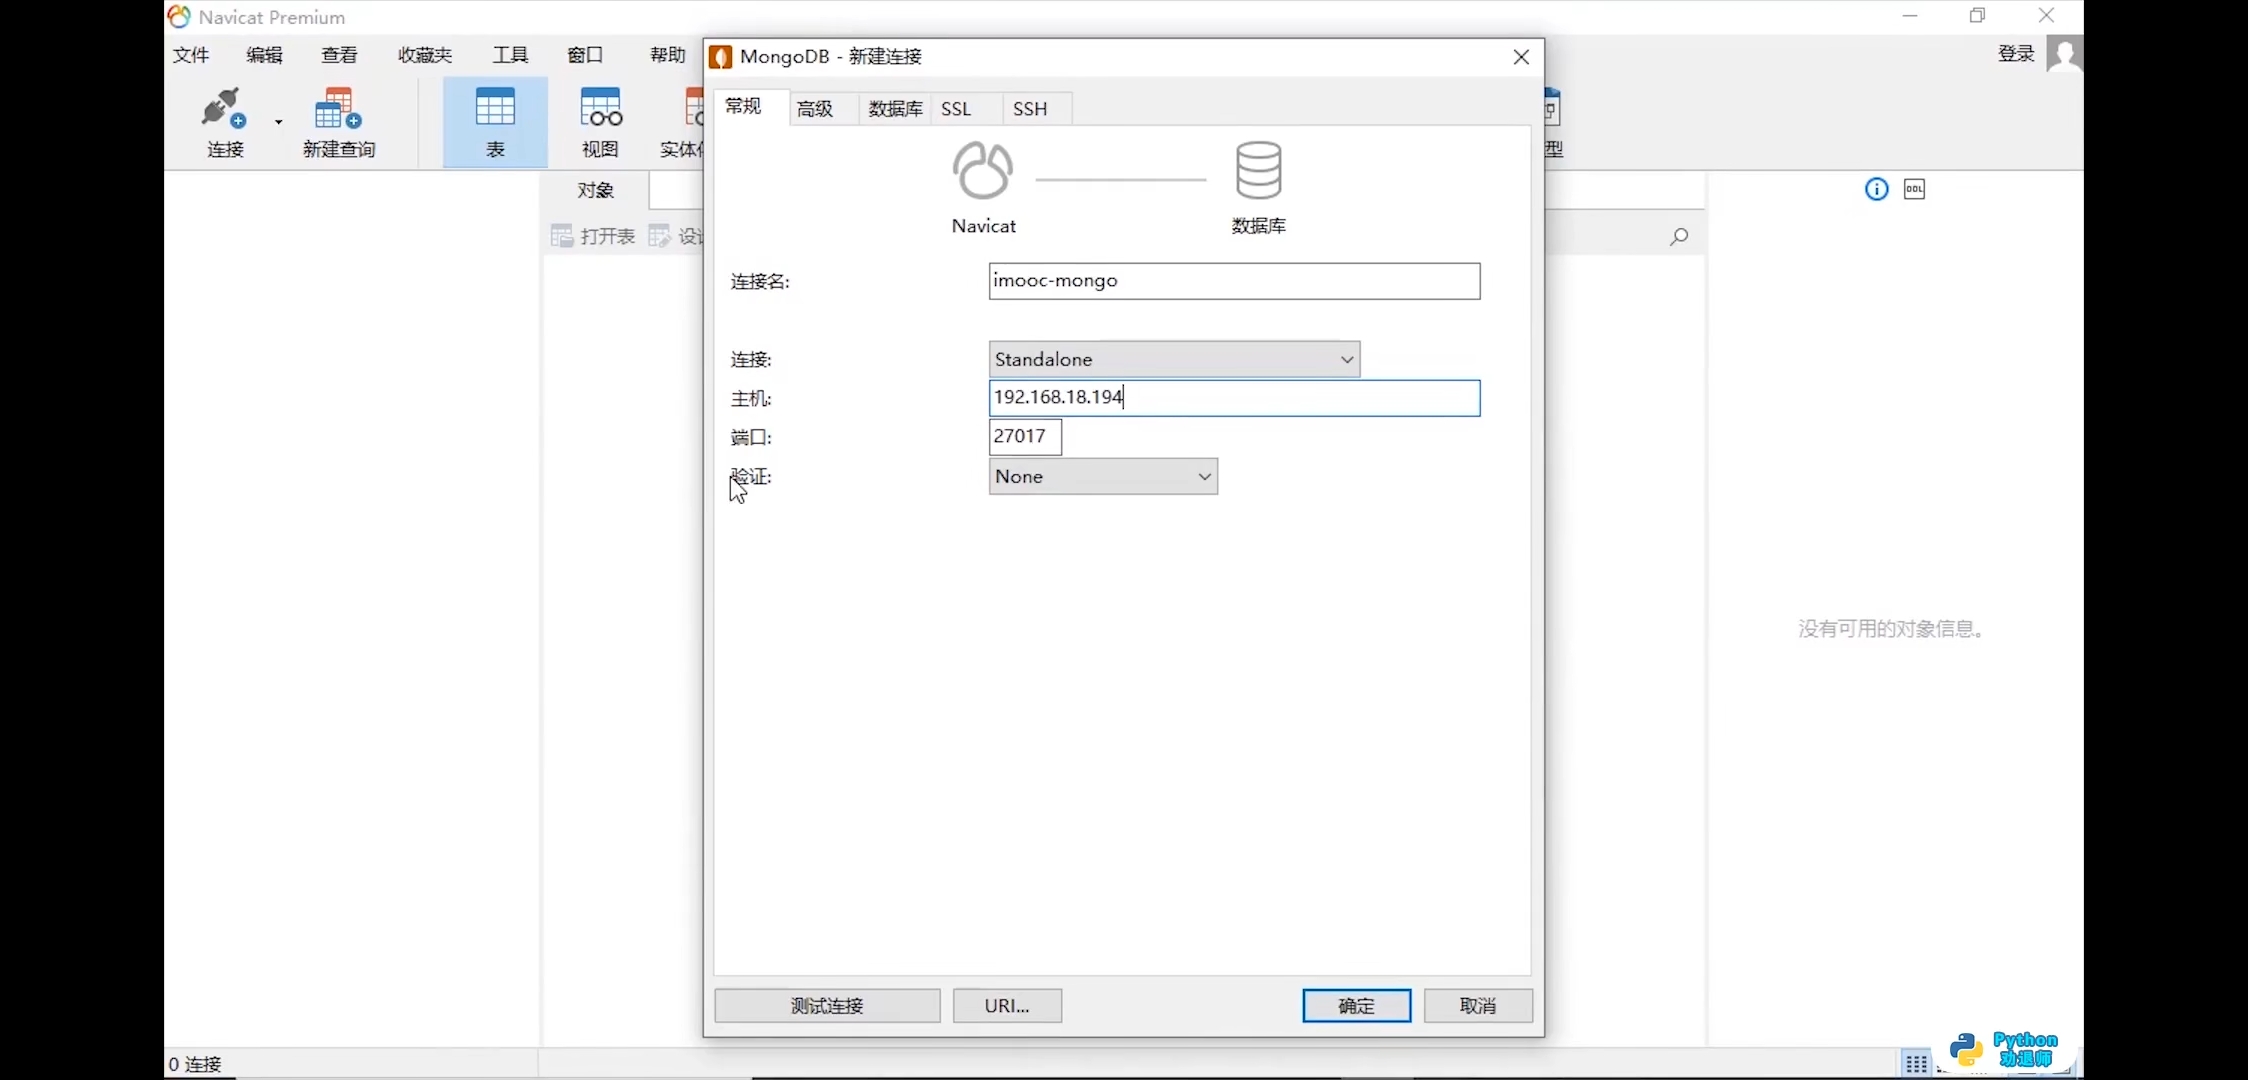
点击测试
第三步,新建查询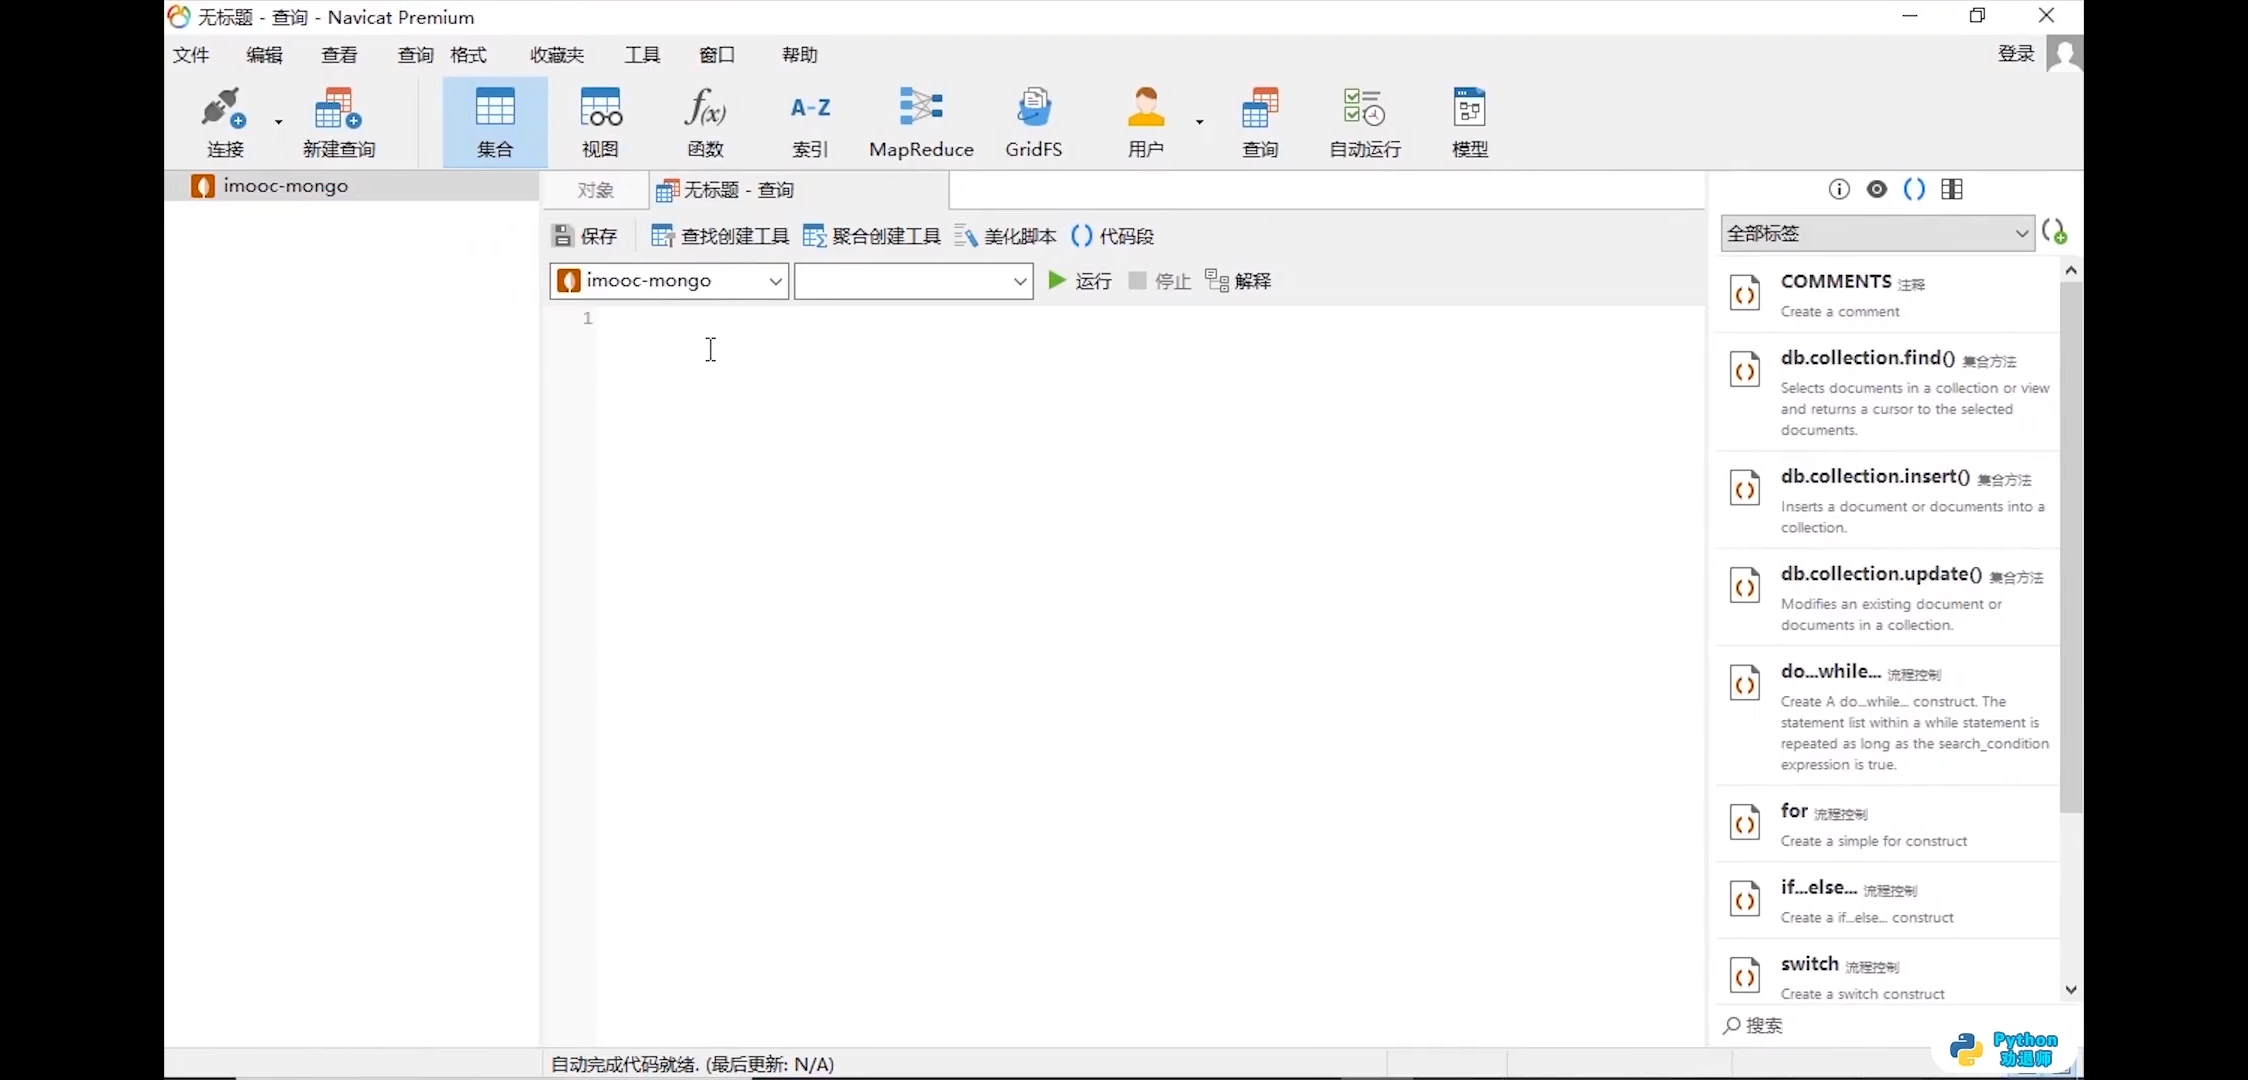
第四步,几个命令查询

Cookies学习使用

若有收获,就点个赞吧
0 人点赞
