- Step 0 简述
- Step 1 准备工作
">看到 Good signature 即证明源码未损坏
gpg —locate-keys torvalds@kernel.org gregkh@kernel.org # download and import keys
gpg —verify linux-$version.tar.sign # verify the .tar archive against the signature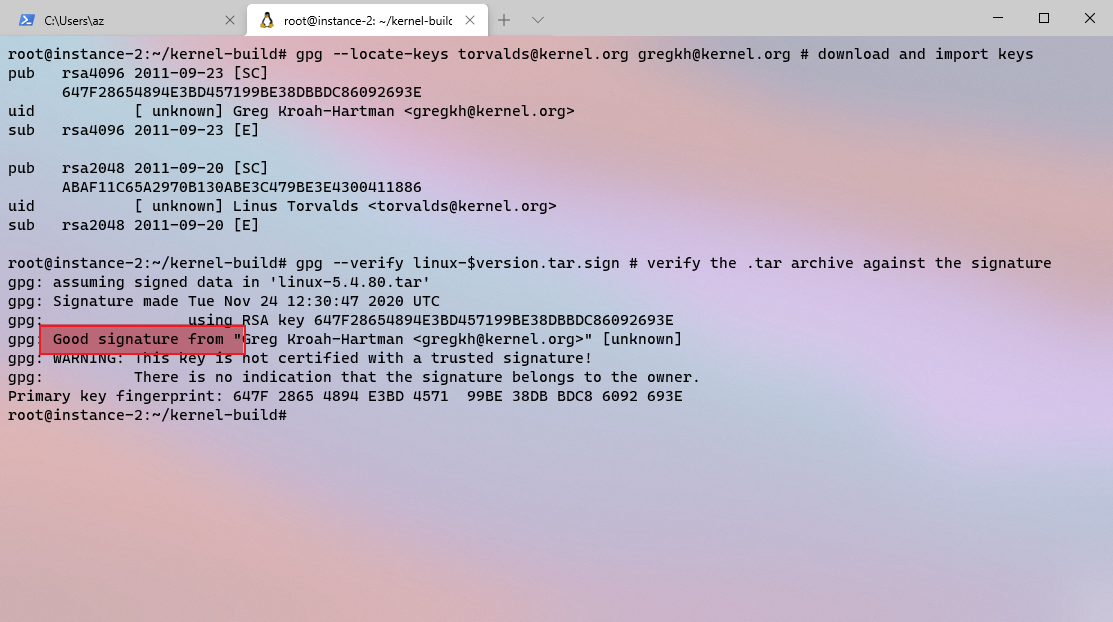
- Step 2 添加系统调用
">添加
asmlinkage long sys_setnice(pid_t pid, bool set, int niceval, int user *nice, int user *prio);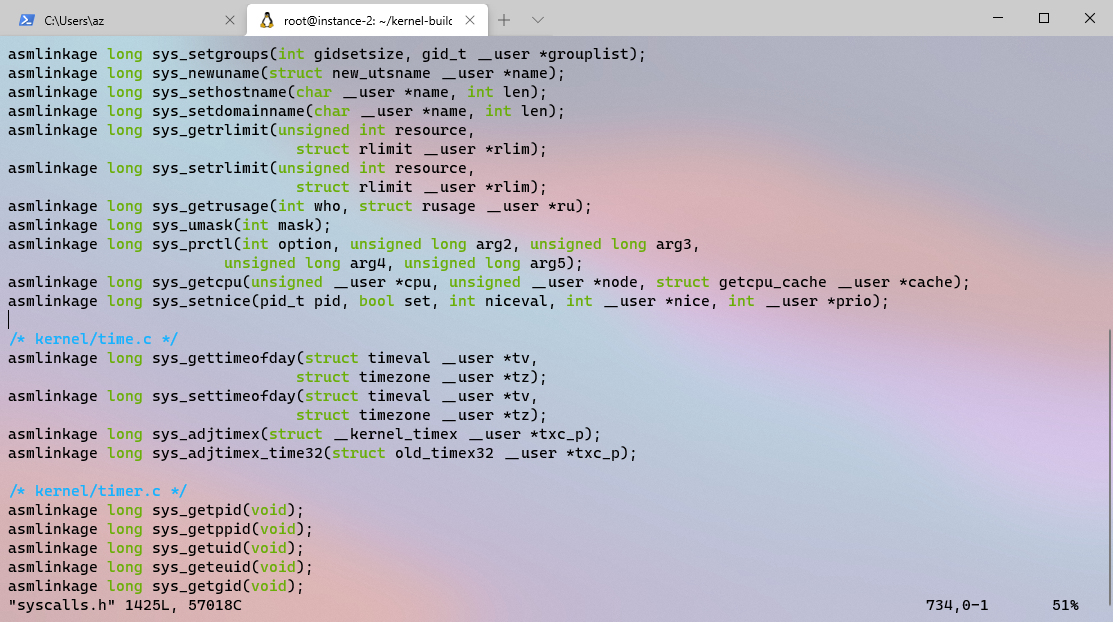
- 末尾追加表项,NR_syscalls 也要相应添加
#define NR_setnice 436
SYSCALL(NR_setnice,sys_setnice)
">undef NR_syscalls
#define NR_syscalls 437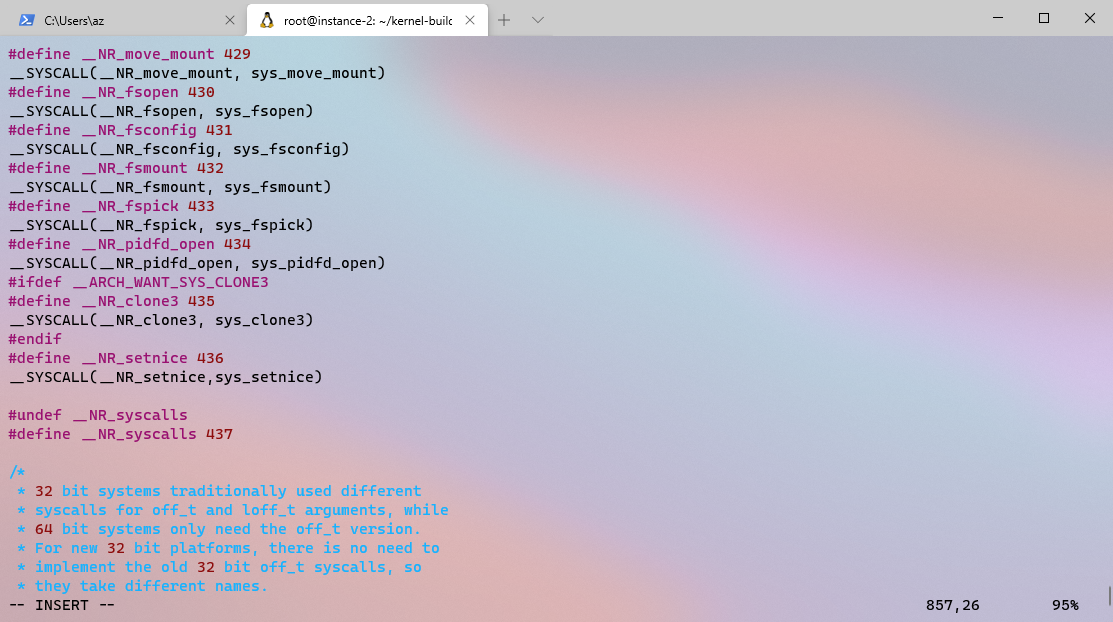
- Step 3. 编译内核
- Step 4. 测试系统调用
- define _NR_setnice 436 // syscall name and number_
Step 0 简述
1. 运行环境
• 平台:Google Cloud Platform
• Linux 发行版:Ubuntu 20.04 LTS
• 配置:Intel Skylake:e2-highcpu-16(16 个 vCPU,16 GB 内存)
• Linux 源码版本:version=5.4.80
2. 添加系统调用函数说明
在官方内核的基础上,添加一个自定义的系统调用 setnice,功能如下:
1. 按需修改指定进程的 nice 数值;
2. 读取该进程的 nice 与优先级(priority)的数值。
Step 1 准备工作
1. 下载 Linux 源码
version=’5.4.80’
host=’https://cdn.kernel.org/pub/linux/‘
wget $host/kernel/v5.x/linux-$version.tar.{xz,sign}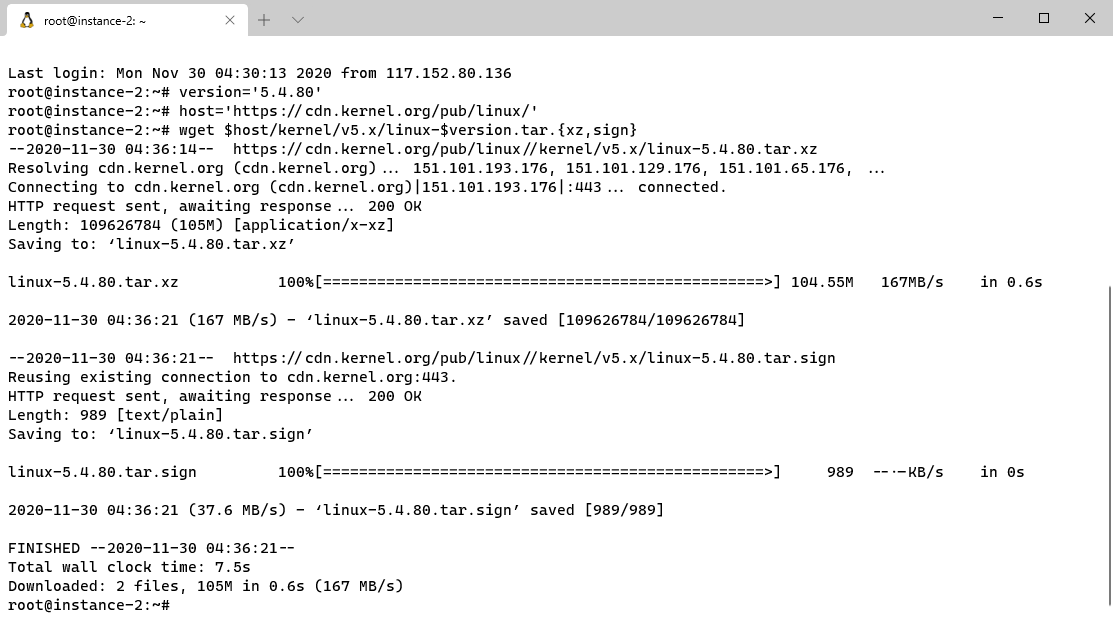
2. 验证签名
看到 Good signature 即证明源码未损坏
gpg —locate-keys torvalds@kernel.org gregkh@kernel.org # download and import keys
gpg —verify linux-$version.tar.sign # verify the .tar archive against the signature
3. 解包源码
tar —extract —file=linux-$version.tar & progress —monitor —pid $!
cd linux-5.4.80/
图略
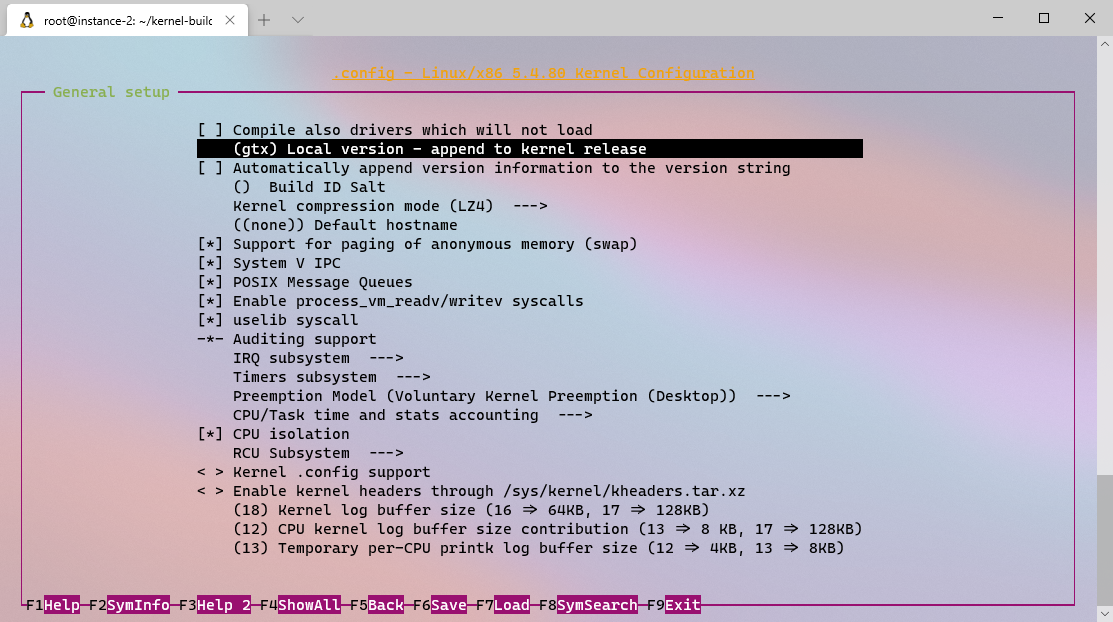
4. 修改内核版本号
修改内核版本号,方便后续验证编译成果。
make nconfig # append your custom local version string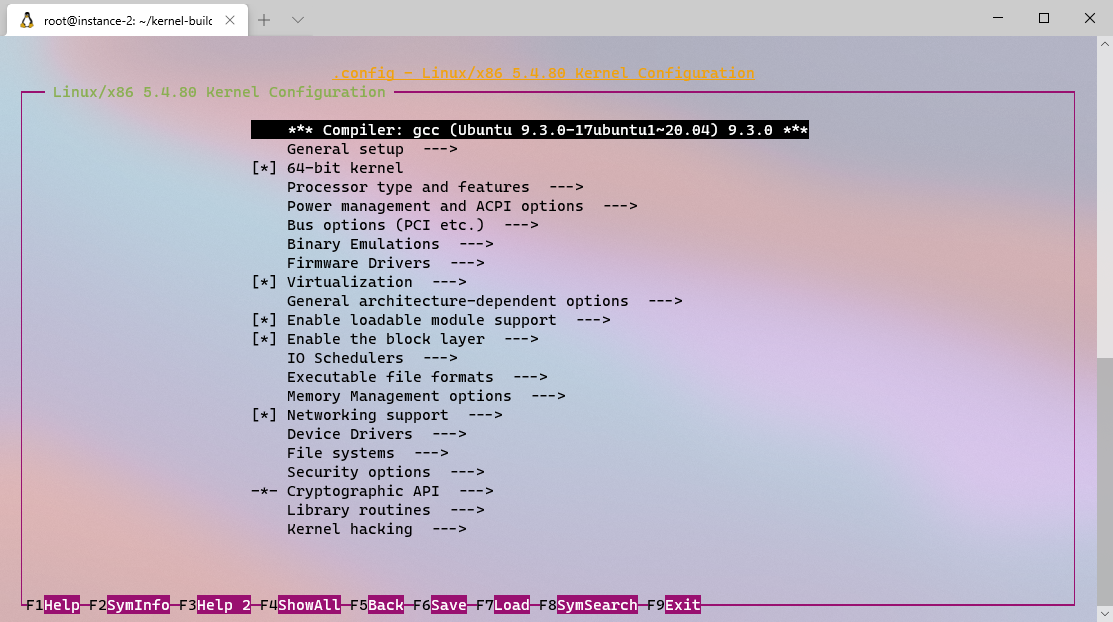
Step 2 添加系统调用
以下修改均在kernel-build/linux-5.4.80下
cd ~/kernel-build/linux-$version # kernel source code directory
1. 添加函数原型
cd include/linux/
vim syscalls.h
添加
asmlinkage long sys_setnice(pid_t pid, bool set, int niceval, int user *nice, int user *prio);
2. 添加系统调用表
cd include/uapi/asm-generic/
vim unistd.h
末尾追加表项,NR_syscalls 也要相应添加
#define NR_setnice 436
SYSCALL(NR_setnice,sys_setnice)
undef NR_syscalls
#define NR_syscalls 437
3. x86 系统调用表
cd arch/x86/entry/syscalls/
# 按对应格式在列表末尾追加表项
vim syscall_64.tbl
# 添加
436 common setnice __x64_sys_setnice
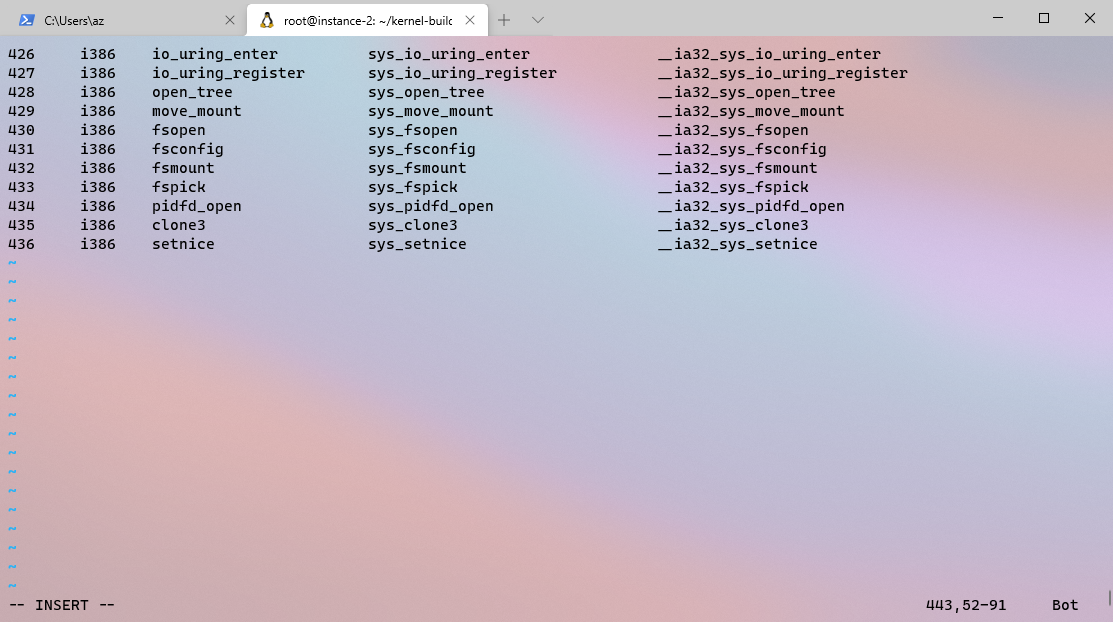
vim syscall_32.tbl
# 添加
436 i386 setnice sys_setnice __ia32_sys_setnice
4. 添加入口点
cd kernel/
vim sys.c
# 添加如下代码
/
Set/get nice value and get priority value of a process with given ID;
Set new nice value only if parameter set is true;
Get values of nice and priority of the process at last.
/
SYSCALL_DEFINE5(setnice, pid_t, pid, bool, set, int, niceval,
int __user , nice, int __user , prio)
{
int tmp;
struct task_struct tsk = find_get_task_by_vpid(pid);
if (tsk == NULL)
return -ESRCH; // no such process
if (set == true) // set new nice value<br /> set_user_nice(tsk, niceval);tmp = task_nice(tsk); // get nice value<br /> if (copy_to_user(nice, &tmp, sizeof(tmp)))<br /> return -EFAULT; // bad addresstmp = task_prio(tsk); // get priority value<br /> if (copy_to_user(prio, &tmp, sizeof(tmp)))<br /> return -EFAULT; // bad addressreturn 0;<br />}<br />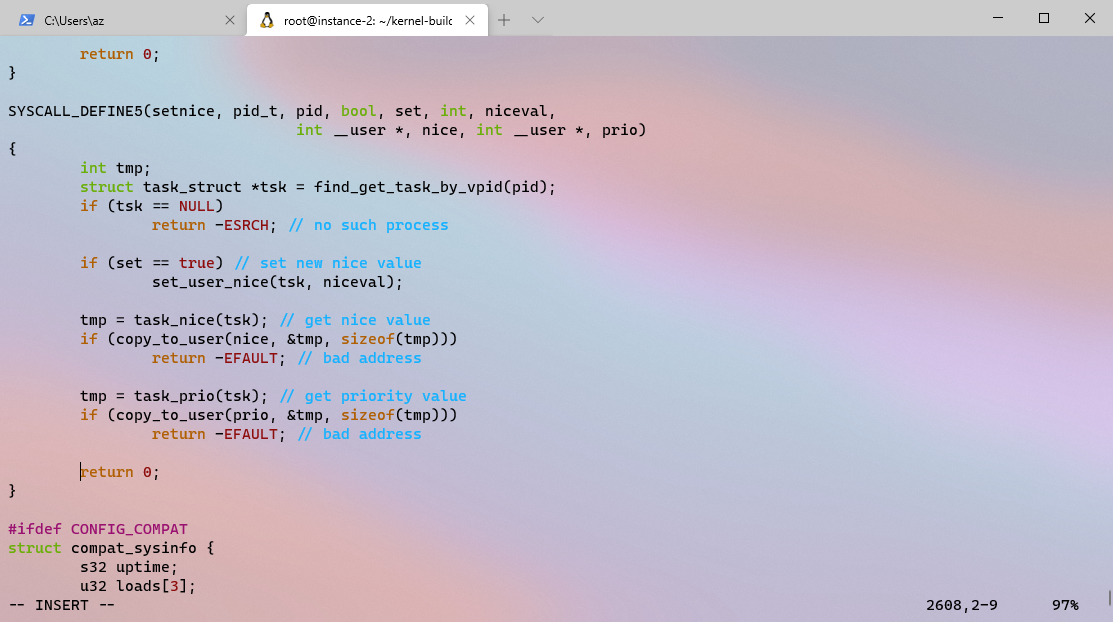<br /> <br />
Step 3. 编译内核
1. 编译内核模块
使用 time 命令可为编译计时;使用 —jobs=X 选项可并行工作以加快编译,其中 X 为处理器线程数,对应虚拟机的配置。
time make —jobs=16 # compile kernel
编译完成: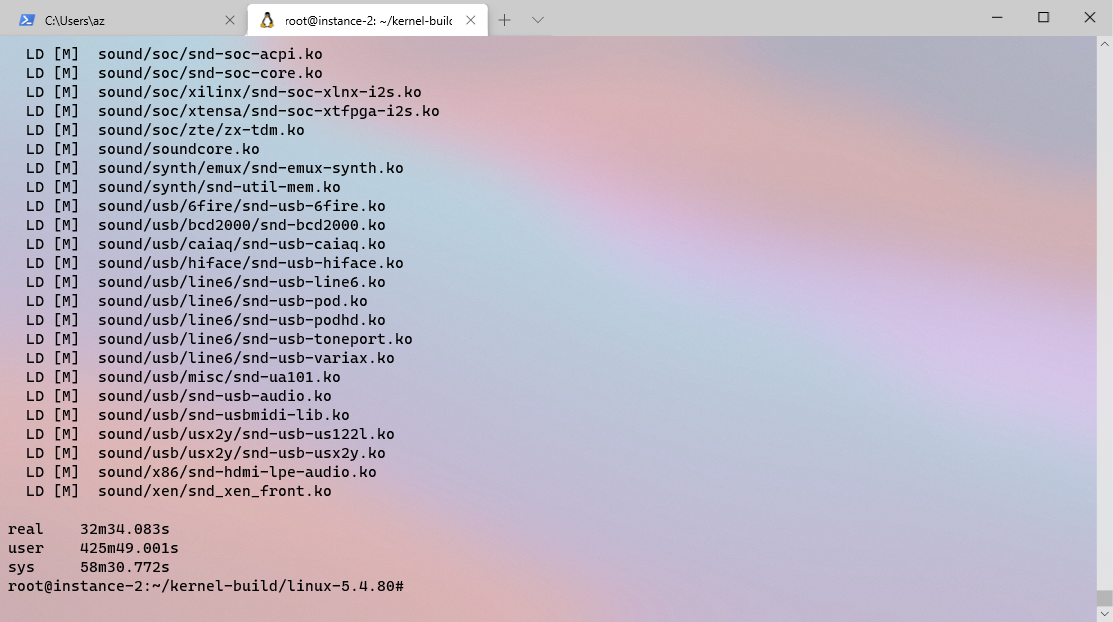
2. 安装内核模块
make modules_install # compile kernel modules
运行结束: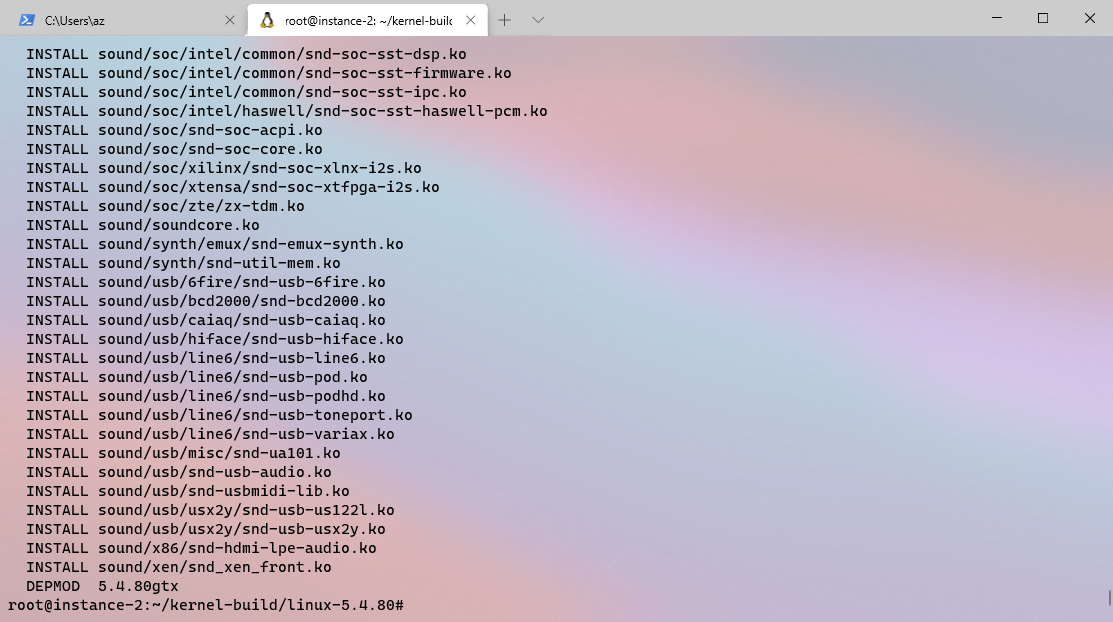
3. 安装内核
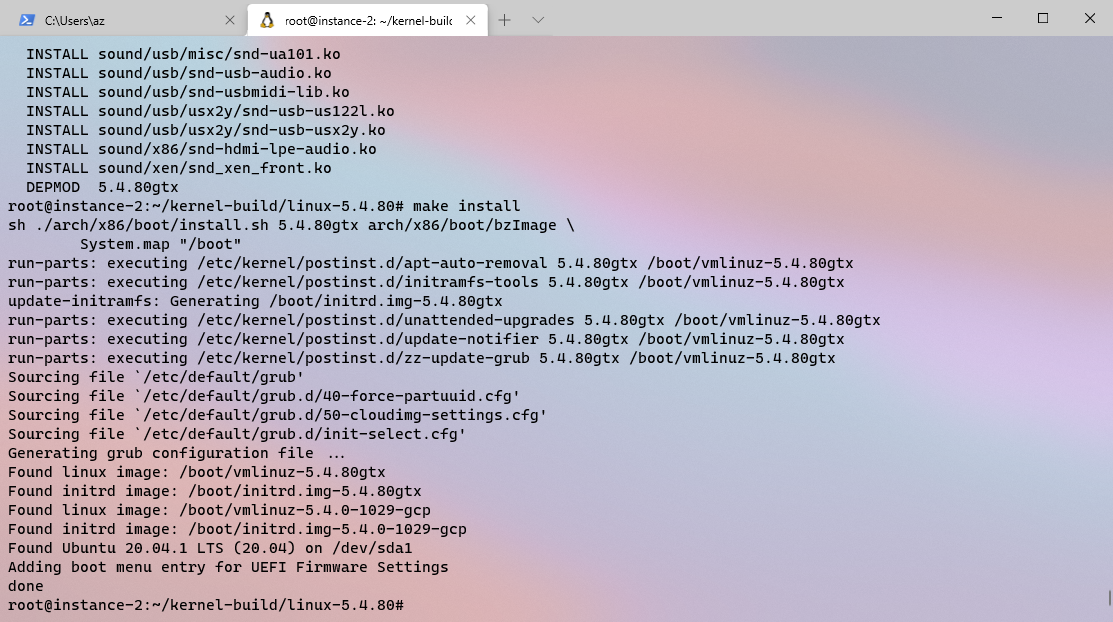
4. 配置 grub 引导程序
配置 grub 引导程序 并 重启
update-grub2
reboot
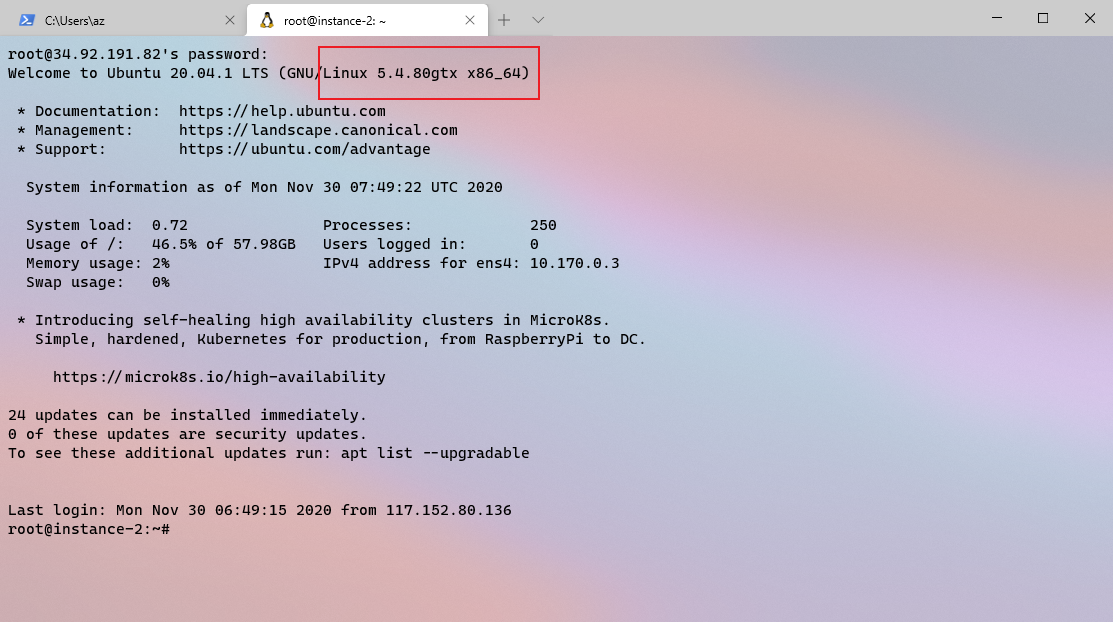
Step 4. 测试系统调用
1. 查看版本号
2. 运行测试程序
编译运行下述程序:
#include
#include
#include
define _NR_setnice 436 // syscall name and number_
int main(void)
{
printf(“[ Test program for syscall setnice ]\n”);
printf(“—————————————————————-\n”);
printf(“Will test on this process itself by default\n”);
printf(“or anohter process (need input process id).\n”);
printf(“—————————————————————-\n”);
printf(“:: Test on this process itself? [y/n] “);
pid_t pid; _// pid number_<br /> char choice;<br /> scanf("%c%*c", &choice); _// choose process to test_<br /> **if** (choice != 'y') {<br /> printf(":: Process ID: ");<br /> scanf("%d", &pid);<br /> }<br /> **else** {<br /> pid = getpid();<br /> printf("Process ID: %d\n", pid);<br /> }<br /> choice = 'g'; _// get nice value at first time_<br /> printf("Original values:\n");<br /> int count = 1;<br /> **do** {<br /> int err, niceval, nice, prio;<br /> int set = (choice != 'g');<br /> **if** (set) {<br /> printf(":: New nice [-20, 19]: ");<br /> scanf("%d%*c", &niceval);<br /> }<br /> **if** (err = syscall(__NR_setnice, pid, set, niceval, &nice, &prio)) {<br /> printf("Error %d, test terminated.\n", err);<br /> **return** err;<br /> }printf("Nice: %d\n", nice);<br /> printf("Priority: %d\n", prio);<br /> printf(":: [%d] Set/get nice value? (Ctrl+C to exit) [s/g] ", count++);<br /> } **while** (scanf("%c%*c", &choice) != EOF);<br />}<br />cd cprogram/<br />touch test_setnice.c<br />vim test_setnice.c<br /># 将上述程序复制进去<br />gcc test_setnice.c -o test<br />./test<br />运行结果如下:<br />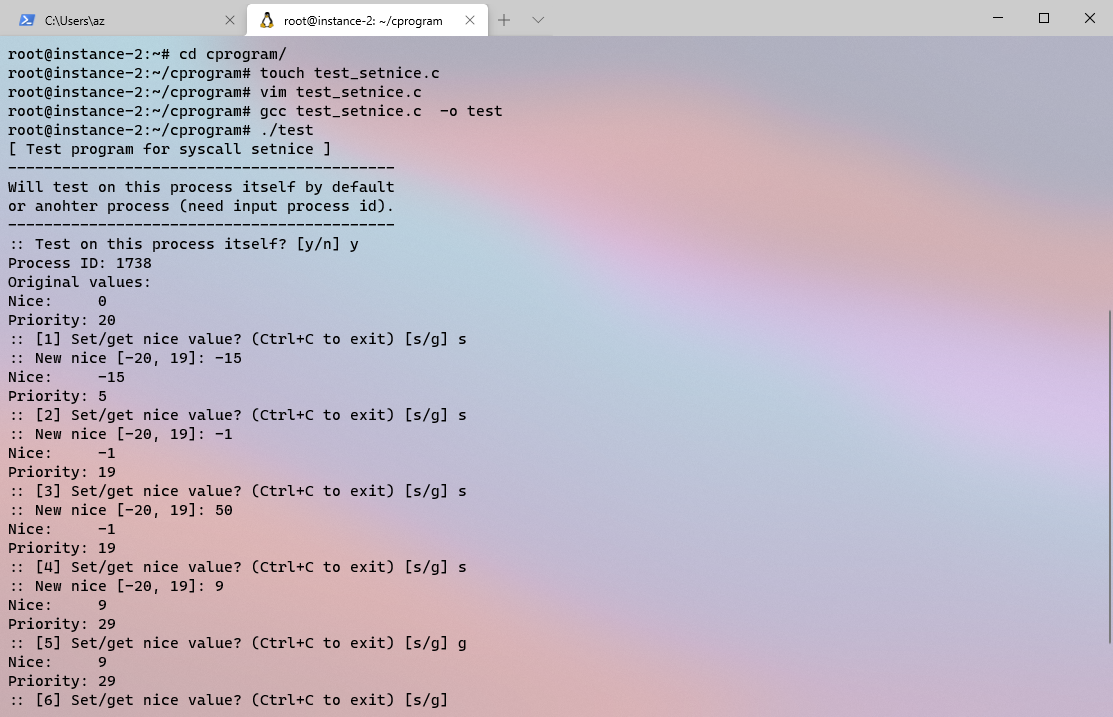<br />
参考资料
Linux 内核编译及添加系统调用
Adding a New System Call — The Linux Kernel documentation

若有收获,就点个赞吧
0 人点赞
