初始化处理
配置router目录下的index.js
import Vue from 'vue'import VueRouter from 'vue-router'import Login from '@/views/Login'Vue.use(VueRouter)const routes = [{path: '/',name: 'Login',component: Login},]const router = new VueRouter({routes})export default router
入口文件main.js
import Vue from 'vue'import App from './App.vue'import router from './router'import ElementUI from 'element-ui';import 'element-ui/lib/theme-chalk/index.css';Vue.config.productionTip = falseVue.use(ElementUI);new Vue({router,render: h => h(App)}).$mount('#app')
登录页面编写
<template><div id="root"><el-form ref="loginForm" :rules="rules" :model="form" id="login-form"><h2>Login Page</h2><el-form-item prop="username"><el-input v-model="form.username" type="text" placeholder="Please input your phone"></el-input></el-form-item><el-form-item prop="password"><el-input v-model="form.password" type="password" placeholder="Please input your password"></el-input></el-form-item><el-form-item><el-input v-model="form.code" style="width: 60%" placeholder="Please input check code"></el-input><img src="" alt=""></el-form-item><el-button type="primary" style="width: 100%" plain @click="submitForm">TO LOGIN</el-button></el-form></div></template><script>export default {data(){return{form: {username: '',password: "",code: "",},rules: {username: [{required: true,message: 'Please input your username',trigger: 'blur',},{min: 5,max: 10,message: 'Length should be 5 to 10',trigger: 'blur',}],password: [{required: true,message: 'Please input your password',trigger: 'blur',},{min: 5,max: 10,message: 'Length should be 5 to 10',trigger: 'blur',}],}}},methods:{submitForm() {this.$refs.loginForm.validate((valid) => {if (valid) {alert('submit!')} else {this.$message({showClose: true,message: 'Please input all the information of the form',type: 'error'});return false}})},}}</script><style scoped lang='less'>#login-form{margin:150px auto;width: 450px;background: white;border: 1px solid #EEE;border-radius: 20px;padding: 30px 40px 60px 40px;box-shadow: 0 0 25px #CCC;h2 {text-align: center;}.el-form-item{margin-bottom: 30px;}}</style>
后端跨域解决方案
跨域含义:前端代码放在一个tomcate服务器里面,后端代码放在一个tomcat服务器里面,每个服务器都需要一个端口号,两个端口号不能很好的统一起来访问
解决方法:可以在后端解决,也可以放在前端解决,前端解决是要放在nginx里面访问的
这里面主要讲解后端解决方式
@Configurationpublic class WebConfig extends WebMvcConfigurerAdapter {// 这是要解决跨域问题(全局配置类)@Overridepublic void addCorsMappings(CorsRegistry registry) {registry.addMapping("/**").allowedOriginPatterns("http://locathost").allowedMethods("GET","POST","PUT","DELETE","OPTIONS").allowCredentials(true).maxAge(3600);}}
可以在后端里面创建一个专门的util工具类,在里面专门解决跨域问题的代码
本方式就是按照此种方式来进行
说明:配置类要继承WebMvcConfigurerAdapter ,在该方法下面有一个addCorsMappings方法要自己配置
allowedOriginPatterns:允许要访问的路径
allowedMethods:允许访问的方式,主要是五类,GET POST PUT DELETE 以及OPTIONS
allowCredentials:表示是否携带token的值,设置为允许
maxAge:允许最大的访问时间
@RestController@CrossOrigin("http://localhost:8080")public class LoginController {@RequestMapping("/login")public String login(@RequestBody User user){System.out.println("user:"+user);return "login";}}
封装axios工具类

引入iconfont图标
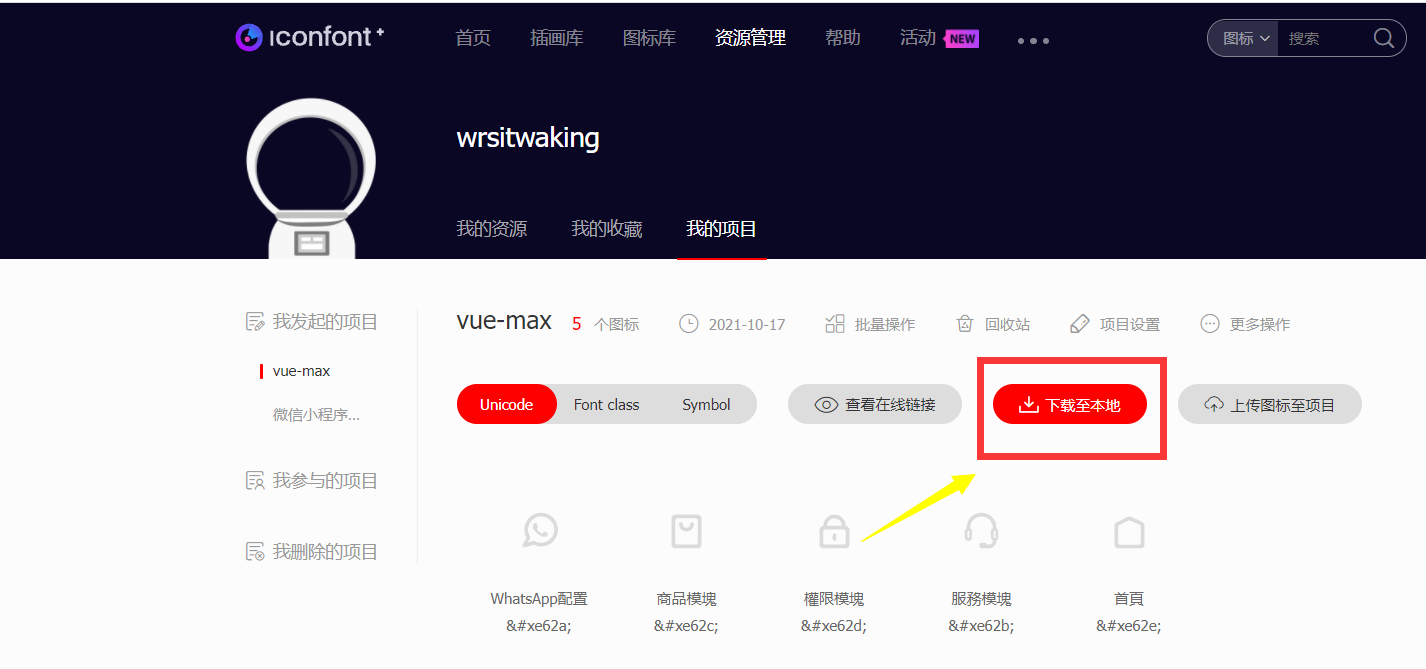
下载到本地放到asset中,在main.js中引入
import './assets/font/iconfont.css'
注意:prefix-icon中类不要加点
<el-form-item prop="username"><el-input v-model="form.username" type="text" prefix-icon="iconfont icon-shouye" placeholder="Please input your phone"></el-input></el-form-item><el-form-item prop="password"><el-input v-model="form.password" type="password" prefix-icon="iconfont icon-quanxianmokuai" placeholder="Please input your password"></el-input></el-form-item>
日常注意点
注意Post请求和Get请求的区别

若有收获,就点个赞吧
0 人点赞
