文件夹的名字要是英文并且不能是大写字母开头,例如:catchina
做这些操作首先要看node.js是否安装成功,如果成功则继续,如果不成功则先安装node.js。
npm -v --查看
一、初始化webpack
npm init -ynpm i webpack webpack-cli -S
1.1新建文件webpack.config.js
1.2配置package.json
//更改"text"属性为"scripts": {"build": "webpack --config webpack.config.js"}
1.3初次打包
新建一个src的文件夹,在src下面新建一个index.js文件
在文件webpack.config.js中写入
//webpack.config.jsconst path = require("path")const config = {entry:path.join(__dirname,'src/index.js'),//入口文件output:{filename:"bundle.js",path:path.join(__dirname,'dist')},mode:"development"}module.exports = config
//在命令行中输入npm run build//初次打包成功
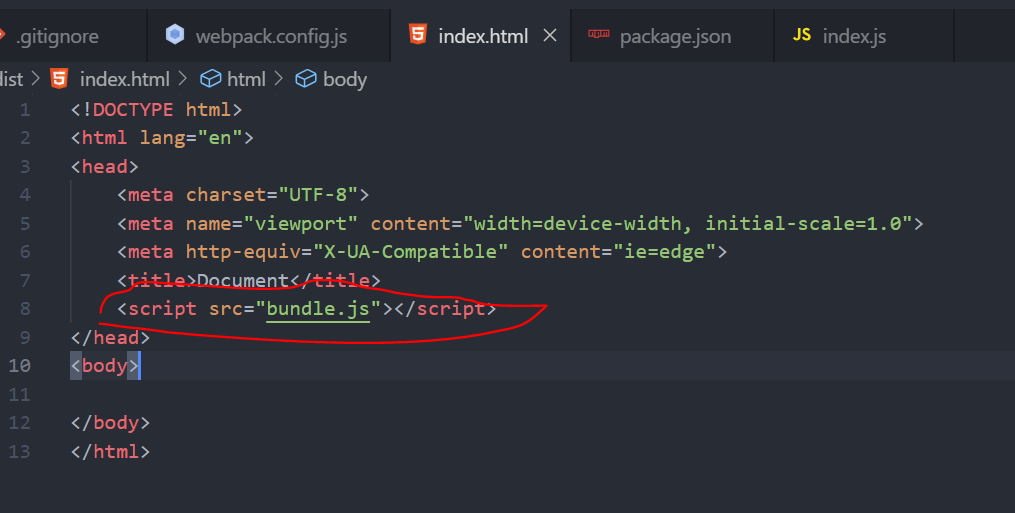
**手动输入查看,如果想要查看效果,在src中新建一个index.html,将bundle.js放进去
二、配置plugins
npm i html-webpack-plugin -Snpm i clean-webpack-plugin -S
//html-webpack-plugin:在dist目录下自动生成html,让打包的js文件自动插入const HtmlWebpackPlugin=require('html-webpack-plugin');plugins:[...new HtmlWebpackPlugin({title:"webpack测试"}),],
//clean-webpack-plugin:每次打包之前先把dist目录下的文件清除,重新打包一个const {CleanWebpackPlugin}=require('clean-webpack-plugin');plugins:[...new CleanWebpackPlugin(),],
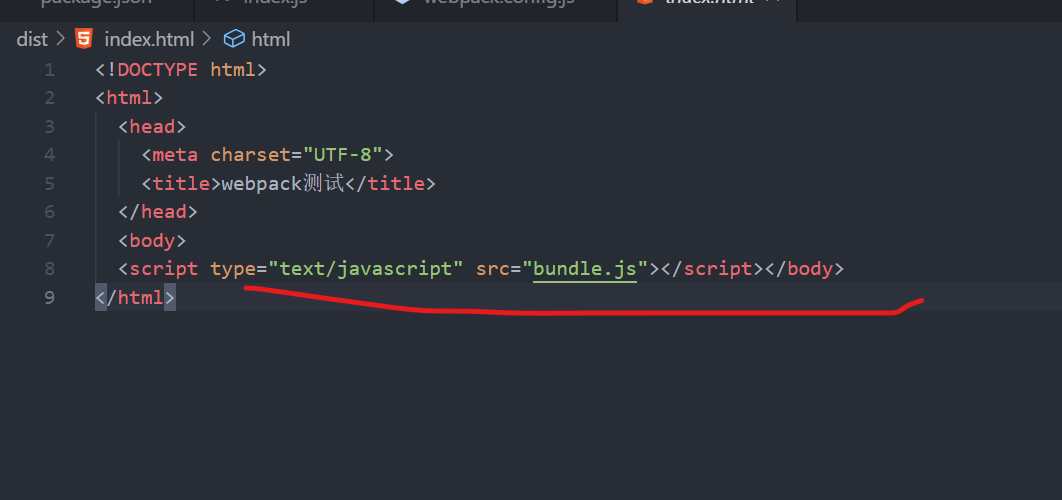
npm run build //会自动生成一个index.html
自动生成一个index.html,并自动将bundle.js添加进去
三、webpack-server
//写代码的时候可以直接在页面看到效果
npm i webpack-dev-server -Snpm i cross-env -S //跨屏
3.1配置package.json的”scripts”
"scripts": {"build": "cross-env NODE_ENV=production webpack --config webpack.config.js","serve":"cross-env NODE_ENV=development webpack-dev-server --config webpack.config.js"},
3.2 配置webpack.config.js
const isDev = process.env.NODE_ENV =='development'if(isDev){config.devServer = {port:8080,host:'localhost',overlay:{errors:true},hot:true}}
npm run serve
判断是开发环境还是生产环境
plugins:[new CleanWebpackPlugin(),new htmlWebpackPlugin(),new webpack.DefinePlugin({// 这里定义在js中可以引用用于判断当前开发环境'process.env':{NODE_ENV:isDev?'"development"':'"production"'}})]
热加载
if (isDev) {config.devtool = '#cheap-module-eval-source-map',// vue-devtools是一款基于chrome游览器的插件,用于调试vue应用config.devServer = {port: 8880,host: '0.0.0.0',overlay: {errors: true,},// 当修改一个组件时只修改当前的部分,不需要修改整个页面hot: true,},config.plugins.push(// 作用:HMR插件将HMR Runtime代码嵌入到bundle中,能够操作APP代码,完成代码替换new webpack.HotModuleReplacementPlugin(),// 作用:跳过编译时出错的代码并记录,使编译后运行时的包不会发生错误。new webpack.NoEmitOnErrorsPlugin())}
四、loader
index.js处理css
npm i css-loader style-loader -S
npm i vue-loader vue vue-template-compiler -S
npm i file-loader -S
4-1 配置webpack.config.js
const {VueLoaderPlugin} = require('vue-loader');
const config = {
    plugins:[
        new VueLoaderPlugin()
    ],
    module:{
        rules:[
            {
                test:/\.css$/,
                use:[
                    'style-loader',
                    'css-loader'
                ]
            },{
                test:/\.vue$/,
                use:'vue-loader'
            },{
                test:/\.png|jpg|gif$/i,  //图片结尾
                use:'file-loader'
            }
        ]
    },
    mode:"development"
}
4-2 配置src/index.js
import Vue from 'vue'
import '../assets/index.css'   //css样式
import App from './App.vue'
const root = document.createElement("div");  //在页面上显示
document.body.append(root);
new Vue({
    render:h=>h(App)
}).$mount(root)
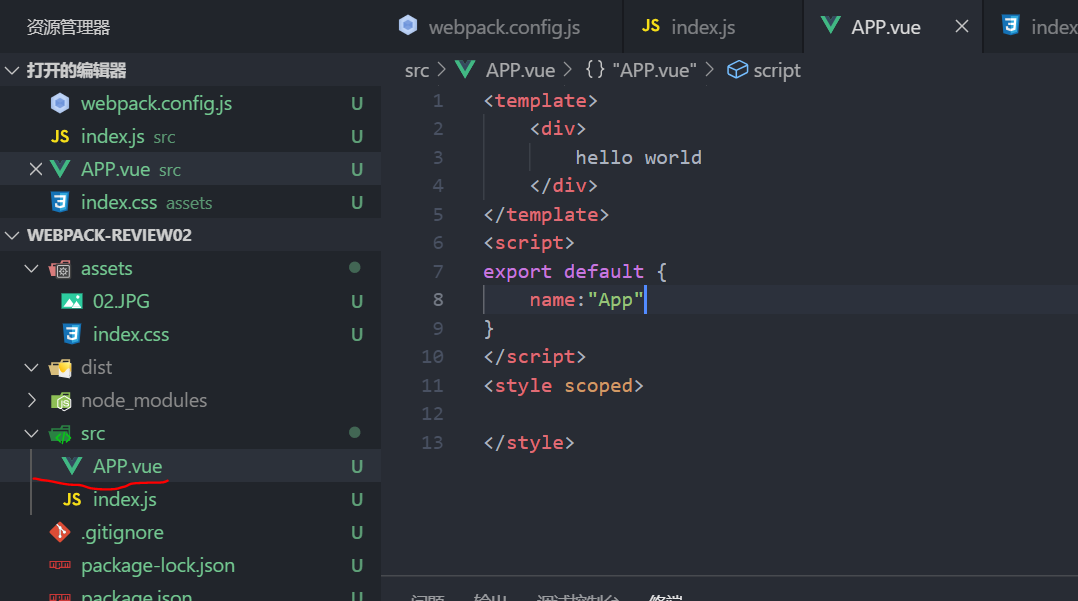
在src中新建一个App.vue的文件
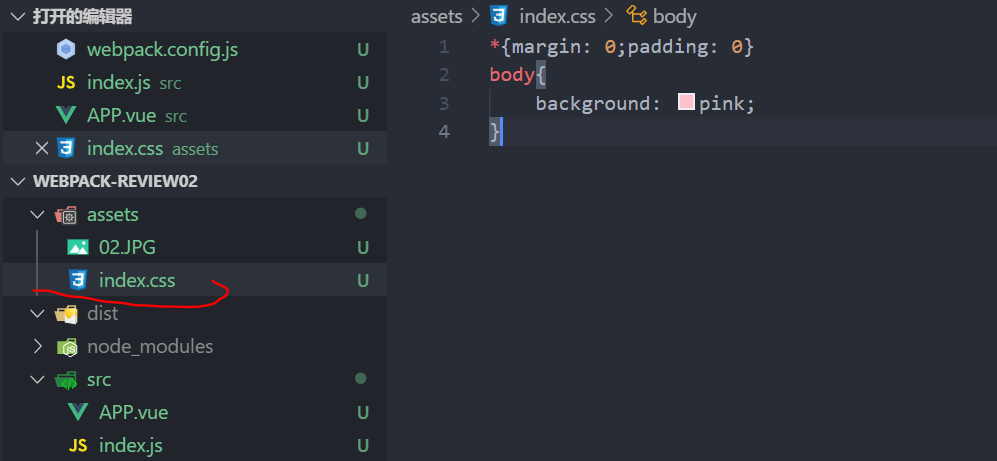
在assets中新建index.css,里面写样式
五、vue打包看效果
npm install -g serve
serve -s dist
六.请求网络数据
npm i axios -S
App.vue
<template>
   <div class="container">
      <div v-for="item of musics" :key="item.id">
         <img :src="item.coverImgUrl" alt="">
         <p>{{item.name}}</p>
      </div>
   </div>
</template>
<script>
import axios from 'axios'
export default {
    name:"App",
    data(){
        return{
            musics:[]
        }
    },
    mounted(){
       var url="http://192.168.14.49:3000/top/playlist?cat=日语"
      /*  this.axios(url).then(res=>{
           console.log(res)
       }) */
       axios.get(url).then(res=>{
           this.musics=res.data.playlists;
       })
    }
}
</script>
七.作业地址
https://gitee.com/wangsiman/wuhanhomework/tree/master/webpack

