- 创建项目和配置ESLint校验规范
项目初始化
创建项目
- 首先确定项目是vite+vue+TS完成的。
- 检查node.js版本
node -v
- 安装vite
npm init vite@latest//我并没安装 于是按y进行安装//安装完成后,选择项目名字 我选择了shop-admin//选择框架 我选择了vue//选择vue or vue-ts 我这个项目想用ts,于是选择vue-ts
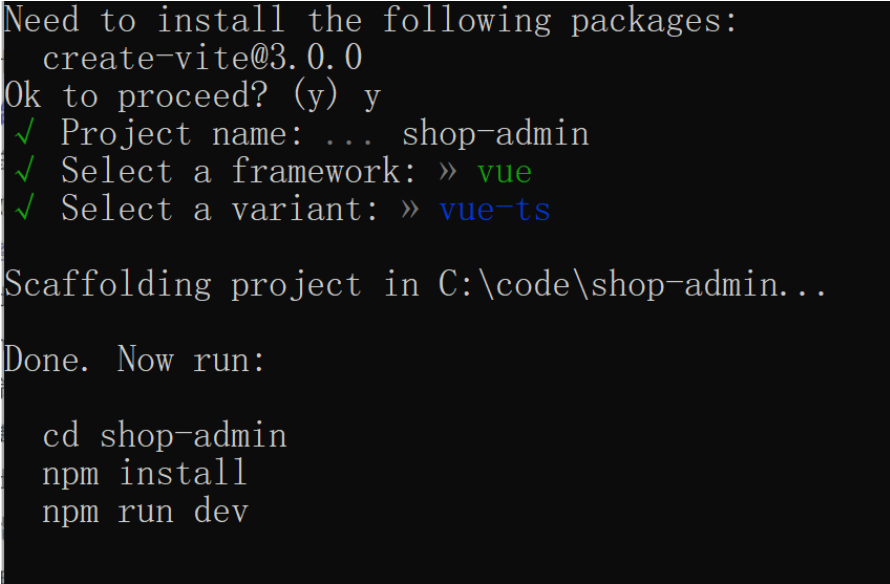
项目就创建成功啦!
- 安装依赖。
npm i//中途我网络太差了,报错npm ERR! code ERR_SOCKET_TIMEOUTnpm ERR! network Socket timeoutnpm ERR! network This is a problem related to network connectivity.npm ERR! network In most cases you are behind a proxy or have bad network settings.npm ERR! networknpm ERR! network If you are behind a proxy, please make sure that thenpm ERR! network 'proxy' config is set properly. See: 'npm help config'npm ERR! A complete log of this run can be found in:npm ERR! C:\Users\77518\AppData\Local\npm-cache\_logs\2022-08-03T00_58_03_570Z-debug-0.log//问题不大,重复安装,再来一次npm iadded 1 package, removed 22 packages, and changed 8 packages in 3m4 packages are looking for fundingrun `npm fund` for details//完事
- 打开项目
npm run dev//以下就是完成信息VITE v3.0.4 ready in 4154 ms➜ Local: http://127.0.0.1:5173/➜ Network: use --host to expose//点击local的地址就是我们项目的地址了
初始项目目录
分别是node_modules, public, src文件夹
- node_module 第三方包的存储目录
- public 用来放置不需要编译构建的纯静态资源
- src包含了基本所有需要构建的资源
- src的main.ts就是项目启动入口
- App.vue项目的根组件
- shims-vue.d.ts/vite-env.d.ts ts相关的文件
- assets文件夹主要也是放置纯静态资源
- components就组件库
- gitignore主要是放置不需要git版本管理的
- index.html单页面文件的主页
package-lock.json package.json与npm相关的文件
比如,一些命令和依赖相关信息
"scripts": {//npm脚本//输入比较麻烦的一些命令配置"dev": "vite",//发布上线的build命令 把源码构建成可以浏览器直接运行的结果,校验ts类型,类型通过则vite build,否则就不会进行构建了"build": "vue-tsc --noEmit && vite build",//vite preview预览打包的结果"preview": "vite preview"},//依赖的相关信息"dependencies": {"vue": "^3.2.37"},"devDependencies": {"@vitejs/plugin-vue": "^3.0.0","typescript": "^4.6.4","vite": "^3.0.0","vue-tsc": "^0.38.4"}
- tsconfig.json 一些基本的ts配置给我们弄好了
- vite.config.ts 这是vite的配置文件。所有vite的配置,我们也可以自定义配置
我们额外在src里添加:
- api,用来存放接口封装的这些模块
- style
- untils 放置与工具相关的模块
- plugins 插件库
- views 存储路由页面,非路由页面放components里
- router 路由器
- store 容器相关的模块
- layout 公共布局组件
- composable项目中封装的组合式API的模块
上传git备份
//初始化 git initC:\code\shop-admin>git initInitialized empty Git repository in C:/code/shop-admin/.git///看看状态git status//以下不受管理,我们在gitignore里设置过的On branch masterNo commits yetUntracked files:(use "git add <file>..." to include in what will be committed).gitignore.vscode/README.mdindex.htmlpackage-lock.jsonpackage.jsonpublic/src/tsconfig.jsontsconfig.node.jsonvite.config.tsnothing added to commit but untracked files present (use "git add" to track)//把变动的全放进去git add .//再次查看一下状态git status//确认没问题后,就能确认提交了。初次提交,因此就写为initgit commit -m "init"//由于还没登陆,因此Author identity unknown*** Please tell me who you are.Rungit config --global user.email "you@example.com"git config --global user.name "Your Name"to set your account's default identity.Omit --global to set the identity only in this repository.fatal: unable to auto-detect email address (got '77518@Lin.(none)')//于是我登陆信息git config --global user.email "you@example.com"git config --global user.name "Your Name"//登陆后,再次提交git commit -m "init"//本地备份完成后,备份到github里//把本地推到线上,复制我们项目的command line//起名叫origingit remote add origin https://github.com/jianqi11/Lin-admin.git//检查下远程仓库git remote -vorigin https://github.com/jianqi11/Lin-admin.git (fetch)origin https://github.com/jianqi11/Lin-admin.git (push)//没啥问题,远程仓库叫origin,那么我们也比较方便,直接操作origin//注意push之前确保有最新的记录才能Push//然后把本地的master分支push到origin里。第一次提交所以用-u,下次就不用了,默认后面的git push -u origin master
代码规范和ESLint
基础配置
由于vite没有提供ESLint, 因此我们得手动配置一下ESLint.
问题不大,开始基础配置
- 安装ESLint到项目中
npm install eslint --save-dev
- 初始化ESLint初始配置
npx eslint --initHow would you like to use ESLint? ...To check syntax only //仅检查语法> To check syntax and find problems //仅检查语法并发现问题To check syntax, find problems, and enforce code style//检查语法 发现问题 强调代码规范//选择第三个//下一步 让我们选择模块? What type of modules does your project use? ...> JavaScript modules (import/export) //ES6的规范 选这个CommonJS (require/exports)None of these//下一步选择 React/Vue.js//下一步? Does your project use TypeScript? » No / Yes//果断yes? Where does your code run? ... (Press <space> to select, <a> to toggle all, <i> to invert selection)√ Browser√ Node//执行环境,选浏览器? How would you like to define a style for your project? ...> Use a popular style guideAnswer questions about your style//选择代码规范,第一个是流行的规范,选第一个就好了? Which style guide do you want to follow? ...> Airbnb: https://github.com/airbnb/javascriptStandard: https://github.com/standard/standardGoogle: https://github.com/google/eslint-config-googleXO: https://github.com/xojs/eslint-config-xo//个人喜欢standard//下一步是选择语言,选JS//下一步选择是否安装 YES? Would you like to install them now? » No / Yes//下一步选择NPMadded 88 packages in 26s4 packages are looking for fundingrun `npm fund` for detailsSuccessfully created .eslintrc.cjs file in C:\code\shop-admin//证明安装完毕
配置完成后,在项目的根目录下多了一个.eslintrc.cjs文件
- ESLint 配置文件,(小小的意见:如果之后ESLint可以选择这个规则就更好了,选择vue2还是vue3)
//.eslintrc.cjsmodule.exports = {env: {browser: true,es2021: true},extends: [// 'plugin:vue/vue3-essential',修改这儿, 我们改成强烈推荐的版本//vue3主要有三个版本,vue3-essential, vue3-strongly-recommended等//使用 Vue 3 规则// https://eslint.vuejs.org/user-guide/#bundle-configurations'plugin:vue/vue3-strongly-recommended','standard'],parserOptions: {ecmaVersion: 'latest',parser: '@typescript-eslint/parser',sourceType: 'module'},plugins: ['vue','@typescript-eslint'],rules: {}}
- 在
npm scripts中添加验证脚本
//package.json"scripts": {...//这样以来,我们在cmd里可以直接执行npm lint,就不需要执行这么多代码了//作用是检查src目录下所有js,jsx,vue.ts,tsx文件模块 --fix代表不符合要求的自动格式化 处理不了的不会动"lint":"eslint ./src/**/*.{js,jsx,vue,ts,tsx} --fix"}
验证:
我们把src/main.ts里
import { createApp } from 'vue'import './style.css'import App from './App.vue';//最后加一个分号,一个小错误
npm run lint
结果自动给我们删除了;
vue-eslint-plugin
介绍了一些规则,以及如何安装,但是我们已经安装好了!
但是也有进行流程的介绍和使用。
编译器集成
如何看到不符合规范的错误提示?
如何按照项目中的ESLint规则要求进行格式化
- 禁用Vetur
- 安装eslint插件
- 安装后,这个插件马上就会自动查找项目中的eslint配置规范并给出提示!
- 如何格式化?
- ESLint是提供了格式化工具的,但是需要我们手动去配置才有。点击vscode 首选项=> 设置 => 扩展 => ESLint => ESLint>format: Enable打勾✔
- 如何使用?右键,选择格式化文档的方式,选择ESLint即可。
- 安装volar插件
配置git commit hook:
保持代码规范是尤其重要的,保持洁癖性!
但是我们每次上传代码前,都得执行一次link,会不会有些麻烦,又或者有时候忘了怎么办?
于是我查找了下,可以进行配置lint-staged!自动执行。
安装:
npx mrm@2 lint-staged
安装完之后,package.json里多了一个husky,lint-staged
husky的作用是拦截,是git脚本的钩子工具,挂载在git之前,在下一次git push或者什么之前。
lint-staged拿到暂存区的代码,比如git add .的文件
并且安装后,自动在script里添加了
"prepare":"husky install"
确保其他人拿到仓库的代码时,若其他人的电脑上没有husky,岂不是尴尬了,就能自动安装了,确实很人性化哦!
配置:
//将以下的代码全换掉"lint-staged": {// "*.js": "eslint --cache --fix"*.{js,jsx,vue,ts,tsx}":["npm run lint",//若lint修复完后,再加到暂存区里,于是g"git add"]}
安装和配置eslint后,及时验证下。
我故意在main.ts里改了代码,多加了一个后期不需要使用的变量a,试试能不能找出来
git add .//备份完毕//验证git commit -m "config eslint"//只要有错误,就会报出来。C:\code\shop-admin\src\main.ts4:7 error 'a' is assigned a value but never used no-unused-vars✖ 1 problem (1 error, 0 warnings)
验证通过!没问题。配置的git commit hook是ok的!
在开发和构建中进行代码规范校验
主要问题:ESLint怎么在开发和构建中进行代码校验。
以上的配置只是存在于git commit时,有个hook钩子来帮我们进行eslint校验。
实际是需要把eslint集成到vite的整个构建环境中
官方并没有提供插件,在vite官网的官方插件里没能找到相关的插件。于是我们需要自己去配。
不过我找到了一个比较不错的插件
安装
npm install eslint vite-plugin-eslint --save-dev
安装完毕后,需要手动配置一下。
在vite.config.ts
import { defineConfig } from 'vite'import vue from '@vitejs/plugin-vue'import eslintPlugin from 'vite-plugin-eslint'// https://vitejs.dev/config/export default defineConfig({plugins: [vue(),eslintPlugin({// 配置选项})]})
插件配置完成后:
当我们开发时代码不规范,都会及时报错
比如我们特意把main.ts里,引入vue后面加个;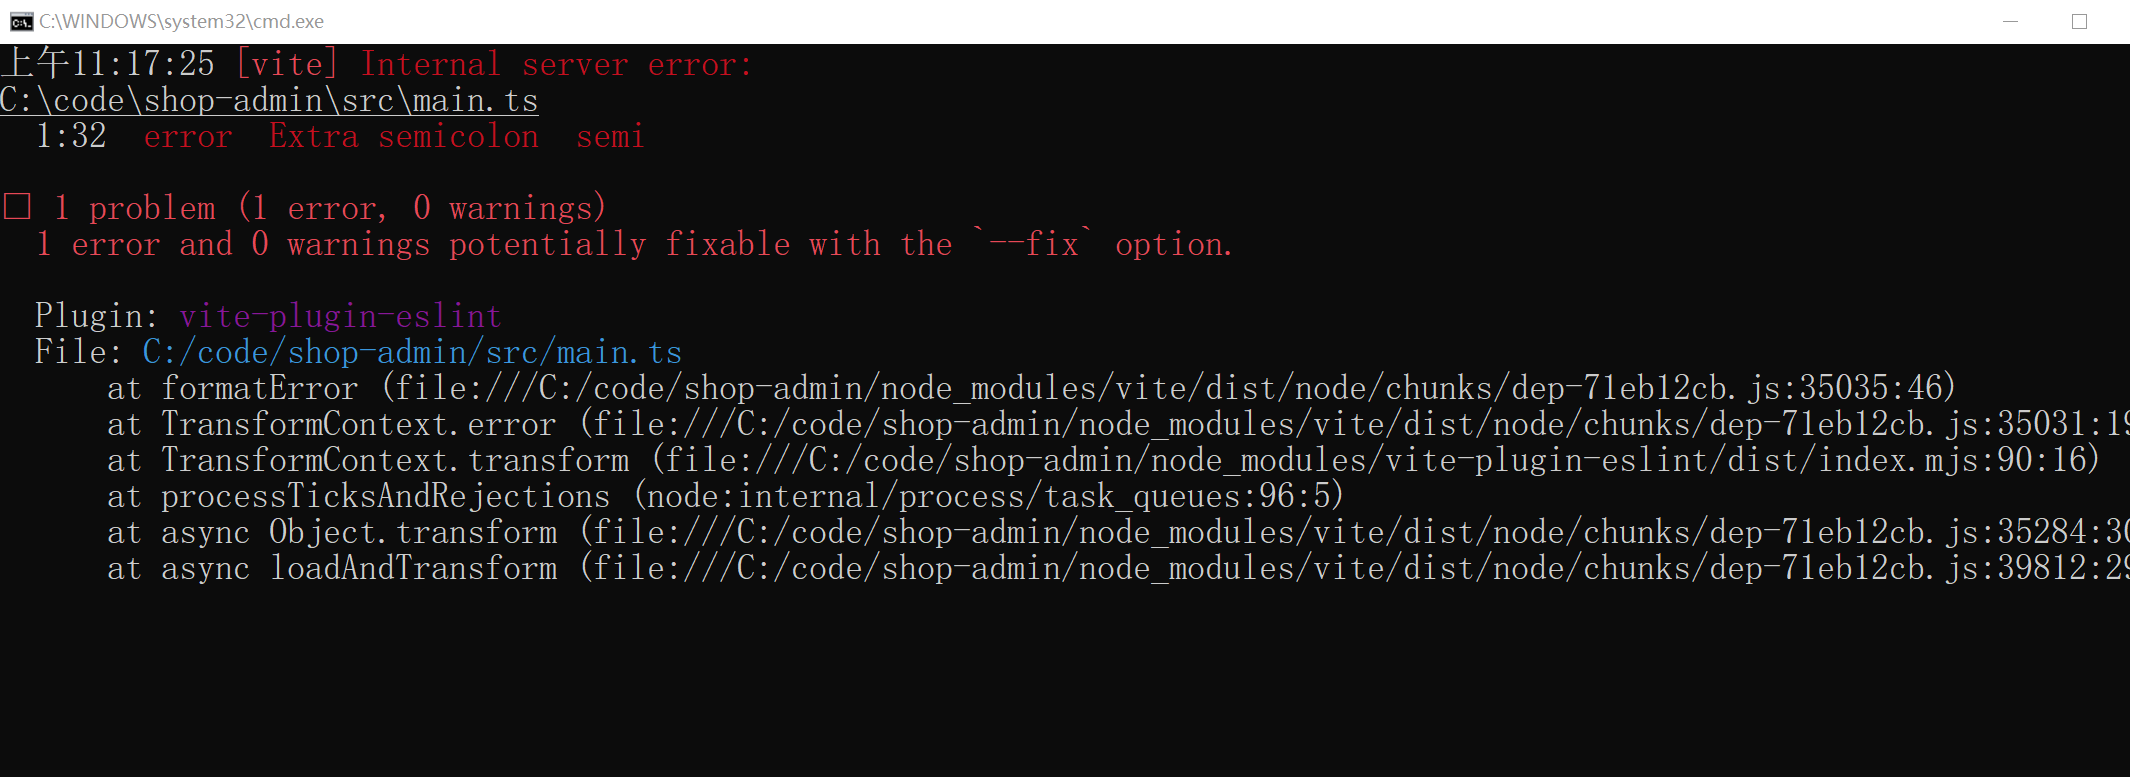
cmd会直接报错,浏览器里也会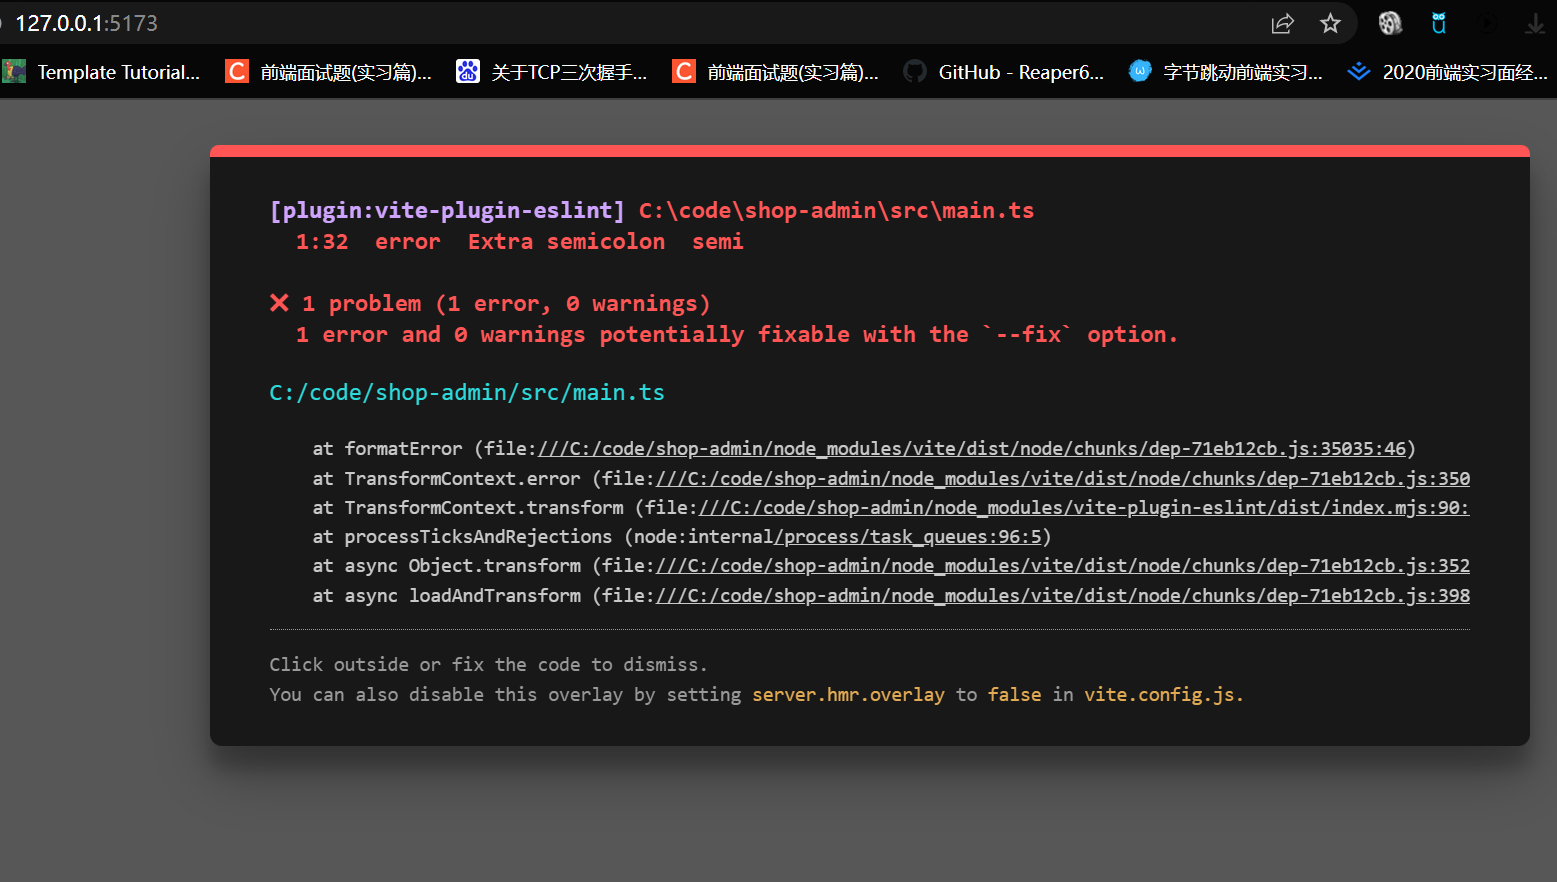
插件原理:
创建eslint插件API,然后在插件里调用eslint进行代码格式验证。
可以修改的配置项:cacha, fix, include…
主要修改的是cache,把缓存关闭,以至于我们可以及时地更新。比如当我们修改错误后,页面的错误可以马上消失。如果不关闭,可能页面验证还没通过,因为是基于缓存的代码。
存在的好处是提高验证的效率。
fix默认false,指的是自动给开发者修复问题,不建议
include指的是验证哪些形式的代码,比如默认包括/.(jsx?|tsx?|vue|svelte)$/
exclude哪些不验证,默认node_modules不验证
formatter格式化
throwOnWarning默认true.抛出警告
throwOnErrot默认true. 抛出异常
但是,只会验证当前的文件,比如我们打开了main.ts,只会验证main.ts,不会验证其他的文件
尝试上线发布
npm run build

没有任何错误,成功构建。
angular git commit规范
参考:阮一峰老师的博客
Git 每次提交代码,都要写 Commit message(提交说明),否则就不允许提交。
git commit就是提交日志,可以自己随意编写,但是,一般来说,commit message 应该清晰明了,说明本次提交的目的。
git commit -m "xxx"
如果一行不够你写,那么
git commit
就会直接跳出文本编辑器任你写
例子:
某一天发现了一个bug,修正后,要提交。可以在commit里写个说明,加上bug的解释
但是没有按照格式编写,开发者本身若查看,也不好查找相关的说明,因此需要定义格式,方便查看。
比如:修复了一个bug
fix($animateCss):"only design can...."
commit的好处
参照阮一峰老师提出的:
- 提供更多的历史信息,方便快速浏览。
比如我们可以通过日志来查看上次发布的变动,而同时也会显示每次的时间。
$ git log <last tag> HEAD --pretty=format:%s
- 过滤某些commit(比如文档改动),便于快速查找信息。
比如,写一段命令,仅仅只显示本次发布新增的功能。
$ git log <last release> HEAD --grep feature
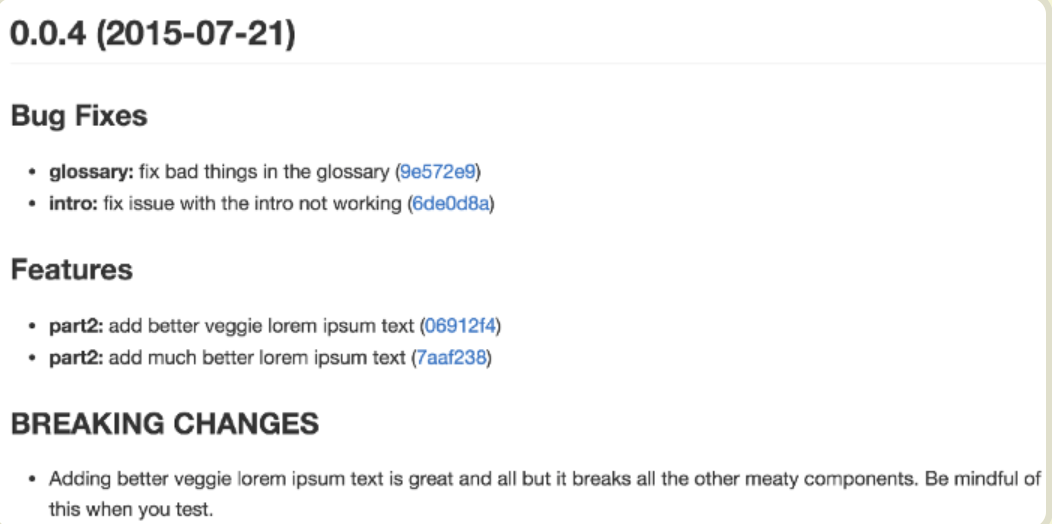
- 可以直接从commit生成Change log.
Change log是在开发者发布新版本时,用来说明与上一个版本差异的文档!
如果每次都写了commit,那么就不用手动写change log,直接可以生成。但是前提是得按照格式来,不能乱写。
commit message格式
每次提交commit message都包含三部分:Header、Body、Footer
//本次提交的类型,影响的作用范围:提交的主题是什么<type>(<scope>):<subject>//空一行<body>//空一行<footer>
其中Header是必需的
2.1 Header
Header部分只有一行,包括了type(必需)、scope(可选)、subject(必需)
type用于说明commit类别,只允许使用下面7个标识
- feat: 新功能(feature)
- fix:修补bug
- docs: 文档(documentation)
- style: 格式(不影响代码运行的变动)
- refactor: 重构(即不是新增功能,也不是修改bug的代码变动)
- test: 新增加了测试或者改了测试
- chore: 构建过程或辅助工具的变动
其中如果type是feat和fix,则该commit将肯定要出现在change log里!其他就由自己决定要不要放进change log里,建议不要。
scope则用于说明commit影响范围,比如数据层、控制层、视图层,视项目不同而不同。
subject是commit目的 的 简短描述,不超过50个字符。
- 以动词开头,使用第一人称现在时,比如change,而不是changed/changes
- 第一个字母小写
- 结尾不加句号
2.2 Body
不是必需的。若单行就不需要Body了,若多行每次需要空一行。
More detailed explanatory text, if necessary. Wrap it toabout 72 characters or so.Further paragraphs come after blank lines.- Bullet points are okay, too- Use a hanging indent
注意:格式还是使用第一人称现在时。内容应该写清楚代码为啥变动以及变动与之前的对比。
2.3 Footer
Footer也不是必须的,只用于两种情况
- 版本变动
如果更新的代码与上个版本不兼容,则Footer部分以BREAKING CHANGE开头,后面是对变动的描述、以及变动理由和迁移方法。
BREAKING CHANGE: isolate scope bindings definition has changed.To migrate the code follow the example below:Before:scope: {myAttr: 'attribute',}After:scope: {myAttr: '@',}The removed `inject` wasn't generaly useful for directives so there should be no code using it.
- 关闭Issue
github开源项目,其他开发者可以给你提bug,或者想让你添加新的功能,就是一个issue。而我们可能要对issue解决问题,解决完了后,就需要关闭issue。
而关闭issue就可以手动关闭,也可以在footer里关闭。
Closes #234, #245, #992
2.4 撤销Commit - Revert
如果当前的commit用于撤销以前的commit,则必须用revert:开头,后面跟着被撤销Commit的Header
revert: feat(pencil): add 'graphiteWidth' optionThis revert commit 667ecc1654a317a13331b17617d973392f415f02.
Body部分的格式是固定的,必须写成This reverts commit <hash>., 其中的hash是被撤销Commit的SHA标识符。
如果当前 commit 与被撤销的 commit,在同一个发布(release)里面,那么它们都不会出现在 Change log 里面。如果两者在不同的发布,那么当前 commit,会出现在 Change log 的Reverts小标题下面。
验证commit
需要配置一个辅助工具来验证commit是否符合规范,commitlint
安装和配置:我们是windows,选择下面那个
# Install commitlint cli and conventional confignpm install --save-dev @commitlint/{config-conventional,cli}# For Windows:npm install --save-dev @commitlint/config-conventional @commitlint/cli# Configure commitlint to use conventional configecho "module.exports = {extends: ['@commitlint/config-conventional']}" > commitlint.config.js
配置完之后,继续配置commit-msg的钩子函数hooks:
Husky在上面eslint已经装过了,所以不需要安装了,并且也激活了,因此也不需要Activate hooks
# Install Husky v6npm install husky --save-dev# oryarn add husky --dev# Activate hooksnpx husky install# oryarn husky install
配置
npx husky add .husky/commit-msg "npx --no-install commitlint -e $HUSKY_GIT_PARAMS"
按官网,完成了配置,那么进行验证
git commit -m "chore: setCommitlint"//结果报错了
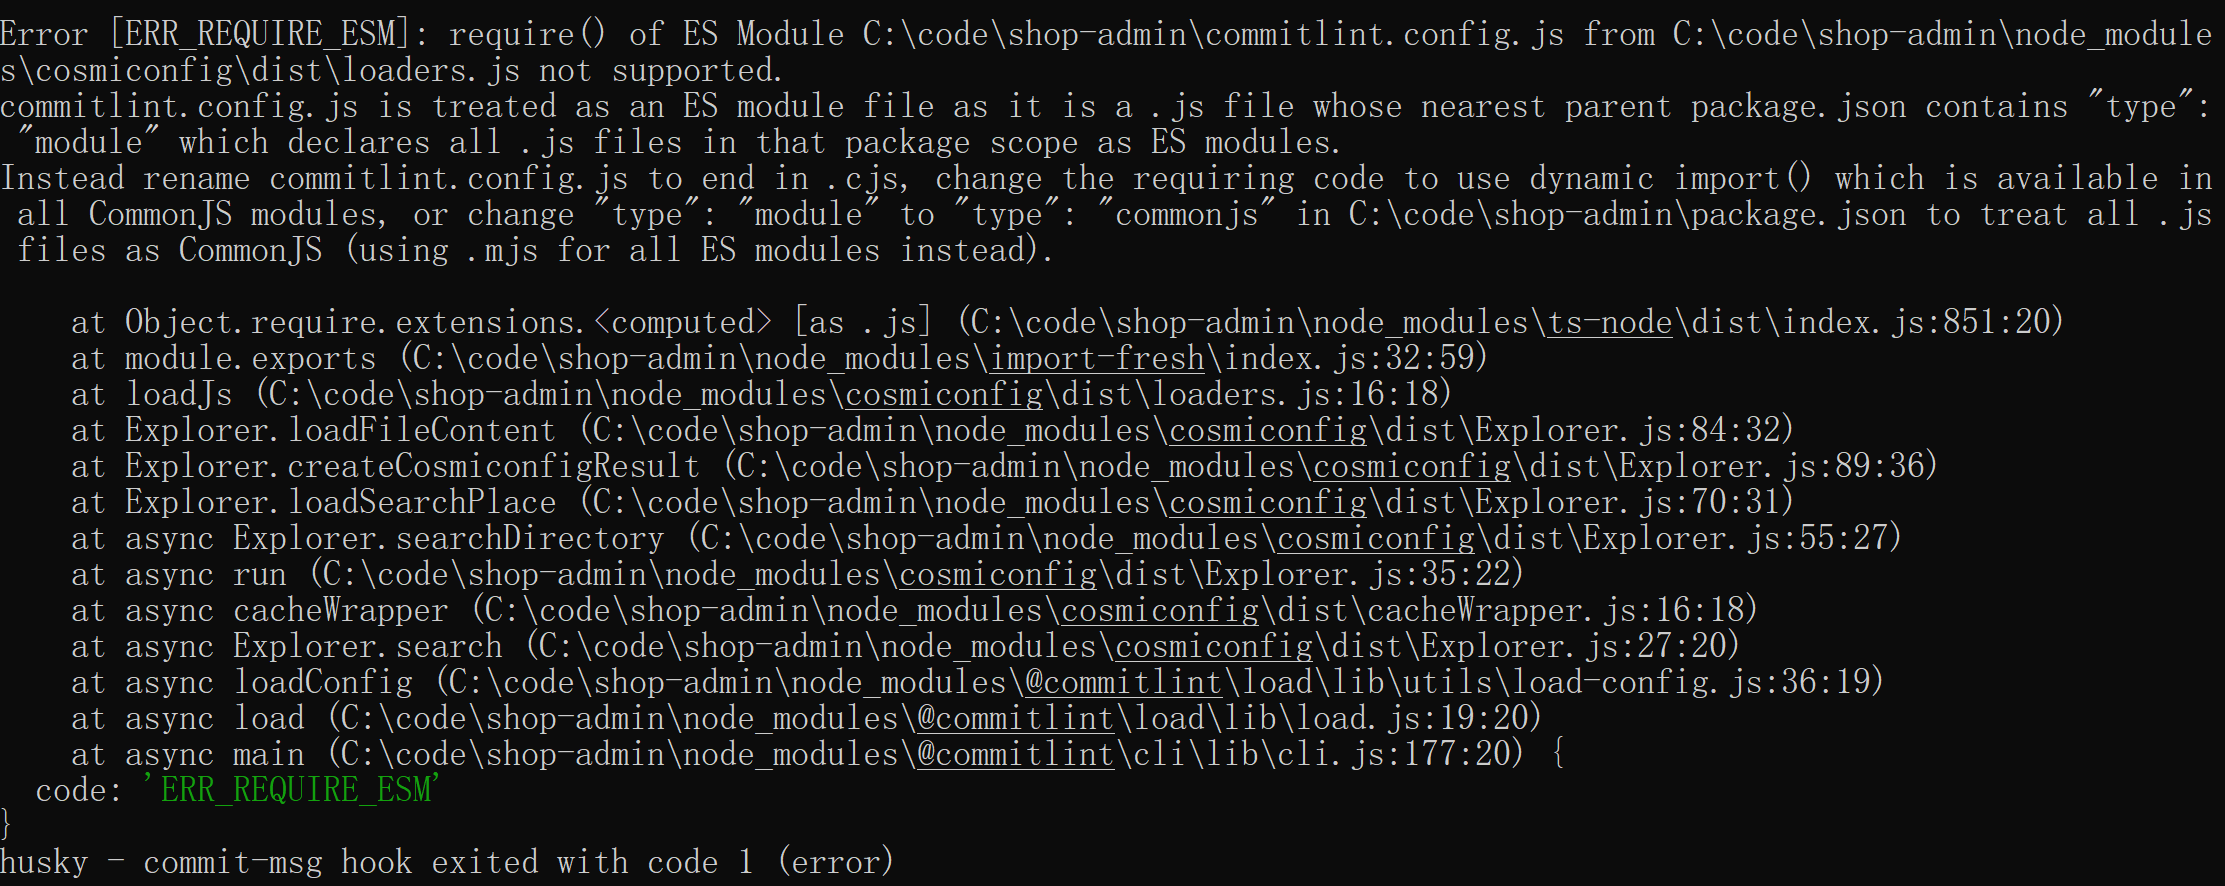
我在谷歌查找了答案,最后解决方案
将commitlint.config.js改成了cjs即可。
再次验证时,却显示我们没定义规则,好吧,我们在commitlint.config,cjs里直接手写规则

module.exports = {extends: ['@commitlint/config-conventional'],rules: {'type-enum': [2, 'always', ['build', 'ci', 'perf', 'feat', 'fix', 'refactor', 'docs', 'chore', 'style', 'revert', 'test']],'type-case': [0],'type-empty': [0],'scope-empty': [0],'scope-case': [0],'subject-full-stop': [0],'subject-case': [0, 'never'],'header-max-length': [0, 'always', 72]}}
再次git add .
再次验证
终于好了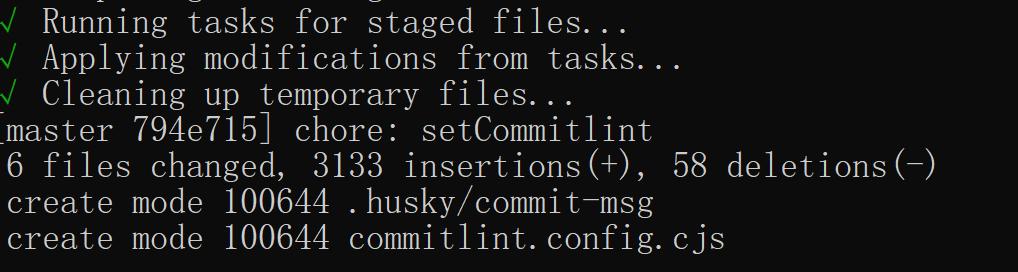

若有收获,就点个赞吧
0 人点赞
