搭建页面架构
一. 初始化ElementPlus
参照:https://element-plus.gitee.io/zh-CN/guide/quickstart.html#全局配置
- 安装:
npm install element-plus --save
- 引入
- 完整引入。字面意思将全部组件加载到项目里,那么在将来打包时,也会全部打包组件到结果中,不推荐。
- 按需引入。引入需要的组件,打包的时候压力比较小。
- 但是,如果引入的组件较多,推荐完整引入,不然按需引入还得一个一个组件注册和配置,比较麻烦。
- 此项目里,需要大量组件,于是选择完整引入。
在plugins里创建一个element-plus.ts专门配置elementPlus
import ElementPlus from 'element-plus'import 'element-plus/dist/index.css'import { App } from 'vue'export default {// 将来注册组件时,自动调用install函数,把vue实例传进来install (app: App) {app.use(ElementPlus)}}
然后导入到main.ts
import elementPlus from './plugins/element-plus'createApp(App).use(router)....use(elementPlus)
这就完成了elementPlus的注册
验证一下
<!--home.vue--><el-button>测试按钮</el-button>
呈现出来了!
全局配置
可以针对elementPlus组件进行全局配置,比如我想让所有插入的element Plus的组件都显示很小的尺寸size,并且让他们在页面最外层zIndex
只需要在完整引入的element-plus.ts里注册的时候加上设置
app.use(ElementPlus,{size:'small', zIndex:3000})
而如果针对某个组件,想修改尺寸
<!--home.vue--><el-button size="mini"></el-button>
国际化:语言
组件内部显示的语言默认为英语,比如当我们插入日期组件,那么日期都是英语的Jan, Feb, March等等这些。
ConfigProvider
可以针对局部生效,也能针对全局生效。
<el-config-provider :locale="locale"><app /></el-config-provider>
被包裹的app就生效。
全局生效:
找到根组件,App.vue,包裹住路由的渲染出口,即可全局生效。
<el-config-provider :locale="locale"><router-view /></el-config-provider><script lang="ts" setup>// 将locale加载进来,也就是语言。import locale from 'element-plus/lib/locale/lang/zh-cn'</script>
这就完事了!
总结
- 安装,通过npm
- 引入elementPlus,我选择了全局引入,创建了element-plus.ts来存放,然后导入,并且注册app.use(elementPlus)
- 将组件的语言设置为中文
二. Layout布局和导航菜单
通过ElementPlus的Container布局容器快速搭建布局
而我们恰好需要以下布局:
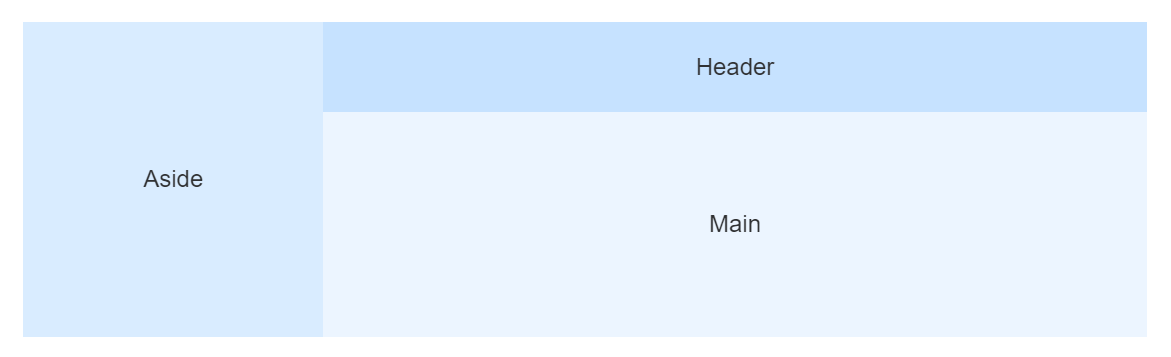
即可直接用。
Layout组件
新建src / layout / AppLayout.vue文件,然后将element提供的代码直接导入。
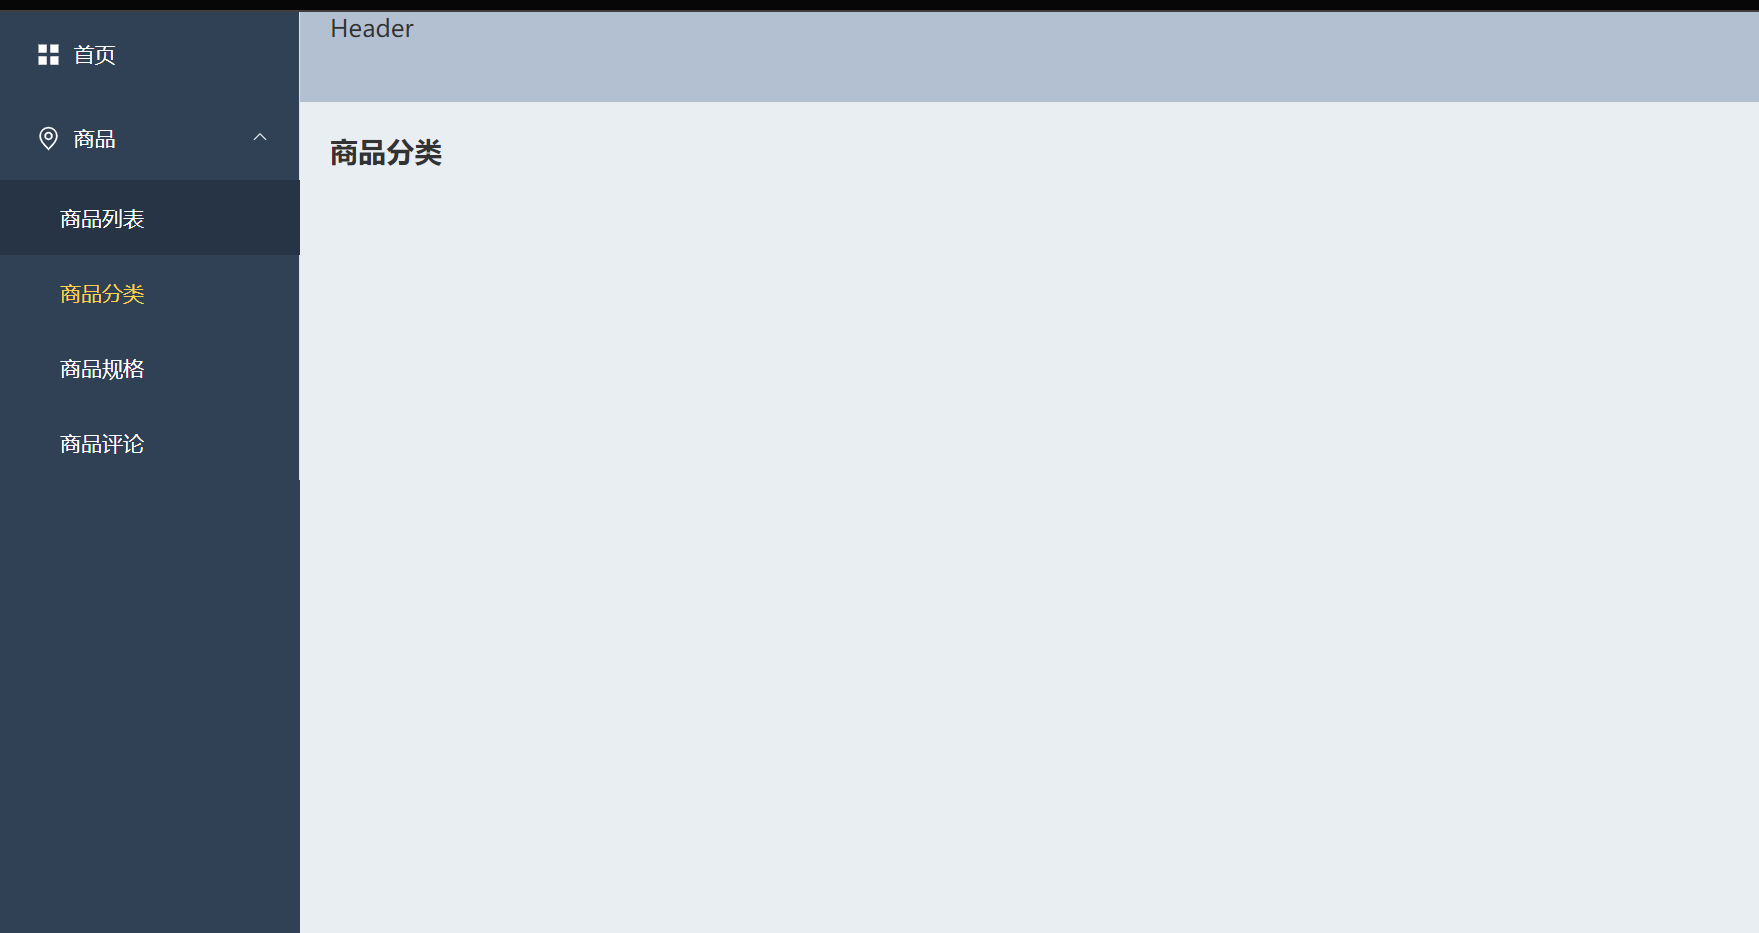
<template><div class="common-layout"><el-container><el-aside width="200px"><AppMenu /></el-aside><el-container><el-header>Header</el-header><el-main><!-- 子路由出口 --><router-view /></el-main></el-container></el-container></div></template><script lang="ts" setup>import AppMenu from './components/AppMenu.vue'</script><style lang="scss" scoped>.el-header,.el-footer {background-color: #B3C0D1;color:#333;}.el-aside {background-color: #304156;color: #333;}.el-main {background-color: #E9EEF3;color:#333;}.el-container {height: 100vh;}</style>
然后将AppLayout导出。
路由配置
编辑src / router / index.ts文件
在路由里,将首页改成我们的AppLayout,然后子路由是home/index.vue,这样就被套在里面了。
const routes: RouteRecordRaw[] = [{path: '/',component: AppLayout,children: [{path: '', // 默认子路由name: 'home',component: () => import('../views/home/index.vue')}]},....
样式优化
编辑src / styles / common.scss文件:
* {margin: 0;padding: 0;}
完成第一步:
页面展示
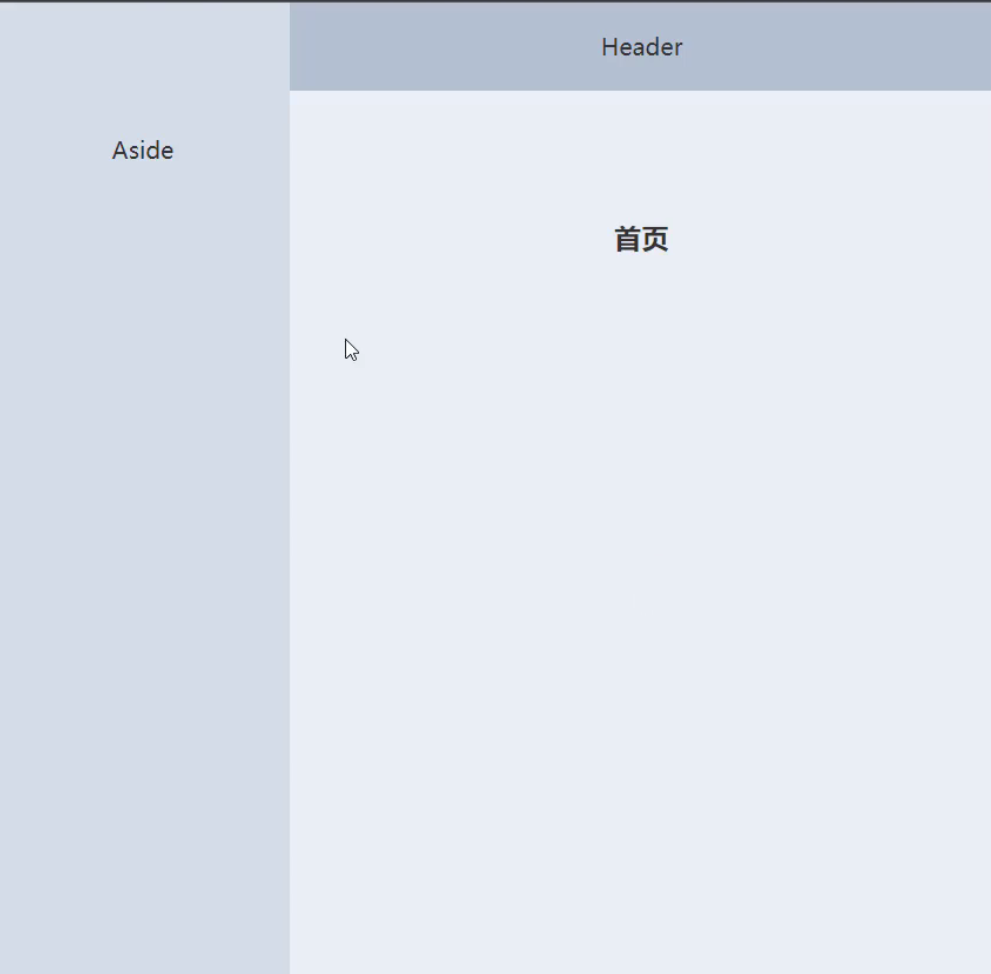
第二步:
三. NavMenu菜单导航:
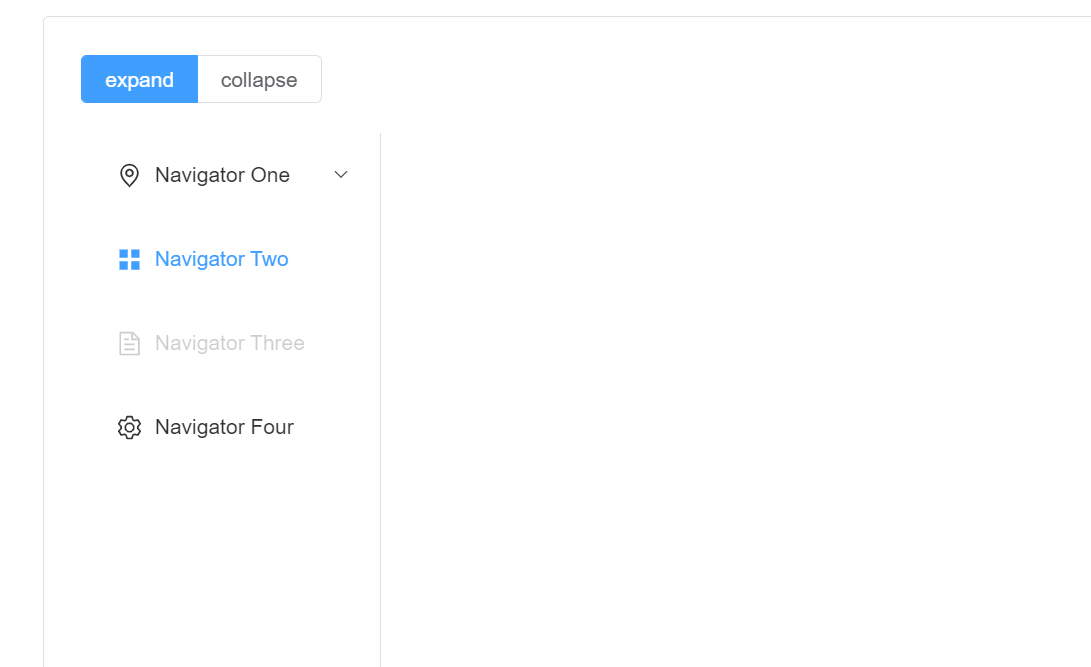
找到menu,提供的一个模板:
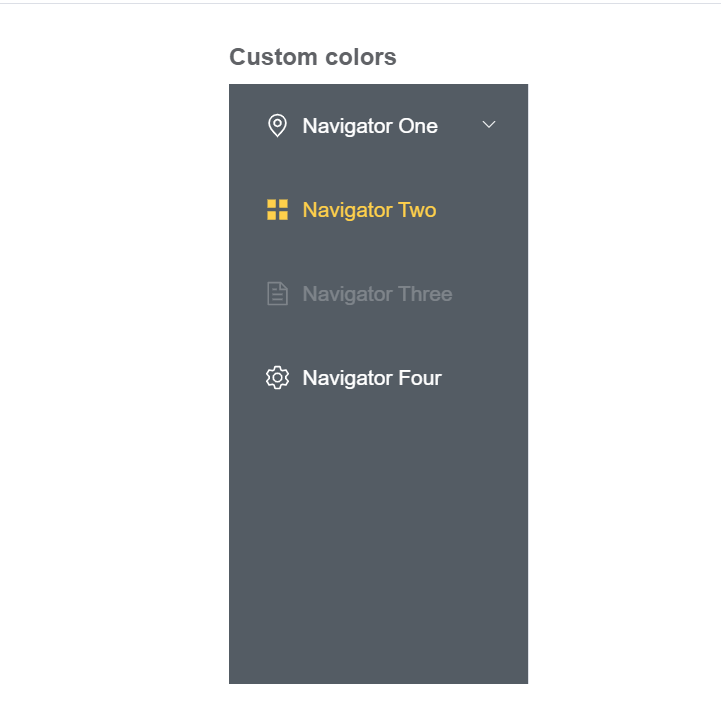
侧边栏组件
新建src / layout / components / AppMenu文件:
<el-menuactive-text-color="#ffd04b"background-color="#304156"class="el-menu-vertical-demo"default-active="2"text-color="#fff"><el-sub-menu index="1"><template #title><el-icon><location /></el-icon><span>Navigator One</span></template><el-menu-item-group title="Group One"><el-menu-item index="1-1">item one</el-menu-item><el-menu-item index="1-2">item two</el-menu-item></el-menu-item-group><el-menu-item-group title="Group Two"><el-menu-item index="1-3">item three</el-menu-item></el-menu-item-group><el-sub-menu index="1-4"><template #title>item four</template><el-menu-item index="1-4-1">item one</el-menu-item></el-sub-menu></el-sub-menu><el-menu-item index="2"><el-icon><icon-menu /></el-icon><span>Navigator Two</span></el-menu-item><el-menu-item index="3" disabled><el-icon><document /></el-icon><span>Navigator Three</span></el-menu-item><el-menu-item index="4"><el-icon><setting /></el-icon><span>Navigator Four</span></el-menu-item></el-menu></template><script lang="ts" setup>import {Document,Menu as IconMenu,Location,Setting} from '@element-plus/icons-vue'</script>
注意:ElementPlus的icon只能按需手动引入
并在AppLayout.vue里导入, 并且将菜单放去左上角的Aside位置
<el-aside width="200px"><AppMenu /></el-aside><script>import AppMenu from './components/AppMenu.vue'</script>
完成第二步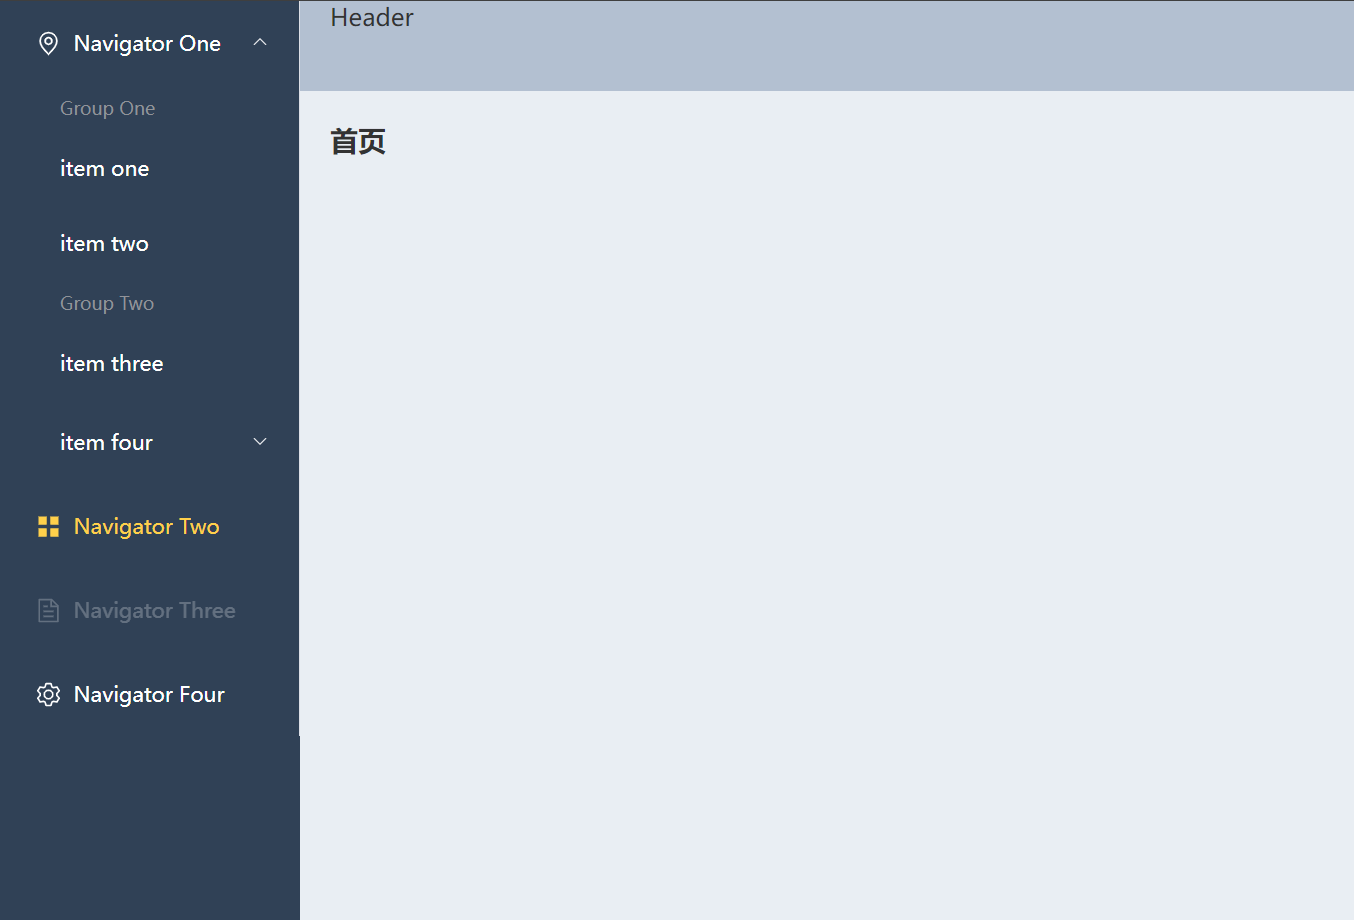
最后我们的成果是需要完成如下:
因此还需要
- product商品
- attr 规则管理
- classify 分类
- list 列表
- reply 评论
- order订单相关的:
- list订单列表
- offine收银订单
- media商品图片资源
- permisson权限相关的
- admin 管理员
- role 角色
- rule 规则
路由目录
为了方便管理组件,我们设置每个组件为一个新的路由ts文件
比如:product管理商品列表,商品规格价格等等。
副路由的设置方法:
比如我们点击菜单,会下拉,菜单就是副路由,点击后只会拉下菜单。
component设置为RouterView, 而下拉的路由写在children里
import { RouteRecordRaw, RouterView } from 'vue-router'const routes: RouteRecordRaw = {path: '/product',component: RouterView,meta: {title: '商品'},children: [{path: 'product_list',name: 'product-list',component: () => import('@/views/product/list/index.vue'),meta: { // 自定义路由元数据title: '商品列表'}},{path: 'add_product',name: 'product-add',component: () => import('@/views/product/add/index.vue'),meta: {title: '添加商品'}},{path: 'product_attr',name: 'product-attr',component: () => import('@/views/product/attr/index.vue'),meta: {title: '商品规格'}},{path: 'product_classify',name: 'product-classify',component: () => import('@/views/product/classify/index.vue'),meta: {title: '商品分类'}},{path: 'product_reply',name: 'product-reply',component: () => import('@/views/product/reply/index.vue'),meta: {title: '商品评论'}}]}export default routes
完成后,将product导入到主路由里
...import productRouter from './modules/product'const routes: RouteRecordRaw[] = [{path: '/',component: AppLayout,children: [{path: '', // 默认子路由name: 'home',component: () => import('../views/home/index.vue')},productRouter]},{path: '/login',...
并且分别填写product每个子路由匹配的组件,比如product_list对应的src/views/product/list/index.vue
<template><h1>商品列表</h1></template><script lang="ts" setup></script><style lang="scss" scoped></style>
页面样式
项目思路:
分为两个大路由,布局组件和登录组件。
布局的主路由是布局组件,子组件分别是首页,商品:商品列表啥的。设置
登录组件。
四. 切换侧边栏展开收起
也就是实现点击后展开菜单栏,再次点击后收起。
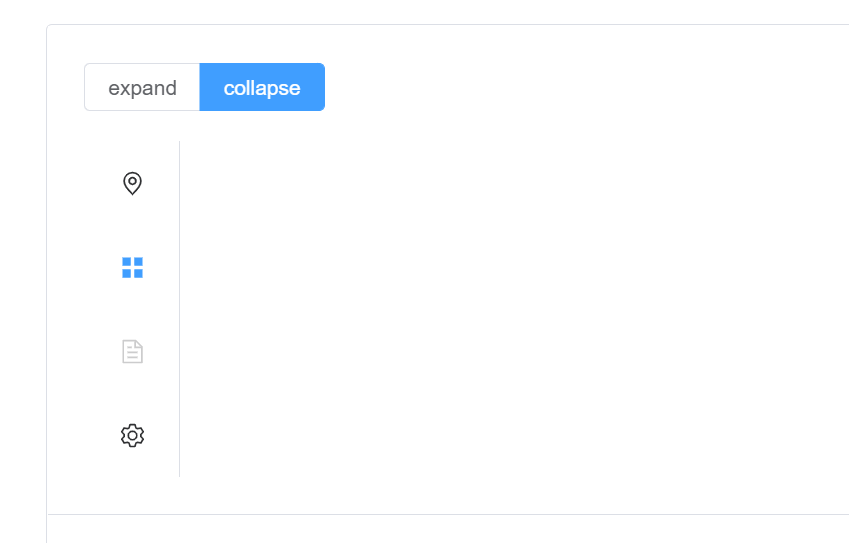
源码里,主要实现的方式是通过:collapse="isCollapse"的布尔值来控制收起或者展开。
const isCollapse = ref(true)
思路:
将isCollapse的值注入项目的容器store,默认为false,默认展开状态,这样全局都能看到他了。
然后在AppHeader里写一个按钮组件来控制isCollapse。
最后将这个按钮组件导入目录里就好了。
1. 全局变量vuex和store
编辑src / store / index.tsx
...export interface State {count:number,//主要变化在这!!!!加入了isCollapseisCollapse: boolean}...export const key: InjectionKey<Store<State>> = Symbol('store')// 创建一个新的 store 实例export const store = createStore<State>({state () {return {count: 0,// 默认为falseisCollapse: false}mutations: {// 当触发后,第一个变量等于第二个setIsCollapse (state, payload) {state.isCollapse = payload}}
2. 侧边组件
编辑@ / layout / components / AppMenu / index.vue
<!-- eslint-disable vue/multi-word-component-names --><template><el-menuactive-text-color="#ffd04b"background-color="#304156"class="el-menu-vertical-demo"default-active="2"text-color="#fff":collapse="$store.state.isCollapse"router><el-menu-item index="/"><el-icon><home-filled /></el-icon><span>首页</span></el-menu-item><el-sub-menu index="1"><template #title><el-icon><goods-filled /></el-icon><span>商品</span></template><el-menu-item index="/product/product_list"><span>商品列表</span></el-menu-item><el-menu-item index="/product/product_classify"><span>商品分类</span></el-menu-item><el-menu-item index="/product/product_attr"><span>商品规格</span></el-menu-item><el-menu-item index="/product/product_reply"><span>商品评论</span></el-menu-item></el-sub-menu><el-sub-menu index="2"><template #title><el-icon><ShoppingCart /></el-icon><span>订单</span></template><el-menu-item index="/order/order_list">订单列表</el-menu-item><el-menu-item index="/order/offine">收银订单</el-menu-item></el-sub-menu><el-sub-menu index="2-2"><template #title><el-icon><Promotion /></el-icon><span>媒体</span></template></el-sub-menu><el-sub-menu index="3"><template #title><el-icon><Setting /></el-icon><span>权限</span></template><el-menu-item index="/permission/permission_role">角色</el-menu-item><el-menu-item index="/permission/admin">管理员</el-menu-item><el-menu-item index="/permission/rule">权限规则</el-menu-item></el-sub-menu></el-menu></template><script lang="ts" setup>import {HomeFilled,GoodsFilled,ShoppingCart,Setting,Promotion} from '@element-plus/icons-vue'// import { ref } from 'vue'// const isCollapse = ref(true)</script><style lang="scss" scoped>.el-menu {border-right: none;}.el-menu-vertical-demo:not(.el-menu--collapse) {width: 200px;min-height: 400px;}</style>
3. 头部组件
新建src / layout / AppHeader / ToggleSidebar.vue
<template><el-icon@click="$store.commit('setIsCollapse', false)"v-show="$store.state.isCollapse"style="cursor: pointer;"><expand /></el-icon><el-icon@click="$store.commit('setIsCollapse', true)"v-show="!$store.state.isCollapse"style="cursor: pointer;"><fold /></el-icon><h1>header1</h1></template><script lang="ts" setup>import { Fold, Expand } from '@element-plus/icons-vue'</script><style lang="scss" scoped></style>
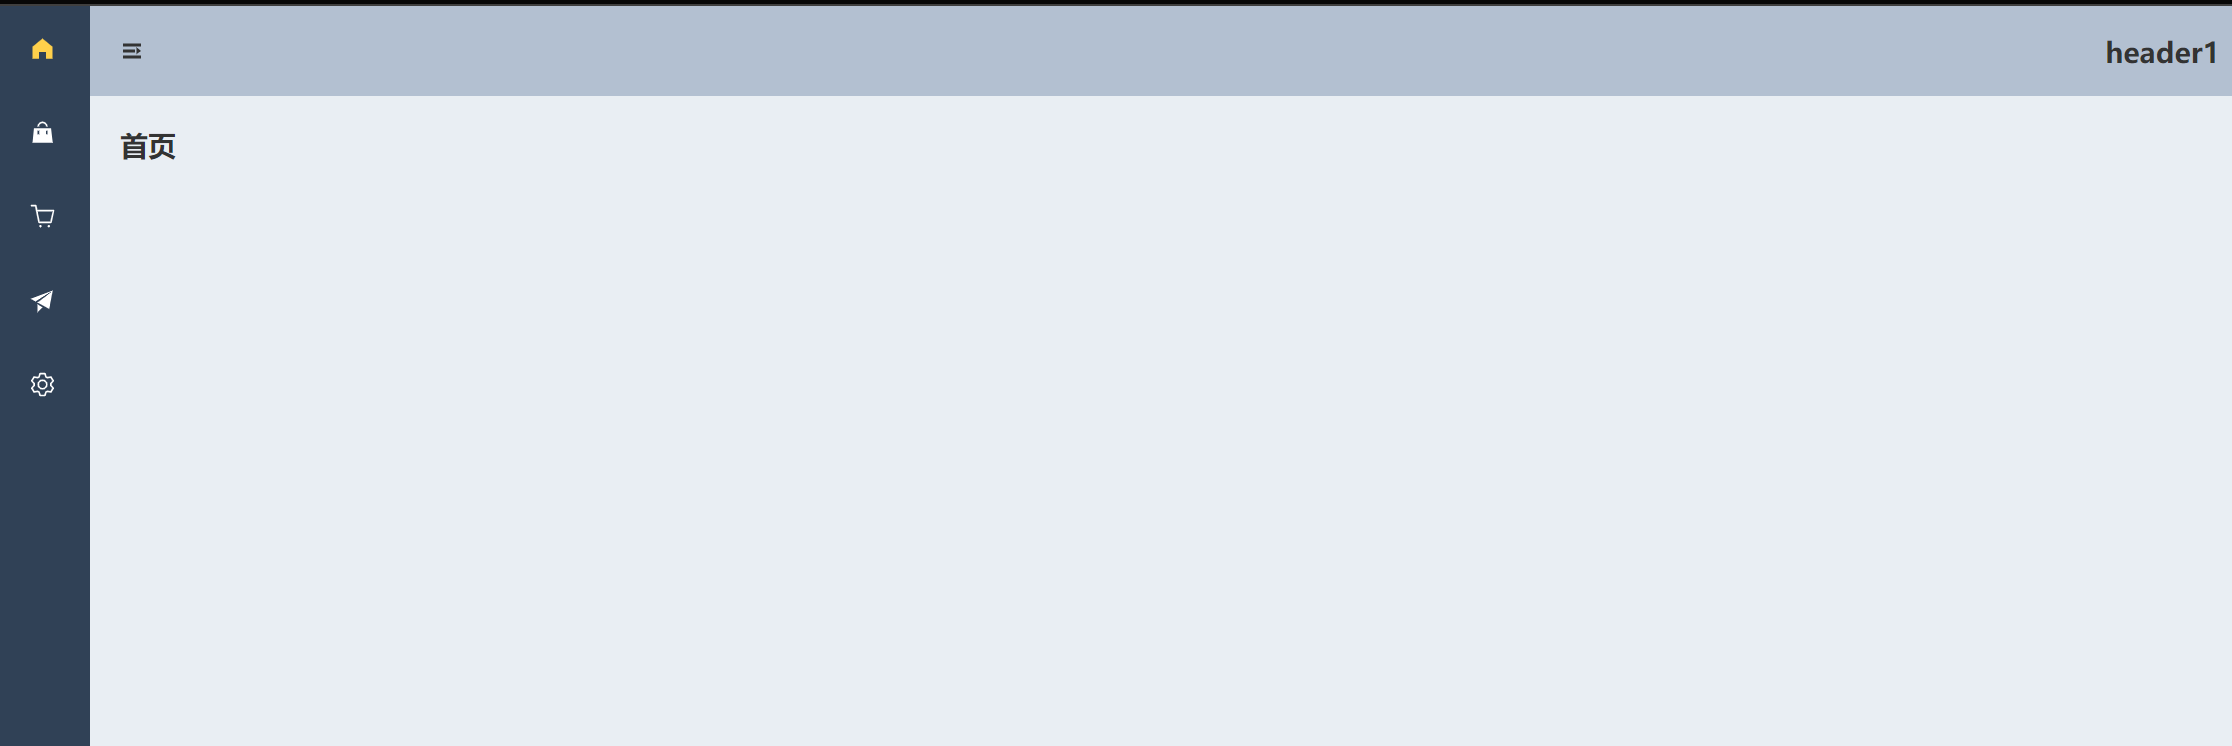
4. Layout布局
编辑src / layout / AppLayout.vue文件
<template><div class="common-layout"><el-container><el-aside><AppMenu /></el-aside><el-container><el-header><AppHeader /></el-header><el-main><!-- 子路由出口 --><router-view /></el-main></el-container></el-container></div></template><script lang="ts" setup>import AppMenu from './AppMenu/index.vue'import AppHeader from './AppHeader/ToggleSidebar.vue'</script><style lang="scss" scoped>.el-header{background-color: #b3c0d1;color: #333;display: flex;justify-content: space-between;align-items: center;}.el-aside {width: auto;background-color: #304156;color: #333;}.el-main {background-color: #e9eef3;color: #333;}.el-container {height: 100vh;}</style>
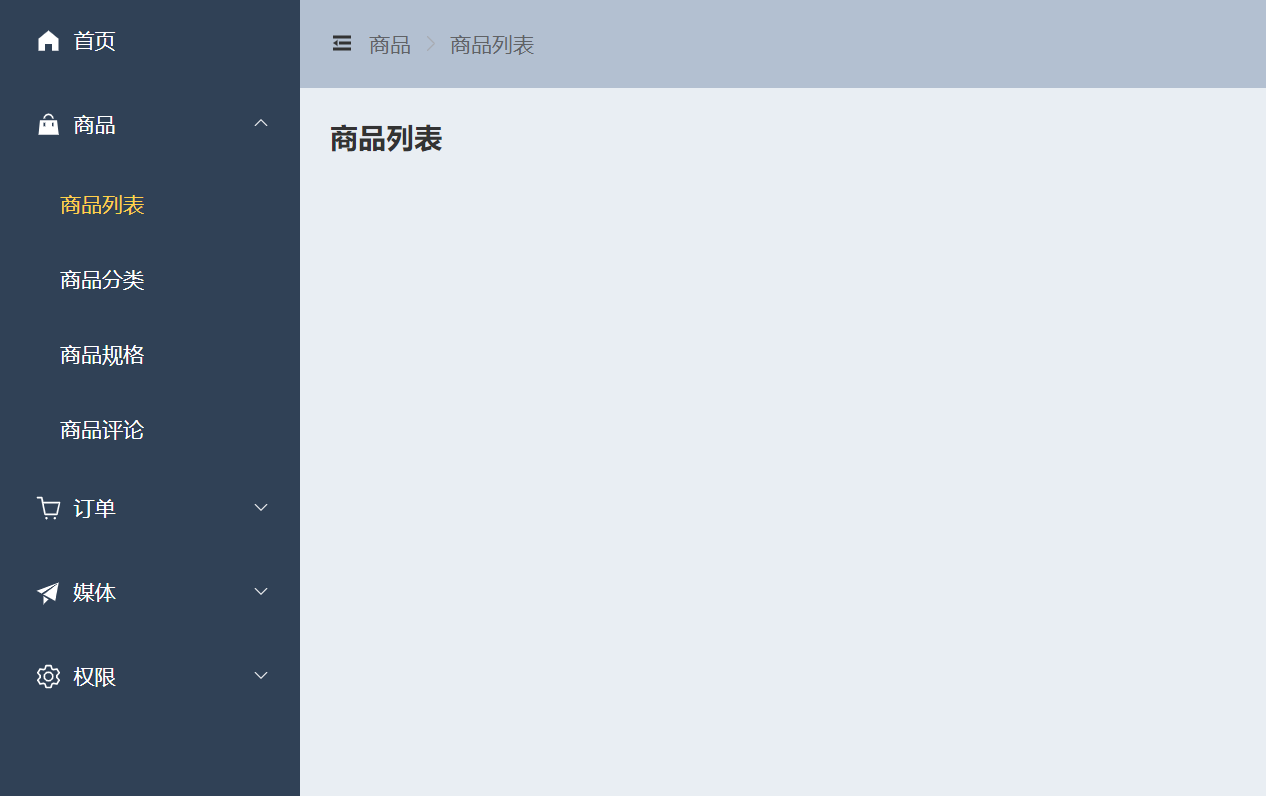
5. 样式展示
五. 面包屑导航
也就是每个页面展示当前位置: 首页 > 商品 > 商品价格
如何才能实现当前标题的展示?
思路:
在路由里给每个路由和子路由增加meta属性,并且将title写好。
在AppHeader组件上,导入路由,获取当前的路由值,并且过滤,获取含有title的路由。
1. 面包屑导航组件
新建src / layout / AppHeader / Breadcrumb.vue文件:
思路:
导入路由。
然后获取路由useRouter(),通过router.currentRoute.value.matched拿到当前的所有路由,比如当前在商品列表,那么将获得layout => 商品 => 商品列表 三个路由。
将获取的路由过滤一下,获取有title的路由,routes = router.currentRoute.value.matched.filter(item => item.meta.title)
然后通过v-for在模板里输出。
<template><el-breadcrumb :separator-icon="ArrowRight"><el-breadcrumb-itemv-for="item in routes":key="item.path">{{ item.meta.title }}<i class="el-icon-edit" /></el-breadcrumb-item></el-breadcrumb></template><script lang="ts" setup>import { computed } from 'vue'import { useRouter } from 'vue-router'import { ArrowRight } from '@element-plus/icons-vue'const router = useRouter()console.log(router.currentRoute.value.matched)const routes = computed(() => {return router.currentRoute.value.matched.filter(item => item.meta.title)})</script><style lang="scss" scoped></style>
2. 自定义路由元数据
也就是meta
编辑src / router / modules / product.tsx
import { RouteRecordRaw, RouterView } from 'vue-router'const routes: RouteRecordRaw = {path: 'product',component: RouterView,meta: {title: '商品'},children: [{path: 'product_list',name: 'product-list',component: () => import('@/views/product/list/index.vue'),meta: { // 自定义路由元数据title: '商品列表'}},{path: 'product_attr',name: 'product-attr',component: () => import('@/views/product/attr/index.vue'),meta: {title: '商品规格'}},{path: 'product_classify',name: 'product-classify',component: () => import('@/views/product/classify/index.vue'),meta: {title: '商品分类'}},{path: 'product_reply',name: 'product-reply',component: () => import('@/views/product/reply/index.vue'),meta: {title: '商品评论'}}]}export default routes
以及首页,src / router / index.tsx
...import orderRoutes from './modules/order'const routes: RouteRecordRaw[] = [{path: '/',component: AppLayout,children: [{path: '', // 默认子路由meta: {title: '首页'},...
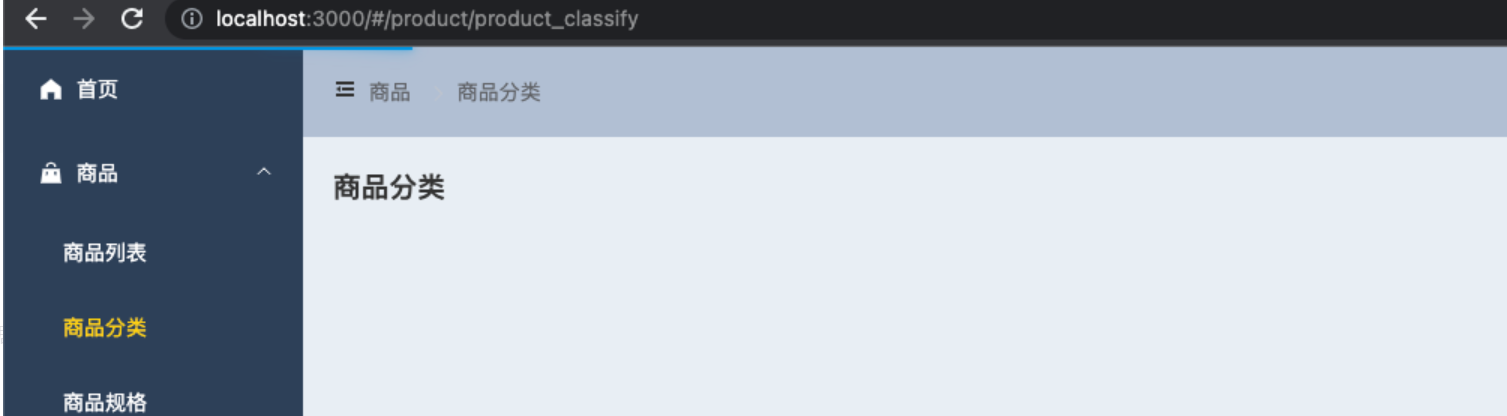
3. 样式展示
4. meta的类型补充
而当我导入路由时,我发现meta属性的类型是未知的,能不能给他定义类型呢?

于是,我翻Vue Router的官方网站,惊喜地找到了,在路由元信息,可以通过扩展RoueMeta来做到。(后来不知道什么原因,官方文档删除了TS的这一块)
import 'vue-router'// 声明一个模块,vue-router, 给他的RoureMeta做类型补充声明declare module 'vue-router' {// eslint-disable-next-line no-unused-varsinterface RouteMeta {// 是可选的isAdmin?: boolean// 每个路由都必须声明requiresAuth: boolean}}
那么项目里则不用必须声明
import 'vue-router'// 声明一个模块,vue-router, 给他的RoureMeta做类型补充声明declare module 'vue-router' {// eslint-disable-next-line no-unused-varsinterface RouteMeta {title: string}}

这不就完成了!!
六. 全屏
参照MDN的H5全屏API
https://developer.mozilla.org/zh-CN/docs/Web/API/Fullscreen_API
1. 全屏组件
新建src / AppHeader / FullScreen.vue文件
<template><el-icon@click="toggleFullScreen"style="cursor: pointer;"><full-screen /></el-icon></template><script lang="ts" setup>import { FullScreen } from '@element-plus/icons-vue'const toggleFullScreen = () => {if (!document.fullscreenElement) {document.documentElement.requestFullscreen()} else {if (document.exitFullscreen) {document.exitFullscreen()}}}</script><style lang="scss" scoped></style>
2. AppHeader汇总
编辑src / AppHeader / index.vue
<template><el-space><ToggleSidebar /><BreadcrumbVue /></el-space><el-space><FullScreen /><h1>header1</h1></el-space></template><script lang="ts" setup>import ToggleSidebar from './ToggleSidebar.vue'import BreadcrumbVue from './Breadcrumb.vue'import FullScreen from './FullScreen.vue'</script><style lang="scss" scoped></style>
3. 样式展示
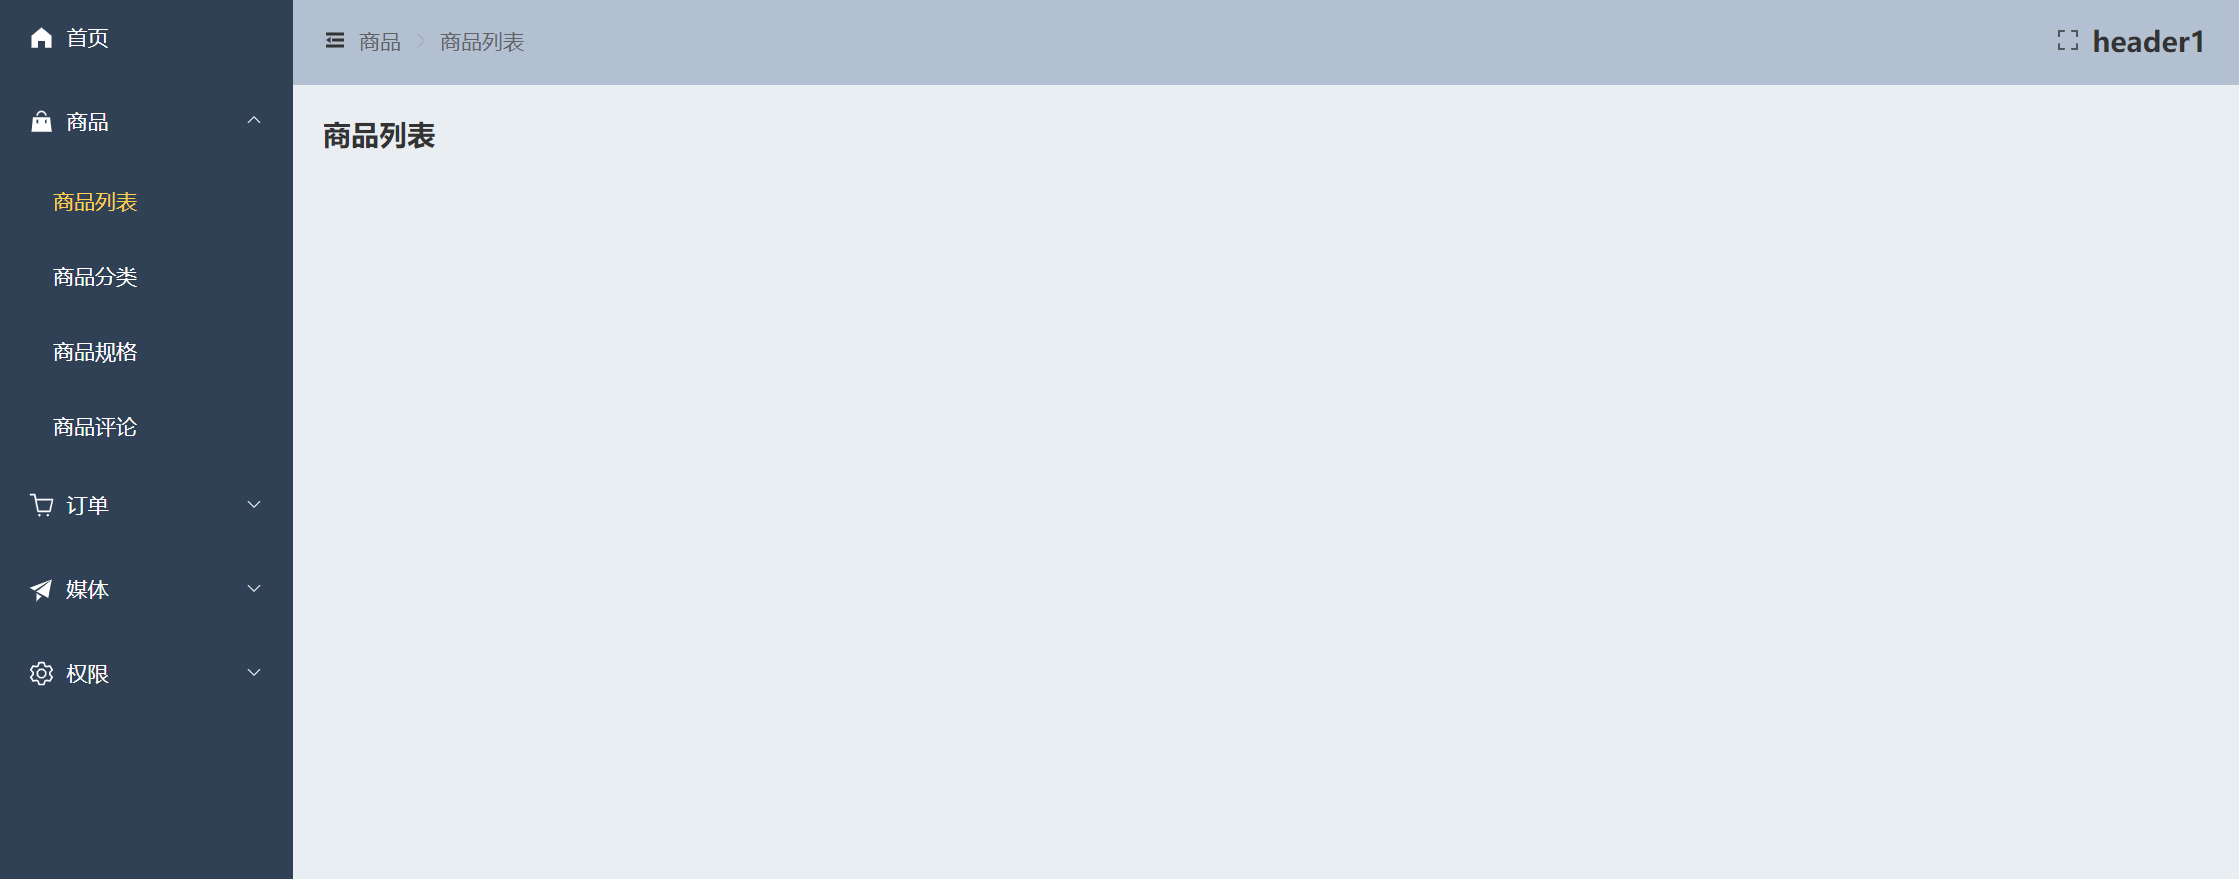
七. 页面加载进度条
参考github的NProgress
在页面还没加载完成的时候出现进度条,是不是更好玩,也会提高用户体验。
基本使用
NProgress.start();NProgress.done();
1. 进度条组件
# . 第一步安装npm install --save nprogress# .ts 类型补充npm i --save-dev @types/nprogress
2. 路由配置
使用路由拦截器,设置每个路由导航前开启和导航完成以后完成加载。
- 全局前置守卫
router.beforeEach(()=>{}).所有页面的导航都会经过这 - 全局后置守卫
router.afterEach(()=>{})
编辑src / router / index.ts文件
import nProgress from 'nprogress'const router = createRouter({...})router.beforeEach(() => {nProgress.start() // 开始加载进度条nProgress})router.afterEach(() => {nProgress.done() // 结束进度条})
3. 样式展示

若有收获,就点个赞吧
0 人点赞
