官方论坛
2020/11/2 树莓派官方64位系统GPU驱动不完善,建议使用32位系统
烧录官方系统
username:pi
password:raspberry
教程链接
无屏幕启动
修改/boot/wpa_supplicant.conf
country=CNctrl_interface=DIR=/var/run/wpa_supplicant GROUP=netdevupdate_config=1network={ssid="WiFi-A"psk="12345678"key_mgmt=WPA-PSKpriority=1}network={ssid="WiFi-B"psk="12345678"key_mgmt=WPA-PSKpriority=2scan_ssid=1}
/boot/下新建ssh空文件
ssh pi@raspberrypi.local
国内源
32位
# 编辑 `` 文件,删除原文件所有内容,用以下内容取代:deb http://mirrors.tuna.tsinghua.edu.cn/raspbian/raspbian/ buster main non-free contrib rpideb-src http://mirrors.tuna.tsinghua.edu.cn/raspbian/raspbian/ buster main non-free contrib rpi# 编辑 `/etc/apt/sources.list.d/raspi.list` 文件,删除原文件所有内容,用以下内容取代:deb http://mirrors.tuna.tsinghua.edu.cn/raspberrypi/ buster main ui
64位
镜像可以直接使用debian的系统源,首先需要编辑/etc/apt/sources.list
deb https://mirrors.tuna.tsinghua.edu.cn/debian/ buster main contrib non-free# deb-src https://mirrors.tuna.tsinghua.edu.cn/debian/ buster main contrib non-freedeb https://mirrors.tuna.tsinghua.edu.cn/debian/ buster-updates main contrib non-free# deb-src https://mirrors.tuna.tsinghua.edu.cn/debian/ buster-updates main contrib non-freedeb https://mirrors.tuna.tsinghua.edu.cn/debian/ buster-backports main contrib non-free# deb-src https://mirrors.tuna.tsinghua.edu.cn/debian/ buster-backports main contrib non-freedeb https://mirrors.tuna.tsinghua.edu.cn/debian-security buster/updates main contrib non-free# deb-src https://mirrors.tuna.tsinghua.edu.cn/debian-security buster/updates main contrib non-free
接着需要配置树莓派官方的软件源,编辑/etc/apt/sources.list.d/raspi.list
deb http://mirrors.tuna.tsinghua.edu.cn/raspberrypi/ buster main ui
更新
sudo apt-get update && sudo apt-get upgrade
安装输入法框架与中文输入法
sudo apt-get install fcitx fcitx-sunpinyin
固定IP
修改文件sudo nano /etc/dhcpcd.conf
SSID hqyj_19031_C_5Gstatic ip_address=192.168.10.176/24static routers=192.168.10.1static domain_name_servers=8.8.8.8static domain_search=8.8.8.8static ip6_address=fe80::fcf6:c770:79b6:fa37或interface wlan0static ip_address=192.168.3.183/24static domain_search=8.8.8.8static routers=192.168.3.1static domain_name_servers=8.8.8.8
开启vnc
树莓派 VNC Viewer 远程桌面配置教程
怪不得树莓派不自带vnc了,原来跟蓝牙不兼容啊
如此,需要每次登录ssh,手动启用vnc服务:vncserver
设置开机自启动(蓝牙依然嗝屁)
编辑开机启动文件,这是开机后最后一个开启的文件sudo nano /etc/rc.local
在exit 0前面添加要执行的命令,注意:使用root用户执行所以要切换用户,并且用绝对地址
_IP=$(hostname -I) || trueif [ "$_IP" ]; thenprintf "My IP address is %s\n" "$_IP"fisu - pi -c "/usr/bin/vncserver"exit 0
设置开机自启动(蓝牙嗝屁)
创建/etc/init.d/vncserver
#!/bin/sh### BEGIN INIT INFO# Provides: tightvncserver# Required-Start: $syslog $remote_fs $network# Required-Stop: $syslog $remote_fs $network# Default-Start: 2 3 4 5# Default-Stop: 0 1 6# Short-Description: Starts VNC Server on system start.# Description: Starts tight VNC Server. Script written by James Swineson.### END INIT INFO# /etc/init.d/vncserverVNCUSER='pi'case "$1" instart)su $VNCUSER -c 'vncserver :1'echo "Starting VNC Server for $VNCUSER";;stop)su $VNCUSER -c 'vncserver -kill :1'echo "TightVNC Server stopped";;*)echo "Usage: /etc/init.d/vncserver {start|stop}"exit 1;;esacexit 0
加执行权限sudo chmod 755 /etc/init.d/vncserver
添加自启动sudo update-rc.d vncserver defaults
删除自启动sudo update-rc.d -f vncserver remove
超频1.8g
先把CPU超频。在/boot目录中找到config.txt文件。在文件最后加入两行话over_voltage=2 arm_freq=1800
一定要有散热设施,这种被动散热外壳最合适,能保护元器件,散热效果也不错,冬天可以做暖手宝。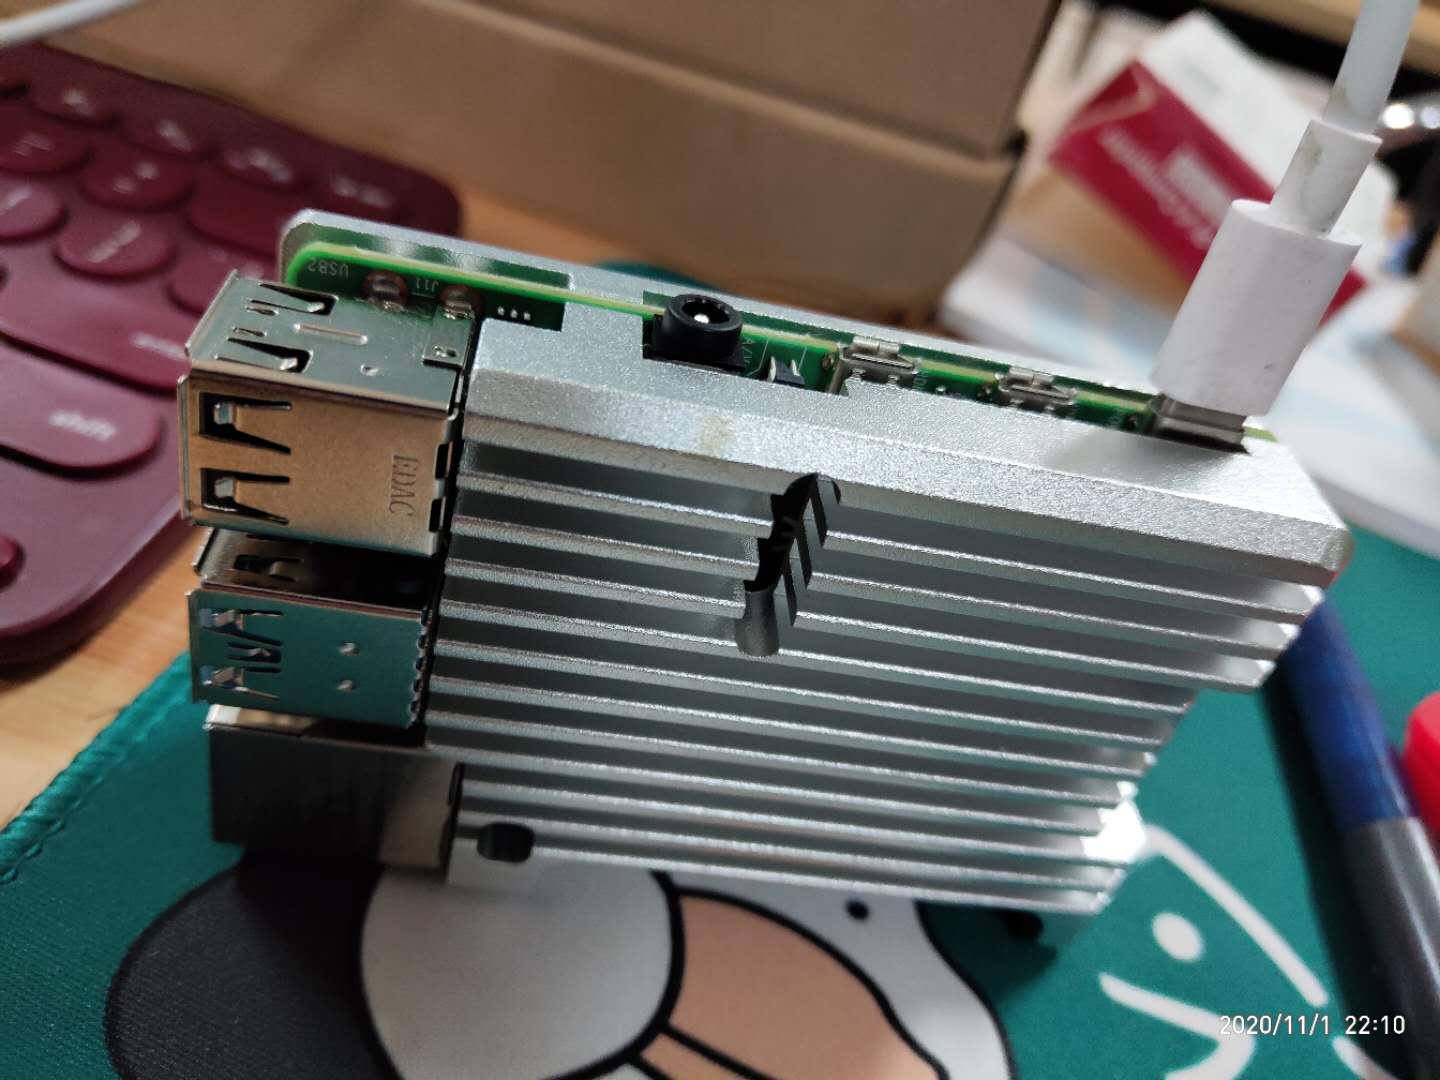
压力测试
sudo apt install stressstress -c 4 -t 10m -v
性能测试
sudo apt-get install sysbenchsysbench cpu --cpu-max-prime=20000 --threads=4 run
ssh免密码登录
客户端
~/.ssh下生成两个文件,id_rsa为私钥,id_rsa.pub为公钥
ssh-keygen -t rsa
服务端
将客户端公钥添加到服务端~/.ssh/authorized_keys里
chrome硬解
https://lemariva.com/blog/2020/08/raspberry-pi-4-video-acceleration-decode-chromium
备份TF卡
使用win32diskimager将TF卡dump到img文件中,此时img文件跟TF卡容量相当,达到了60GB,相当于占用60块钱的硬盘空间,忍不了,因此使用PiShrink工具来裁剪img文件,去除空白内容,裁剪后容量为3.8GB,比初始的系统大不了多少,工具在wsl2中能够成功运行。
sudo pishrink.sh pi.img
TODO
- 让vnc开机运行并且不会影响蓝牙。

若有收获,就点个赞吧
0 人点赞
