[TOC]
代码已上传到 https://github.com/wangy8961/flask-vuejs-madblog/tree/v0.2 ,欢迎star
创建 dev 开发分支:
$ git checkout -b dev
1. 配置 Vue.js
请确保有 Vue.js 基础,阅读官方文档:
- 教程: https://cn.vuejs.org/v2/guide/
- API: https://cn.vuejs.org/v2/api/
- Cookbook: https://cn.vuejs.org/v2/cookbook/
- Vue Router: https://router.vuejs.org/zh/
1.1 安装 Node.js
请前往 官方网站 下载并安装 LTS 版本
安装好后,由于 npm 命令使用的国外镜像,在国内下载依赖包时很慢,这里换成 淘宝 NPM 镜像
打开 cmd:
Microsoft Windows [版本 10.0.14393] (c) 2016 Microsoft Corporation。保留所有权利。 C:\Users\wangy>npm install -g cnpm —registry=https://registry.npm.taobao.org
之后,用 cnpm 来代替 npm 命令1.2 Vue-cli
C:\Users\wangy>cnpm install -g vue-cli C:\Users\wangy>vue -V 2.9.61.3 初始化前端项目
C:\Users\wangy>D: D:>cd python-code\flask-vuejs-madblog D:\python-code\flask-vuejs-madblog>vue init webpack front-end ? Project name front-end ? Project description A Vue.js project ? Author WY-Acer wangy8961@163.com ? Vue build (Use arrow keys) ? Vue build standalone ? Install vue-router? Yes ? Use ESLint to lint your code? No ? Set up unit tests No ? Setup e2e tests with Nightwatch? No ? Should we runnpm installfor you after the project has been created? (recommended) no vue-cli · Generated “front-end”. # Project initialization finished! # ======================== To get started: cd front-end npm install (or if using yarn: yarn) npm run dev Documentation can be found at https://vuejs-templates.github.io/webpack
使用 cnpm 命令安装依赖:
D:\python-code\flask-vuejs-madblog\front-end>cnpm install
启动:
D:\python-code\flask-vuejs-madblog\front-end>npm run dev
打开浏览器 http://localhost:8080: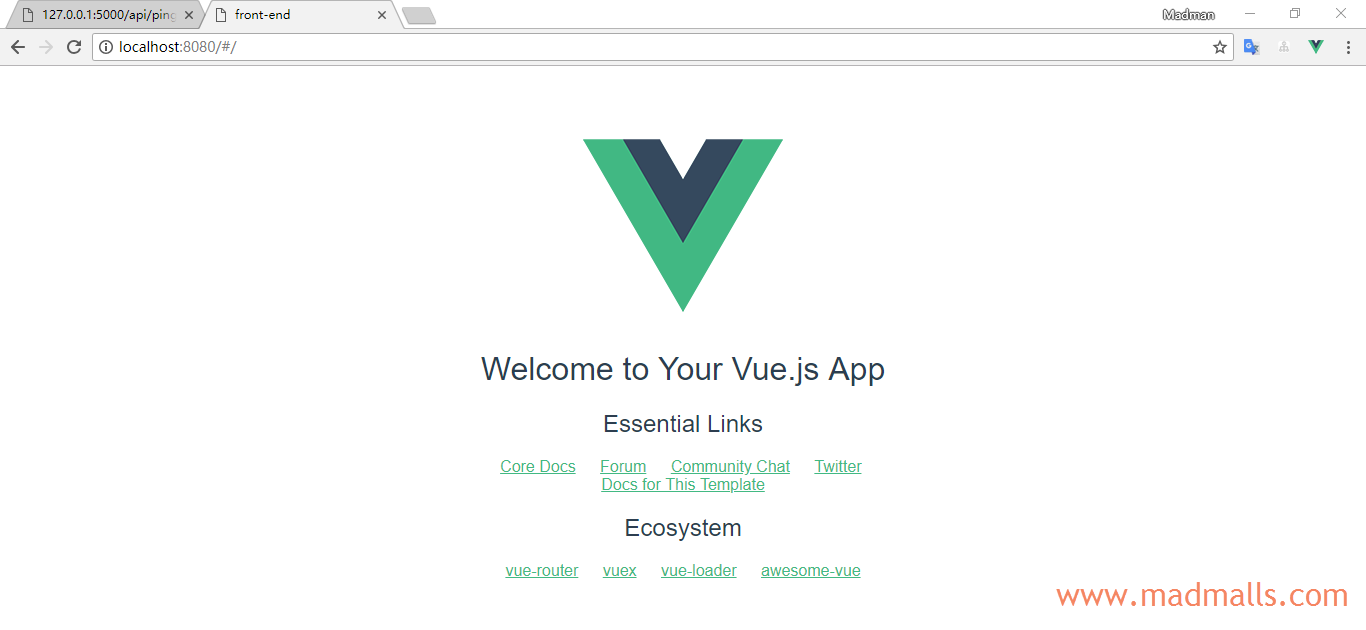
2. 组件 Ping.vue
删除 front-end/src/components/HelloWorld.vue,并创建新组件 front-end/src/components/Ping.vue:
{{ msg }}
更新路由 front-end/src/router/index.js:
import Vue from ‘vue’ import Router from ‘vue-router’ import Ping from ‘@/components/Ping’ Vue.use(Router) export default new Router({ routes: [ { path: ‘/‘, name: ‘Ping’, component: Ping } ] })
代码结构如下: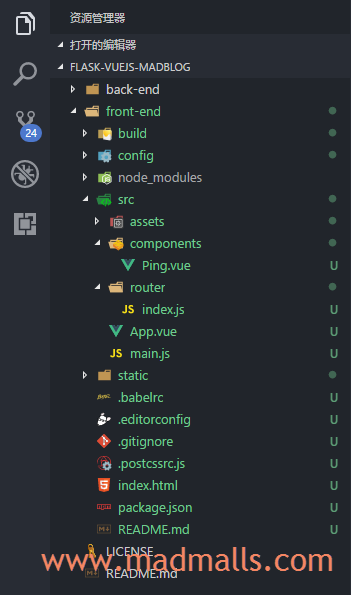
再次访问浏览器 http://localhost:8080: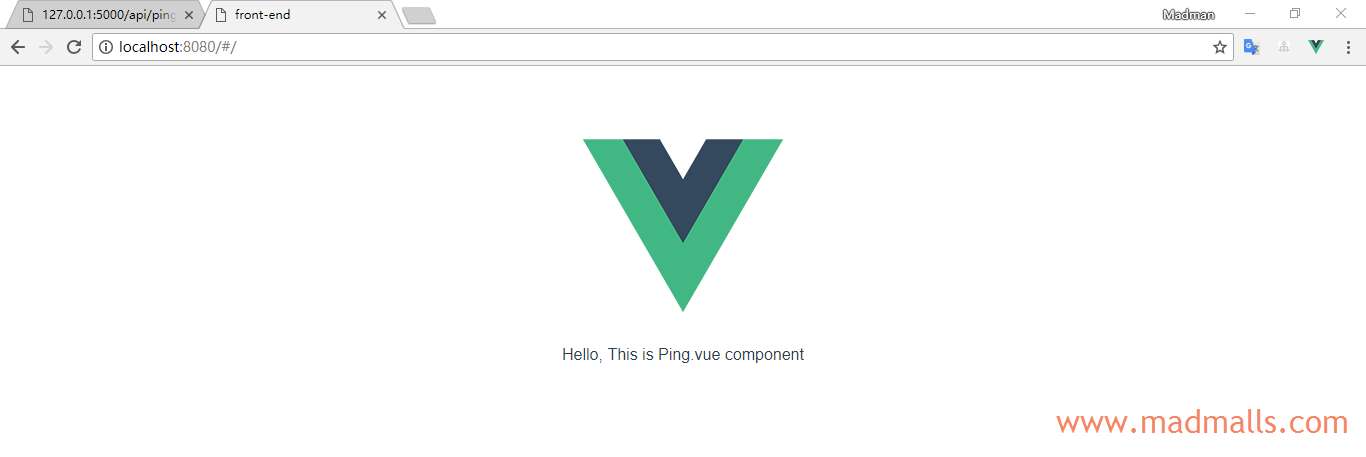
3. 使用 axios 与API交互
axios 使用文档: https://github.com/axios/axios
cmd 中按 Ctrl + c 停止 Vue,再用 cnpm 命令安装 axios:
D:\python-code\flask-vuejs-madblog\front-end>cnpm install axios —save
依赖关系写在 front-end/package.json 中,其中 dependencies 可以看到我们刚安装的 axios 被添加进来了
启动 Vue:
D:\python-code\flask-vuejs-madblog\front-end>npm run dev
更新组件 front-end/src/components/Ping.vue 中
访问浏览器 http://localhost:8080, 发现没有获取到后端API接口的数据 Pong!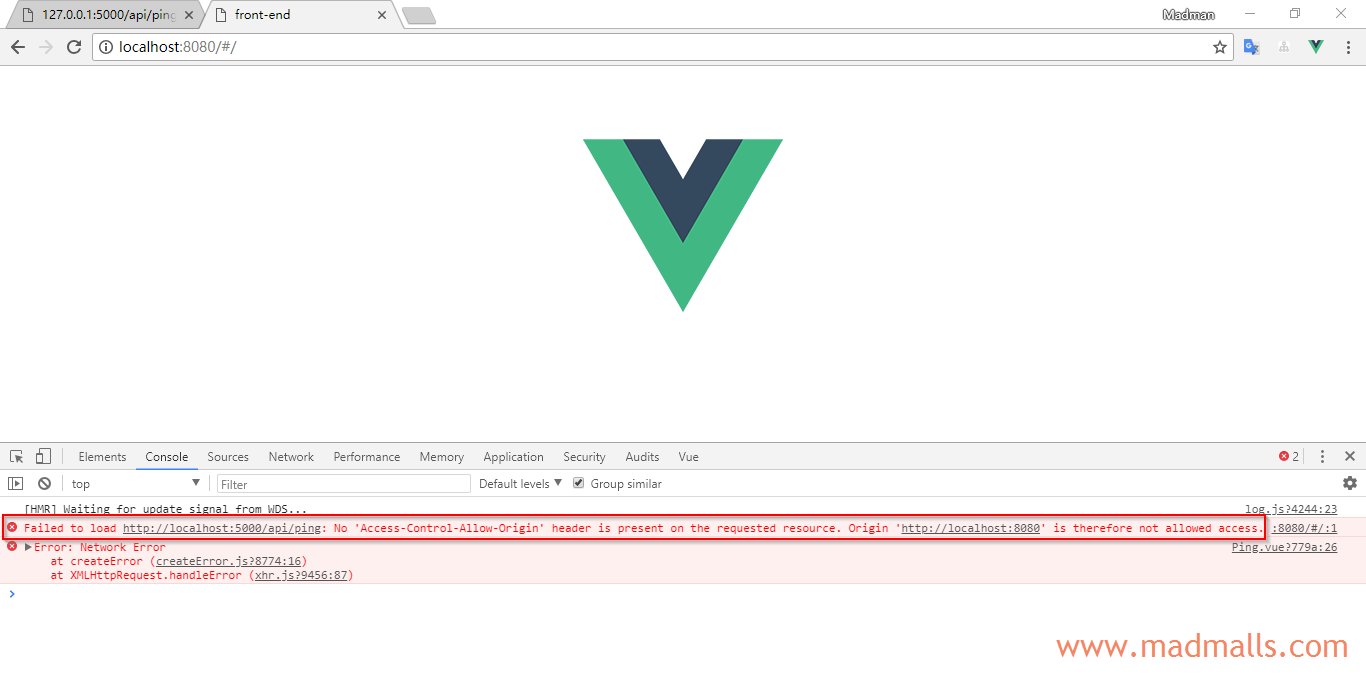
前端是启动在8080端口,后端是启动在5000端口,属于跨域访问,解决办法是后端要先安装 Flask-Cors4. Flask-Cors
停止 Flask,安装 Flask-Cors 包:
(venv) D:\python-code\flask-vuejs-madblog\back-end>pip install flask-Cors (venv) D:\python-code\flask-vuejs-madblog\back-end>pip freeze > requirements.txt
然后,修改 backend/app/init.py:
from flask import Flask from flask_cors import CORS from config import Config def createapp(configclass=Config): app = Flask(_name) app.config.from_object(config_class) # enable CORS CORS(app) # 注册 blueprint_ from app.api import bp as api_bp app.register_blueprint(api_bp, url_prefix=’/api’) return app
启动 Flask:
(venv) D:\python-code\flask-vuejs-madblog\back-end>flask run
此时,再刷新 http://localhost:8080 页面,你应该可以看到 Pong!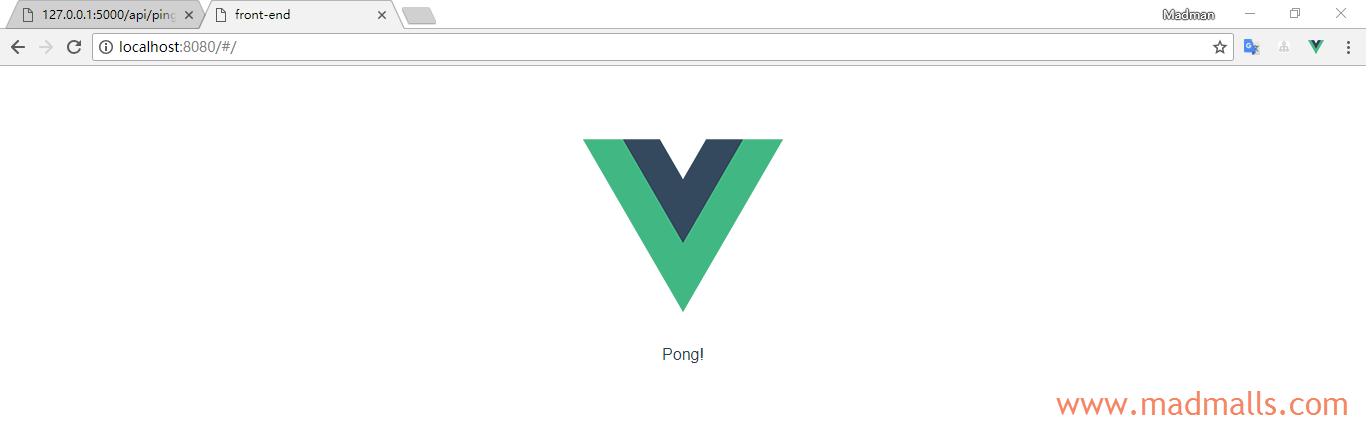
5. 引入 Bootstrap 4
使用 cnpm 命令安装:
D:\python-code\flask-vuejs-madblog\front-end>cnpm install bootstrap —save √ Installed 1 packages √ Linked 0 latest versions √ Run 0 scripts peerDependencies WARNING bootstrap@ requires a peer of jquery@1.9.1 - 3 but none was installed peerDependencies WARNING bootstrap@ requires a peer of popper.js@^1.14.3 but none was installed √ All packages installed (1 packages installed from npm registry, used 621ms(network 615ms), speed 8.77kB/s, json 1(5.4kB), tarball 0B)
警告信息说 Bootstrap 4 部分功能依赖 jQuery 和 popper.js,我们暂时用不到,不管它
修改 frontend/src/main.js,引入 Bootstrap 样式:
// The Vue build version to load with theimportcommand // (runtime-only or standalone) has been set in webpack.base.conf with an alias. import Vue from ‘vue’ import App from ‘./App’ import router from ‘./router’ // Import Bootstrap css files import ‘bootstrap/dist/css/bootstrap.css’ Vue.config.productionTip = false / eslint-disable no-new / new Vue({ el: ‘#app’, router, components: { App }, template: ‘‘ })
修改 frontend/src/components/src/components/Ping.vue,创建 Bootstrap 风格的按钮:
<div class=”container”> <button type=”button” class=”btn btn-primary”>{{ msg }}
访问浏览器 http://localhost:8080,你应该可以看到 Bootstrap 风格的按钮 Pong!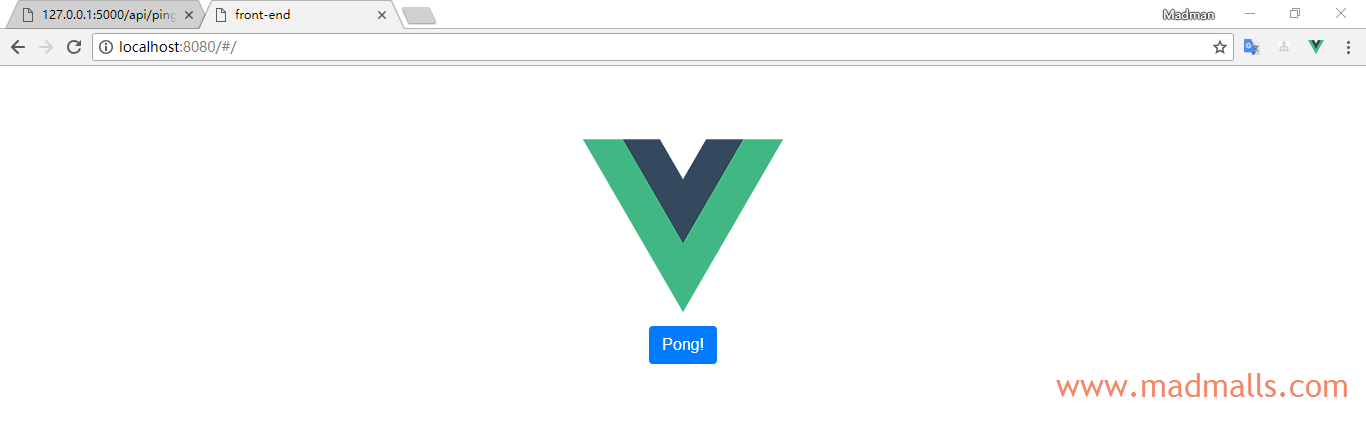
6. 提交代码
$ git add . $ git commit -m “2. Vue.js通过axios访问Flask RESTful API” $ git checkout master $ git merge dev $ git branch -d dev
将本地 master 分支代码上传到 Github 代码仓库中的 master 分支:
$ git push -u origin master
打上标签 tag并上传:
$ git tag v0.2 $ git push origin v0.2
代码已上传到 https://github.com/wangy8961/flask-vuejs-madblog/tree/v0.2 ,欢迎star

若有收获,就点个赞吧
0 人点赞
