使用注解实现自动装配要使用注解开发,那么必须确保这三件事:
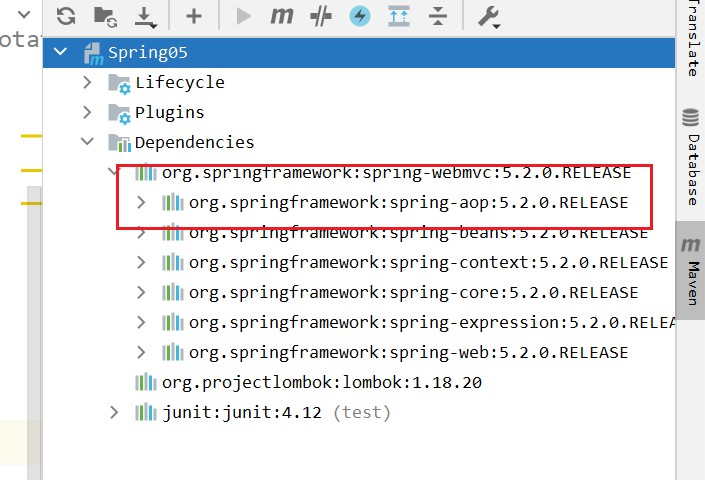
- 在Spring4之后,要使用注解开发,必须确保aop的包导入了
在xml配置文件中加入支持注解的名称空间
<beans xmlns="http://www.springframework.org/schema/beans"xmlns:xsi="http://www.w3.org/2001/XMLSchema-instance"xmlns:context="http://www.springframework.org/schema/context"xsi:schemaLocation="http://www.springframework.org/schema/beanshttp://www.springframework.org/schema/beans/spring-beans.xsdhttp://www.springframework.org/schema/contexthttp://www.springframework.org/schema/context/spring-context.xsd"></beans>
开启注解支持
<!-- 包扫描 -->
<context:component-scan base-package="com.itheima"/>
<!-- 开启注解支持 -->
<context:annotation-config/>
1、常用注解
用于创建bean对象的注解
- @Component
- @Repository、@Service、@Controller
- 用于注入数据的注解
- @Autowired
- @Qualifier
- @Resource
- @Bean
- 用于改变作用范围的注解
- @Scope
- 和生命周期相关的注解
@Autowired(推荐使用)
默认按照类型注入 ByType
直接在属性上使用即可!也可以在Set方法上面使用。
使用Autowired之后,我们可以不用再编写Set方法了,前提是你这个自动装配的属性在IOC(Spring)容器中存在,
```java package pojo; import lombok.Data; import org.springframework.beans.factory.annotation.Autowired;
@Data public class People { @Autowired private Dog dog; @Autowired private Cat cat; private String name; }
<a name="4lieo"></a>
#### @Qualifier(配合@Autowired使用)
**在默认按照类型注入的基础之上,再按照Bean的id注入。**<br />它在给变量名注入时不能独立使用,必须和@Autowired一起使用;<br />但是给方法参数注入时,可以独立使用,给变量就不能单独使用。

- 属性:value:用于指定bean的id

```xml
  <bean id="dog1" class="pojo.Dog"/>
  <bean id="dog2" class="pojo.Dog"/>
  <bean id="cat1" class="pojo.Cat"/>
  <bean id="cat2" class="pojo.Cat"/>
  <bean id="people" class="pojo.People"/>
单独指定
package pojo;
import lombok.Data;
import org.springframework.beans.factory.annotation.Autowired;
import org.springframework.beans.factory.annotation.Qualifier;

@Data
public class People {
    @Autowired
    @Qualifier(value ="dog1")
    private Dog dog;
    @Autowired
    @Qualifier(value = "cat2")
    private Cat cat;
    private String name;
}
@Resource
直接按照bean的id注入。它可以单独使用。
- 属性:name:指定bean的id
  <bean id="dog1" class="pojo.Dog"/>
  <bean id="dog2" class="pojo.Dog"/>
  <bean id="cat1" class="pojo.Cat"/>
  <bean id="cat2" class="pojo.Cat"/>
  <bean id="people" class="pojo.People"/>
直接指定id
package pojo;
import lombok.Data;
import javax.annotation.Resource;

@Data
public class People {
    @Resource(name = "dog1")
    private Dog dog;
    @Resource(name = "cat2")
    private Cat cat;
    private String name;
}
@Bean
把当前方法的返回值作为bean对象,存入Spring的ioc容器中。
- 属性:name:用于指定bean的id,当不写时,默认值是当前方法的名称
以上四个注入都只能注入其他bean类型的数据;而其他基本类型和String是无法使用上述注解实现;
@Value
作用:用于注入基本数据类型和String类型的数据
- 属性:
- value:用于指定数据的值,它可以使用spring中的SpEL(也就是spring的el表达式) 格式:${}
1.2、用于创建bean对象的注解
相当于
@Component
作用:把对象的创建交给spring来管理。相当于在xml中配置一个bean
- 属性:value:指定bean的id。如果不指定value属性,默认bean的id是当前类的类名(首字母小写)
package pojo;
import org.springframework.beans.factory.annotation.Value;
import org.springframework.stereotype.Component;

//相当于:<bean id="user" class="pojo.User"></bean>
@Component(value ="user")
public class User {
    //相当于:<property name="name" value="老帅比"/>
    @Value("老帅比")
    public String name;
}
@Repository、@Service、@Controller
以上三个注解他们的作用和属性与@Component是一样的。他们只不过是提供了更加明确的语义化。
- @Repository:一般用于持久层的注解—>dao层
- @Service:一般用于业务层的注解—>service层
- @Controller:一般用于表现层的注解—>controller层
细节:如果该注解中有且只有一个属性要赋值时,且名称是value,value在赋值是可以不写。
@Component
public class User {
}

@Repository
public class UserDaoImpl implements UserDao {
}

@Service
public class UserServiceImpl implements UserService {
}

@Controller
public class UserController {
}
1.3、小结
- xml与注解
- xml更加万能,适用于任何场所,维护简单方便
- 注解:不是自己的类就使用不了,维护相对复杂
- xml与注解最佳实践
- xml用来管理bean;
- 注解只负责完成属性的注入;
- 注意问题:
- 在使用注解过程中,必须让注解生效,就需要开启注解的支持!!!
2、使用Java的方式配置Spring
@Configuration
作用:用于指定当前类是spring的一个配置类
- 属性:value:用于指定配置类的字节码。
注意:我们已经把配置文件用配置类来代替了,但是如何配置创建容器时要扫描的包呢?看下一个注解。
@ComponentScan
作用:告知spring在创建容器时要扫描的包。
- 属性:value:用于指定创建容器时要扫描的包。
定义一个配置类
package config;

import org.springframework.context.annotation.Bean;
import org.springframework.context.annotation.ComponentScan;
import org.springframework.context.annotation.Configuration;
import pojo.User;

@Configuration
@ComponentScan("pojo")
public class MyConfig {

    @Bean
    public User getUser(){
        return new User();
    }
}
测试
import config.MyConfig;
import org.junit.Test;
import org.springframework.context.ApplicationContext;
import org.springframework.context.annotation.AnnotationConfigApplicationContext;
import pojo.User;

public class Junit {
    @Test
    public void test(){
        ApplicationContext context = new AnnotationConfigApplicationContext(MyConfig.class);
        User user = context.getBean("getUser",User.class);
        System.out.println(user.getName());
    }
}

若有收获,就点个赞吧
0 人点赞
