0x0 识别网口
安装ethtool
apt install ethtool -y
打开除了enp4s0端口外的所有端口自动启动 & 重启系统
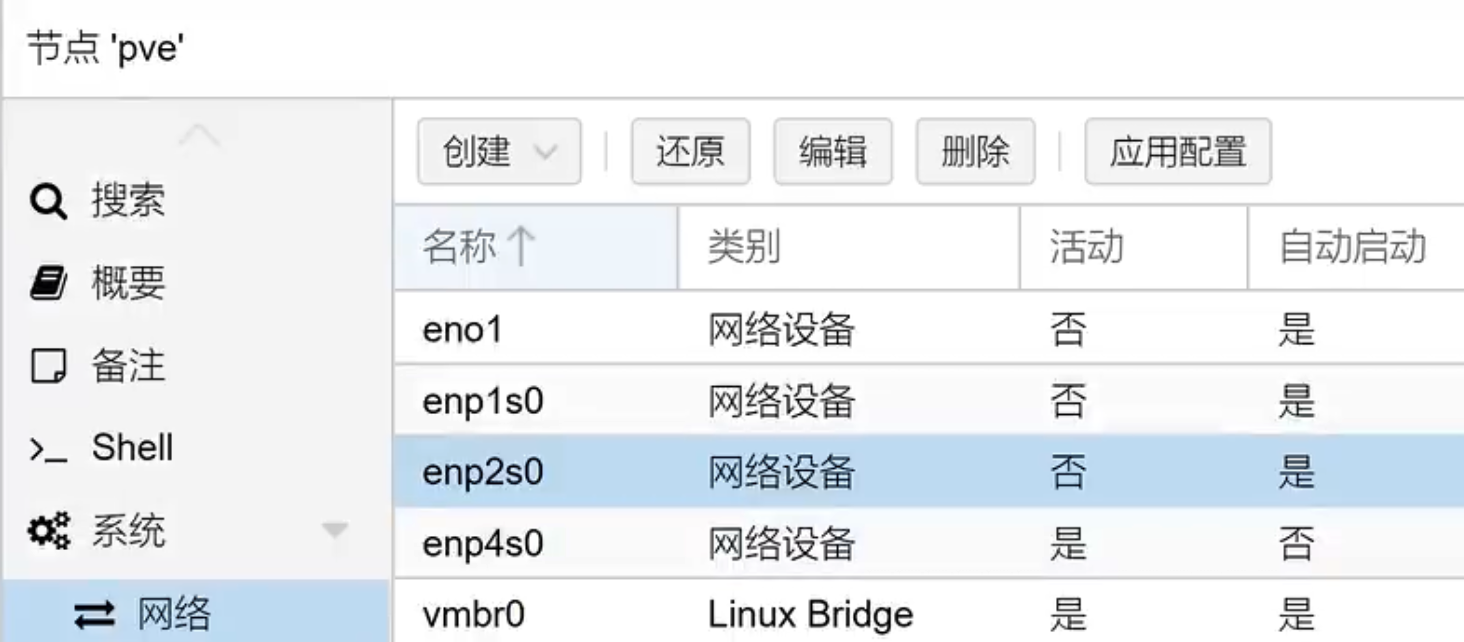
通过查看是否连接确认设备名对应实际网口,如果硬件支持可以使用ethtool —identify [设备名] 命令确认)
ethtool [设备名称]
5. 关闭端口自动启动 & 重启系统<a name="8f06402d"></a>## 0x1 开启硬件直通BIOS中打开硬件直通相关选项(VT-d & VMX)```bash# 编辑Grubvim /etc/default/grub# 注释原条目,并增加开启参数GRUB_CMDLINE_LINUX_DEFAULT="quiet intel_iommu=on"# 如果你的pcie设备分组有问题也可以换成这一行对分组拆分(直通遇到问题都可以尝试这个)GRUB_CMDLINE_LINUX_DEFAULT="quiet intel_iommu=on pcie_acs_override=downstream"# 更新grubupdate-grub# 重启reboot
0x2 上传启动镜像
视频教学中镜像源自 klever1988/nanopi-openwrt
地址:https://github.com/klever1988/nanopi-openwrt
将镜像img扩展名修改为iso,直接通过PVE后台上传
0x3 创建虚拟机并设置直通
创建虚拟机时,可以将磁盘删除。
名称为openwrt,内存为512
修改配置文件命令
vim /etc/pve/qemu-server/[虚拟机编号].conf
将media=cdrom修改为cache=unsafe
0x4 添加PCI设备
依次添加网卡
| 外部识别 | 系统设备名 | 设备位置 | 软路由内设备名 |
|---|---|---|---|
| ETH0 | enp1s0 | 01:00.0 | eth1(Wan口) |
| ETH1 | enp2s0 | 02:00.0 | eth2 |
| ETH2 | eno1(enp3s0) | 03:00.0 | eth3 |
| ETH3 | enp4s0 | 04:00.0 | eth0(桥接)(Lan口) |
0x5 配置openwrt
# 查看openwrt的ipip a
配置电脑的静态ip,并插网线到EHT3网口
访问openwrt的Web管理页面
root/password
网络-接口-LAN-IPv4
192.168.1.1
网络-接口-LAN-IPv4-基本设置-高级设置
勾选 强制
网络-接口-LAN-IPv4-物理设置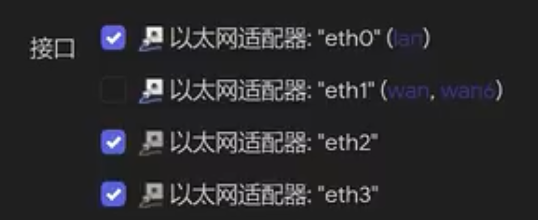
PVE中将openwet设置为自动开机
网络-接口-WAN-协议

若有收获,就点个赞吧
0 人点赞
