为什么
有没有发现,我们在每次更新代码的时候,都要重新打包然后重新刷新才能看到修改的内容。
这样做非常不方便,每次更新代码,都要重新打包。
所以webpack提供了几种方式。本文会讲三种方式。
我们先说第一种
watch
:::info webpack —watch: webpack 会帮我们监听它打包的文件,只要文件发生变化,他就会自动帮我们打包。 :::
“bundle”: “webpack —watch”
结构
{"name": "webpack-demo","version": "1.0.0","description": "描述","private": true,"scripts": {"bundle": "webpack --watch"},"author": "chenYongRen","license": "ISC","devDependencies": {"autoprefixer": "^10.4.7","clean-webpack-plugin": "^4.0.0","css-loader": "^6.7.1","file-loader": "^6.2.0","html-webpack-plugin": "^5.5.0","node-sass": "^7.0.1","postcss-loader": "^7.0.0","sass-loader": "^13.0.0","style-loader": "^3.3.1","url-loader": "^4.1.1","webpack": "^5.73.0","webpack-cli": "^4.9.2"},"dependencies": {},"browserslist": ["> 1%","last 2 versions"]}
现在我们只要每次修改后刷新页面,就可以获取新的内容。
但是这里还有弊端:
1、每次都要自己刷新页面
2、无法进行http请求,我们可以看到当前访问的地址是我们文档的绝对地址,而不是一个服务器地址。
webpackDevServer
首先,我们需要安装webpackDevServer
npm install webpack-dev-server -D
使用”start”: “webpack-dev-server” 来启动一个本地服务器
{"name": "webpack-demo","version": "1.0.0","description": "描述","private": true,"scripts": {"bundle": "webpack --watch","start": "webpack-dev-server"},"author": "chenYongRen","license": "ISC","devDependencies": {"autoprefixer": "^10.4.7","clean-webpack-plugin": "^4.0.0","css-loader": "^6.7.1","file-loader": "^6.2.0","html-webpack-plugin": "^5.5.0","node-sass": "^7.0.1","postcss-loader": "^7.0.0","sass-loader": "^13.0.0","style-loader": "^3.3.1","url-loader": "^4.1.1","webpack": "^5.73.0","webpack-cli": "^4.9.2"},"dependencies": {},"browserslist": ["> 1%","last 2 versions"]}
需要注意,这是webpack5以下版本的写法,webpack5 的 devServer 不支持 ContentBase 的配置
const path = require('path')const HtmlWebpackPlugin = require('html-webpack-plugin')const { CleanWebpackPlugin } = require("clean-webpack-plugin");module.exports = {mode: 'development',devtool: 'eval',entry: {main: './src/index.js'},devServer: {// 服务器启动在哪个文件夹下contentBase: './dist'},module: {rules:[{test: /\.(jpg|png|gif)$/,use:{loader: 'url-loader',options: {name:'[name]_[hash].[ext]',outputPath: 'images/',limit: 2048 // 2kb}}},{test: /\.scss$/,use:['style-loader',{loader:'css-loader',options: {importLoaders: 2}},'sass-loader','postcss-loader']}]},plugins:[new HtmlWebpackPlugin({template: 'src/index.html'}), new CleanWebpackPlugin()],output: {filename: '[name].js',path: path.resolve(__dirname, 'dist')}}
webpack5真正的配置方法
const path = require('path')const HtmlWebpackPlugin = require('html-webpack-plugin')const { CleanWebpackPlugin } = require("clean-webpack-plugin");module.exports = {mode: 'development',devtool: 'eval',entry: {main: './src/index.js'},devServer: {// 服务器启动在哪个文件夹下static: {directory : path.join(__dirname, 'dist'),},},module: {rules:[{test: /\.(jpg|png|gif)$/,use:{loader: 'url-loader',options: {name:'[name]_[hash].[ext]',outputPath: 'images/',limit: 2048 // 2kb}}},{test: /\.scss$/,use:['style-loader',{loader:'css-loader',options: {importLoaders: 2}},'sass-loader','postcss-loader']}]},plugins:[new HtmlWebpackPlugin({template: 'src/index.html'}), new CleanWebpackPlugin()],output: {filename: '[name].js',path: path.resolve(__dirname, 'dist')}}
我们可以看到,现在他已经帮我们启动了一个服务器在 http://localhost:8080/中
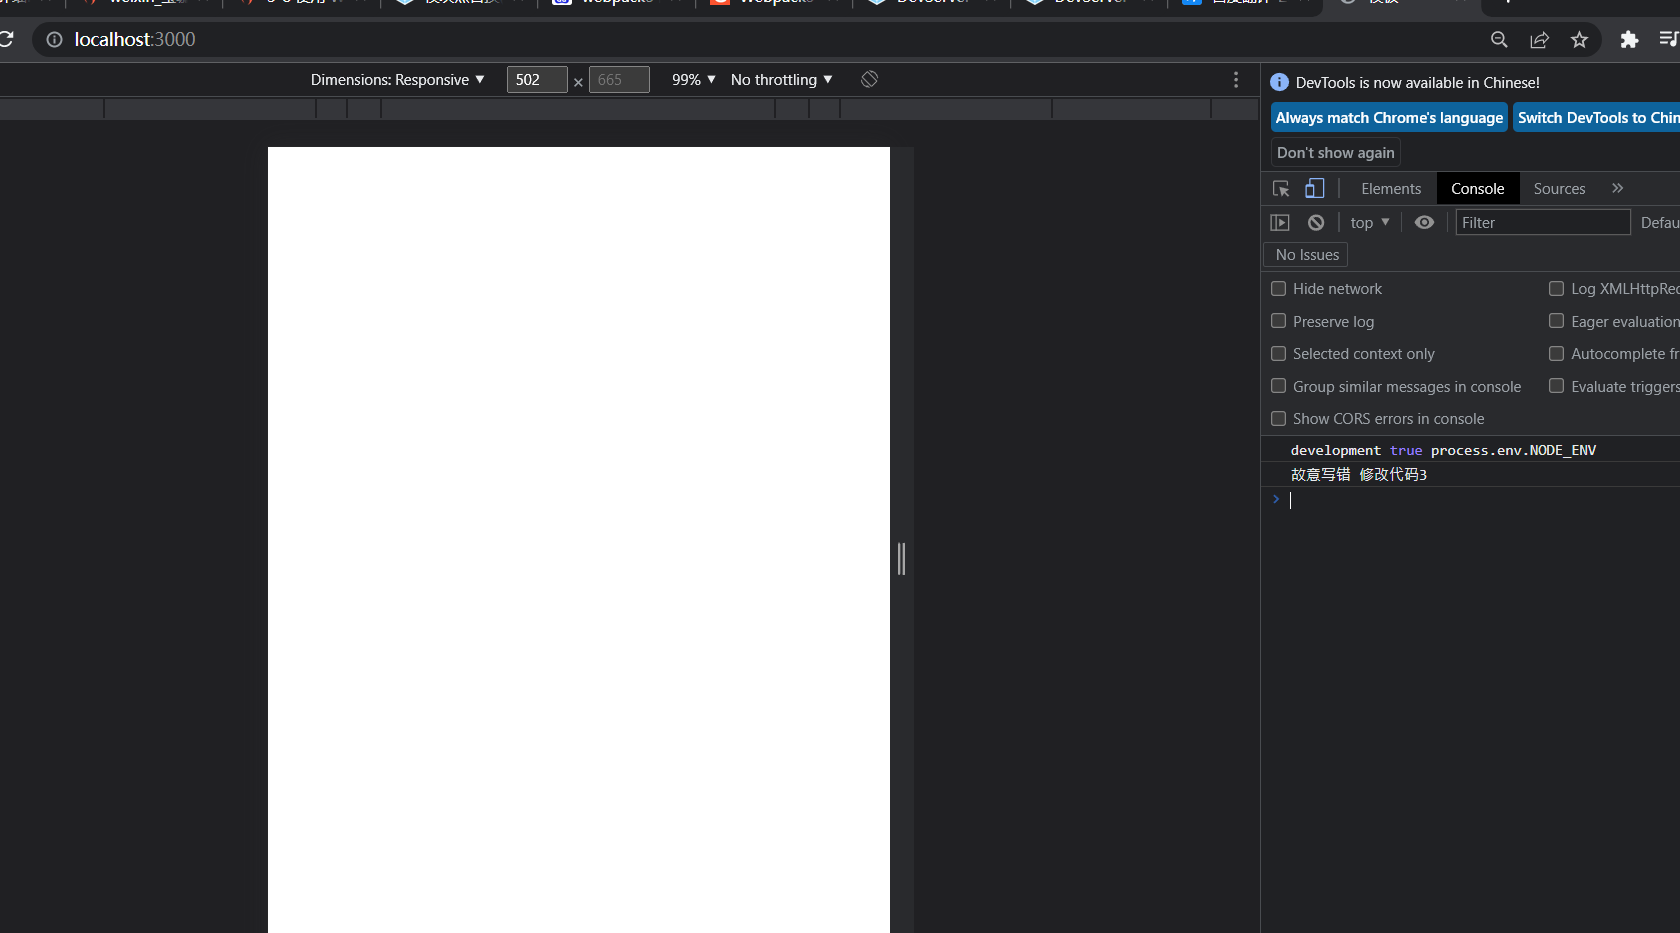
修改代码
它的好处就是
1、启用一个本地服务器,可以进行http请求
2、不用刷新也能获取最新的页面数据
3、有更多的配置项
devServer: {// 服务器启动在哪个文件夹下static: {directory: path.join(__dirname, 'dist'),},// 自动打开浏览器open: true,// 默认端口号port: 8080},
自己创建一个服务器
如果要自己创建一个服务器,我们就需要用到node的知识,我们可以使用它的express框架搭建服务器
npm install express
当然这个文件还要监听webpack文件的变化,然后帮我们自动打包,所以还要使用一个webpack的开发中间件webpack-dev-middleware
npm install express webpack-dev-middleware -D
结构
{"name": "webpack-demo","version": "1.0.0","description": "描述","private": true,"scripts": {"bundle": "webpack","watch": "webpack --watch","start": "webpack-dev-server","middleware": "node server.js"},"author": "chenYongRen","license": "ISC","devDependencies": {"autoprefixer": "^10.4.7","clean-webpack-plugin": "^4.0.0","css-loader": "^6.7.1","file-loader": "^6.2.0","html-webpack-plugin": "^5.5.0","node-sass": "^7.0.1","postcss-loader": "^7.0.0","sass-loader": "^13.0.0","style-loader": "^3.3.1","url-loader": "^4.1.1","webpack": "^5.73.0","webpack-cli": "^4.9.2","webpack-dev-server": "^4.9.3"},"dependencies": {},"browserslist": ["> 1%","last 2 versions"]}
const path = require('path')const HtmlWebpackPlugin = require('html-webpack-plugin')const { CleanWebpackPlugin } = require("clean-webpack-plugin");module.exports = {mode: 'development',devtool: 'eval',entry: {main: './src/index.js'},devServer: {// 服务器启动在哪个文件夹下static: {directory: path.join(__dirname, 'dist'),},// 自动打开浏览器open: true,// 默认端口号port: 8080},module: {rules:[{test: /\.(jpg|png|gif)$/,use:{loader: 'url-loader',options: {name:'[name]_[hash].[ext]',outputPath: 'images/',limit: 2048 // 2kb}}},{test: /\.scss$/,use:['style-loader',{loader:'css-loader',options: {importLoaders: 2}},'sass-loader','postcss-loader']}]},plugins:[new HtmlWebpackPlugin({template: 'src/index.html'}), new CleanWebpackPlugin()],output: {// 我所有打包生成的文件之间的引用,前面都加根路径// 其实一般不加也可以publicPath:'/',filename: '[name].js',path: path.resolve(__dirname, 'dist')}}
// 引用expressconst express = require('express')// 引用webpackconst webpack = require('webpack');const webpackDevMiddleware = require('webpack-dev-middleware')// 引用webpack的配置const config = require('./webpack.config.js')// 引用webpack的编译器const complier = webpack(config);// 通过express创建一个http应用const app = express();// 再服务器上使用了webpack的中间件,它可以监听到webpack打包代码的变化、// 打包生成的publicPath和webpack配置文件中的一致publicPath: config.output.publicPath// 当然,这里的publicPath以及config.output.publicPath都不写也没问题app.use(webpackDevMiddleware(complier,{publicPath: config.output.publicPath}))// 它启动在3000的端口上app.listen(3000, ()=>{console.log("监听端口号3000")})
npm run middleware
这里手写的启动服务器的方法,肯定没有webpack自带的智能,通过这个方法我们可以知道,我们也是可以自己手写的,并且可以不断优化。
通过第三种方式,我们可以知道。
1、在node中我们也可以直接使用webpack
2、我们之前是在命令行中使用webpack
参考

若有收获,就点个赞吧
0 人点赞
