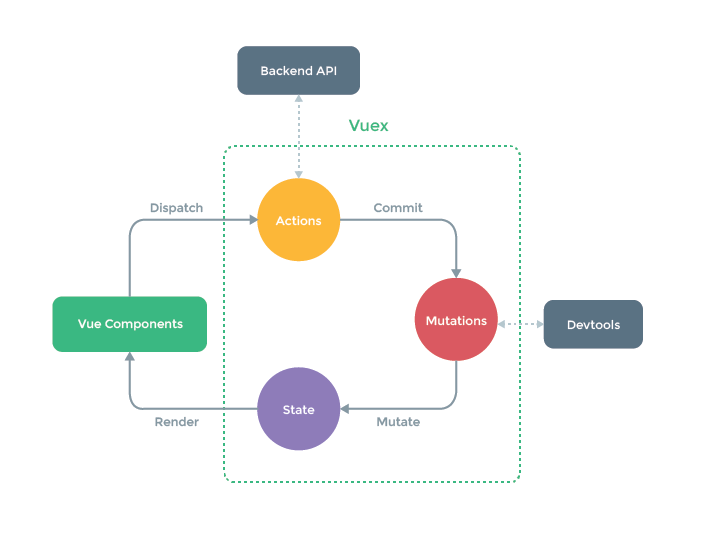
一、vuex安装以及使用

安装vuex
npm install vuex@next --save
简单例子
import { createStore } from 'vuex';// https://www.it610.com/article/1282865199115681792.htmconst store = createStore({state () {return {count: 0,index: 0}},// mutations state成员操作 实际修改状态值的mutations: {//定义方法,在组件内使用:this.$store.commit("updata",参数)updata(state, num) {// 获取 state.变量 得到state里面的数据,num 接收参数变量state.index = num;},increment (state) {state.count++}},// actions 异步操作 用来处理异步的// Action 函数接受一个与 store 实例具有相同方法和属性的 context 对象,//因此你可以调用 context.commit 提交一个 mutation,或者通过// context.state 和 context.getters 来获取 state 和 getters。// 组件内使用: this.$store.dispatch("nameAsyn") 调用actions: {nameAsyn(context) {setTimeout(() => {context.commit('updata', 8);}, 1000);}},// modules 模块化状态管理modules: {},//Getters可以对state中的成员加工后传递给外界,Getters中的方法有两个默认参数//state 当前VueX对象中的状态对象//getters 当前getters对象,用于将getters下的其他getter拿来用//了解getters: {//组件内使用:this.$store.getters.personInfo 得到返回值 + 1personInfo(state) {return state.index + 1;},//函数 getData:(state) => (id) => {...}//使用:this.$store.getters.getData(2)getData: (state) => (id) => {return state.num + id}}});export default store;
二、axios安装以及封装使用
1、安装 axios
npm install axios --save

