1.安装和启动Nexus3
官网下载nexus3,解压,CMD窗口进入安装目录,
cd H:\work\nexus-3.28.1-01-win64\nexus-3.28.1-01\bin
nexus.exe /run
等待启动完,然后浏览器进入localhost:80
默认端口是80,可以修改IP和端口,后面有详细介绍
2.建立仓库
点上面的设置按钮,进入如下页面,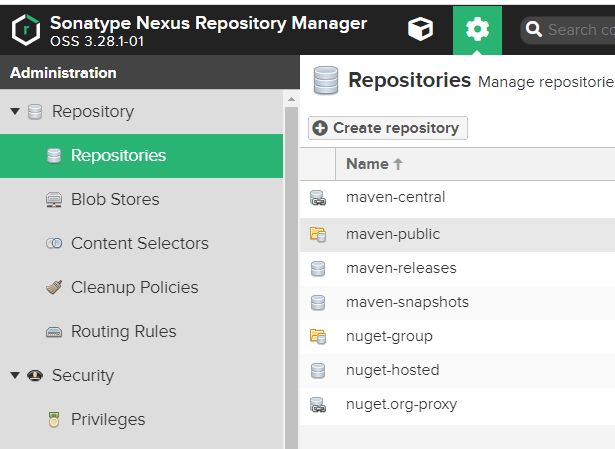
点击create repository在repositories中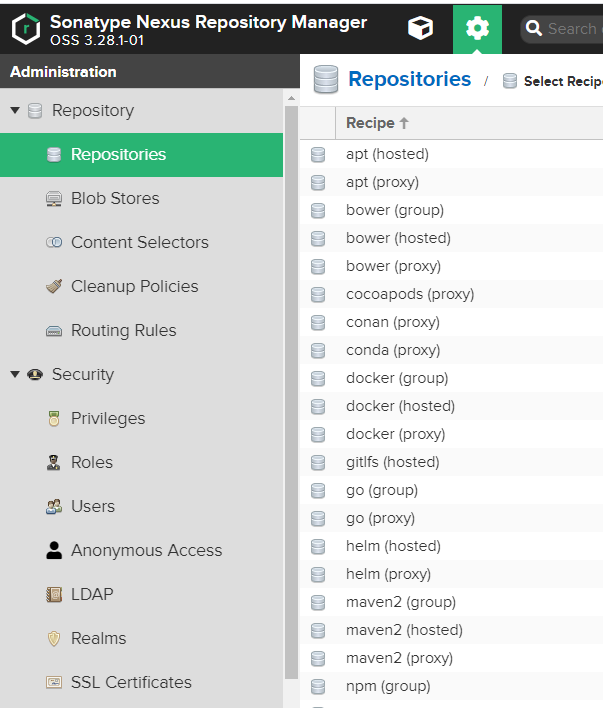
找到下面三个。
他们的区别是:
- proxy — 远程仓库的代理,当用户向这个仓库请求一个 artifact,他会先在本地查找,如果找不到的话,就会从远程仓库下载,然后返回给用户
- hosted — 宿主仓库,用户可以 deploy 到 hosted 中,也可以手工上传构件到 hosted 里,在 central repository 是获取不到的,就需要手工上传到hosted里
- group — 仓库组,将上述多个仓库聚合,对用户暴露统一的地址
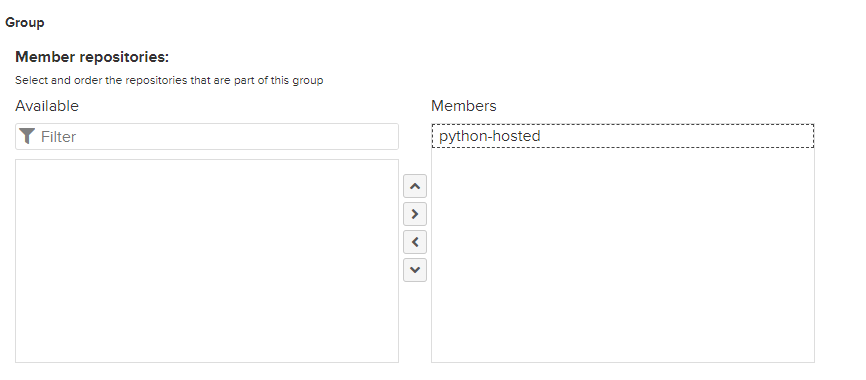
那么接下来,我们创建一个 hosted 仓库和一个 group 仓库
创建仓库界面填好仓库名,别的保持默认
python-hosted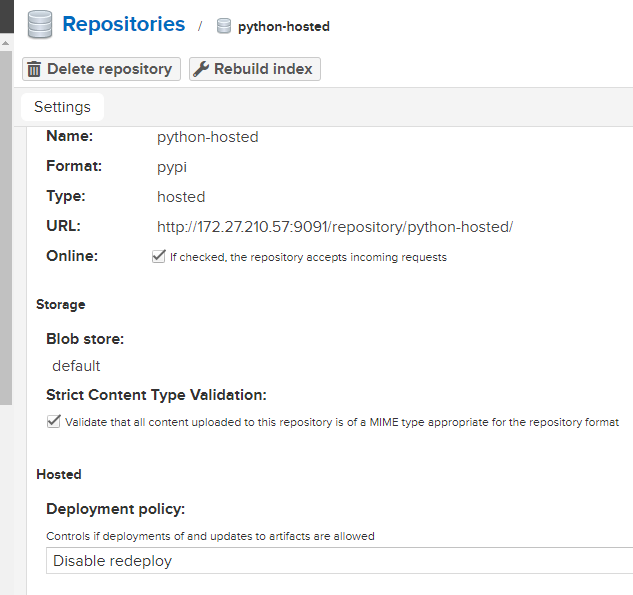
python-group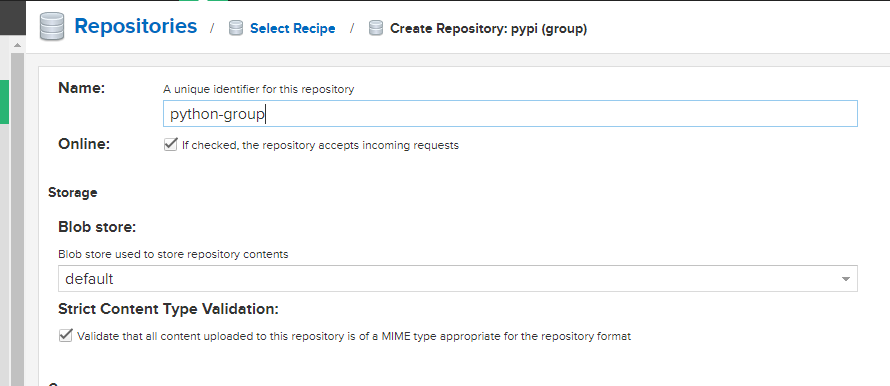
3.上传
在图形界面选择刚才创建的python-hosted仓库,把本地的whl包上传上去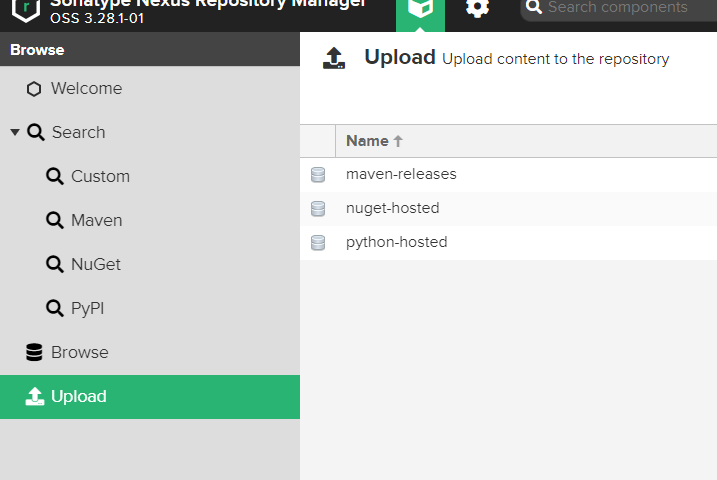
命令行上传,需要先安装twine
pip install twine
twine upload —repository-url
twine upload —repository-url http://localhost:8081/repository/python-hosted/ nipy-0.4.1-cp27-cp27m-win_amd64.whl
需要修改配置,在nexus-default.properties文件里修改
application-port=9091
application-host=172.27.210.57
这样局域网内其他主机才能访问到服务器,修改后发现仓库的URL变了
http://172.27.210.57:9091/repository/python-group/
根据提示填写具有管理员权限的用户名、密码即可,即nexus的账户和密码
URL可以在仓库主页看到,或者在主页点击browse,点击仓库名右边的copy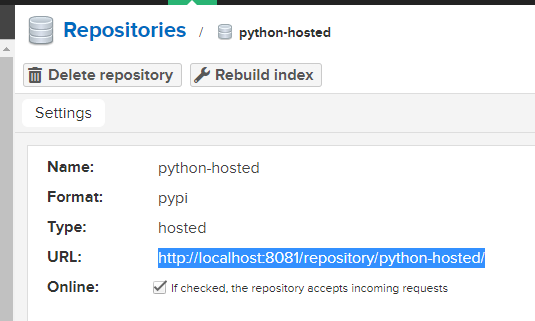


4.下载
修改客户端pip源
pip install packagename —trusted-host 172.27.210.57
https://techlog.cn/article/list/10183293
https://blog.csdn.net/qq_23960445/article/details/82322503
https://blog.csdn.net/lhanson/article/details/108306550

