下载安装包
Redis(Remote Dictionary Server ),即远程字典服务,是一个开源的使用ANSI C语言编写、支持网络、可基于内存亦可持久化的日志型、Key-Value数据库,并提供多种语言的API。
Redis是没有windows平台下的官方支持版本的。Redis 官方不建议在 windows 下使用,所以官网没有 windows 版本可以下载;可以下载在github上的ServiceStack提供的非官方windows版本的Redis,但不推荐,因为:
- 该版本并不是官方支持的,缺少官方支持在使用上可能会出现很多问题
- Redis的最新版本与windows版本不同步;Redis官网版本早于Redis中文网
所以不考虑Windows下版本安装,直接选择Linux下版本安装
Linux安装程序分为两种
- 手动安装
- yum安装
如果是手动下载,需要将文件上传到Linux系统中
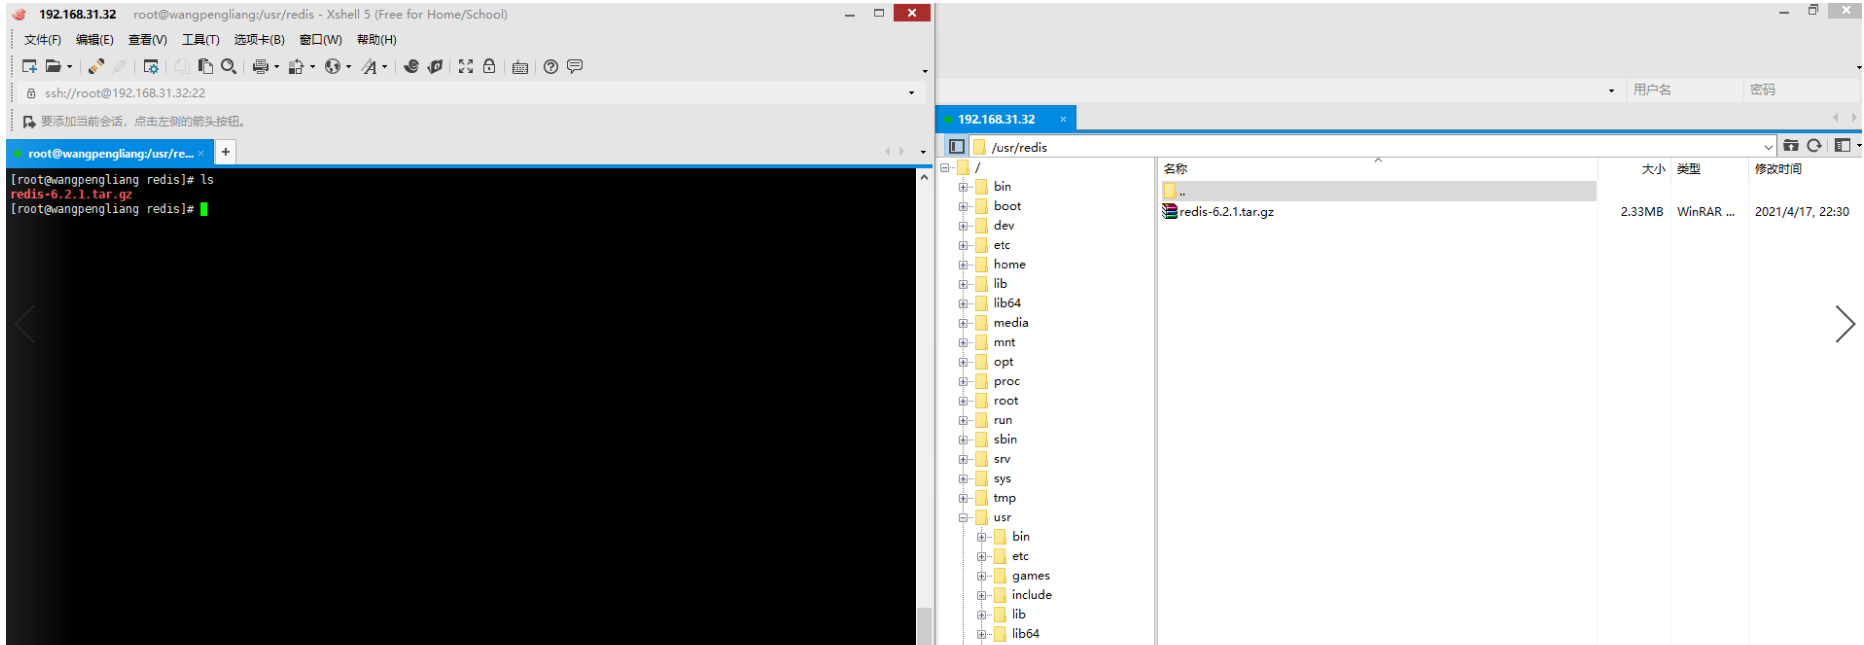
解压文件
tar -xvf Redis-6.2.1.tar.gz
Redis是C语言开发,安装Redis需要先将Redis的源码进行编译,编译依赖gcc环境。因此需要安装gcc,安装过程中有提示时,输入Y即可。(make命令必须在Redis解压后的程序目录下执行)
Centos7安装有默认gcc环境,默认4.8.5版本!编译 Redis-6.x,要求 gcc5.3以上 编译器,否则会遇到大量的错误。 主要原因是从 Redis-6.x 开始的多线程代码依赖C标准库中的新增类型 _Atomic 。但是注意 gcc 从 4.9 版本才开始正式和完整地支持 stdatomic(gcc-4.8.5 部分支持) Centos7默认的 gcc 版本为:4.8.5 < 5.3 无法编译
Gcc升级
参考Centos中的”Centos7升级gcc版本”
查看gcc版本
[root@wangpengliang Redis]# gcc -v
编译Redis
进入Redis程序目录
cd /usr/Redis/Redis-6.2.1
Make
下载环境并编译Redis程序
[root@localhost Redis-6.2.1]# make install #将Redis安装在Linux默认位置:/usr/local/bin或者(推荐)[root@localhost Redis-6.2.1]# make install PREFIX=/usr/Redis/Redis-6.2.1/installpackage #将Redis安装在指定位置
安装完成查看文件列表
[root@wangpengliang bin]# cd /usr/Redis/Redis-6.2.1/installpackage/bin[root@wangpengliang bin]# lsRedis-benchmark Redis-check-aof Redis-check-rdb Redis-cli Redis-sentinel Redis-server[root@wangpengliang bin]# ll总用量 21940-rwxr-xr-x. 1 root root 5675824 4月 18 01:32 Redis-benchmarklrwxrwxrwx. 1 root root 12 4月 18 01:32 Redis-check-aof -> Redis-serverlrwxrwxrwx. 1 root root 12 4月 18 01:32 Redis-check-rdb -> Redis-server-rwxr-xr-x. 1 root root 5881760 4月 18 01:32 Redis-clilrwxrwxrwx. 1 root root 12 4月 18 01:32 Redis-sentinel -> Redis-server-rwxr-xr-x. 1 root root 10904032 4月 18 01:32 Redis-server
配置Redis
复制Redis核心配置文件,文件在安装命令目录中(默认位置在/usr/local/bin)。我在安装时选择了安装在指定位置(/usr/Redis/Redis-6.2.1/installpackage),Redis配置文件需要放在安装目录下
Redis.conf 配置文件在Redis程序目录中
# 进入Redis安装目录/bin[root@wangpengliang bin]# cd /usr/Redis/Redis-6.2.1/installpackage/bin# 创建目录conf:用于存放配置文件[root@wangpengliang bin]# mkdir conf# 查看创建结果[root@wangpengliang bin]# ll总用量 21940drwxr-xr-x. 2 root root 6 4月 18 01:43 conf-rwxr-xr-x. 1 root root 5675824 4月 18 01:32 Redis-benchmarklrwxrwxrwx. 1 root root 12 4月 18 01:32 Redis-check-aof -> Redis-serverlrwxrwxrwx. 1 root root 12 4月 18 01:32 Redis-check-rdb -> Redis-server-rwxr-xr-x. 1 root root 5881760 4月 18 01:32 Redis-clilrwxrwxrwx. 1 root root 12 4月 18 01:32 Redis-sentinel -> Redis-server-rwxr-xr-x. 1 root root 10904032 4月 18 01:32 Redis-server# 复制Redis程序目录中的配置文件放入到Redis安装目录下conf目录中[root@wangpengliang bin]# cp /usr/Redis/Redis-6.2.1/Redis.conf /usr/Redis/Redis-6.2.1/installpackage/bin/conf/[root@wangpengliang bin]# ll总用量 21940drwxr-xr-x. 2 root root 24 4月 18 01:44 conf-rwxr-xr-x. 1 root root 5675824 4月 18 01:32 Redis-benchmarklrwxrwxrwx. 1 root root 12 4月 18 01:32 Redis-check-aof -> Redis-serverlrwxrwxrwx. 1 root root 12 4月 18 01:32 Redis-check-rdb -> Redis-server-rwxr-xr-x. 1 root root 5881760 4月 18 01:32 Redis-clilrwxrwxrwx. 1 root root 12 4月 18 01:32 Redis-sentinel -> Redis-server-rwxr-xr-x. 1 root root 10904032 4月 18 01:32 Redis-server# 进入Redis安装目录下conf目录[root@wangpengliang bin]# cd conf# 查看配置文件[root@wangpengliang conf]# ll总用量 92-rw-r--r--. 1 root root 92222 4月 18 01:44 Redis.conf
启动Redis
- 进入
Redis安装目录bin - 使用命令启动
Redis服务(测试Redis服务会占用一个窗口)
# 在Redis安装目录下的bin目录中启动Redis服务并指定配置文件[root@wangpengliang bin]# ./Redis-server conf/Redis.conf20335:C 18 Apr 2021 01:51:48.190 # oO0OoO0OoO0Oo Redis is starting oO0OoO0OoO0Oo20335:C 18 Apr 2021 01:51:48.190 # Redis version=6.2.1, bits=64, commit=00000000, modified=0,pid=20335, just started20335:C 18 Apr 2021 01:51:48.190 # Configuration loaded20335:M 18 Apr 2021 01:51:48.191 * Increased maximum number of open files to 10032 (it was originally set to 1024).20335:M 18 Apr 2021 01:51:48.191 * monotonic clock: POSIX clock_gettime_.__.-``__ ''-.__.-`` `. `_. ''-._ Redis 6.2.1 (00000000/0) 64 bit.-`` .-```. ```\/ _.,_ ''-._( ' , .-` | `, ) Running in standalone mode|`-._`-...-` __...-.``-._|'` _.-'| Port: 6379| `-._ `._ / _.-' | PID: 20335`-._ `-._ `-./ _.-' _.-'|`-._`-._ `-.__.-' _.-'_.-'|| `-._`-._ _.-'_.-' | http://Redis.io`-._ `-._`-.__.-'_.-' _.-'|`-._`-._ `-.__.-' _.-'_.-'|| `-._`-._ _.-'_.-' |`-._ `-._`-.__.-'_.-' _.-'`-._ `-.__.-' _.-'`-._ _.-'`-.__.-'20335:M 18 Apr 2021 01:51:48.193 # WARNING: The TCP backlog setting of 511 cannot be enforcedbecause /proc/sys/net/core/somaxconn is set to the lower value of 128.20335:M 18 Apr 2021 01:51:48.193 # Server initialized20335:M 18 Apr 2021 01:51:48.193 # WARNING overcommit_memory is set to 0! Background save mayfail under low memory condition. To fix this issue add 'vm.overcommit_memory = 1' to /etc/sysctl.conf and then reboot or run the command 'sysctl vm.overcommit_memory=1' for this to take effect.20335:M 18 Apr 2021 01:51:48.193 * Ready to accept connections
测试Redis
新开连接窗口,启动客户端连接Redis服务器
[root@wangpengliang ~]# cd /usr/Redis/Redis-6.2.1/installpackage/bin# 启动客户端连接服务器并指定端口[root@wangpengliang bin]# ./Redis-cli -p 6379# 测试连接127.0.0.1:6379> pingPONG# 退出Redis127.0.0.1:6379> exit
后台启动Redis
以上的Redis安装和启动可以算是临时服务。当开启服务后,Redis服务窗口是无法再使用的,可以将Redis服务设置为后台启动服务,避免Linux窗口连接的浪费
Vim编辑Redis配置文件Redis.conf- 开启
Redis后台服务(默认是关闭的)
Step1:vi /usr/Redis/Redis6.x/bin/conf/Redis.conf #打开编辑(键入命令 :set nu 显示行号)
Step2:输入i、I、a 等进入编辑模式
Step3:将daemonize no 改成daemonize yes(表示开启Redis后台服务:约225行)
Step4:按esc退出插入模式,输入:wq保存退出
# 启动Redis服务[root@wangpengliang bin]# ./Redis-server conf/Redis.conf# 此时Redis服务已经作为后台服务启动,不再占用窗口,直接在本窗口启用客户端测试连接[root@wangpengliang bin]# ./Redis-cli -p 6379127.0.0.1:6379> pingPONG127.0.0.1:6379> exit
查看Redis服务进程
# 查看进程服务,过滤只看Redis的[root@wangpengliang bin]# ps -ef |grep Redisroot 20395 1 0 02:07 ? 00:00:00 ./Redis-server 127.0.0.1:6379root 20410 20345 0 02:10 pts/1 00:00:00 grep --color=auto Redis
卸载
删除Redis安装目录和Redis解压文件即可
Redis6379端口不通解决方法
背景
Redis在虚拟机中安装- 使用
RedisClient在Windows主机中连接
虚拟机中查看Redis进程和端口,都是存在的;但是IP地址需要设置为0.0.0.0而不是127.0.0.1,更改Redis使用的配置文件即可。
bind 127.0.0.1=>bind 0.0.0.0
127.0.0.1只能是本机能使用
如果Redis已经启动,需要先停止才能使配置文件生效
[root@wangpengliang bin]# ./Redis-cli -p 6379127.0.0.1:6379> SHUTDOWNnot connected>
重启Redis
[root@wangpengliang bin]# ./Redis-server conf/Redis.conf
主机中使用RedisClient连接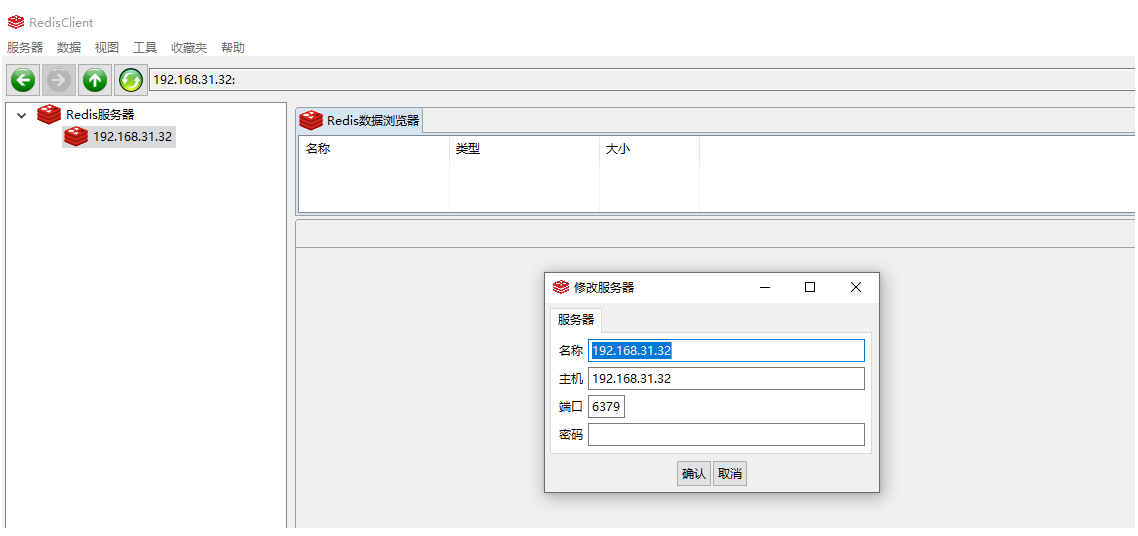
本机安装的Redis版本为6.x,RedisClient暂不支持
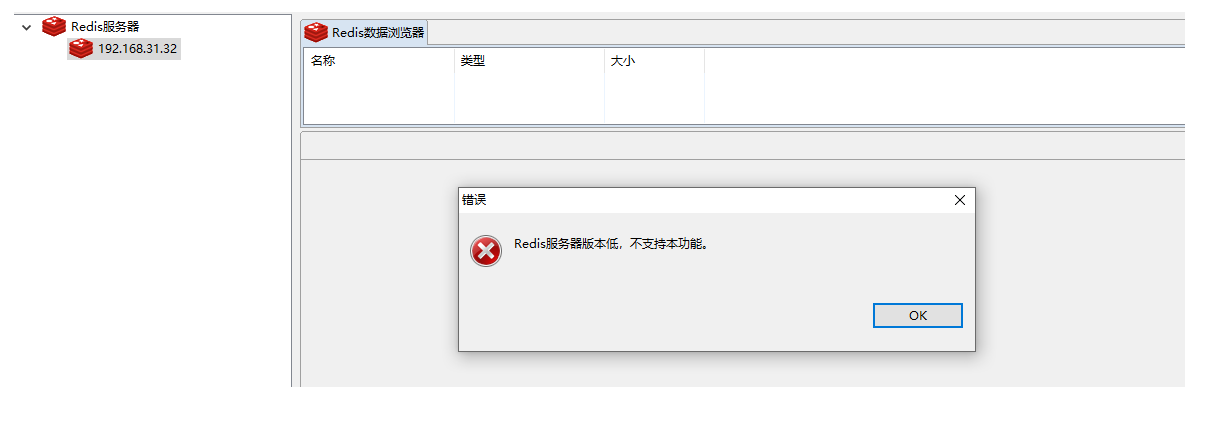
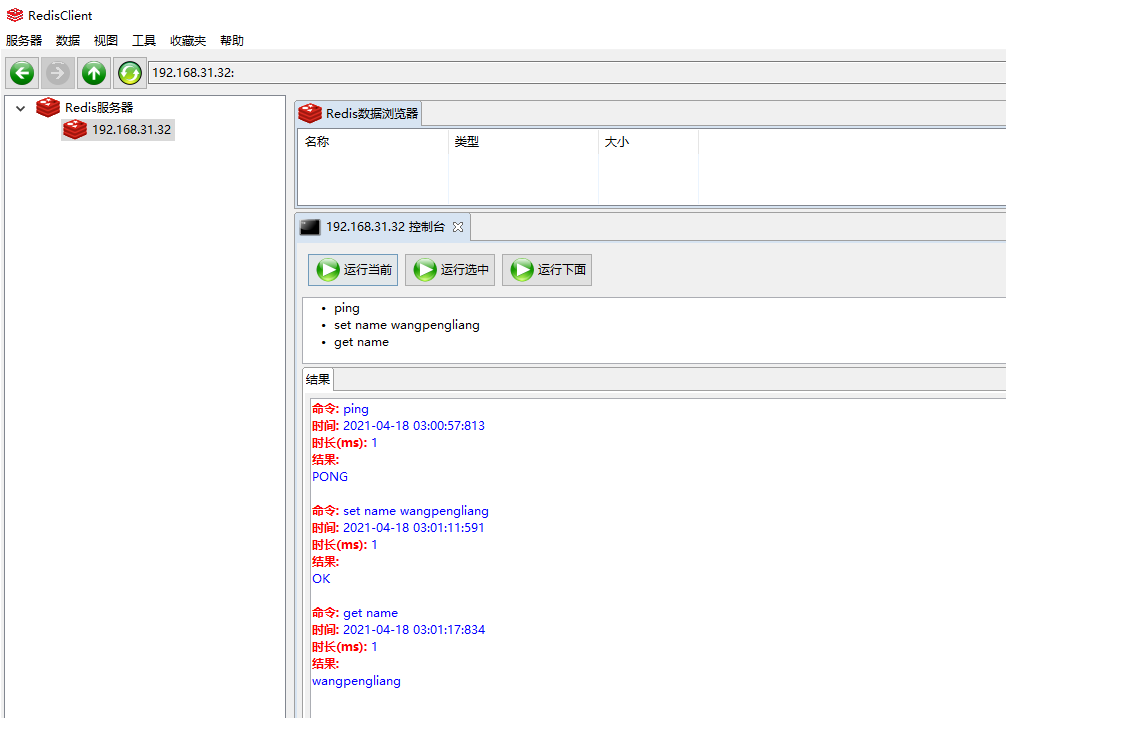
这里可以使用控制台来测试,只是缺少了可视化的优势,需要自己敲命令

若有收获,就点个赞吧
0 人点赞
