CentOS 7 的 yum 源中默认是没有 MySQL 的,因为现在的 CentOS 7 中默认是安装 mariaDB 的
修改 dns 配置
本次教程使用的是 华为云服务器,它默认使用的 DNS 在下载安装 MySQL的时候会非常慢,甚至会安装失败!!
因此有必要修改 dns 配置。
vim /etc/resolv.conf
将 114.114.114.114 记录添加到其中
nameserver 114.114.114.114
下载安装 MySQL 的 Yum源
下载 MySQL源
wget http://dev.mysql.com/get/mysql57-community-release-el7-8.noarch.rpm
将mysql 加入 yum 源
yum -y localinstall mysql57-community-release-el7-8.noarch.rpm
查看 mysql 源
yum repolist enabled | grep "mysql.*-community.*"
安装MySQL
yum -y install mysql-community-server
MySQL 服务
启动、状态查看、停止 以及 开机自启动
systemctl start mysqldsystemctl status mysqldsystemctl stop mysqldsystemctl enable mysqld
初始化密码
查看初始化密码
grep 'temporary password' /var/log/mysqld.log

密码配置
关闭密码检查插件 和 密码过期的设置
vim /etc/my.cnf
在 [mysqld] 下 添加如下设置:
# 关闭验证密码强度插件validate_password=off# 设置密码过期时间, 0 表示永不过期default_password_lifetime=0
修改密码
将 root@localhost 的密码修改为123456
grep 'temporary password' /var/log/mysqld.log # 查看初始化密码
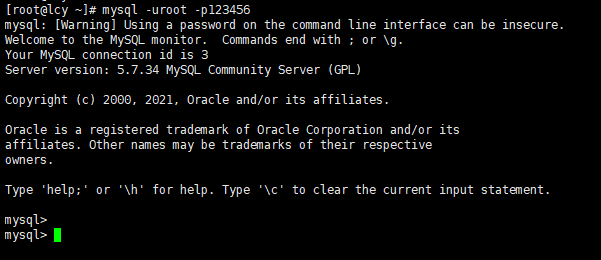
mysql -uroot -p # 使用初始化密码登录
ALTER USER 'root'@'localhost' IDENTIFIED BY '123456'; # 将密码修改为123456

若有收获,就点个赞吧
0 人点赞
